Category Archives: Making Soap

Soap Making Part III – Ingredients and a Recipe

Hello and welcome!

If you’ve not been following along with this soapmaking series you might want to read Part I and Part II before you continue with this page.

In Part I we established that “soap is made by combining fats or oils with an alkali, such as lye.” In this post I will write about some ingredient that can be used and give you a recipe that I have used many times.

LYE

As I mentioned in Part I there are two types of lye – Sodium Hydroxide (NaOH) and Potassium Hydroxide (KOH). While either can be used to make soap, they are not interchangeable. They make different types of soap and though they could be mixed with the same fats or oils the recipe would require a different amount of sodium hydroxide than potassium hydroxide. The recipe that I will give you uses sodium hydroxide.

Here in the US sodium hydroxide might be a bit hard to find. It used to be sold commonly as a drain cleaner and some places like Walmart and Ace Hardware still carry it according to their websites. If you do decide to buy lye that is sold as drain cleaner just make sure it says “pure lye” or something similar on the label. You can also find it online at soapmaking supply sites like this. You will likely find that lye sold as drain cleaner is less expensive than lye sold for soapmaking. (I am not affiliated with, nor do I receive anything from, the above businesses. I just wanted to point you in the right direction.)
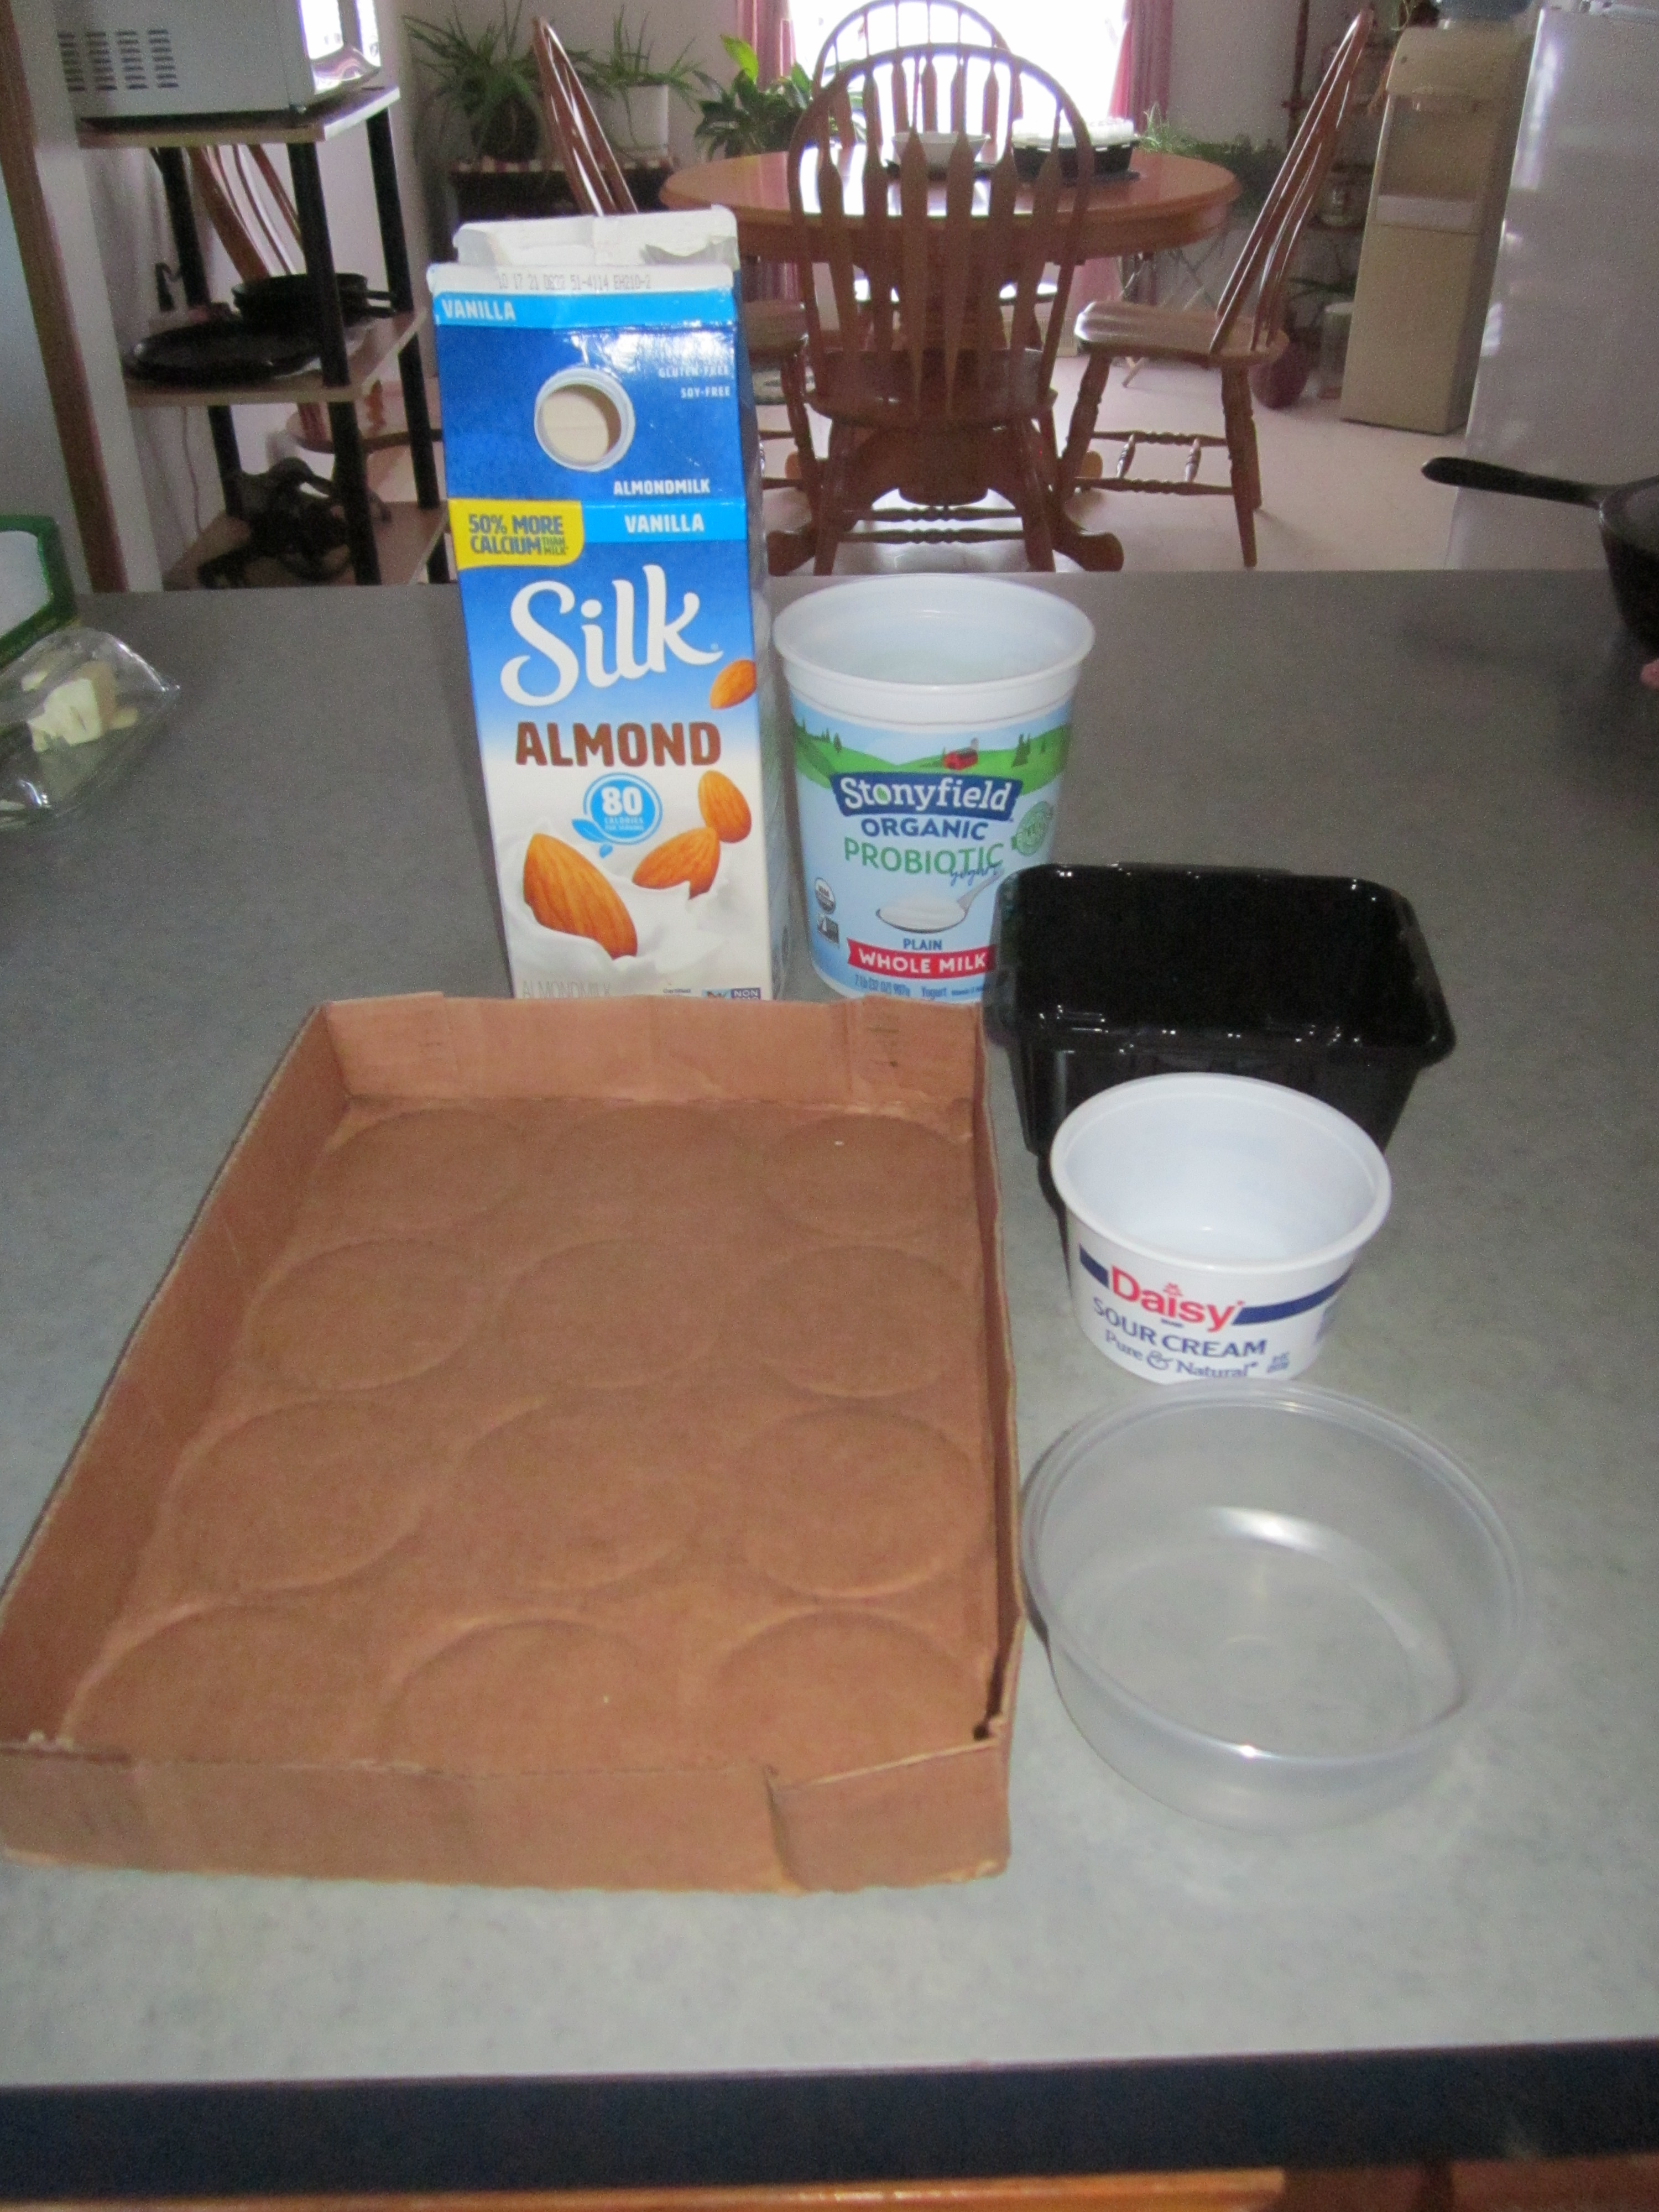
Water/Liquid

Since the lye that we use comes in the form of either beads or flakes we need to mix it with liquid to begin the chemical process before mixing it with the fats or oils. Basic recipes generally use water as the liquid with some calling for distilled water. I’m not sure why it would be necessary to buy distilled water since other liquids could be substituted. In the past I have used various herbal teas and coffee as liquids in my soap and though they each react differently with the lye they have all made good soaps. When mixing lye with water I am cautious not to use water that has been treated with chemicals such as chlorine or fluoride, therefore I use a purified water.

Fats and Oils

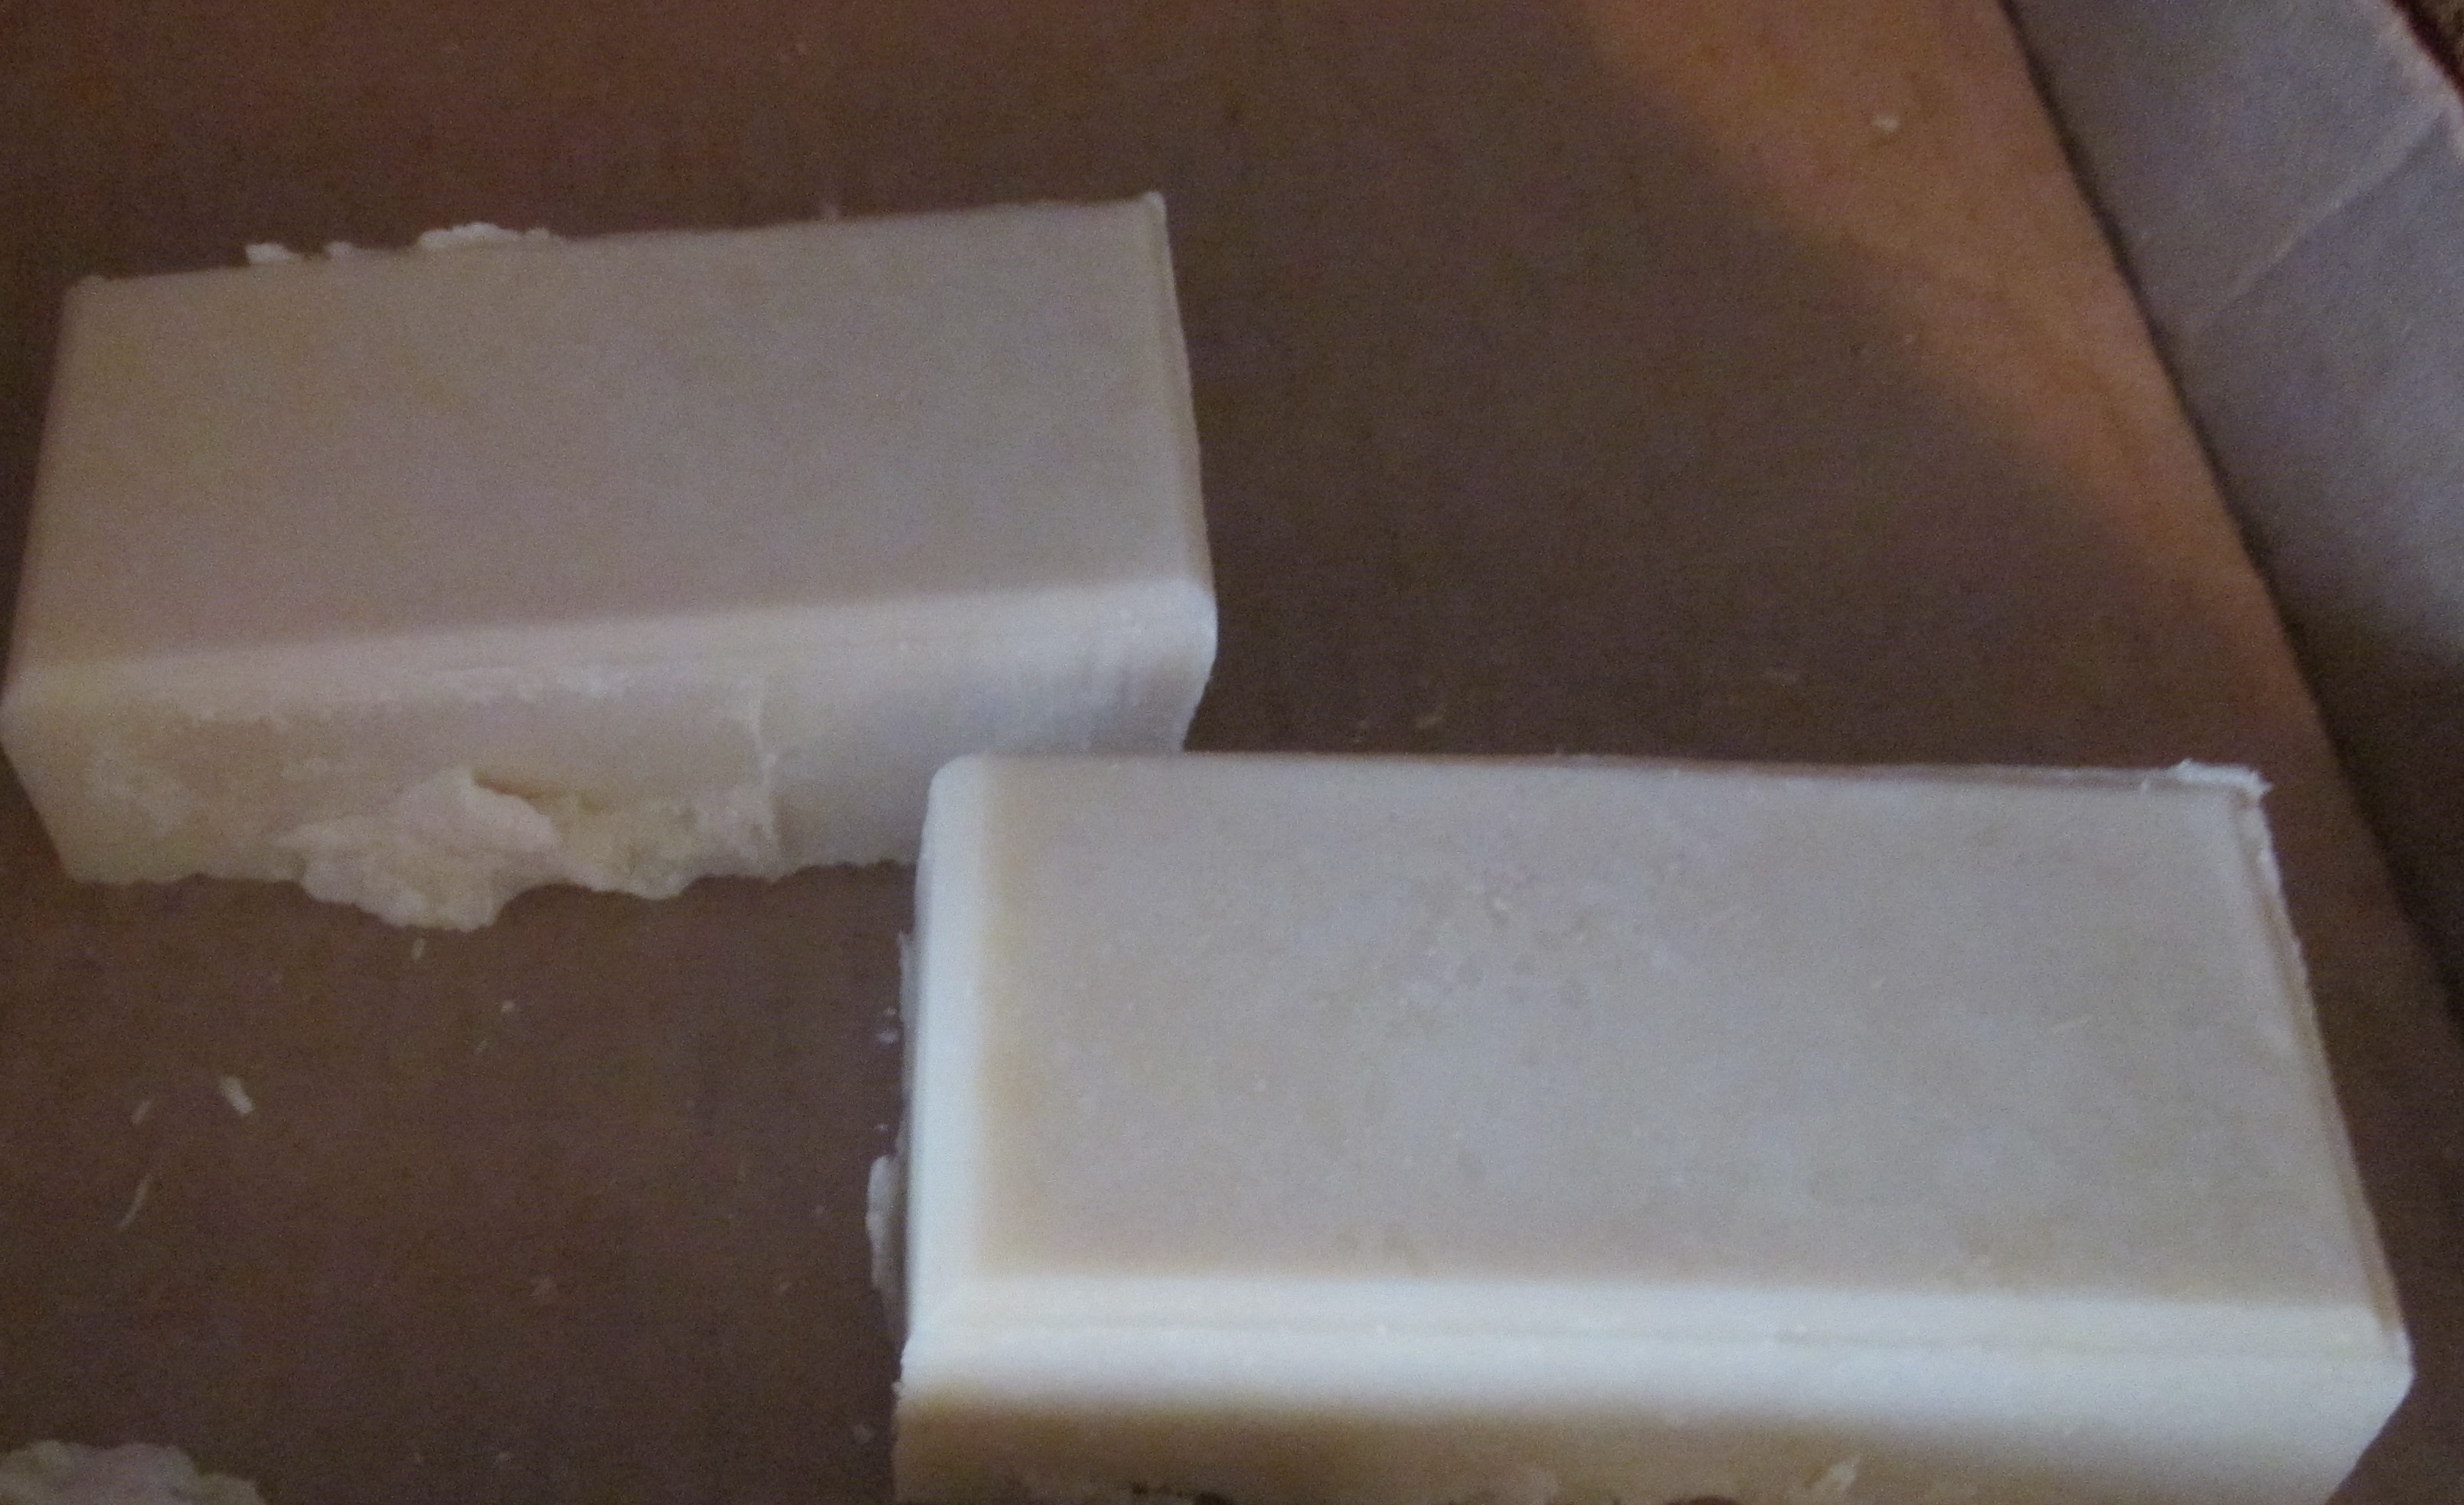
Pretty much any animal fat or vegetable oil can be combined with lye to make soap, but all fats are not created equal. The type of soap and the amount of lye it takes to saponify (turn it into soap) will vary depending on the fatty acid profile of each oil. To keep this simple, for those who just want to learn to make soap, I’m not going to go into all the math and science behind it but if you want to learn more you can do an internet search for ‘saponification chart’ and will you find many sites that will explain.

In commercial soap making common oils are beef tallow, coconut oil and palm oil but for those making their own soap the options range from the very frugal using rendered bacon grease (I’ve done that) or straining oil that you have used for deep frying to purchasing high end organic and sometimes even rare oils.

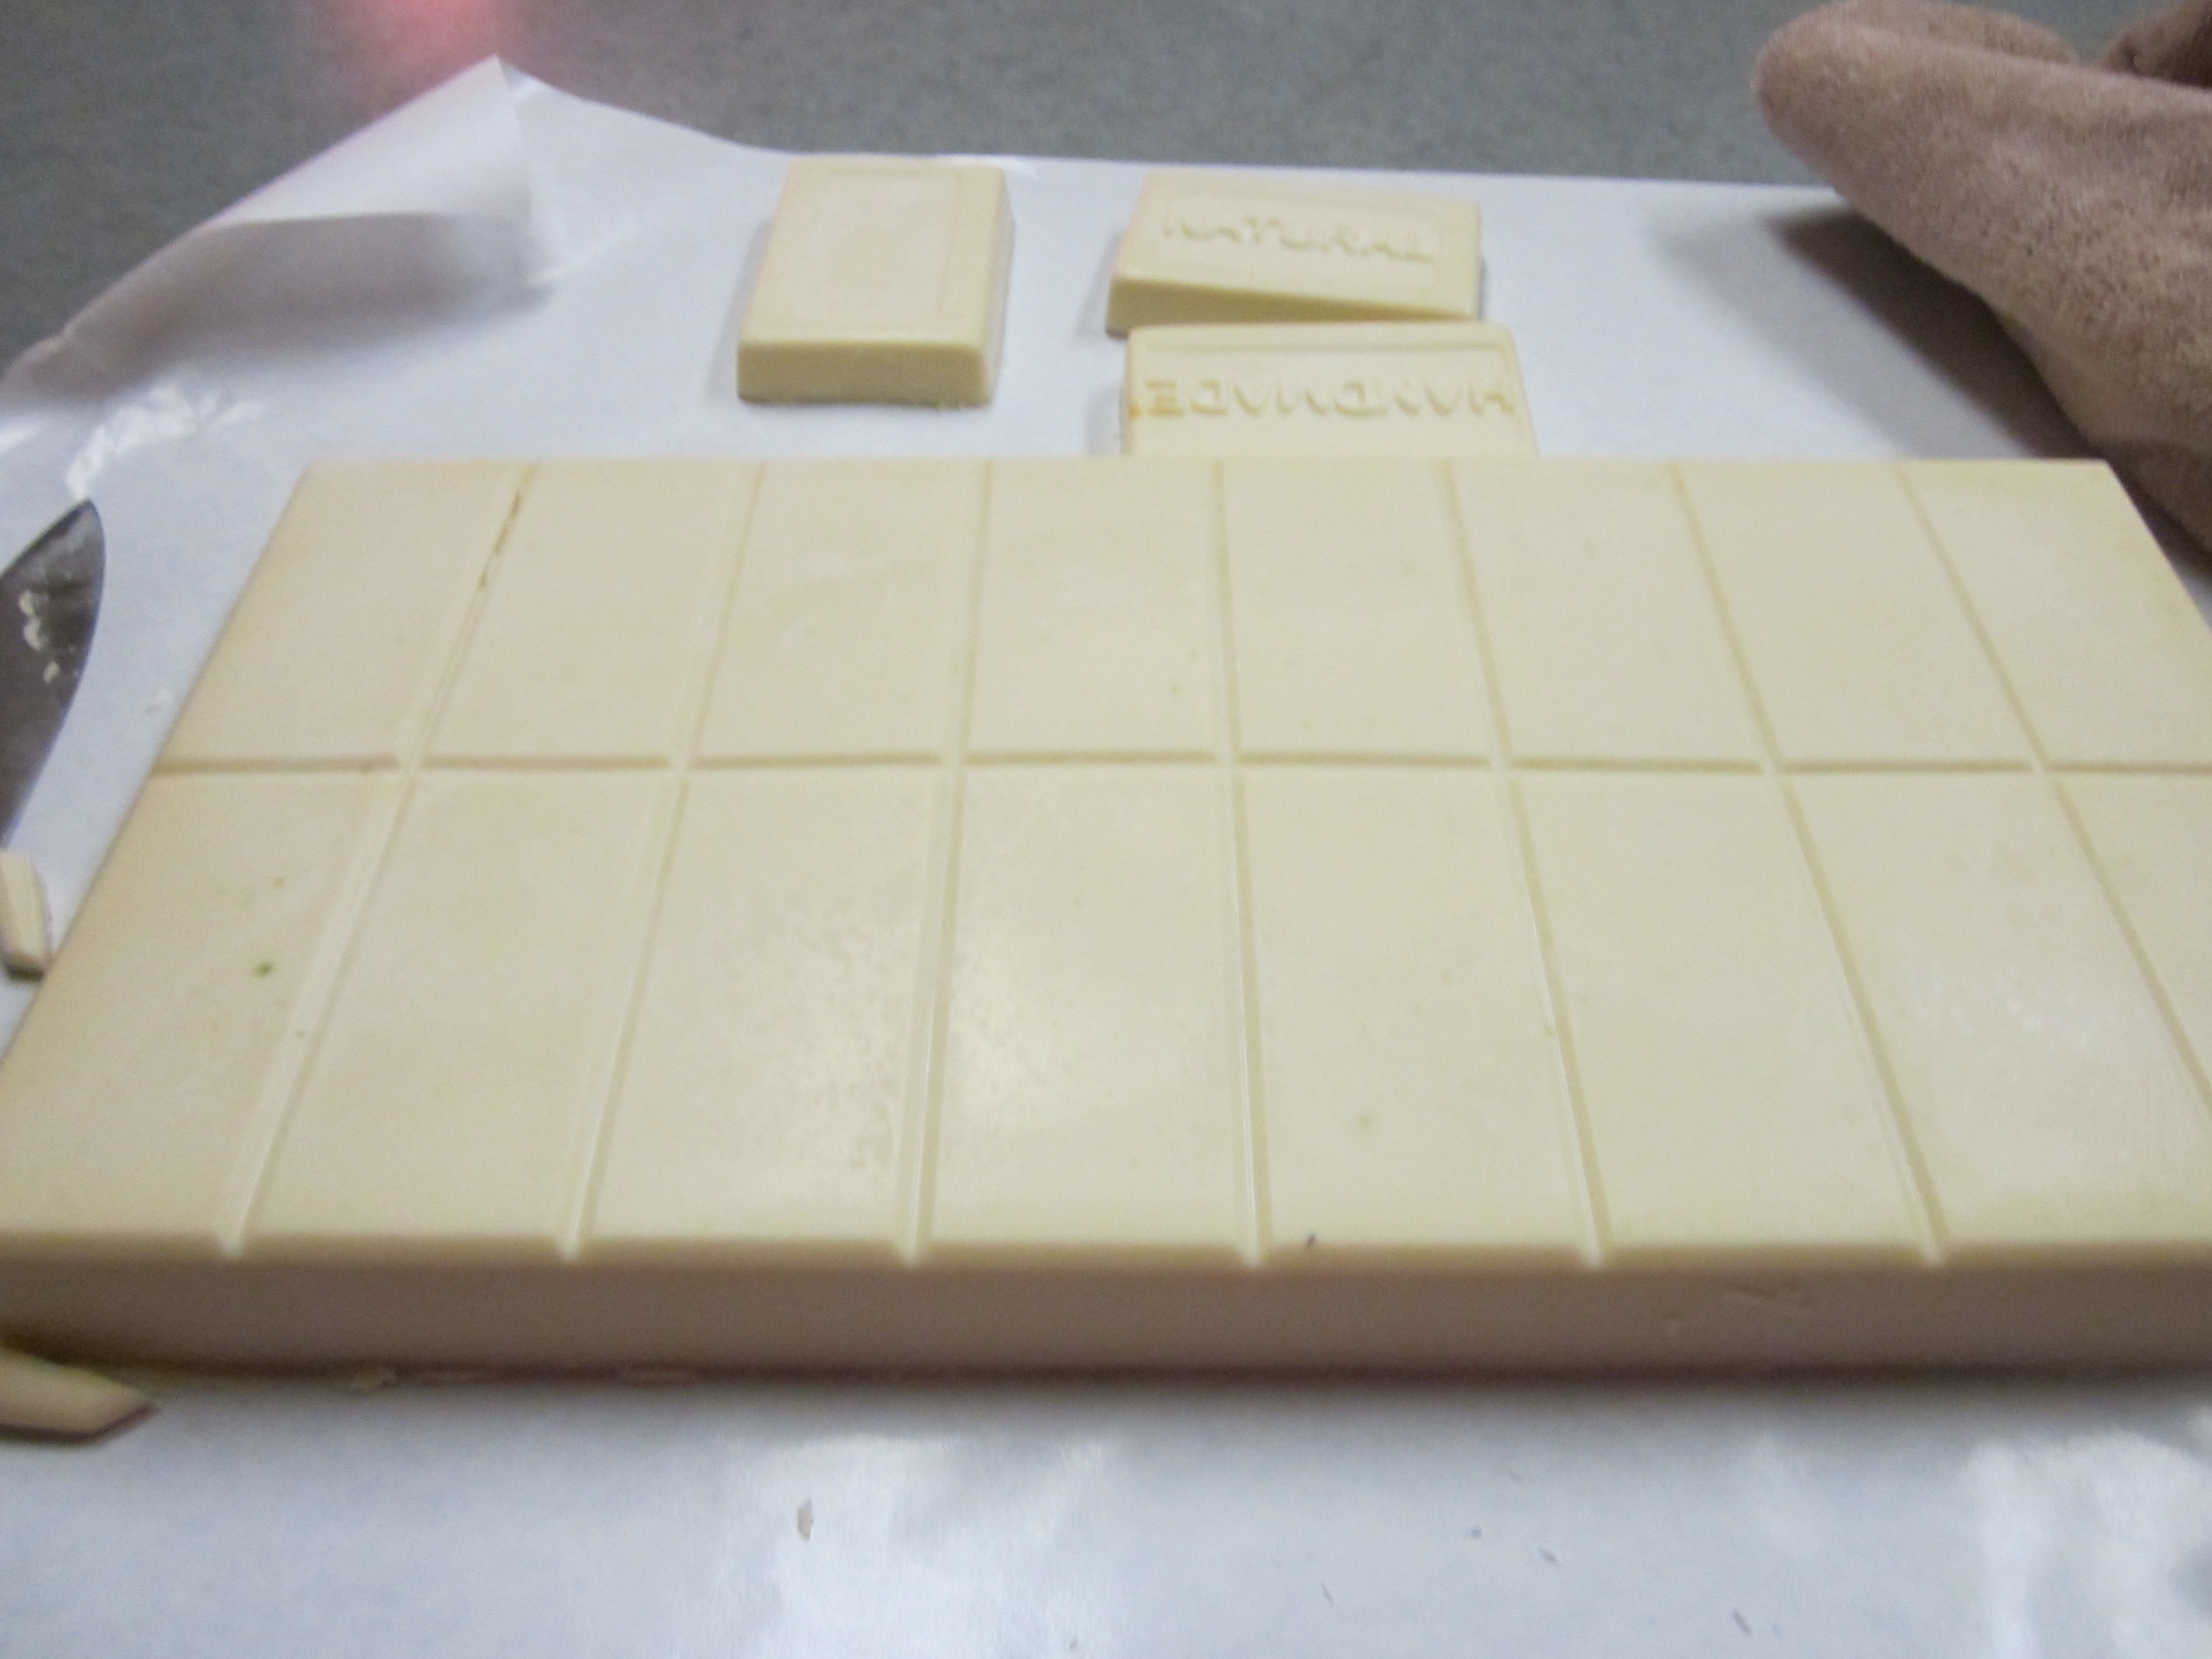
I don’t think there is any one oil that makes the perfect soap, however we will all have a different idea of what the perfect soap is. While it is possible to make a soap with just one oil, generally a combination of different fats and oils are used to balance the qualities of the soap. Some recipes will have six or more oils in varying amounts. The recipe that I give below uses just two oils. The coconut oil that makes a very hard and cleansing (drying) bar of soap along with a big bubbly lather has been balanced with olive oil which makes a soft soap that is more conditioning and less drying.

I do formulate my own recipes using this soap calculator. It looks pretty complicated but once I tell it the fats that I want to use and the amounts it will show me a page like the one below which is the recipe. (Feel free to hop over to that soap calculator and play with it and let me know if you have any questions.)

Not only does it tell me the amount of each ingredient I will need (in pounds, ounces and grams) it also tells me the qualities I can expect from this recipe.

Below is the recipe we will use in Part IV of this series. I wrote the recipe for a large batch using 4 lbs. (1814.37 grams) of fats/oils, which is what I made, but also broke it down into a (small) one lb. (453.59237 gram) batch for those who don’t want to start out that big. It is a simple recipe. The oils can be found on grocery store shelves (at least here in the US). It does not call for extras like fragrance or colorants, which are totally unnecessary. If you do decide to add a fragrance or essential oil to this recipe you would need 2 ounces for the large batch or .5 ounce for the small batch.

Soap Recipe Large batch (Makes about 18 – 20 average size bars.)

Coconut oil – 20 ounces (1 lb. 4oz.) (566.99 grams)

Olive Oil – 44 ounces (2 lbs. 8oz.) (1247.38grams)

Sodium Hydroxide (NoAH) – 8.86 ounces (251.05 grams)

Water – 24.3 ounces (1lb. 8.3oz) (689.22 grams)

Soap RecipeSmall Batch (Makes 4-6 average size bars.)

Coconut Oil – 5 ounces (141.75 grams)

Olive Oil – 11 Ounces (311.84 grams)

Sodium Hydroxide (NoAH) – 2.21 ounces (62.76 grams)

Water – 6 Ounces (172.36 grams)

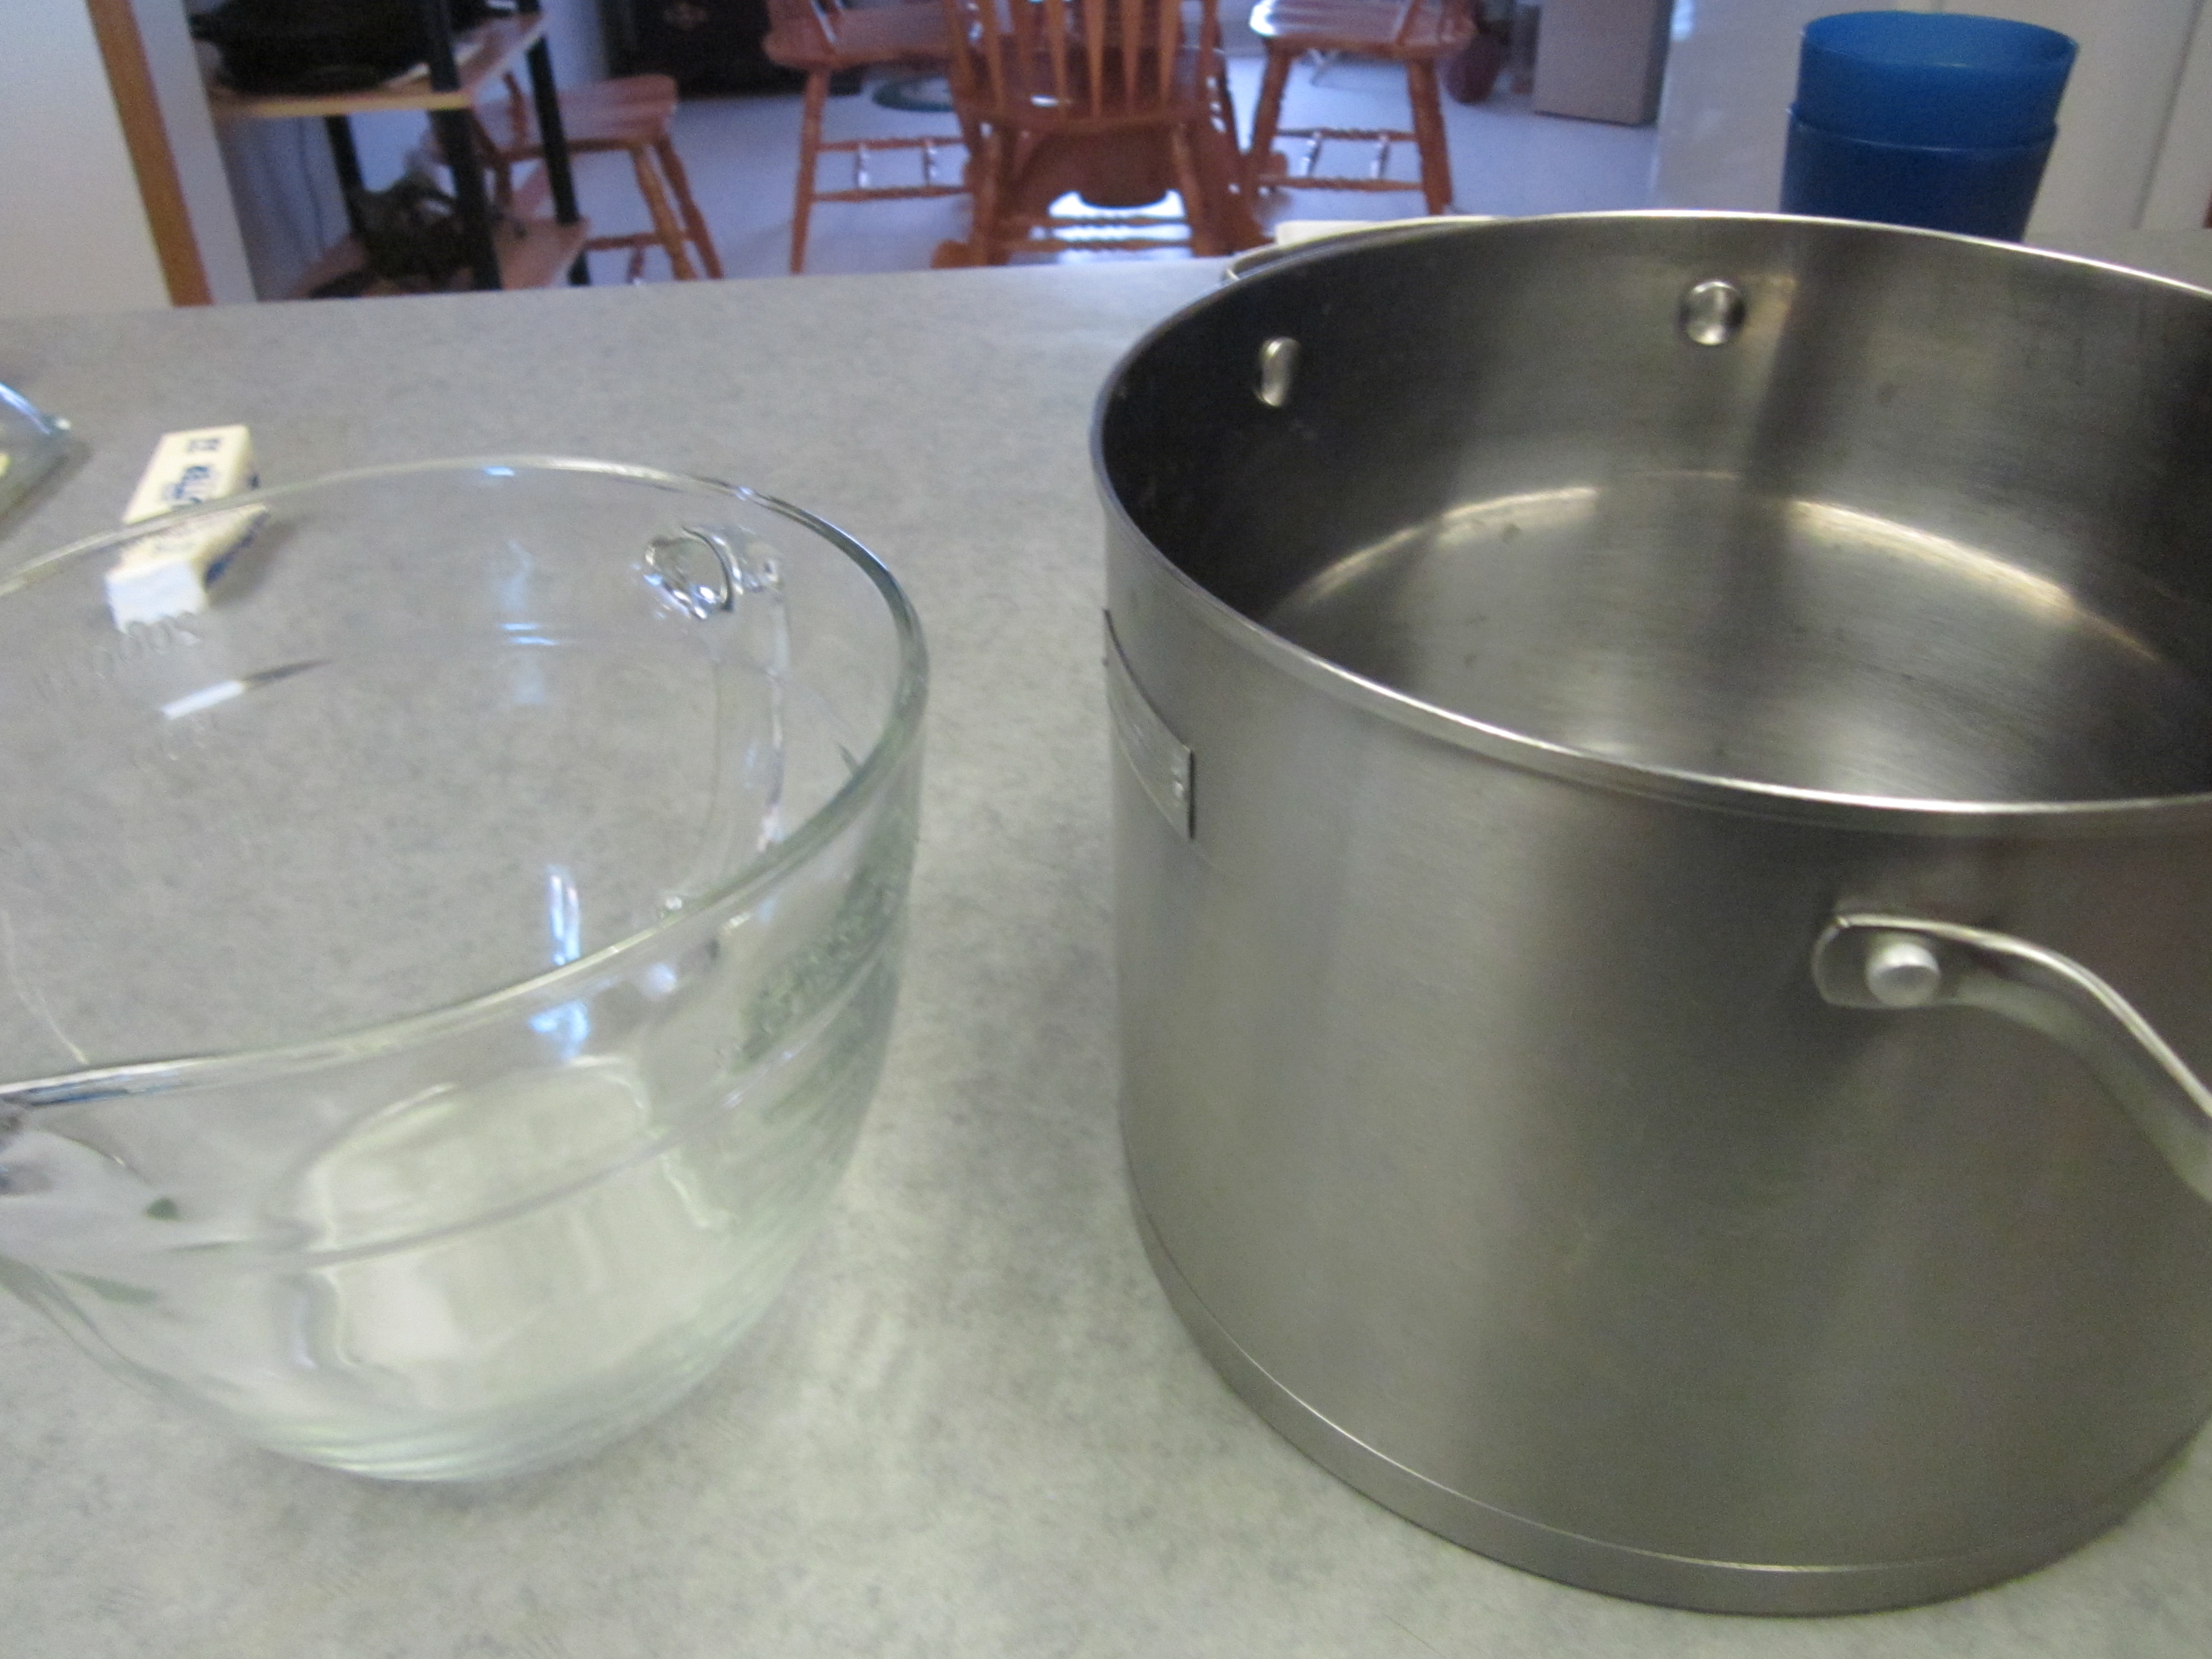
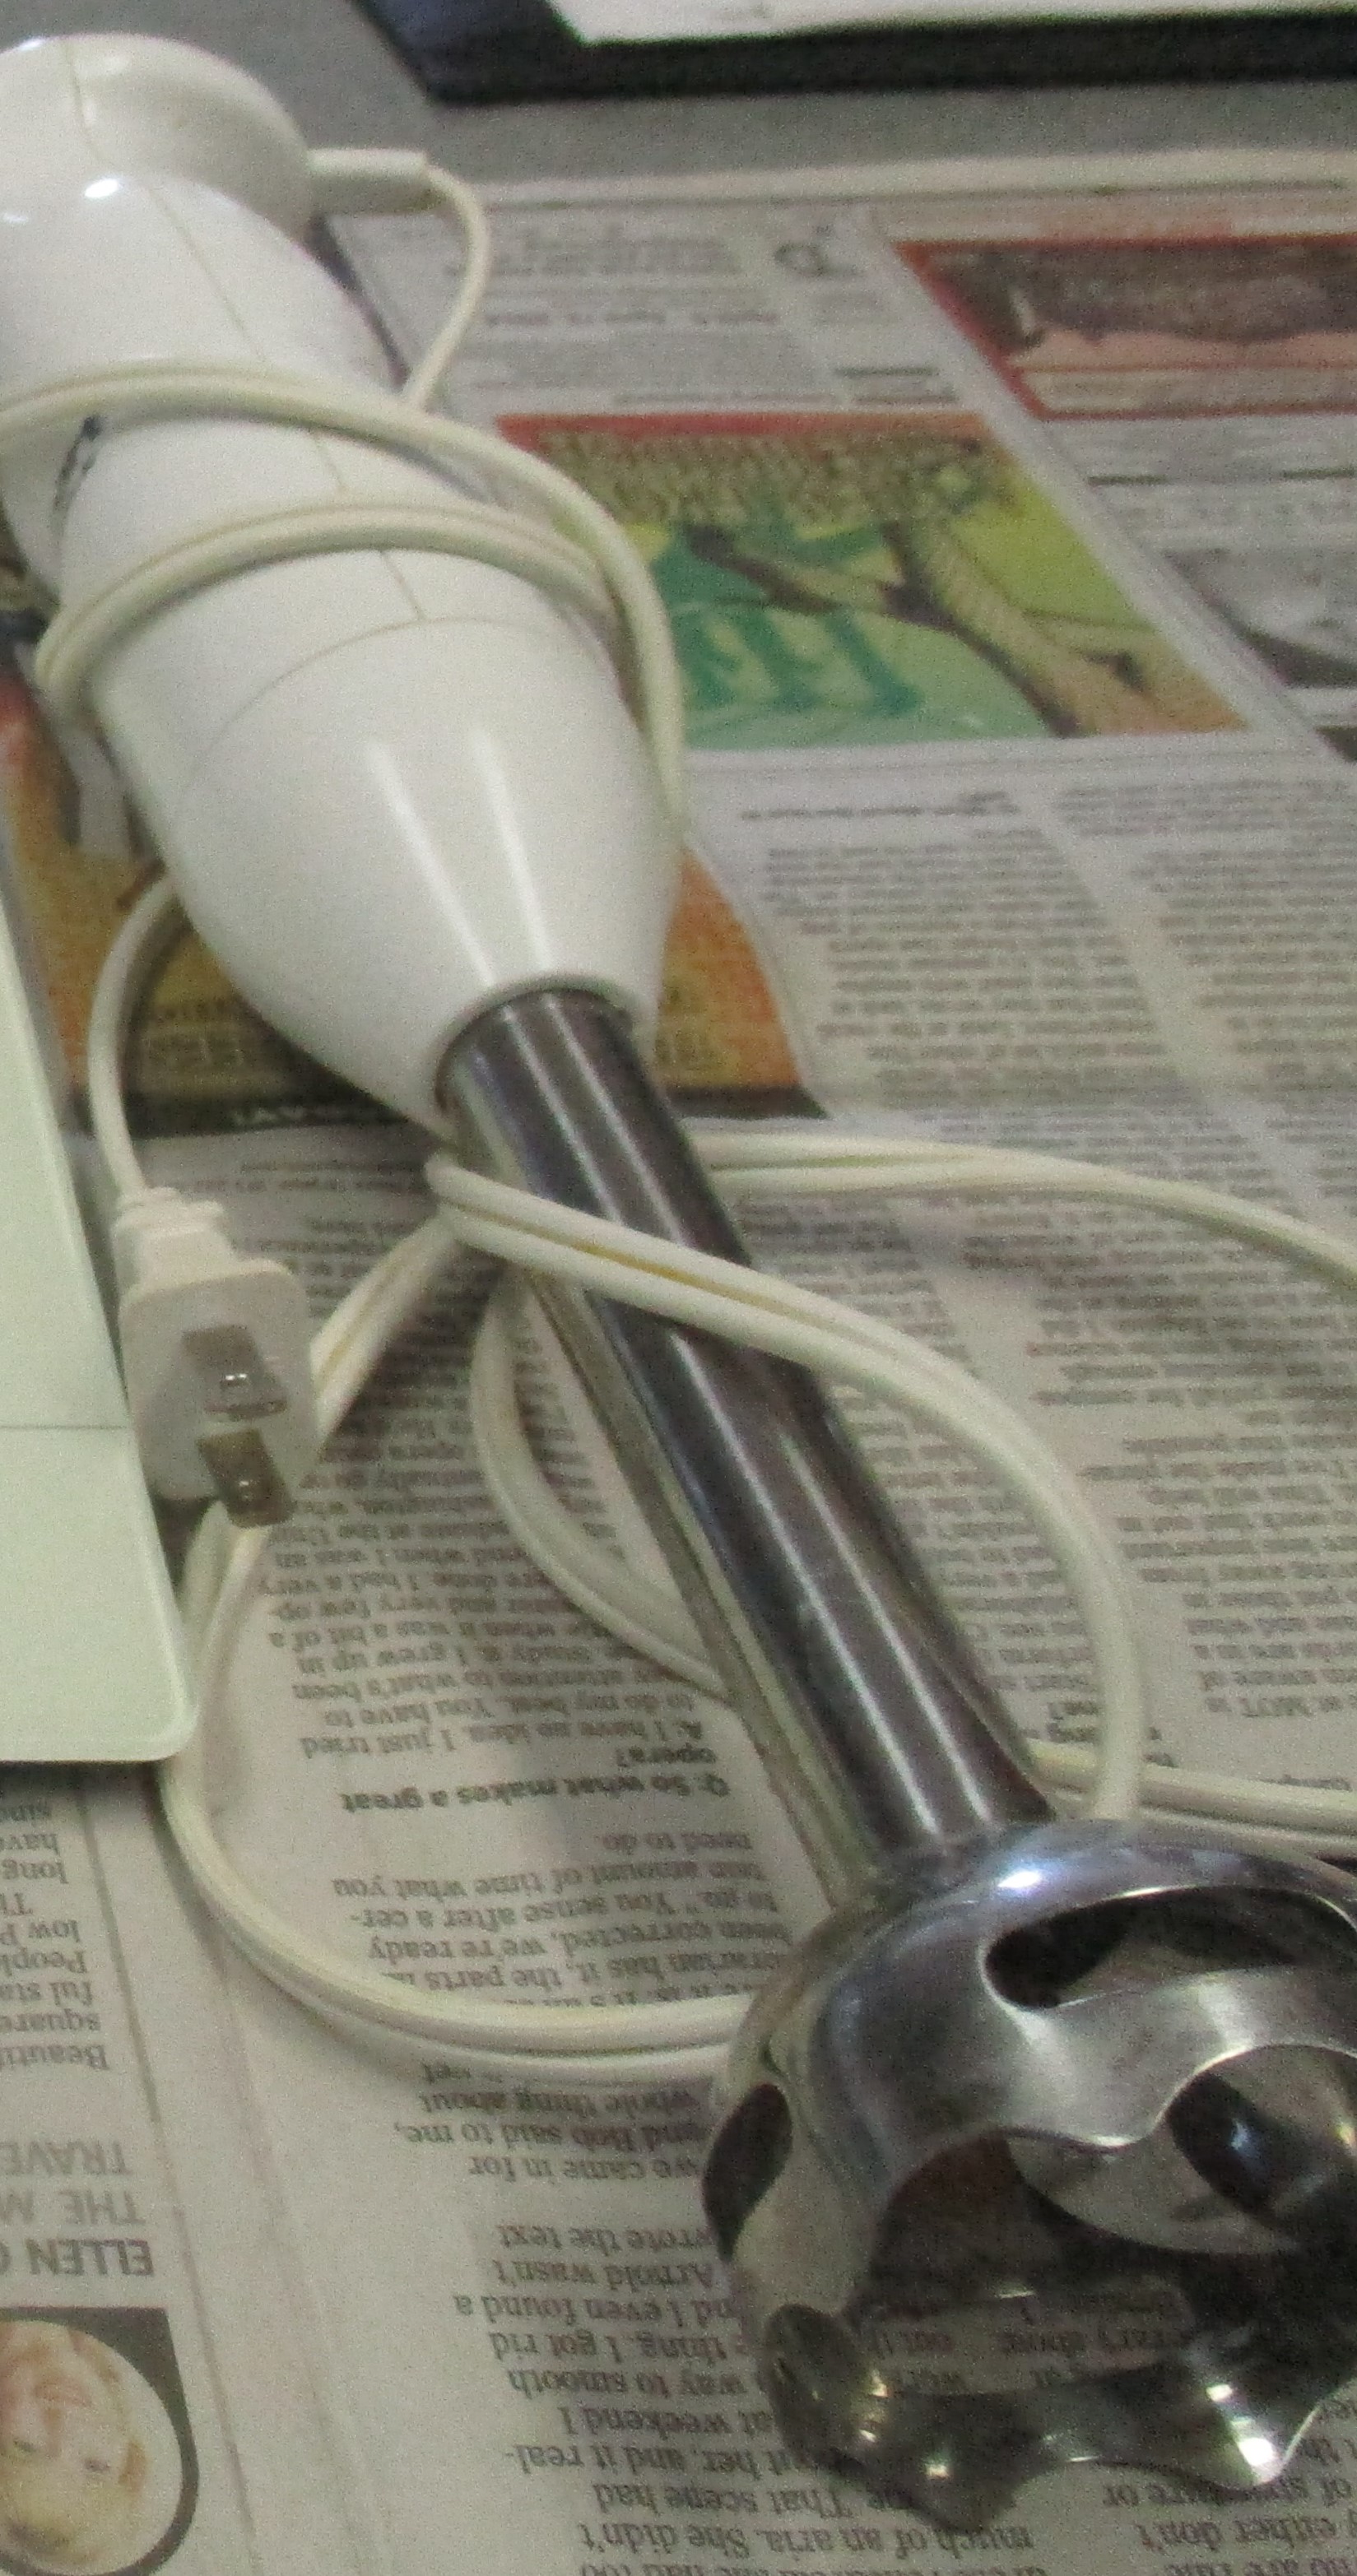
Our next step (Part IV) will be the actual process for making the soap. Now while you make sure you have all the equipment and ingredients you need; I will work on Part IV. We’ll meet back here soon 🙂

Thanks for reading and if you have any questions, please leave them in the comments section below.

Soap Making Part II- Equipment

Hello and Welcome!

Thank you again for your patience.

It’s time to learn about the equipment you will need to make your own soap.

In this post I am going to show you what I use and give you ideas of other things that could be used. Your equipment won’t necessarily look exactly like mine. The good news is you don’t have to go out and spend a lot of money on special equipment as you will likely have many of the things you need on hand.

Since we are working with lye, which is a caustic and corrosive substance, we must pay attention to what materials the lye comes in contact with. Things to avoid are anything made with aluminum, iron, steel and most other metals. Stainless steel or enamel are good choices as are heat resistant glass, heat resistant plastic and even wood.

Protective Equipment/Gear

While working with lye you will want to protect your skin from coming into contact with it. You should have glasses, safety glasses or goggles, rubber, latex or vinyl gloves, an apron or old shirt, long pants and some type of footwear.

It may go without saying but the kitchen is the best place for making soap because you will want to have running water and will need the stove for heating your oils. I also like to use some newspaper to cover my work area.

Assuming you have read this post about how to clean up or neutralize a lye spill you know you should have paper towel or rags on hand as well as a broom and mop for cleaning up potential spills.

Measuring Equipment

Scale – A scale is probably the most important piece of equipment in soapmaking and the one where I cannot think of a good alternative. All of the ingredients will be measured by weight and having accurate measurements is a key to making a good soap.

IMG_3842
Scale

Containers that will sit on the scale for measuring your ingredients into. (Remember to avoid metal except for stainless steel or enamel.)

Weighing Containers

I usually use the tray for measuring solid fats like coconut oil, lard or tallow. I use the cup or similar containers when measuring liquids, liquid oils like olive oil and for measuring the lye. As long as the container is large enough to hold the amount you need to measure you’re good. You will need to remember the set the scale to 0 after placing the container on the scale and before putting your ingredient in the container.

Thermometer(s) – You will need at least one kitchen thermometer, but since you will be tracking the temperatures of the oils and the lye water separately before combining, using two different thermometers is better.

Thermometers

Glass candy thermometers will also work.

Containers for mixing – You will need two separate containers: one for mixing lye and water the other for mixing and melting oils and fats. Later you will be adding the lye water to the oils, so it is best to melt your oils in the biggest container or at least one large enough to hold the entire batch of soap.

I use the glass measuring cup on the left for mixing lye with water and the stainless-steel pan for melting my oils. The containers I use are quite large because I usually make at least a four lb. (1814.36948 gram) batch of soap; sometimes I make 8 lbs. (3628.73896 grams).

Below are some other ideas for mixing containers that may be used for smaller batches.

Mixing Containers

Mixing Utensils – You will need a utensil (spoon) for mixing your lye and water together and a second for mixing your oils together. Heat resistant plastic or stainless steel are good choices and what I use, but wooden spoons could also be used.

Mixing Utensils

Emersion Blender – Also known as a stick blender is optional but makes the process go very quickly. When I made my first batch of soap I didn’t have an emersion blender and decided I would just hand stir the mixture. After more than an hour of stirring the mixture finally came to a trace (the point where it is ready to go into the mold). After that I decided to buy an emersion blender. It now usually takes less than 10 minutes of mixing.

Emersion Blender

Soap Molds – There are many commercially made soap molds on the market. You can buy plastic molds, silicone molds and even wooden molds, but unless you want to make soaps that are a specific size and/or shape it is not necessary to purchase soap molds.

Below are some examples of things that you might have on hand that could be used as soap molds. If you decide to use a cardboard box like the one in the photo it will be necessary to line it with plastic wrap or butcher paper so that the soap does not soak into the cardboard.

Plastic wrap or butcher paper is something you should have on hand anyway for covering the soap after you pour it into the mold. You will also need a towel or two to wrap the soap in after it is in the mold.

Now while you go hunting around for equipment you can use to make your soap, I will put together Part III of this series – “Ingredients and a Soap Recipe”. If you have any questions about equipment please leave them in the comments section below.

Thanks for reading.

Soap Making Part I

Hello and Welcome!

Before we get started, I have to tell you that for me writing a soapmaking tutorial is not the ideal way to teach you all how to make soap. If I had my way, there would be about six of us gathered in my kitchen and we would be making a batch of soap. I would be explaining everything we were doing and why and you would be asking questions and maybe even taking notes.

For many reasons that isn’t going to happen (unless you live in the area and would like to spend a couple hours here with me making a batch of soap in which case leave me a comment and we will see what we can work out).

One thing that remains the same is that I encourage you to ask questions. I may not have all the answers, but I’ll do my best.

I have decided to break this tutorial up into a series of posts. In this first post I will give some definitions; Part II I will talk about equipment you will need for making soap; Part III I will write about ingredients and give you a recipe; and Part IV will be the actual process of making the soap.

Let’s get started.

Soap DefinitionNote: this definition or explanation comes from the US Food and Drug Administration which is the agency in the United States that regulates, among other things, the soap and cosmetics industry.

“Ordinary soap is made by combining fats or oils and an alkali, such as lye. The fats and oils, which may be from animal, vegetable, or mineral sources, are degraded into free fatty acids, which then combine with the alkali to form crude soap. The lye reacts with the oils, turning what starts out as liquid into blocks of soap. When made properly, no lye remains in the finished product. In the past, people commonly made their own soap using animal fats and lye that had been extracted from wood ashes.”

They also tell us “Today there are very few true soaps on the market. Most body cleansers, both liquid and solid, are actually synthetic detergent products. Detergent cleansers are popular because they make suds easily in water and don’t form gummy deposits. Some of these detergent products are actually marketed as “soap” but are not true soap according to the regulatory definition of the word.”  Source

Lye Definition – “1: a strong alkaline solution (as of sodium hydroxide or potassium hydroxide) 2: a solid caustic (such as sodium hydroxide)” Source

Both sodium hydroxide and potassium hydroxide can be used to make soap. I have never made soap using potassium hydroxide; however, it is my understanding that potassium hydroxide makes a softer soap. It is also worth noting that sodium hydroxide and potassium hydroxide are not interchangeable, meaning a recipe would require a different amount of sodium hydroxide than potassium hydroxide.

Since lye is a strong alkaline it does have the potential to cause harm if it comes into contact with our skin and can be hazardous if spilled so, along with safety gear that I will cover in my next post, I would like you to read this article about how to neutralize lye spills.

Soap Making Methods – There are two methods of making soap from scratch. They are cold process and hot process. I have never used the hot process method and will only be writing about the cold process method. The two methods however are interchangeable, meaning that a recipe that can be made using the cold process method can also be made using the hot process method.

If you ever hear or read about someone making soap without lye, then they are not making soap from scratch. They are talking about what is called melt and pour where a premade soap base is melted down and then colors and fragrances may be added, and it can be molded into fun shapes.

Hopefully this first post has answered some questions that might otherwise come up later. Again, feel free to ask questions about anything that is not clear. Thanks for reading.

Soap Update

Hello and Welcome!

Back in November I wrote about the new soap recipe that I made, and I mentioned in that post that I would let you know how it turned out. I used an oil combination of 40% coconut oil, 40% tallow and 20% olive oil. I also added aloe to it. The types and amounts of oils used in a soap will determine things like how hard the soap is, how cleansing, or conditioning it is and if the lather is creamy or bubbly.

My husband and I have been using this soap for several weeks now so I will share his thoughts as well as mine.

First my husband’s comments, “I love it!” (Short and to the point.)

Now my critique: I find it to be a nice balanced soap. It is a hard bar of soap but not so much that I couldn’t cut it. (In the past I have made some soaps that crack when I attempt to cut them.) It can be worked into a nice creamy lather and it it does not dry out my skin. (Normally this time of year the skin on my calves gets really dry but that hasn’t happened yet.) My favorite part about this soap is the addition of aloe. Aloe gives kind of a silkiness to the lather that makes it a great soap for shaving.

When I posted about making this recipe one of my readers asked me for a soapmaking tutorial. I have decided to break the tutorial up into 3 posts that will be done over the next two or three weeks. If you are interested in learning to make you own soap, you can follow my blog by email or for those with a WordPress account you can follow along in your WordPress reader.

Thank for visiting.

Catching Up

Hello and welcome!

Once again I’ve fallen behind in blogging. In this post I am sharing some of my activities from the week of November 1st – 7th. I plan to get another post, highlighting November 8th – 14th, up early next week. If all goes as planned I will be caught up. 🙂

Monday Nov 1 – I rendered beef suet into tallow. Suet is raw hard fat found around the loins and kidneys of the cow. For the last few years we have been buying our beef from a local farmer. we purchase a quarter of a cow at a time. Once the cow goes to the butcher or processor I have to call them and give them instructions for cutting and wrapping the meat. At this time I ask to have the suet included in our order. Most people who buy their meat this way to not want the suet so I always have to ask.

Rendering is the process of cleaning the suet. To do this I cut the suet into small pieces. It’s easiest to cut when cold or partially frozen. I then put it in my crock pot on high until it is completely melted.

Tuesday, Nov 2 – The suet was still in the melting process Monday when I was ready to go to bed so I just unplugged the crock pot and would finish it on Tuesday. After reheating it I strained the hot fat through 2 or 3 layers of paper towel. When the hot fat (tallow) cools it solidifies and becomes white. (picture above)

Tallow can be used for cooking. (The original McDonald’s french fries were cooked in tallow), candle making and is commonly used for soap making. If you read the ingredients on your store bought bar of soap you won’t see tallow as an ingredient but it is there. It is listed as sodium tallowate which is the result of combining sodium hydroxide (lye) with tallow.

Any solid that are left after rendering the suet are called cracklings. While some people eat these I never have. I decided to feed them to the chickens but my husband said next time don’t bother. When I asked if the chickens did not like them he told me that the chickens would have loved them but instead they were forced to stand by, dining only on bread crusts, as Ranger gobbled up the cracklings.

weighing the tallow

Wednesday, Nov 3 – I made soap. I wanted to use some of the tallow that I just rendered. The recipe I made was an oil combination of 40% coconut oil, 40% tallow and 20% olive oil. This is the first time I used this particular combination so I’ll try to remember to report how it turns out. It will be about 6 weeks before it is ready. I also added aloe to this batch.

Thursday Nov 4 – I did my dad’s grocery shopping. He orders his groceries online then I picked them up from the store. I then went to the dollar store and picked up a few things that he prefers to get from there. I delivered the groceries to dad and helped him with a few chores.

Friday Nov 5 – I took the boys out for their morning walk at the farm.

It was a beautiful fall morning. When we went out, around 10:00 A.M., the sun had melted the heavy frost that had blanket the area in the early morning hours. Our feet/shoes got wet as we tromped though the grass.

The breeze, if any, was gentle.

I observed moments when a single, random, tree would suddenly drop a shower of leaves.

It was and interesting phenomenon as the trees seemed to be taking turns.

Many leaves were still holding on. Fall is not over yet. 🙂

Saturday November 6 – My sister visited.

I still have one sister who lives near-by and we have been trying to block off some time, at least once a month, to spend together.

Last month when I visited her house I returned two bags of books that she had given me earlier this year. They had been passed onto her by our other sister and most she had not read yet. As I packed the books to return to her I stuck slips of paper into some, labeling them “must read” or “good read” so she will know where to start when she digs into this stack of books.

We also looked at different sewing patterns and she showed me some fabrics that she had purchased but wasn’t sure what she would make with them. “Take what you want” she said. There was one flowered print that caught my eye. We agreed that it was beautiful and needed to be made into something but neither of us could decide what. Even though I didn’t have a plan for it I decided to take that piece of fabric.

That fabric nagged at me for a couple of weeks. Because it was a large print I kept thinking that it needed to be turned into a large item of clothing. I searched for patterns for full length skirts and found a few simple ones but I don’t wear skirts very often and I don’t really know anyone who does.

Seemingly out of the blue I remembered the bathrobe pattern that I had. This fabric would make a lovely bathrobe. I bought a contrasting fabric for the trim and decided to make a bathrobe for my sister.

As I was making the robe I would try it on for size and in doing so discovered that as beautiful as this print is it looks horrible on me. Thankfully when my sister put it on it looked gorgeous – elegant, like I had imagined. ” I don’t know if I love it so much that I won’t want to wear it” she said, “or if I love it so much that I will wear it all the time”.

“Wear it all the time!” I told her. That would be the ultimate compliment.

In addition to giving her the robe, I showed her the projects I have planned to make as Christmas gifts. And we solved a few of the world’s problems over lunch. LOL!

Sunday Nov 7 – It was a perfect fall day for being outdoors and I started out by raking leaves.

The maple tree just off our deck had shed most of it’s leaves.

It took about an hour and eight trips with the wheelbarrow to remove the leaves from the front yard.

The maple that stands in front of our house was still holding many of her leaves.

As were many of the trees in the woods behind our home. The work is not finished yet.

After lunch I headed to the farm with my husband and the boys (dogs) to plant garlic. Normally we plant garlic around the middle of October. This year the ground has been too wet and muddy to plant, so we have been waiting for things to dry out a bit. We had decided earlier this year that growing garlic to sell is not in our future, so we were only going to grow enough for us and to be able to share some with family. We were able to get about 250 cloves planted, mulched and fenced (so the chickens couldn’t go digging them up). This is the smallest amount we have planted since we began growing garlic in 2013 and it was a breeze compared to years past. Now we can only pray that the weather stays warm enough for the garlic to get a start before the ground freezes. It will be spring before we know if this crop will survive.

When my husband told me that our son-in-law would be stopping by the farm to winterize his bee hive I decided to take along the gifts I made for Jackson and Addy. I had a hoped that the kids would be with him, but even if they weren’t he could take the gifts home for them – just in time for Addy’s (4th) birthday on Monday.

I hadn’t taken pictures of the super hero capes I made for the kids so my husband hung them from a plant hook and held them so I could get some photos.

Addy loves unicorns so one side of her cape was made from this unicorn fabric.

The capes are reversible so the other side of Addy’s was made with this brilliant yellow, orange and white tie-dye fabric.

I wasn’t sure what Jackson’s favorite thing is currently so I selected this superhero(ish) fabric for one side of his cape.

and this outer space type fabric for the other.

I wasn’t able to give the kids their gifts in person but I received a message from my son-in-law that the kids love the capes and that Addy was pretty insistent on wearing hers to bed. 🙂

If I made you a super hero cape what would you want on it?