While building a new home is still on our radar, it has become necessary to shift gears and make some improvements to our current home. In January we discovered that the floor under our hot water tank had rotted out and the tank was no longer standing on solid floor. We were able to put some temporary supports under it until we got through the cold spell because we weren’t going to rip out the floor during sub-zero temperatures if we could help it.
Once we got through the cold spell my husband called a contractor who did home repairs. In addition to replacing the floor under the water tank and putting in a new tank we needed to take a look at the rest of the mudroom floor to see if there were other areas of rot that needed to be replaced and also our bathroom floor.
We hired the contractor to replace the floor under the water heater and replace the tank because he was knowledgeable and experienced and could get the job done quickly (in one day) whereas doing it ourselves would have taken much longer and likely been stressful and frustrating.
After looking at the work that needed to be done to the rest of the mudroom floor and the bathroom floor, we decided to save the labor costs and do the work ourselves.
In the mudroom my husband started by cutting out two small places of the subfloor that were rotted and replacing them. Since the areas were small, he was able to use scrap pieces that he got from a neighbor who had recently replaced the floor in his barn. After that we took a trip to the home improvement store to pick out the plank vinyl flooring that we would put down and quarter round molding for trim. The flooring we selected is called Lifeproof vinyl planks and the color is called Chiffon Lace Oak. I think the color of the molding we selected is called Glaze.
Over the next several days my husband worked, measuring, cutting and fitting the pieces together, to lay the vinyl flooring. During this time I was available and helped if he needed it. It was when he began measuring and cutting the molding that I became most helpful. The biggest challenge was cutting the 45-degree angles that were needed to fit the corners. Figuring out which direction the angle of each piece needed to be cut was confusing at best but I was able to help him figure it out.
We were both happy with the results of the mudroom floor and a few days later my husband made another trip to the home improvement store to buy the same vinyl plank flooring and molding for the bathroom floor. Laying the flooring in the bathroom seemed to go quicker, likely because he had a better idea of what he was doing. The biggest challenge in the bathroom was cutting pieces to fit around the garden tub. He also removed the toilet so he could lay the flooring under it, and while it was out, he replaced the wax seal.
Once again when it was time to cut the molding I was called on for assistance. Perhaps my experience in sewing and piecing fabrics together helped me see how the moldings needed to fit together.
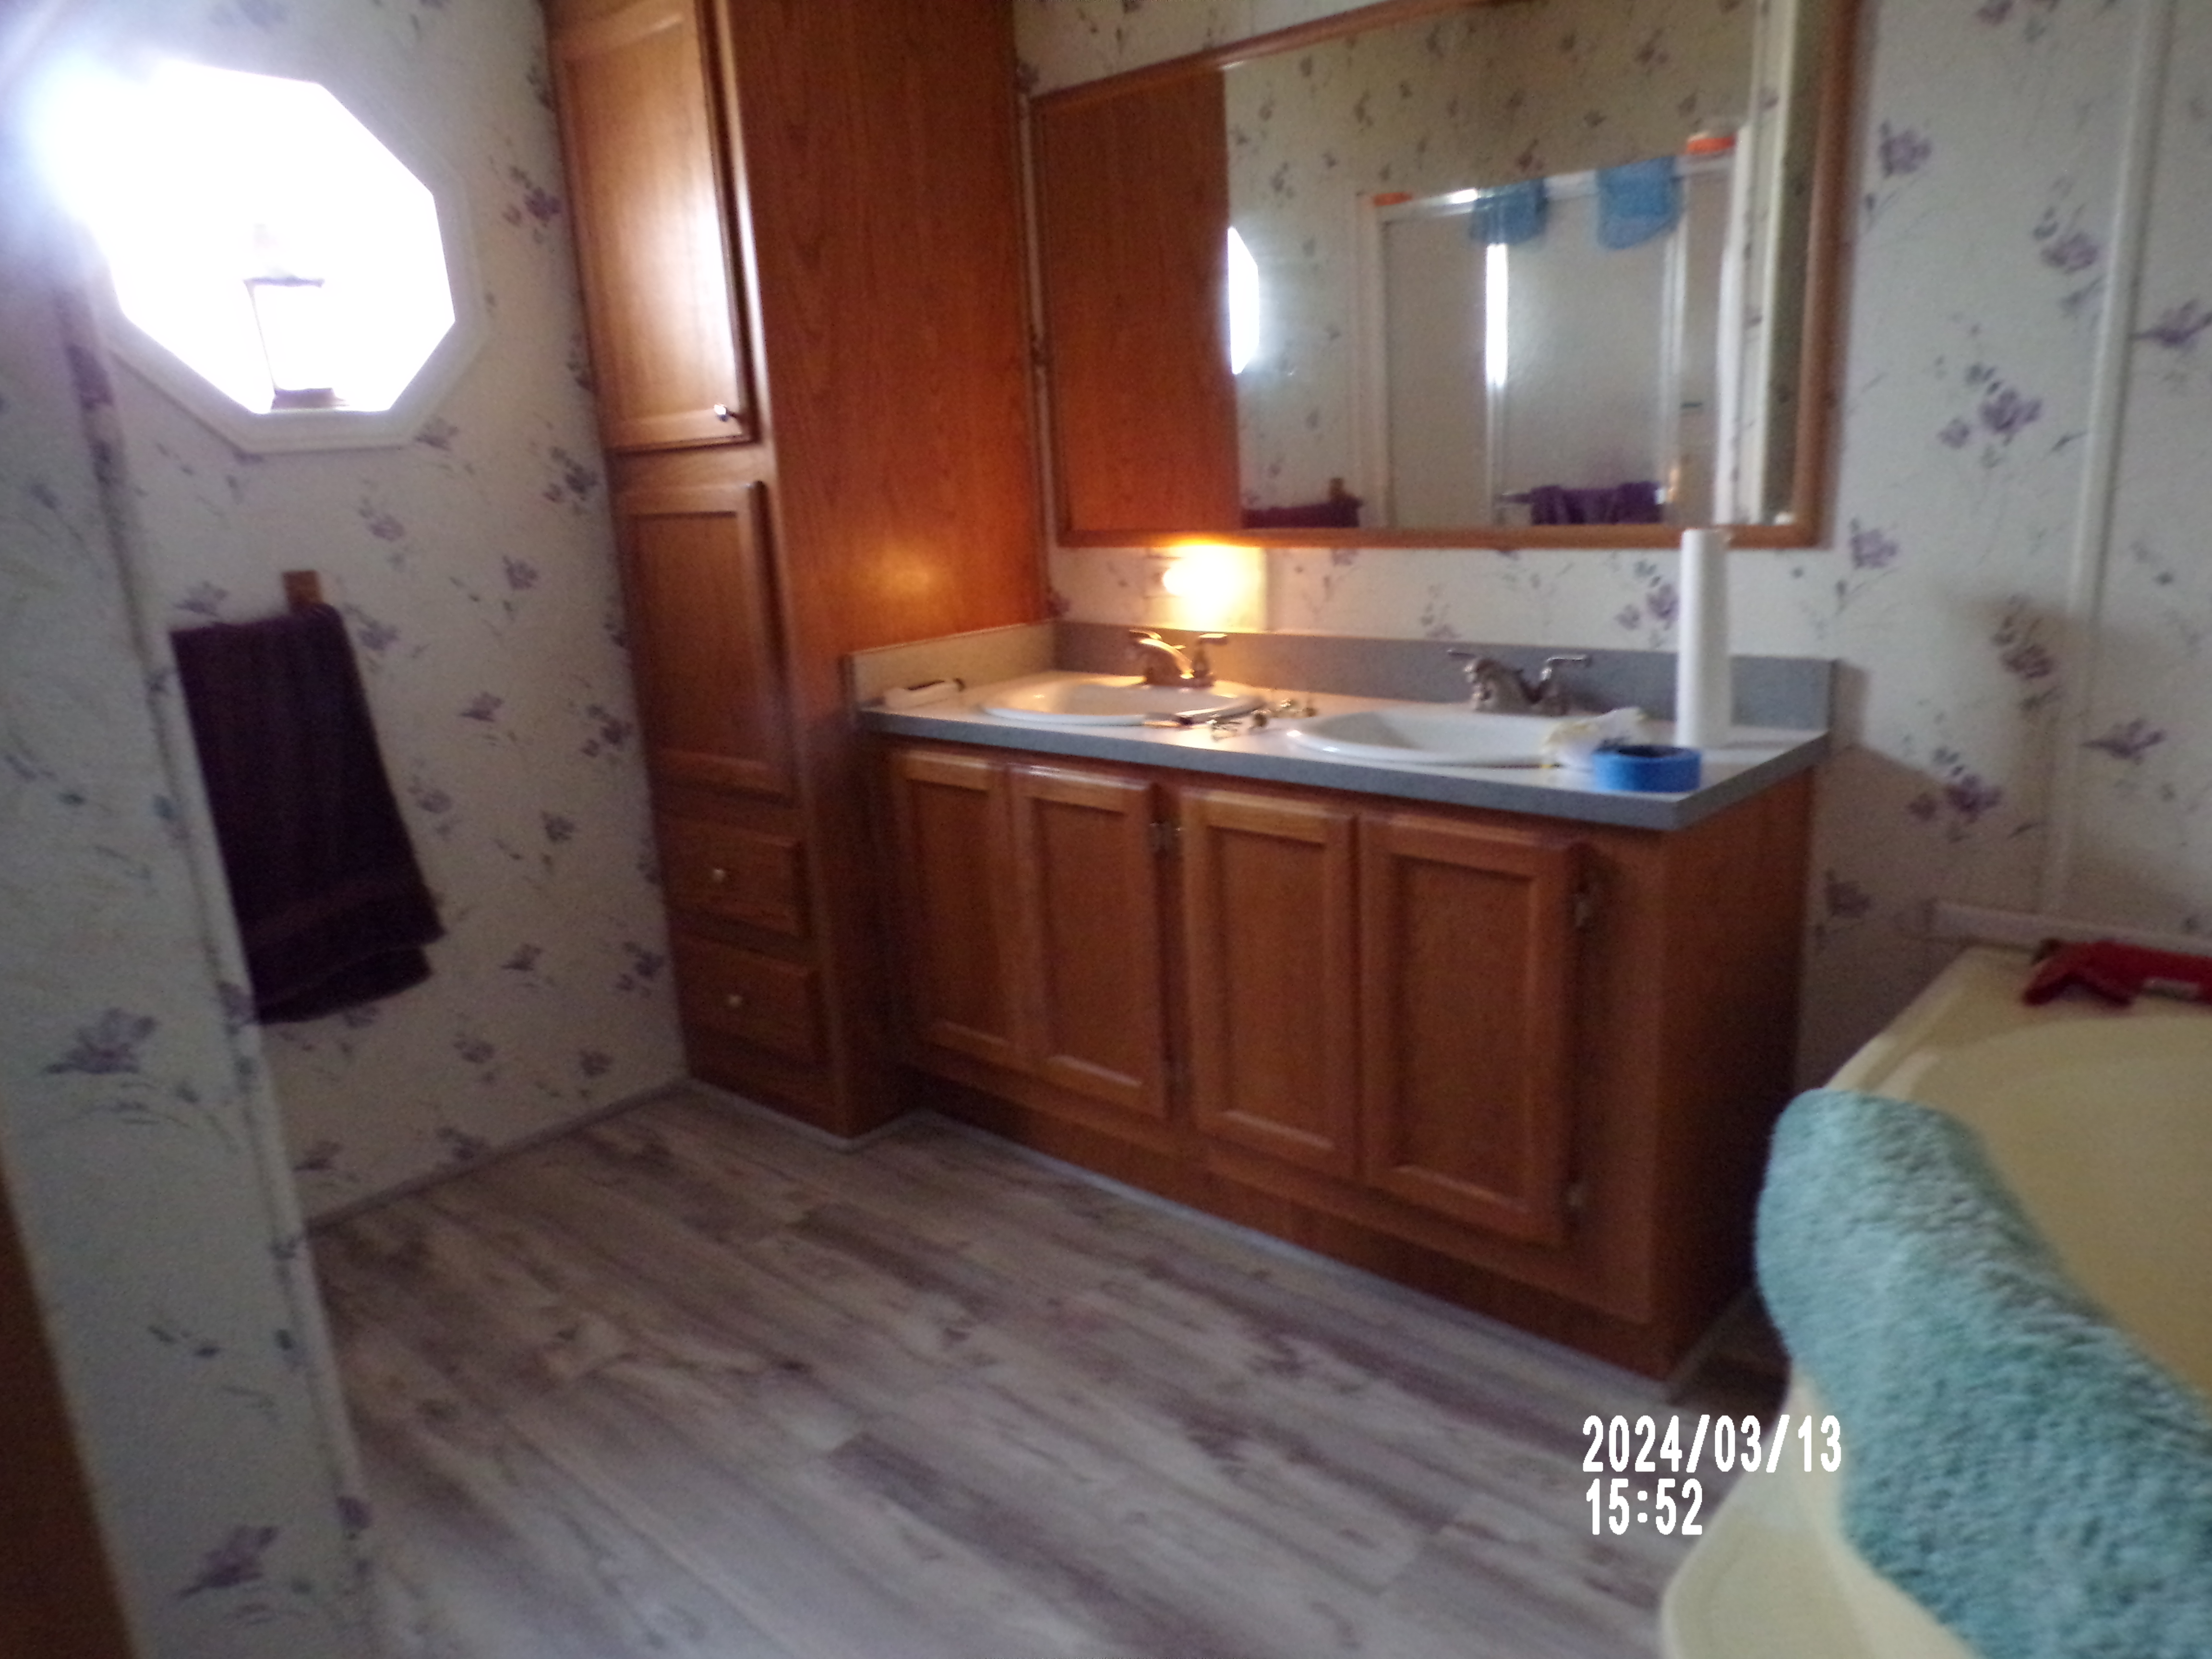
The above picture was taken after the flooring and molding were completed. I did like the look of the flooring, but I didn’t like the look of brown cabinets sitting on the gray floor. It just looked off.
I asked my husband if I could paint the cabinets, something I had never considered before. His first reaction was “no” and I agreed that they didn’t need to be painted but when I explained that they just didn’t complement the floor he agreed. I first did some research to find out how to paint them because I have never painted cabinets or any type of furniture before.
We then made another trip to the home improvement store. I selected the cabinet, door and trim enamel (the color is called shark fin), sandpaper, a small foam roller, that was recommended by the salesperson, and a good brush that she also recommended.
I started with sanding the cabinets, then applying a primer that we already had on hand. When my husband suggested taking the doors off the cabinets and offered to do it, I was thrilled. That would make things so much easier.
The following day I applied the first coat of paint to the cabinets and first and second coat to two of the doors. While I really liked the color of the paint on the doors, I wasn’t sure how I liked it on the cabinets in the bathroom. I was having doubts about the outcome.
On day three I applied a second coat of paint to the cabinets in the bathroom and two coats of paint to three more of the doors. Later that day when my husband noticed some brush marks on the side of the cabinet he asked if I was going to do a third coat. I decided to let it dry overnight and see how it looked. The following morning I decided to add one more coat to the side of the cabinet being careful how my brush strokes began and ended. I probably could have used the roller, but they tend to splatter paint and I didn’t want paint splatters on the wall and mirror.
As the doors dried my husband reassembled the cabinets. Once I finished up the last door and two drawers and we had it all back together again we were both very pleased with the results (pictured below).

We are now planning to lay vinyl plank flooring in the kitchen and dining room after Easter. This time we will go with a brown that will match the cabinets.
I am happy that we are doing this because we have talked about doing some of the work in the new house ourselves. Painting, laying flooring and finishing cabinets are all things we have discussed. Having this experience will help us decide if that is something we are willing and able to do.
Thanks for visiting.
Are you a do-it-yourselfer when it comes to home repairs and renovations or do you prefer to hire someone to do it?