All posts by ruthsoaper

Garlic (Kitchen) Tools – Pros and Cons

As you can imagine, as garlic growers we use a lot of fresh garlic at our house. Now I’ll be the first to admit that peeling and cutting, chopping or mincing fresh garlic is not the easiest way to go, but in my opinion fresh garlic is far superior to using garlic powder or even the store bought jars of minced garlic. Therefore I’m always open to easier ways of preparing fresh garlic.

I have a few tools or gadgets that are designed for use on garlic and I thought I’d share what I see as the pros and cons of each.

The first tool that I used is a simple paring knife.

IMG_0555
Paring Knife

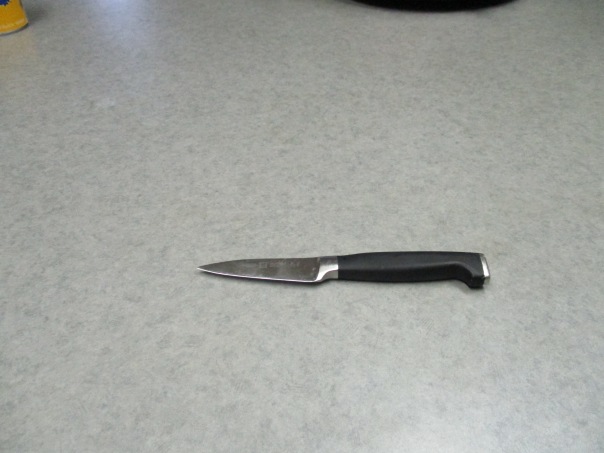
I often use a paring knife if I am only peeling and slicing one or two cloves of garlic. I simply cut off the root end of the clove and slip the knife under the skin and once the skin is loosened it generally peels right off. However using a paring knife to do a lot of cloves becomes a long and tedious process  so I look for simpler options.

Another garlic tool that I’ve owned for many years is a garlic press.

IMG_0547

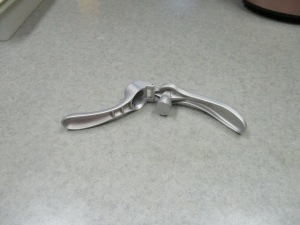
Since this is the only garlic press that I have ever owned I can’t speak for them all. I do think a garlic press is a great tool if you need minced garlic. I bought this garlic press many years ago at a Pampered Chef party. Pampered Chef promotes this tool by saying that you don’t even have to peel the garlic and that is true. You can put an unpeeled clove of garlic inside and squeeze the handles and the peel remains in the press while minced garlic and juice squeezes out. I do find that some of the actual garlic is left inside along with the peel and therefore gets wasted. So peeling the garlic before putting it in the press is usually my preferred method. After squeezing the garlic through the press I use a knife to scrape the minced garlic off the outside of the press and into a bowl, I also use the knife to clean out any garlic that may have been left inside the press. One thing that has always been an issue for me has been the cleaning of this tool. Making sure the garlic is cleaned out of each individual hole takes a little extra attention, and sometimes a toothpick, but looking at the Pampered Chef website I see that this tool is now sold with a cleaning tool that is designed to press into the holes and clean any garlic out of them.

My favorite garlic tools thus far is this simple garlic peeler.

IMG_0552

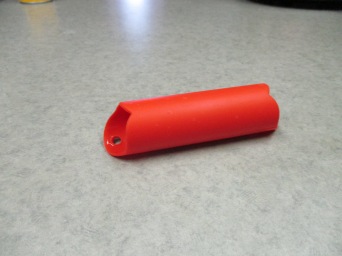
It is a simple silicone tube. This particular one is made by a company called zak! designs, but I see there are other ones out there including one sold by pampered chef. To peel garlic with this, simply put a clove or two inside the tube and roll it on the counter. It doesn’t take much of a roll. I usually just only roll until I hear a crack and at this point the peel will slip right off the clove usually leaving the clove whole. Pressing too hard might result in a smashed clove but the peel still comes right off. Some of the peel sticks inside the tube, and if you are peeling a lot of garlic you may need to rinse it out once in a while, but cleaning it out is simple enough, just run some water through the tube until everything is rinsed out.

Another garlic gadget that I own is called a Garlic Twist.

Garlic twist
Garlic twist
Garlic Twist
Garlic Twist

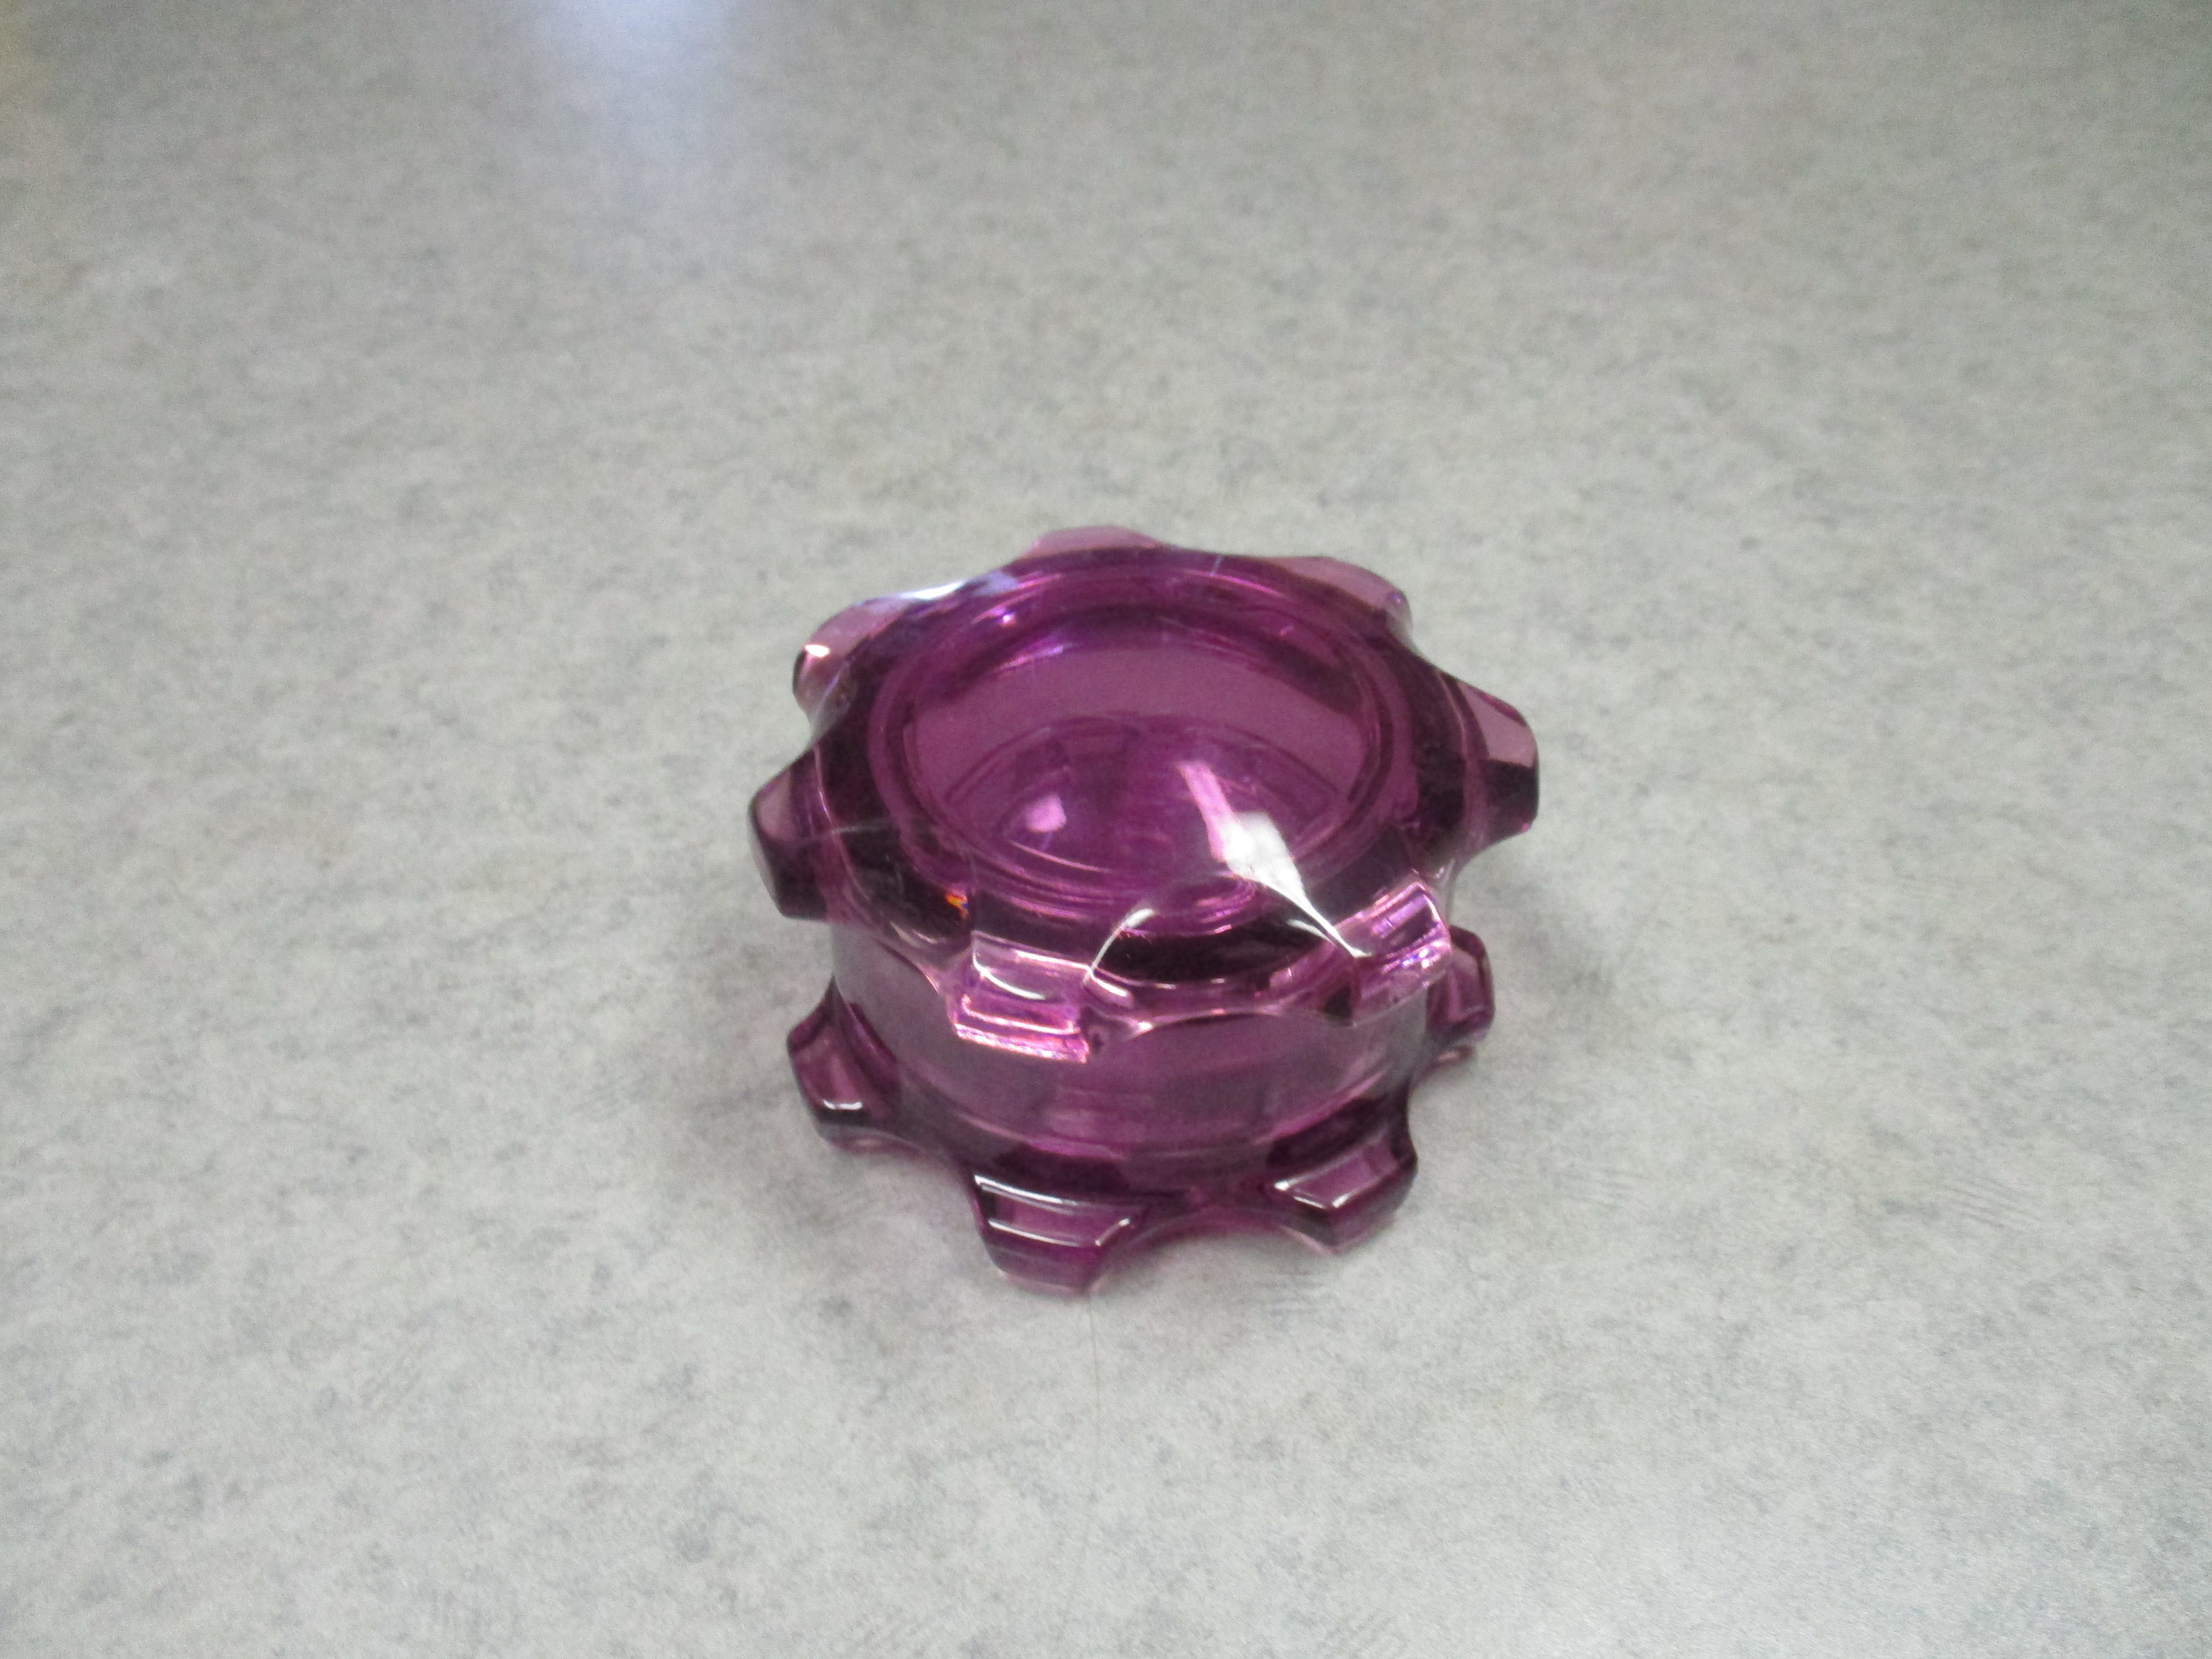
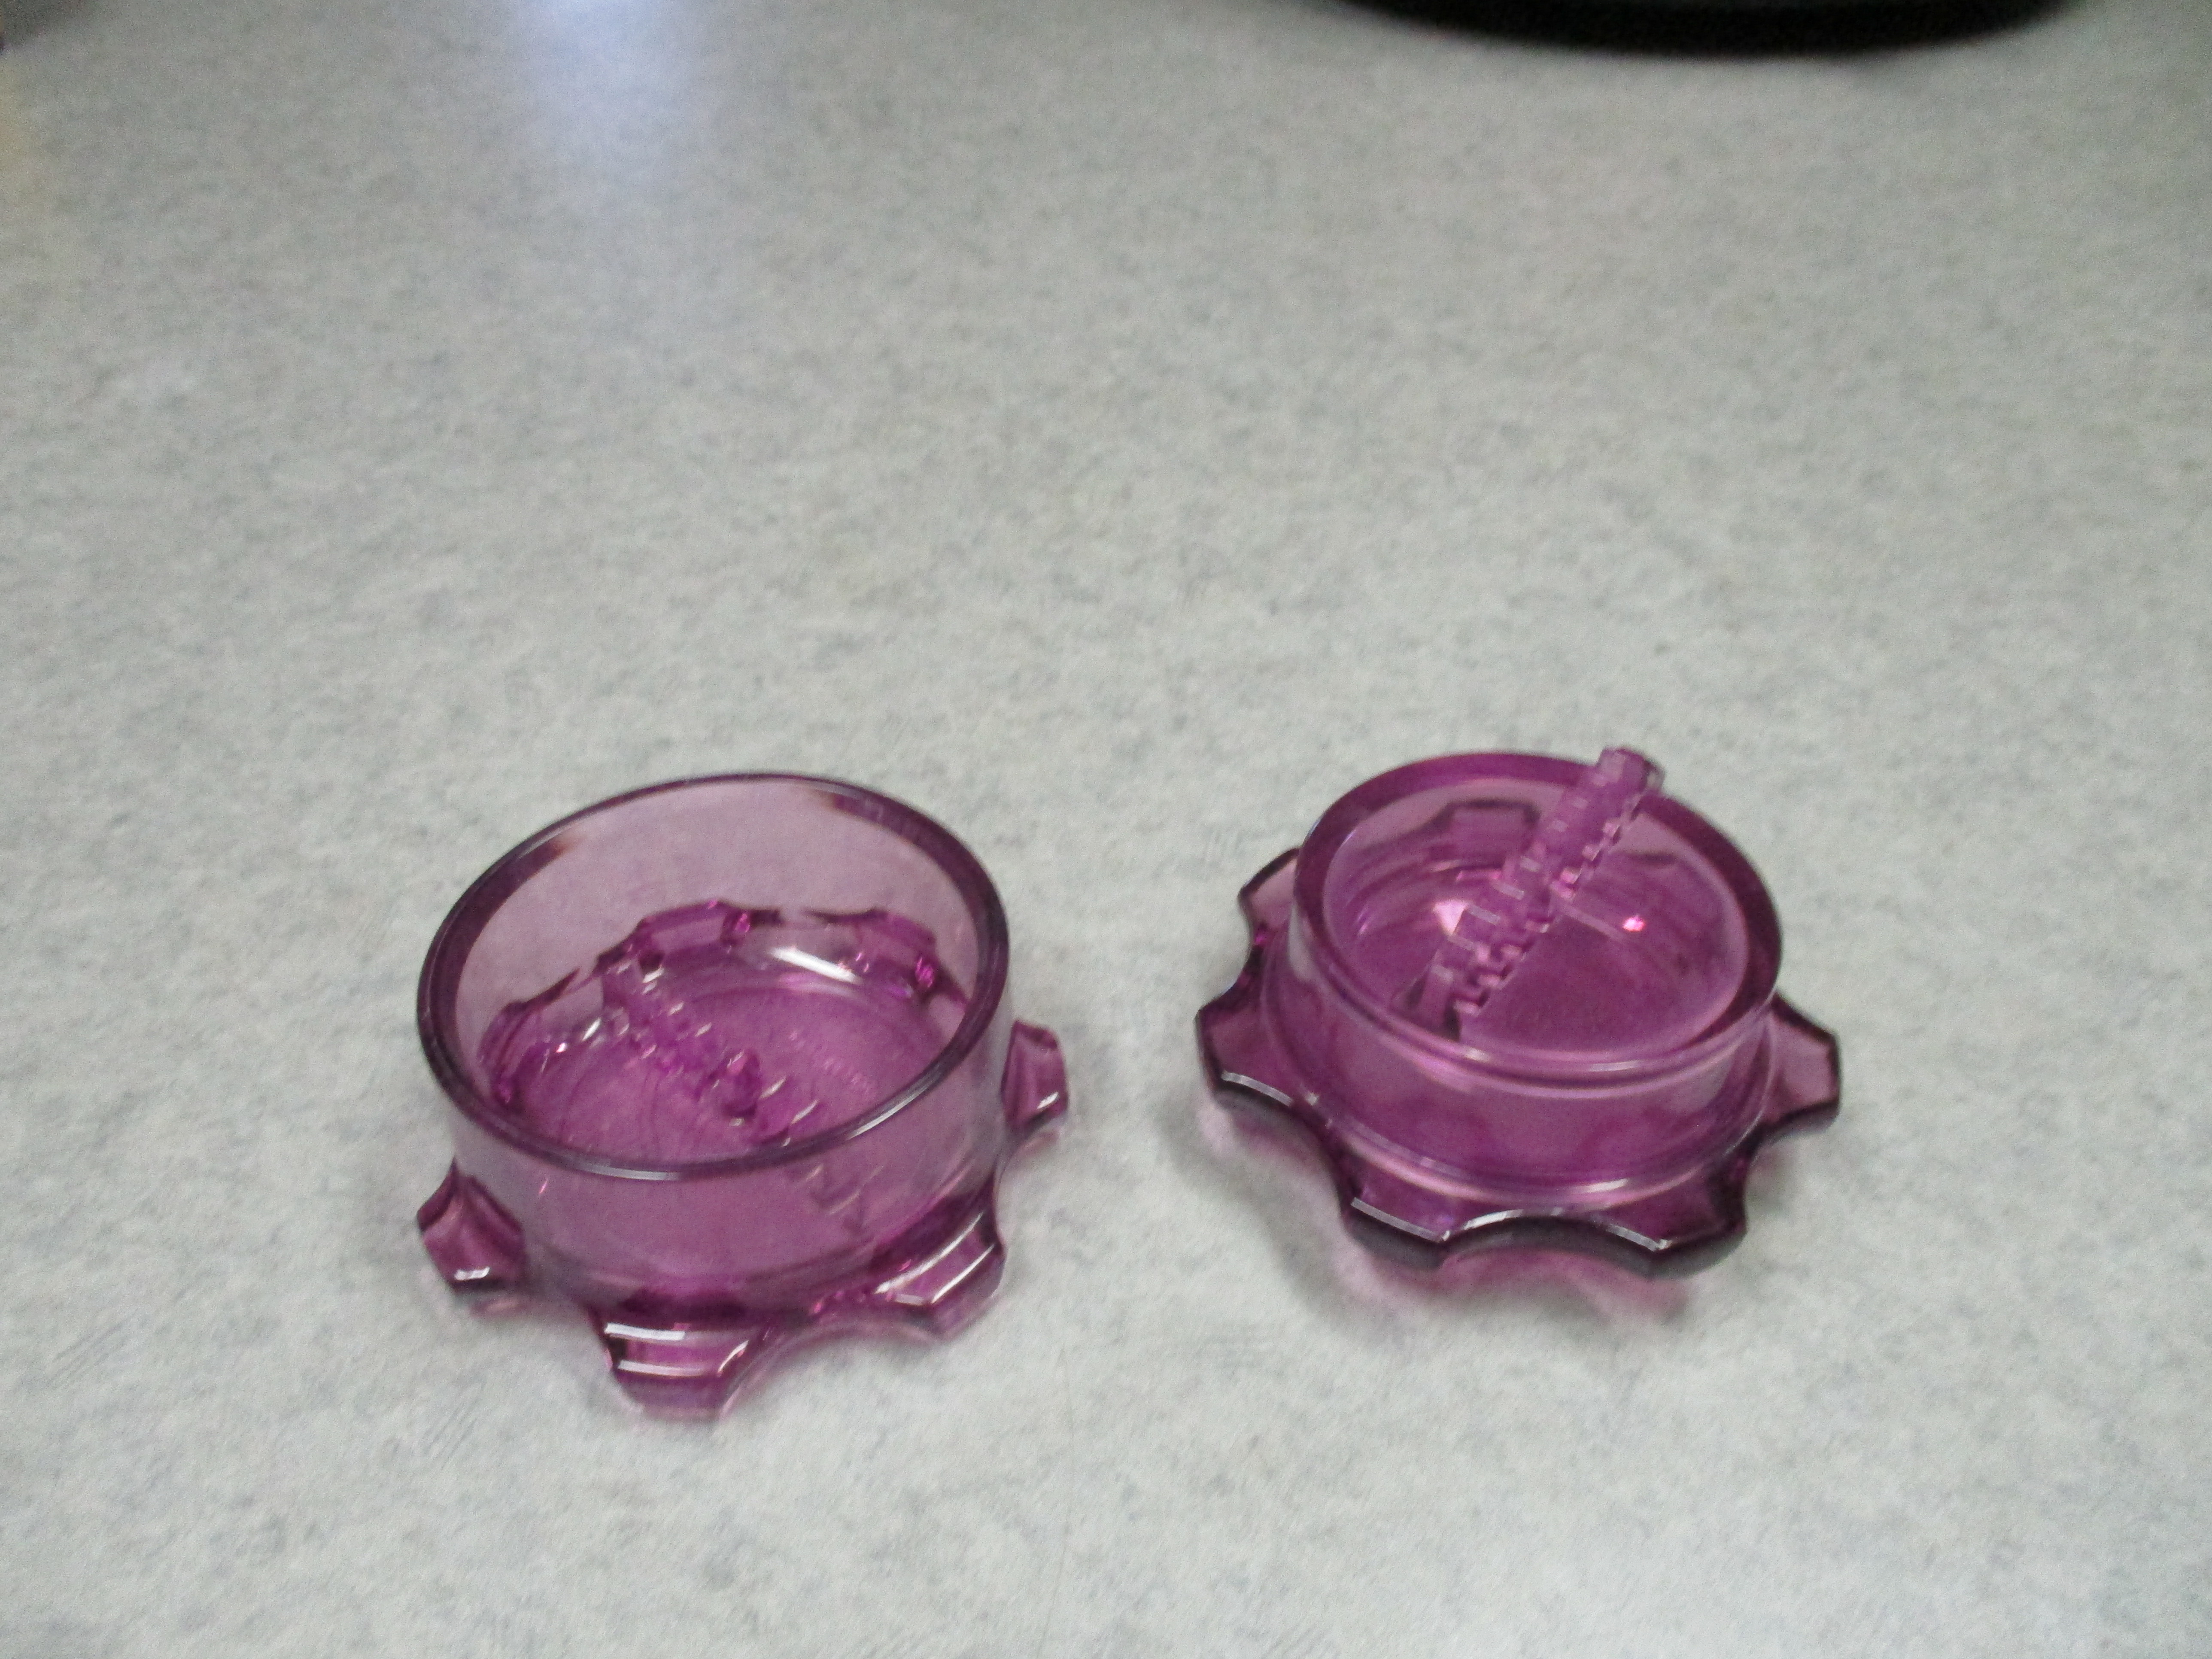
When I bought the garlic twist, online, I thought it was a tool that would both peel and chop garlic. It wasn’t until after I received the item that I realized that in order to peel the garlic with it you have to smash the garlic with the flat side of this tool. Well I could use any number of items to do this. Using the garlic twist to chop or even mince garlic is easy, just put  a clove or two, maybe even three depending on their size inside, put the lid on, and twist it. The more you twist the smaller it cuts the garlic. To remove the garlic you will need a spoon or small rubber spatula. I haven’t really put it through the paces, but it seems very durable. The company claims it can be used with ginger, peppers, herbs and nuts, but I have not tried any of these yet. It is made in the USA and sold by a company called NexTrend. The website says it has a lifetime warranty for durability.

One last garlic gadget I have is called Chef’n Garliczoom.IMG_0550

IMG_0551

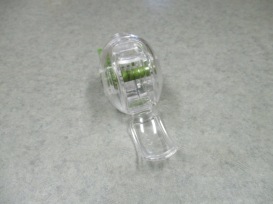
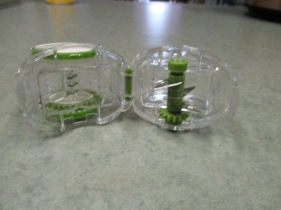
This tool is strictly for chopping garlic. To use this tool open the top door, put in a peeled clove of garlic, snap the plastic lid shut, and roll the wheels on the counter. The gear turns the sharp blades inside to chop the garlic. To get the garlic out open the bottom door and find a utensil small enough to dig the garlic out. Be careful when removing the blade for cleaning, it’s sharp. The tool will only chop one average size clove at a time and some larger size cloves may need to be cut before putting them inside.

I understand that everyone has their own preferred methods of doing things, but if you asked me which garlic tools I would recommend, I would tell you about the zak! garlic peeler http://www.zak.com/garlic_peeler_red_silicone_garlic_peeler_0078-0261 ,the Pampered Chef garlic press  https://www.pamperedchef.com/shop/Cook%27s+Tools/Herb+%26+Garlic/Garlic+Press/2576     ,and of course always have a good paring knife on hand.

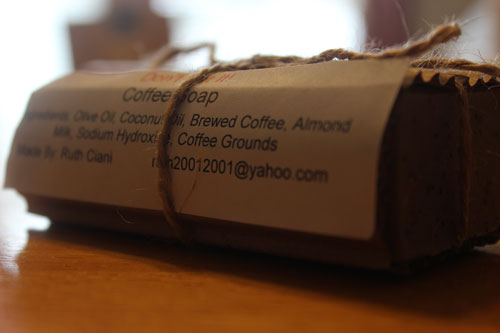
One last tip that I have recently read about is that professional cook often keep a bar of coffee soap in the kitchen to remove odors, including garlic and onion, from their hands before preparing the next dish. Since I now have a new batch of coffee soap ready I intend to try this.

IMG_4170
Coffee Soap


Homemade Gifts

I enjoy making homemade Christmas gifts, so this year I decided to make fingerless gloves and matching ear warmers for my 4 daughters and two sons-in-law.

For the girls I used this pattern http://www.beatriceryandesigns.com/2015/02/09/amazing-grace-fingerless-gloves-free-crochet-pattern/   which was a free online pattern. The first pair were a bit challenging, counting and referring back to the pattern for each stitch, but by the time I got to the fourth pair I pretty much had the pattern memorized. I didn’t use a written pattern for the ear warmers. I simply used the same stitches required for the gloves and crocheted them in the shape of the ear warmer. The challenge to this was getting the appropriate size. I experimented on the first one and repeated that for the other three.

I wasn’t going to make fingerless gloves for my sons-in-law because I thought they might be a bit girly, but then I realized that nowadays practically everyone is carrying a phone all the time that requires the use of their fingers for either texting or swiping the screen so the guys might appreciate this kind of glove as well.

For the guys gloves and ear warmers I used a more masculine and simple pattern, and I regret that I did not get pictures of them, but below are three of the girls modeling their Christmas gifts from mom.

IMG_0541
Tina
IMG_0537
Kara
IMG_0538
Lindell

My Christmas Gift To You – Potato Stuff

When ever our family gets together we all bring a dish to pass, so all of the cooking doesn’t fall on whoever is hosting the party. Many years ago, I don’t remember how many but it’s probably going on twenty, for our Christmas brunch celebration I began making a potato dish. It became a hit, and I think I have made it every year since. I’m going to share the recipe with you.

Ruth’s Potato Stuff has become it’s name, because after years of referring to it as Ruth’s potato stuff, my sister told me that I had to give it a name. I said, “you already did. It’s Ruth’s Potato Stuff because that is how everyone knows it.” (I know, I’m revealing my quirkiness)

Usually I make it on Christmas Eve so that we can have it when we all get together on Christmas morning, but this year we will be having our family Christmas brunch tomorrow, so I will make the potato stuff today, Christmas Day.

I start fairly early. It takes along time to make, since everything gets cooked separately before being put together. Remember this is a party recipe, so the proportions are large because it is meant to feed many.

I start by boiling about 8-10 lbs. of potatoes and hard boiling about a dozen eggs. I then let them cool. Later in the day I cut 2 lbs. of bacon. Into about 1 inch pieces and fry them up. While the bacon is cooking I peel the potatoes and slice them (around 1/2 inch thick), peel the eggs and cut them in small(crumble-like) pieces, and shred about 16 oz. of sharp cheddar cheese. When the bacon is crispy I drain it on paper towel. I pull my large electric frying pan out of the back of the cupboard, where it has been stored since the last time I used it (last Christmas). I melt  two sticks of butter in the frying pan and add the potatoes. I sprinkle them generously with Lawrly’s Seasoning Salt and turn them as the begin to get crispy. After I figure they have a decent amount of crispy and seasoning salt throughout, I turn the frying pan down and top the potatoes with the egg crumbles, the bacon pieces and lastly the shredded cheese. I leave the frying pan on low and cover just long enough to melt the cheese.

Fortunately this time of year the nights are cold, so I can (with the cover on it) store the whole pan in my vehicle overnight. (I would never be able to fit it in the fridge.) At this time I also take the plug for electric frying pan so I don’t forget it in the morning. The hardest part about this process is the drive to our brunch destination makes us really hungry because the potato stuff smells so good.

Once at our destination I take the frying pan in and plug it in. It will probably take at least 20 minutes for this to heat through and once people start digging into it, the ingredients get mixed together well.

This has never been a secret recipe, and I believe one of my sisters has made it before, but one of the reason I am sharing this is because it has become part of our family tradition, and I want my daughters to know how to make it. Even though they now have written instructions, I can’t imagine any one of my daughters making this. While they have varying degrees of cooking skills, they all seem to lack a love of cooking. What I can imagine is a future where their Christmas Eve is spent with the four of them together making potato stuff or perhaps their husbands making potato stuff.

Now I must say Merry Christmas and get back to making Potato Stuff.

The Timing Was Perfect

A funny thing happened to me this morning. As I plugged in our Christmas Tree I heard a loud noise. It stunned me for just a fraction of a second, until I realized that at the precise time that the tree lights came on, my husband, who was in the other room, turned on the vacuum cleaner. It couldn’t have been more perfect if we had choreographed and rehearsed it.


My Other recent Crochet Project

IMG_0486

I really had no idea what the end results would be when I started the project, but here it is. I decided to make Aunt Donna a homemade birthday gift, and I’ve often seen her using reusable shopping bags, so I thought maybe a big bag would be something she would like.

I read through a few patterns before starting just to get some idea of how to  crochet a bag. I went through some of my yarn and found one that I thought I had enough of and then I began. After crocheting the bottom of the bag I was getting bored doing the same stitch over and over, so I began to experiment with some new stitches. On the sides I changed stitches every two or three rows. When I got to the handles I decided to crochet with two strands held together in order to make the handles stronger. Since I only had one skein of the color I was using I needed to add a second color. I’m not sure why I chose yellow, but by this time my husband had noticed what I was doing and he thought that adding more color was a great idea.

After I finished off the handles and the bag was basically complete I realized I needed to add something to hold down the flapping circles, near the top, that were a result of one of the new stitches that I tried. In order to add more color and hold down the circles I decided to make flowers and attach them to the bag. Since I was crocheting in the evening while we were enjoying a fire in the fireplace and listening to music, I decided to join my husband for a drink. When I finished crocheting the second flower I realized that I had crocheted it backwards. It still looked like a flower but did not match the first one I made.

At this point I thought, “not all flowers look alike,” so it made much more sense if all the flowers were different than if they were all the same. I poured another drink and continued making flowers. Even though I didn’t finish them all that night, and the rest were finished while I was not under the influence, I continued to make them all different.

After I finished attaching the flowers, I knew that the bag needed a lining. I pulled out a piece of fabric that I thought would work, and since sewing is definitely not one of my strong points and pattern design is something I know nothing about, I let it sit on the table for nearly a week. Two days before Aunt Donna’s birthday party I knew I had to bite the bullet and finish the bag. So I took some measurements and drew out a pattern on freezer paper. I cut it out and pinned it to the fabric. Then I cut out the fabric pieces and sewed them together. I can’t say how well the lining actually fits inside the bag because, being inside, it was difficult to see. It seemed to work though. I hand stitched the lining around the top edge of the bag. These stitches were far from perfect but they seemed to hold the lining in place well.

After it was completely finished (or so I thought) my husband suggested and I agreed that the handles needed to be reinforced. I selected a heavy weight yarn in a gold color to crochet around and reinforce the handles. The end result is a Ruth Ciani original. It is definitely one of a kind, and I can assured you that it won’t be duplicated, because not even I could do it if I tried.

IMG_0502

I did have a lot of fun making it, and I hope Aunt Donna will have as much fun (as I said to my daughters) embracing her eccentricity and carrying this bag.