It seems so long ago that I wrote about buying a loom to make hairpin lace. It was certainly before all the hustle and bustle of the holiday season and it wasn’t until after Christmas that I figured out how to use the loom.
For my first project I chose this infinity scarf. The link to the pattern has a detailed video which includes both making the hairpin lace and constructing the scarf. I used a different type of yarn so my results are different from the one created in the video. I took a few photos during the process to give you an idea of how this works.
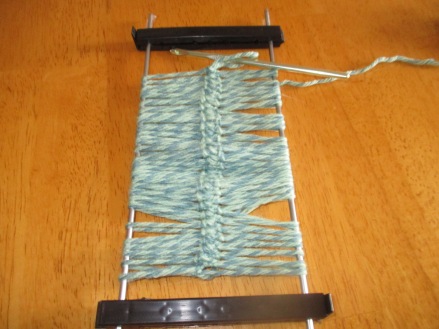
To create hairpin lace the yarn is looped around the pegs of the loom and each loop is secured in place by a crochet stitch. On this loom both the top and bottom cross bars are removable and there are holes at various distances so the hairpin lace can be made different widths.
At first I found it quite awkward using both the loom and the crochet hook but after a while I was able to get into a rhythm and it went quite quickly from there.
To remove the lace from the loom I only had to remove the bottom cross bar then slide the lace off of the pegs. While this piece has about 30 loops on each side, the scarf I made had four strips like this each with 240 loops on each side.
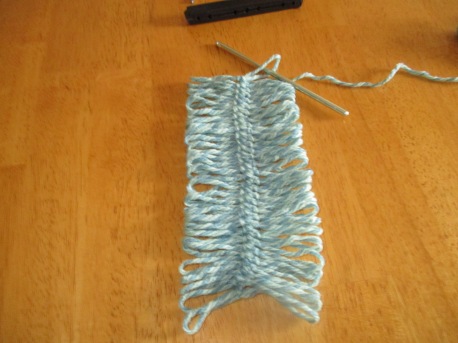
After I had all four strips made, I joined them together by slipping five loops of one strip though five loops of a second strip then slipping the next five loops of the first strip though those five loops. This process was repeated though the entire length of the strips and created the braided or rope-like appearance. I didn’t get any photos of that process but it can be viewed in the above video. The edges were finished by slipping five loops of the strip over the next five loops of the same strip and repeating the process along the entire edge.
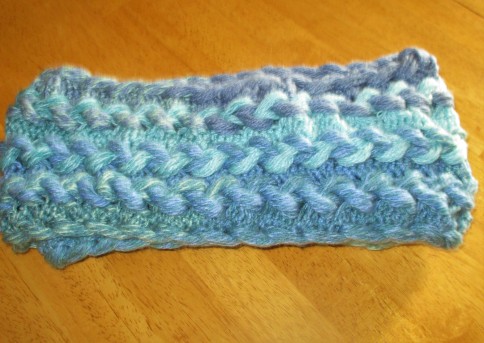
This is the finished scarf. I like the braided effect and can see this process being used to make an afghan, poncho or ear warmer. In fact I have decided to make an ear warmer using this design.

This design is one of many ways that hairpin lace can be used, and from the beautiful, intricate items I am seeing made with it, I would guess this is probably one the easier method of using it.
Now for a couple of bonus photos.
My sister KC, the one that has been teaching me how to sew, made me this really cute hat for my birthday.

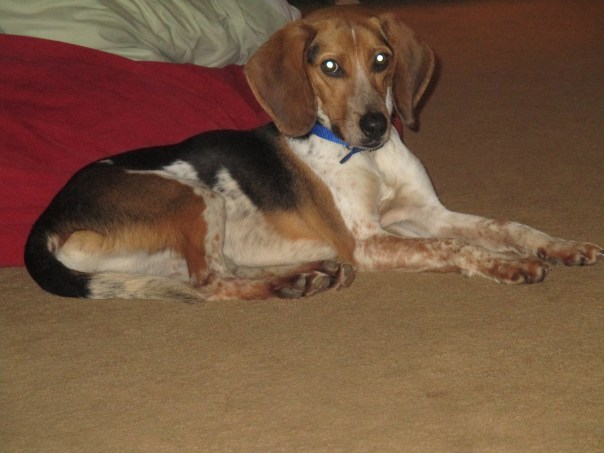
She also made matching bandanas for the dogs. LOL. Her fabric choices were perfect.

If you look closely you can see the white fabric has red barns, windmills, chickens and sunflowers – it’s like this fabric was made for me. The yellow print is filled with honey bees. She knows me well!
What do you think of pets dressed to match their people?