As far as weather goes, Monday was our best day of the week leading up to our Thanksgiving holiday. I took this opportunity to get out to the farm and work with my husband.
The sky was gray and the wind was brisk. I appreciated my winter coat.
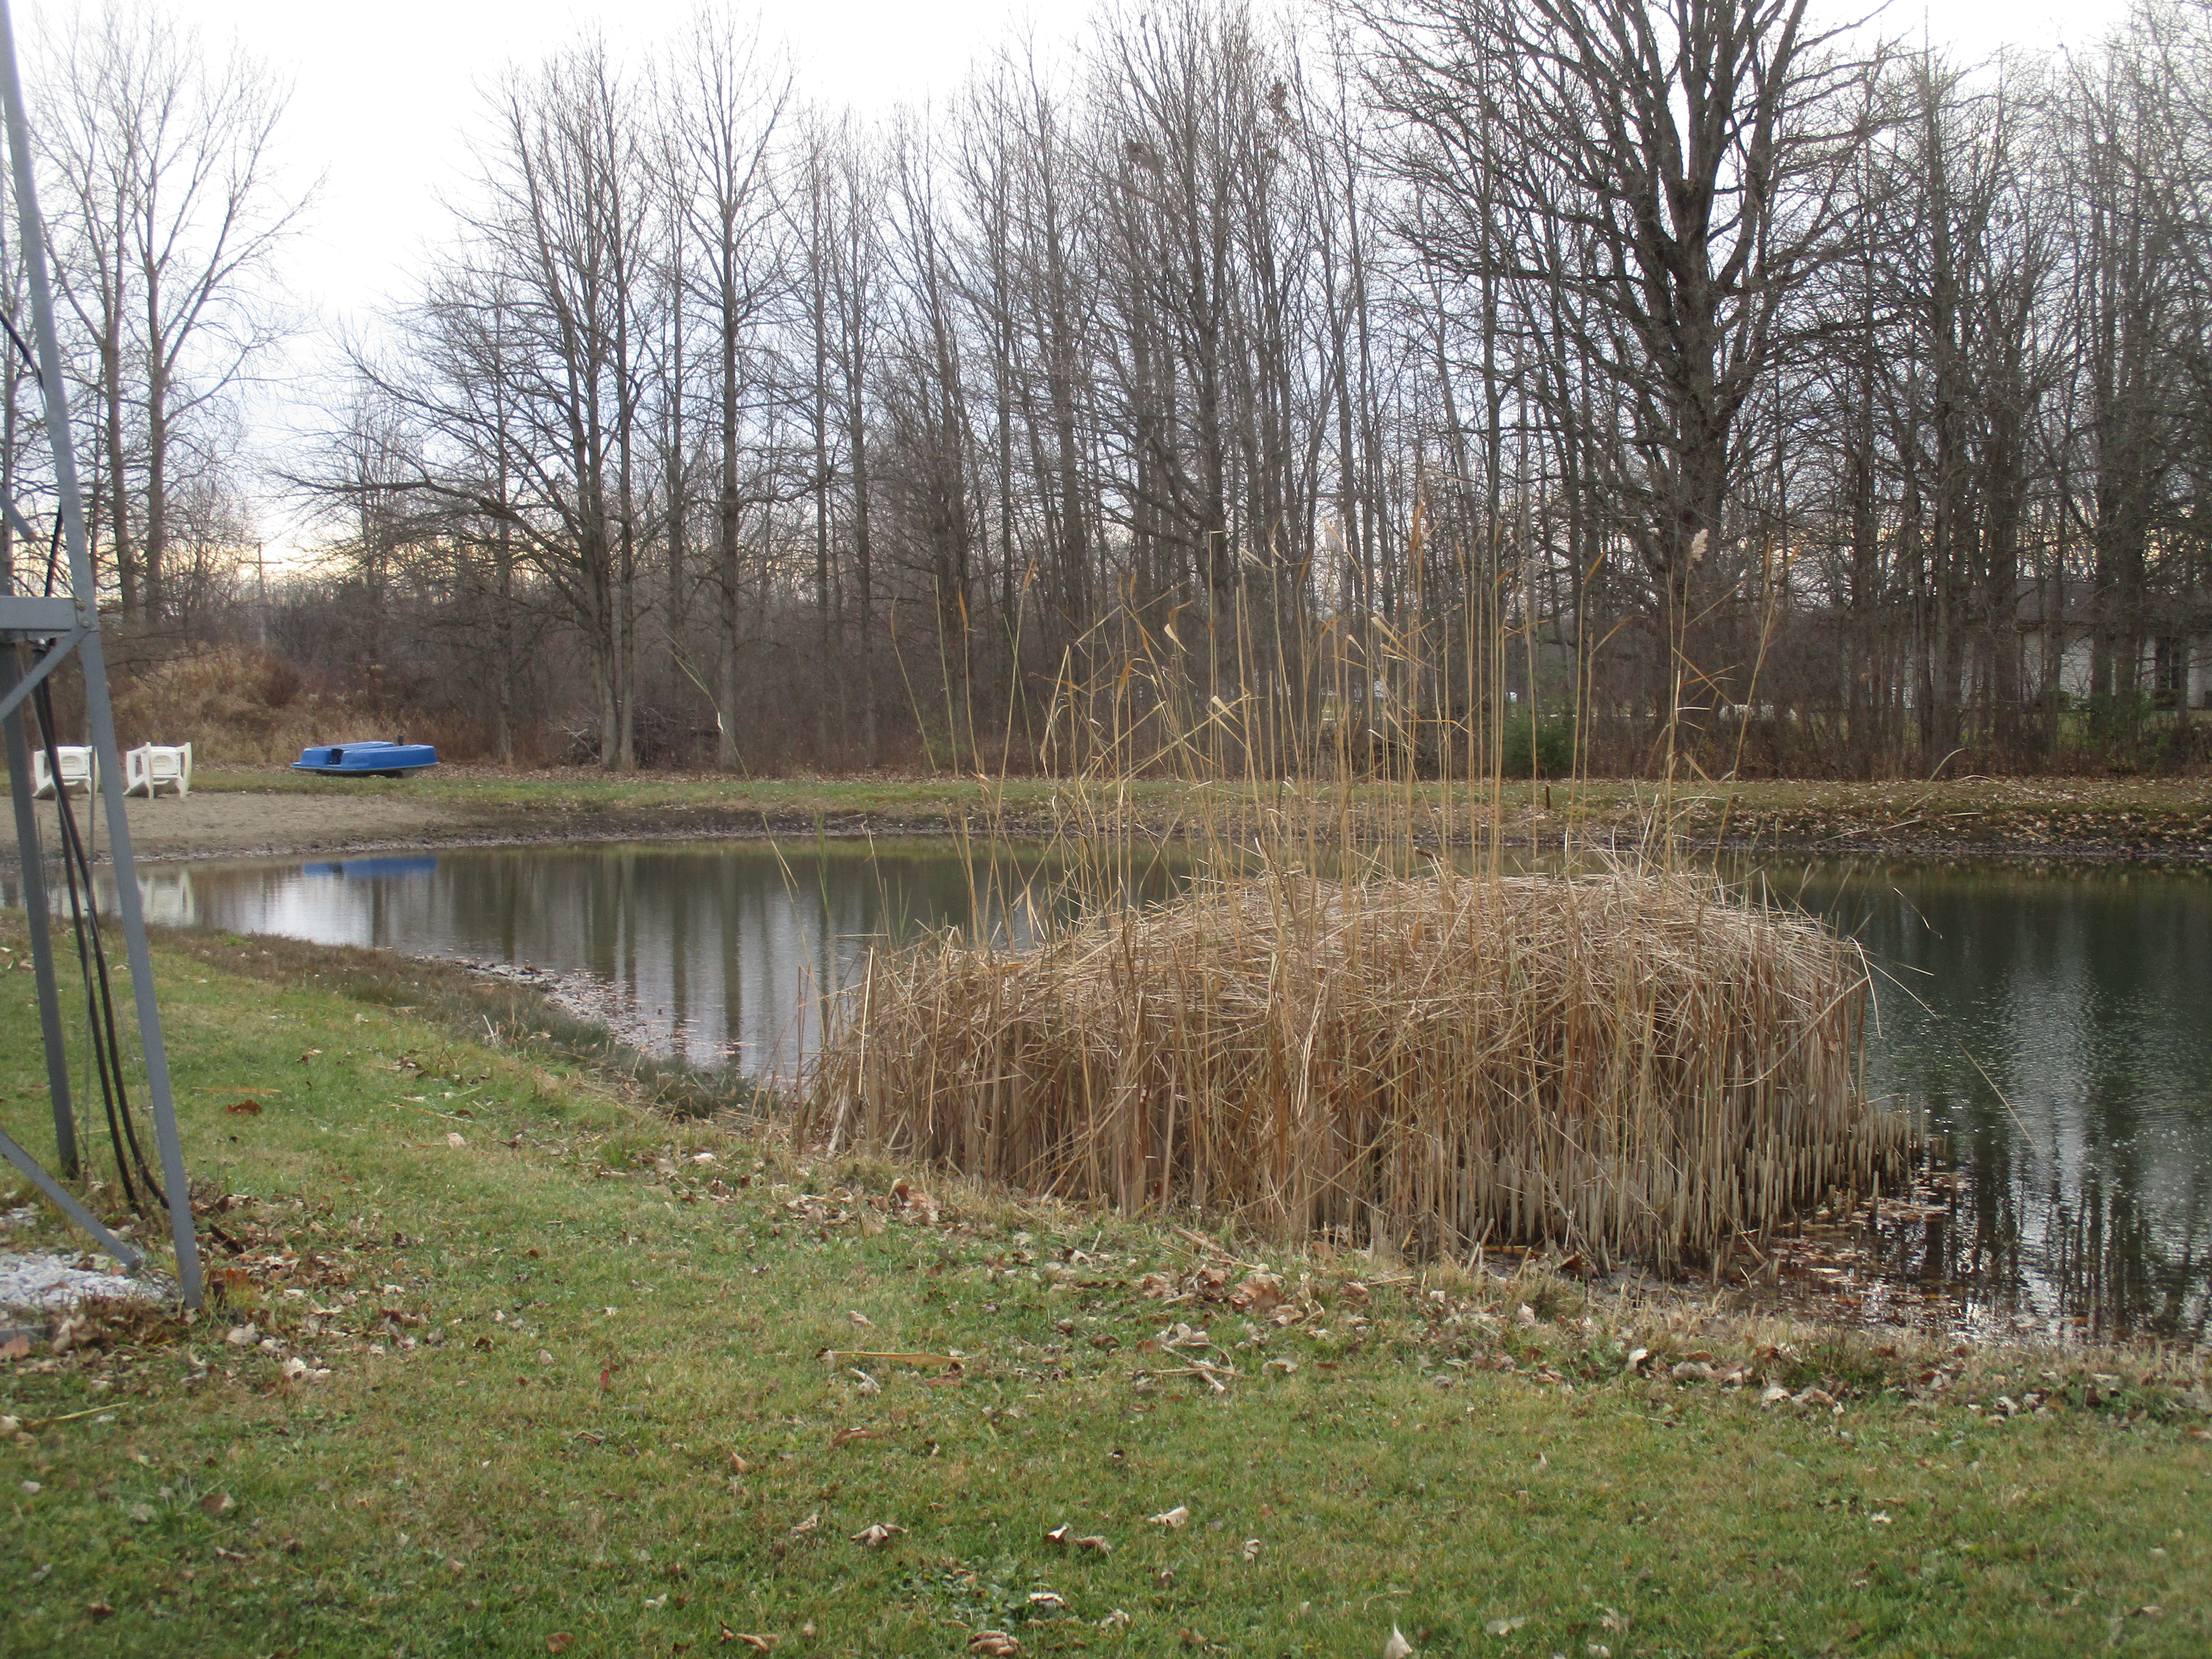
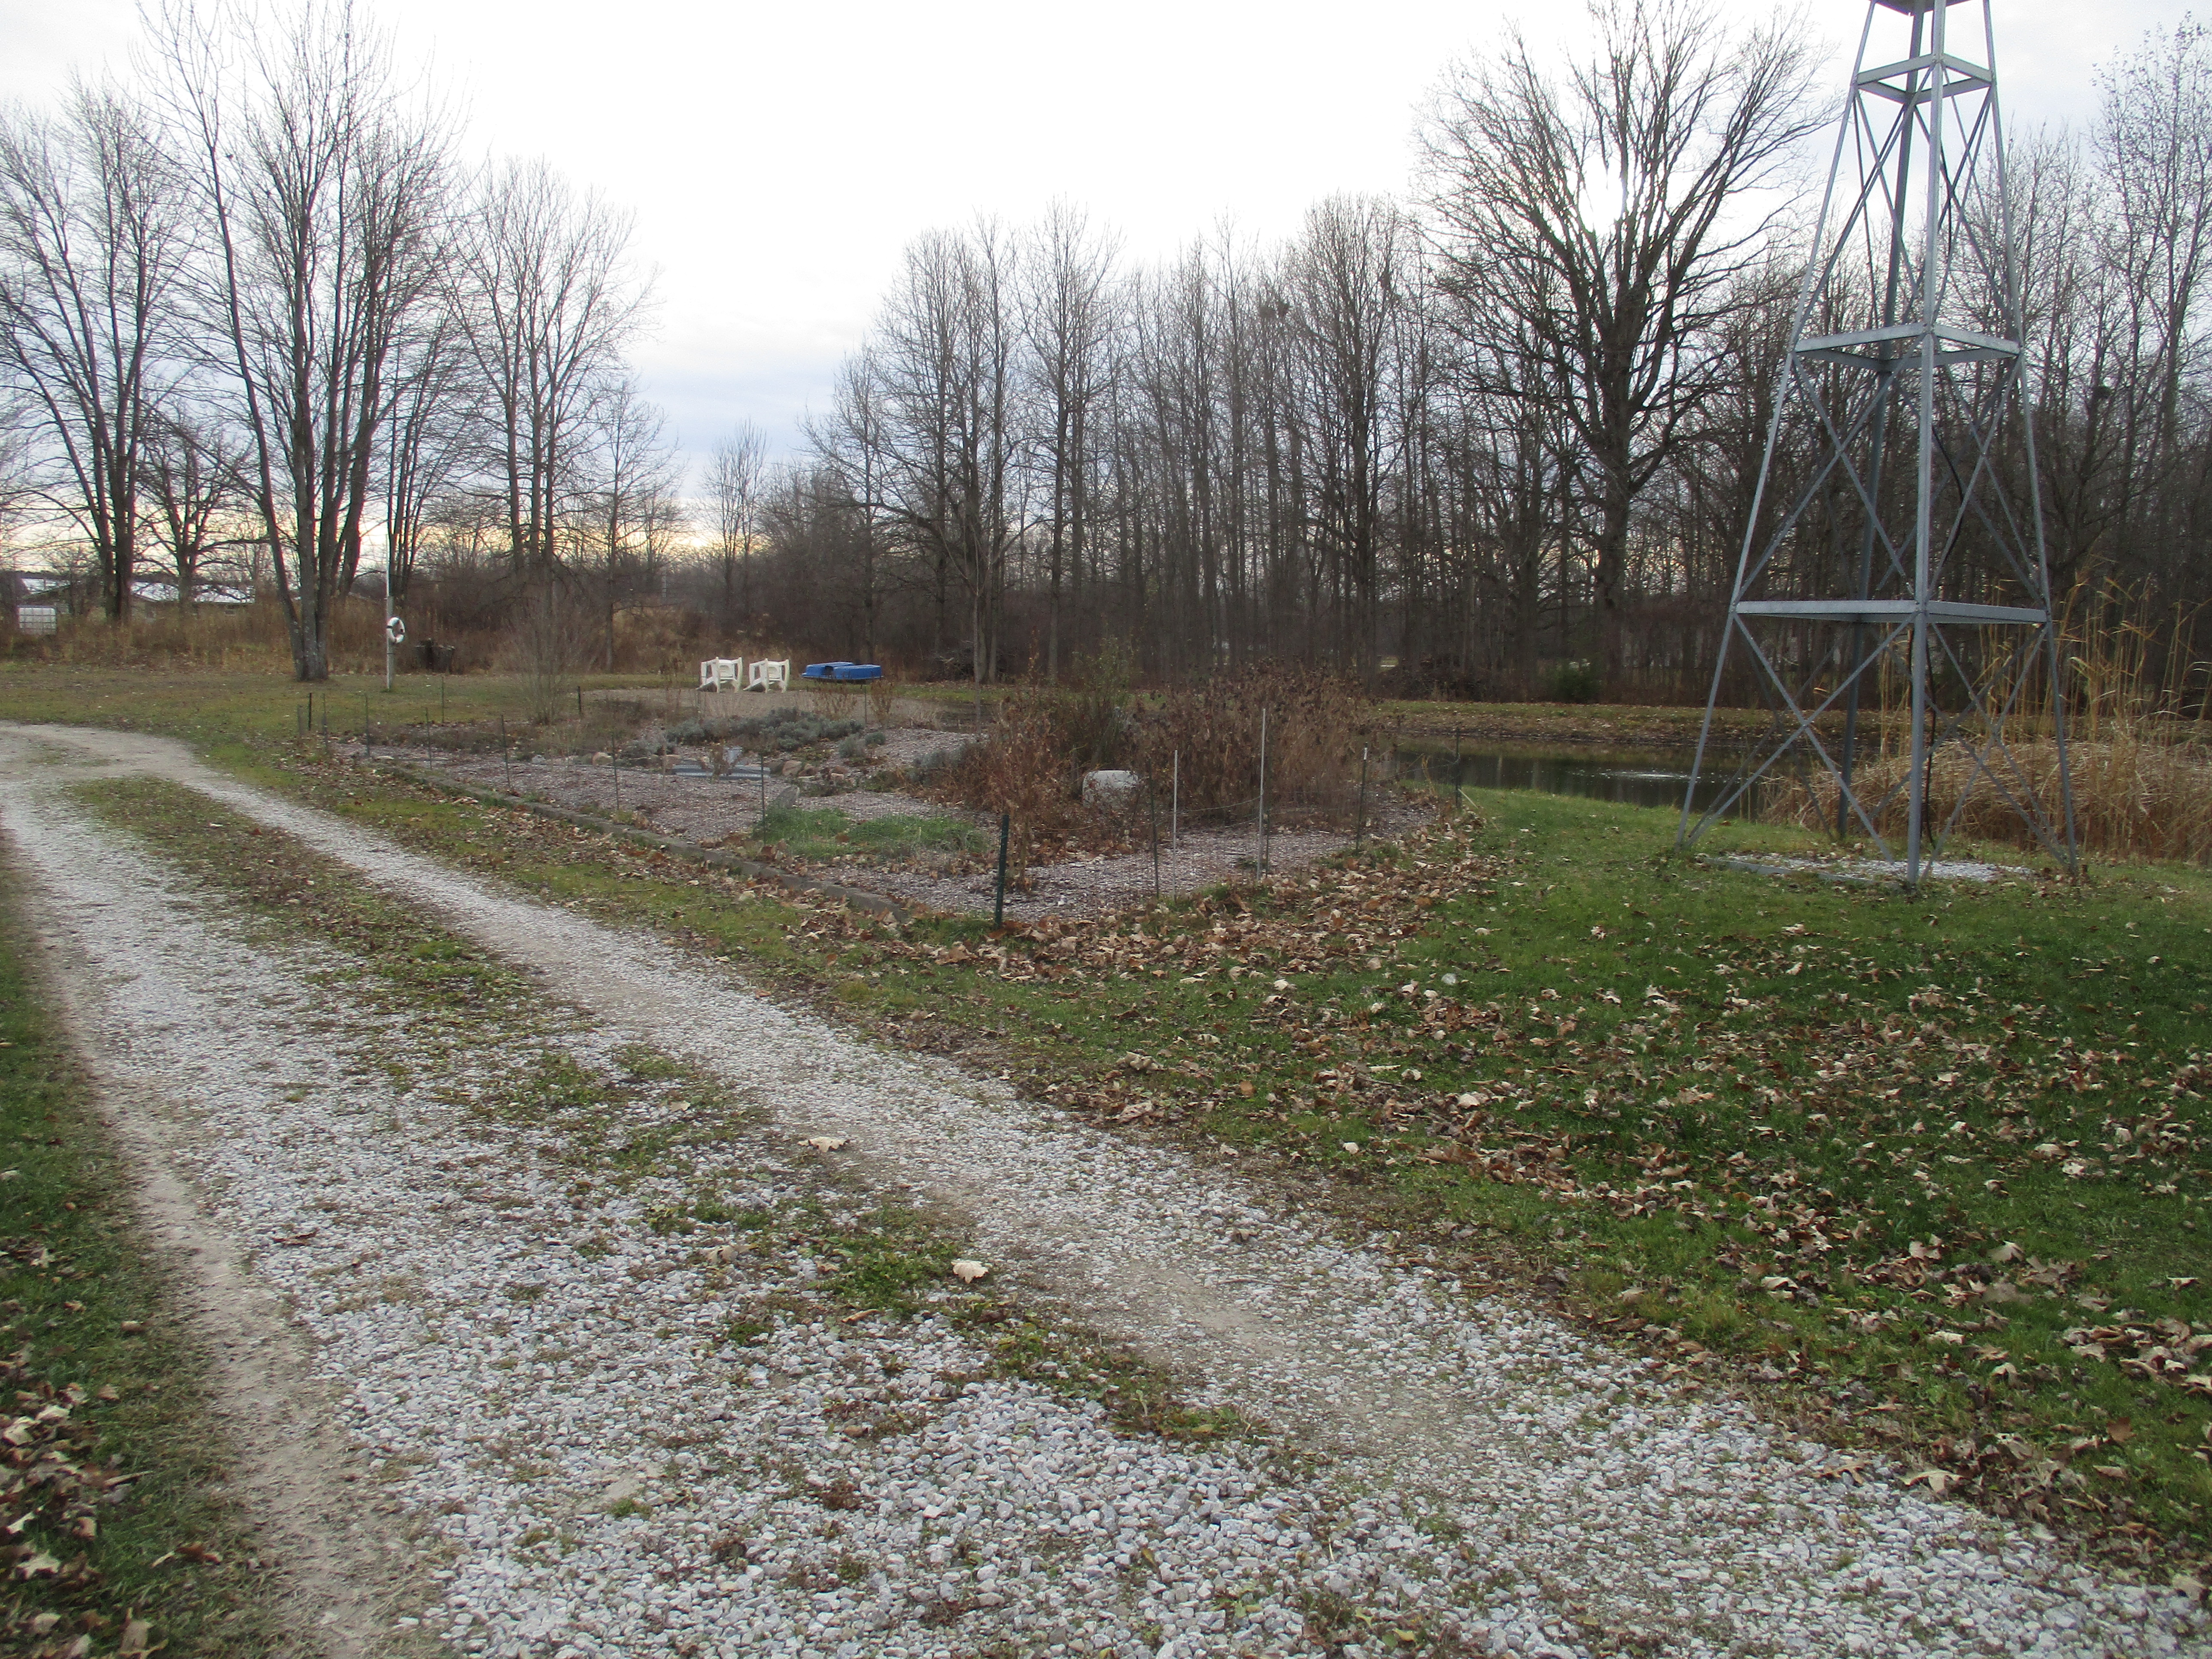
Most of the trees are bare now and the pond level is still very low indicating that we are still in a drought. According to the US Drought Monitor we have moderate drought conditions.
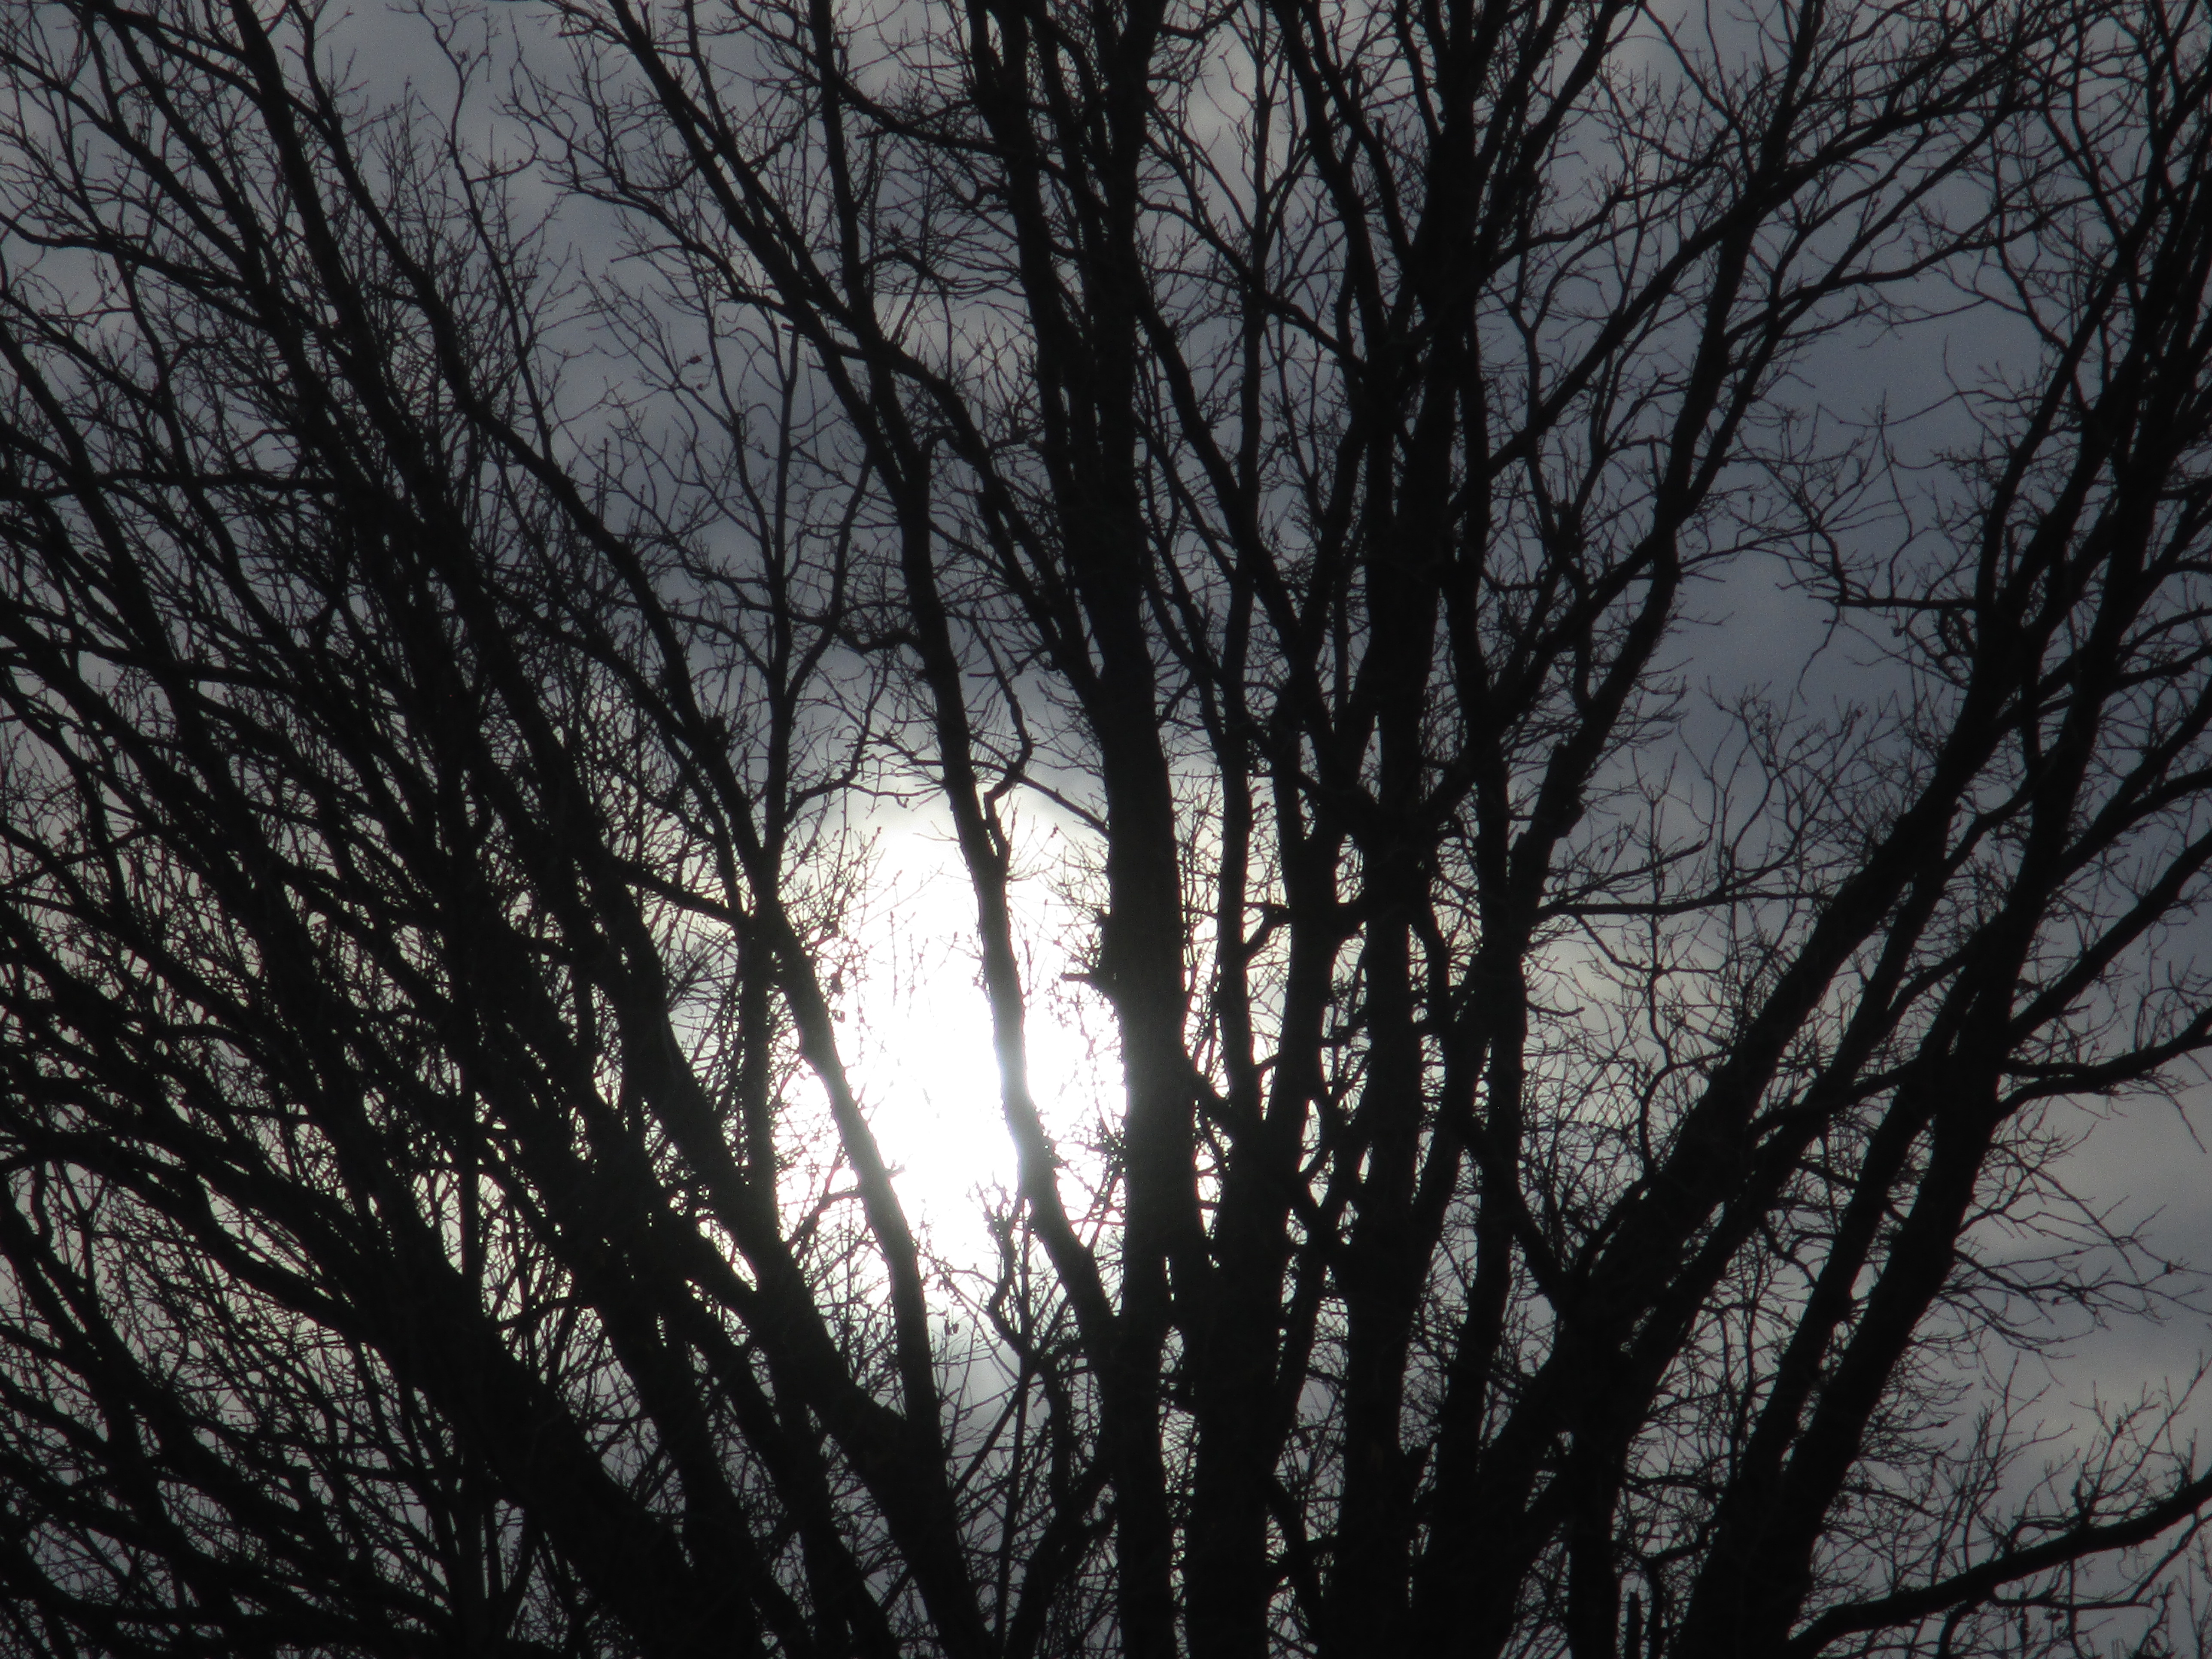
The sun unsuccessfully tried to break through the clouds.
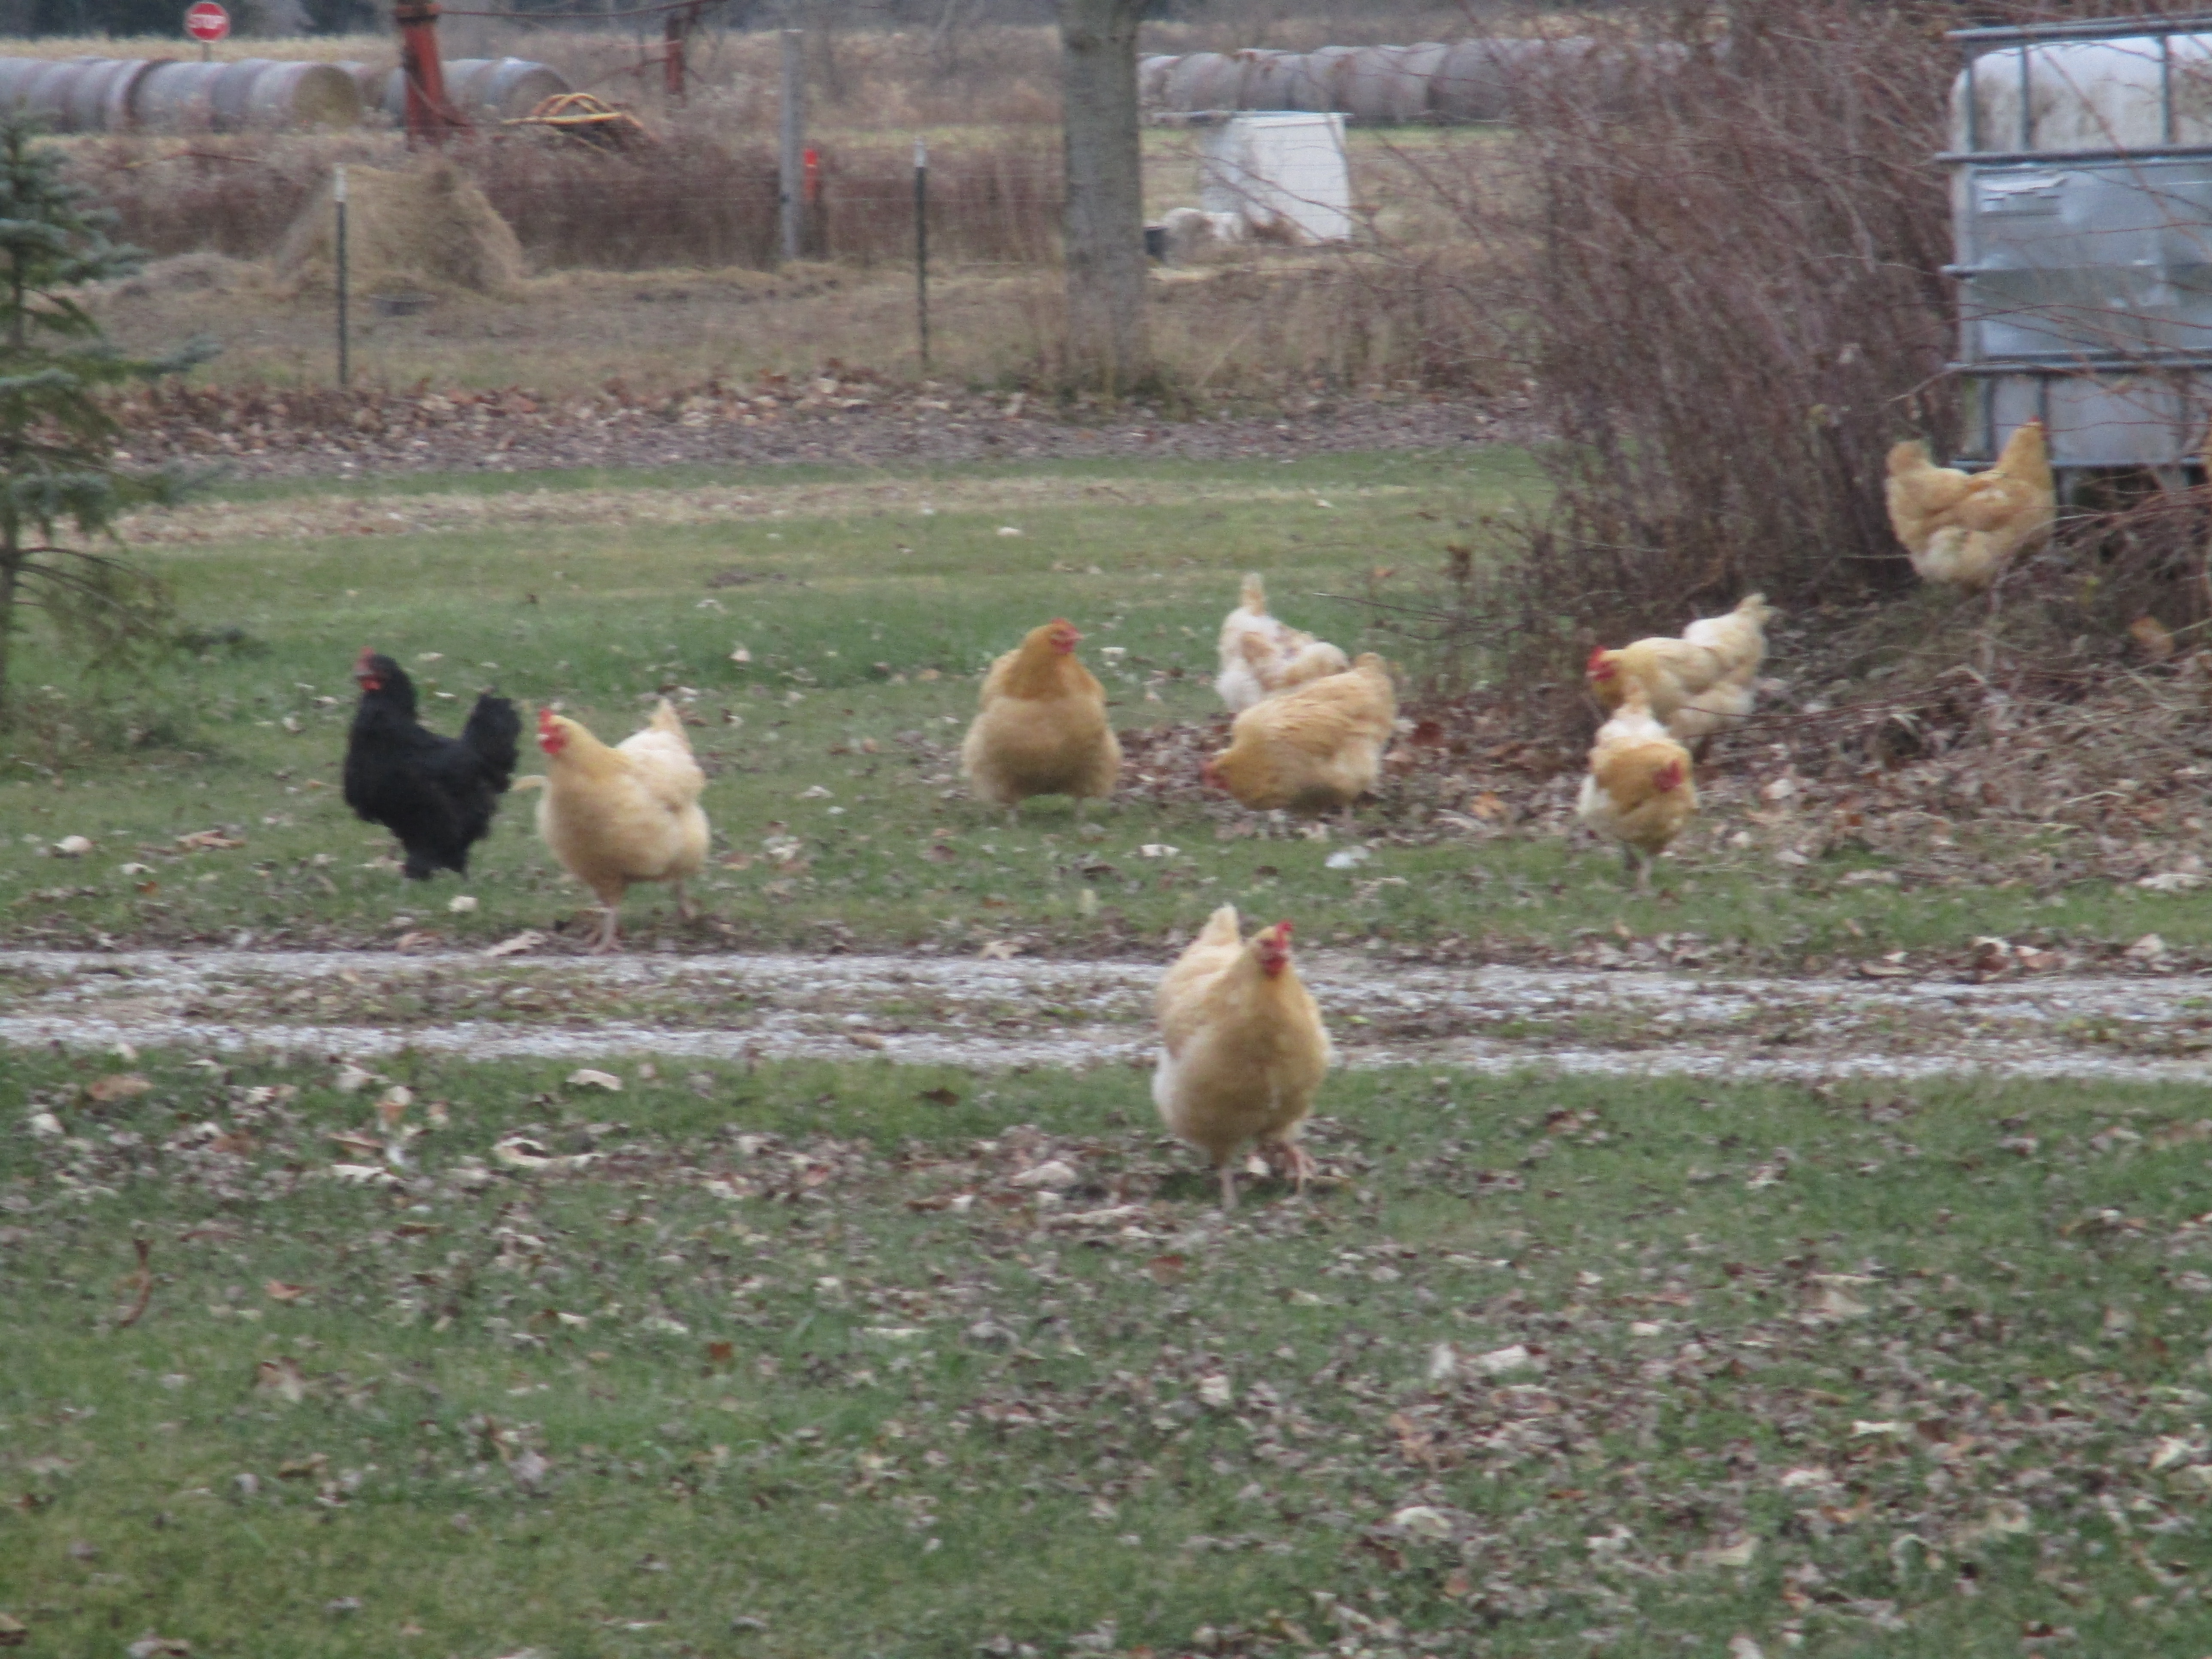
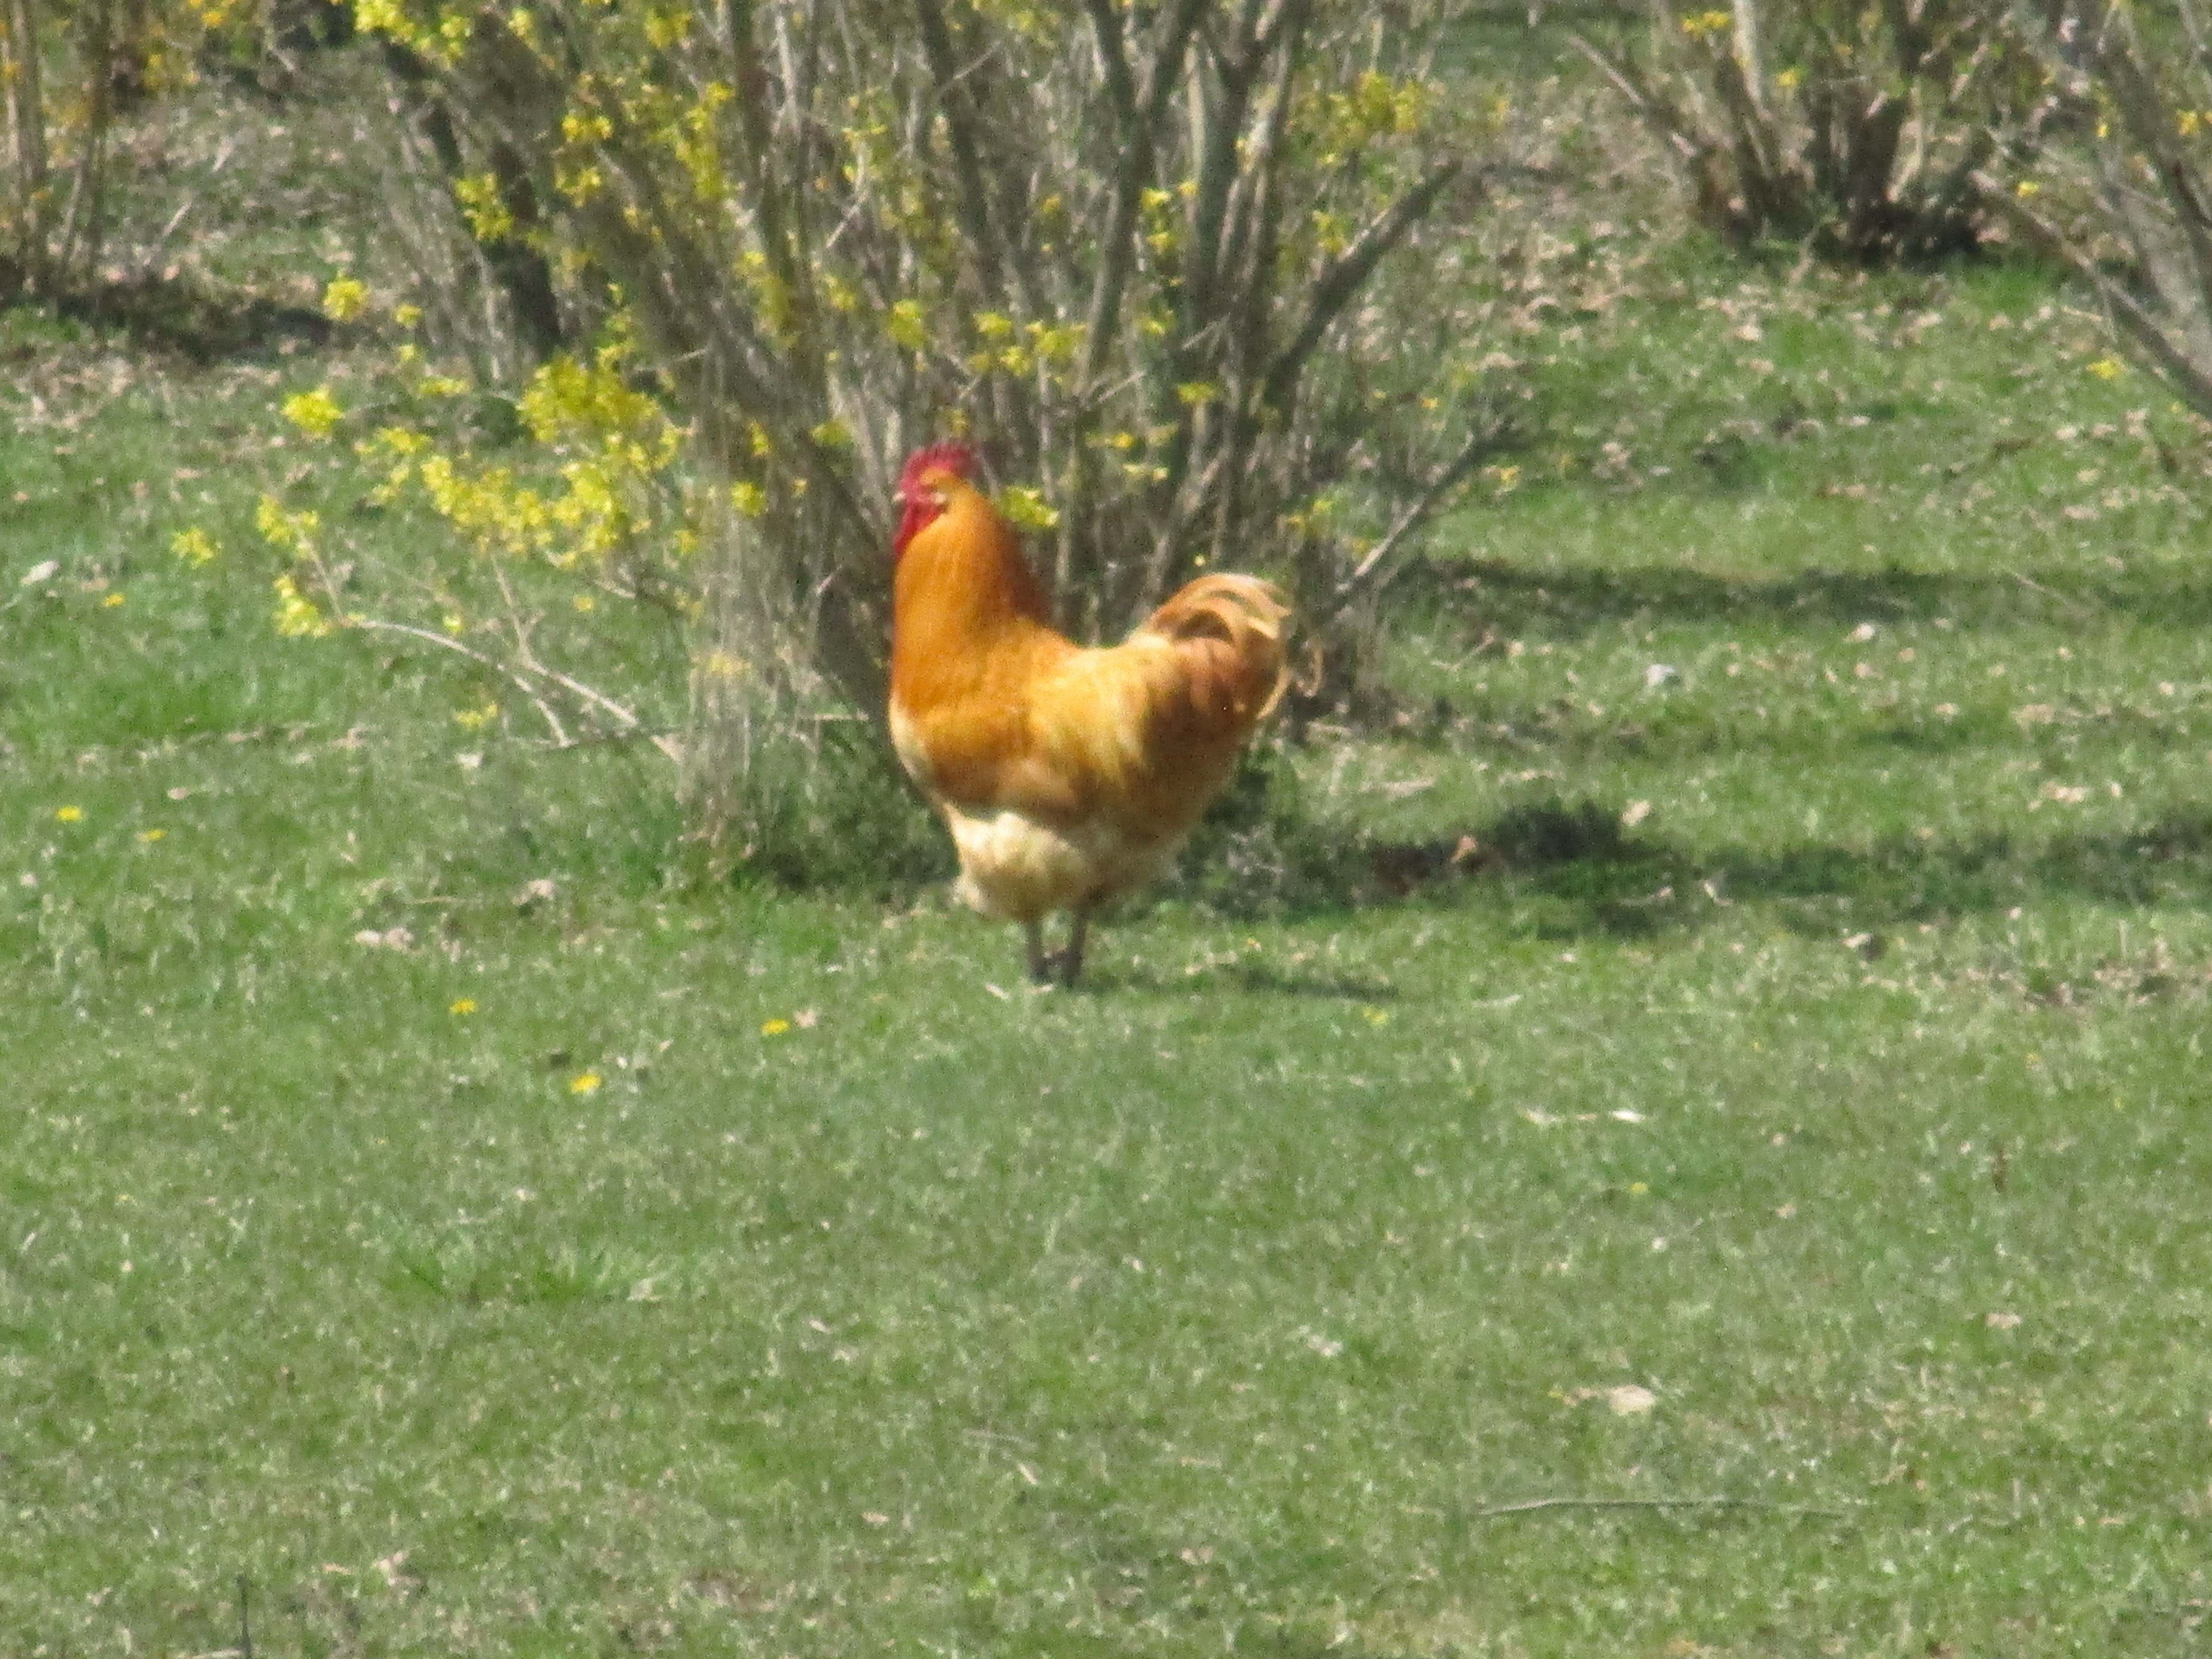
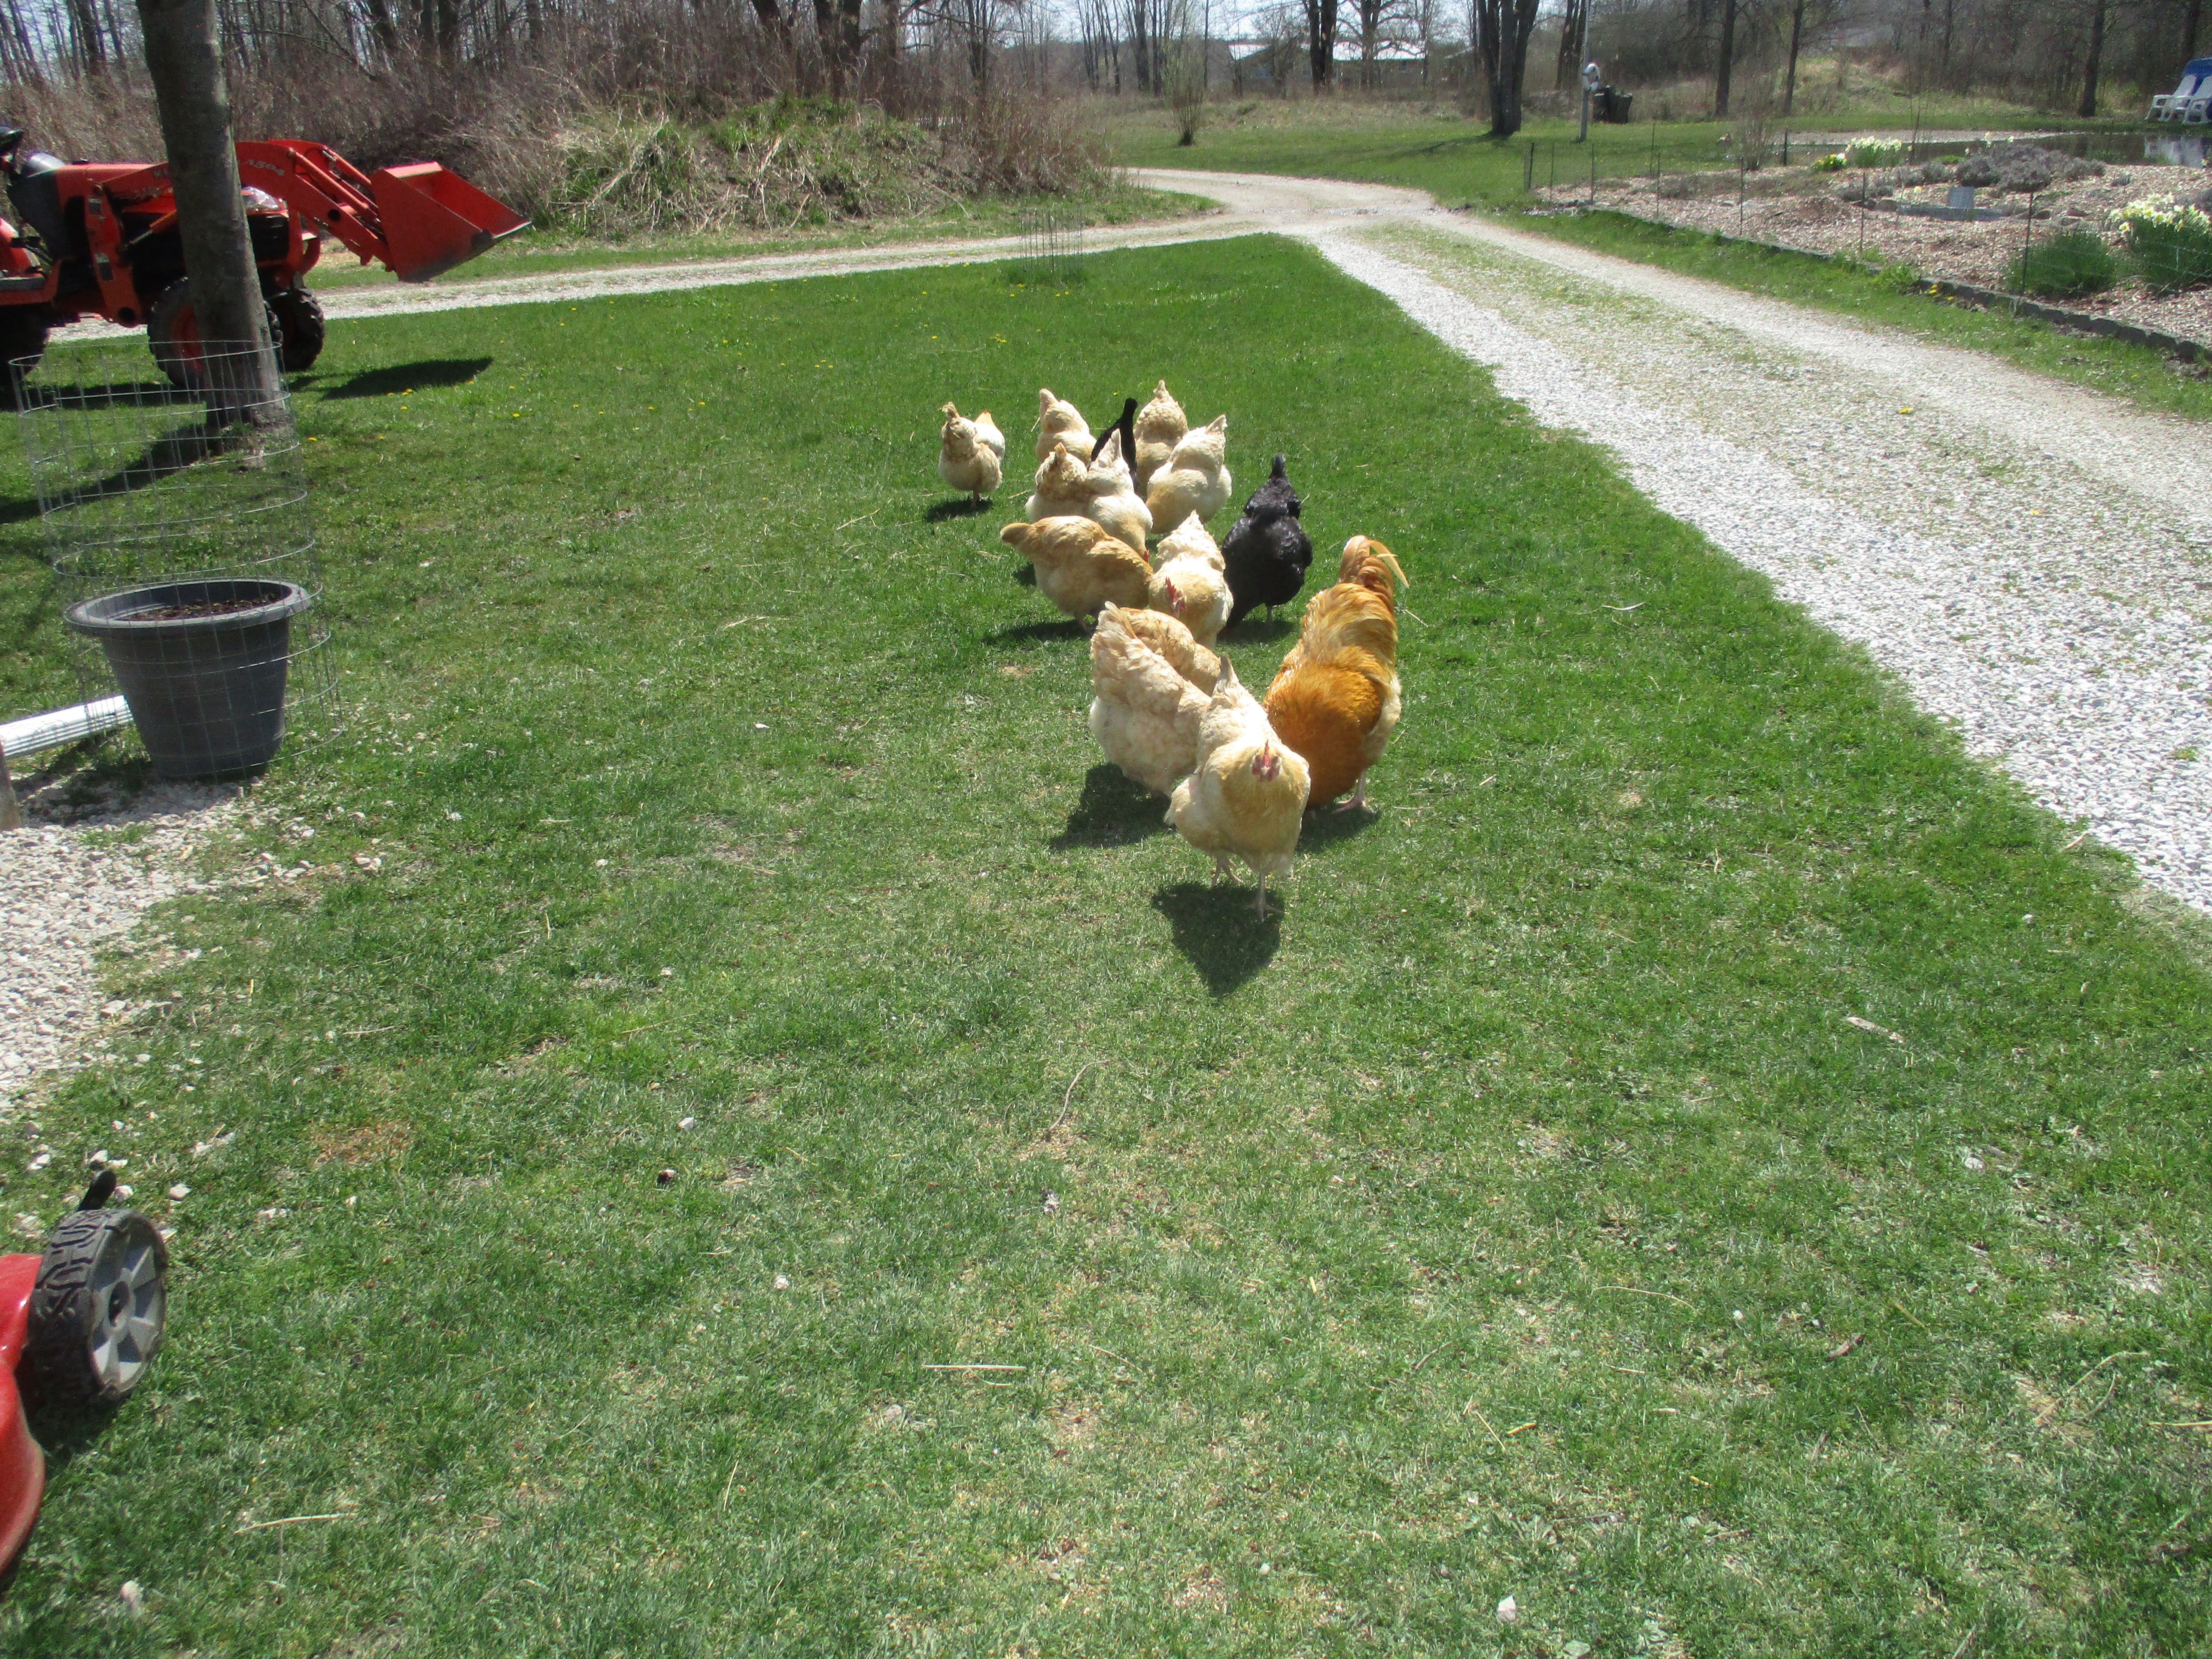
The chickens spent the day out and about. They don’t mind the wind and cold so much but when the snow comes they will spend most of their time in the coop.
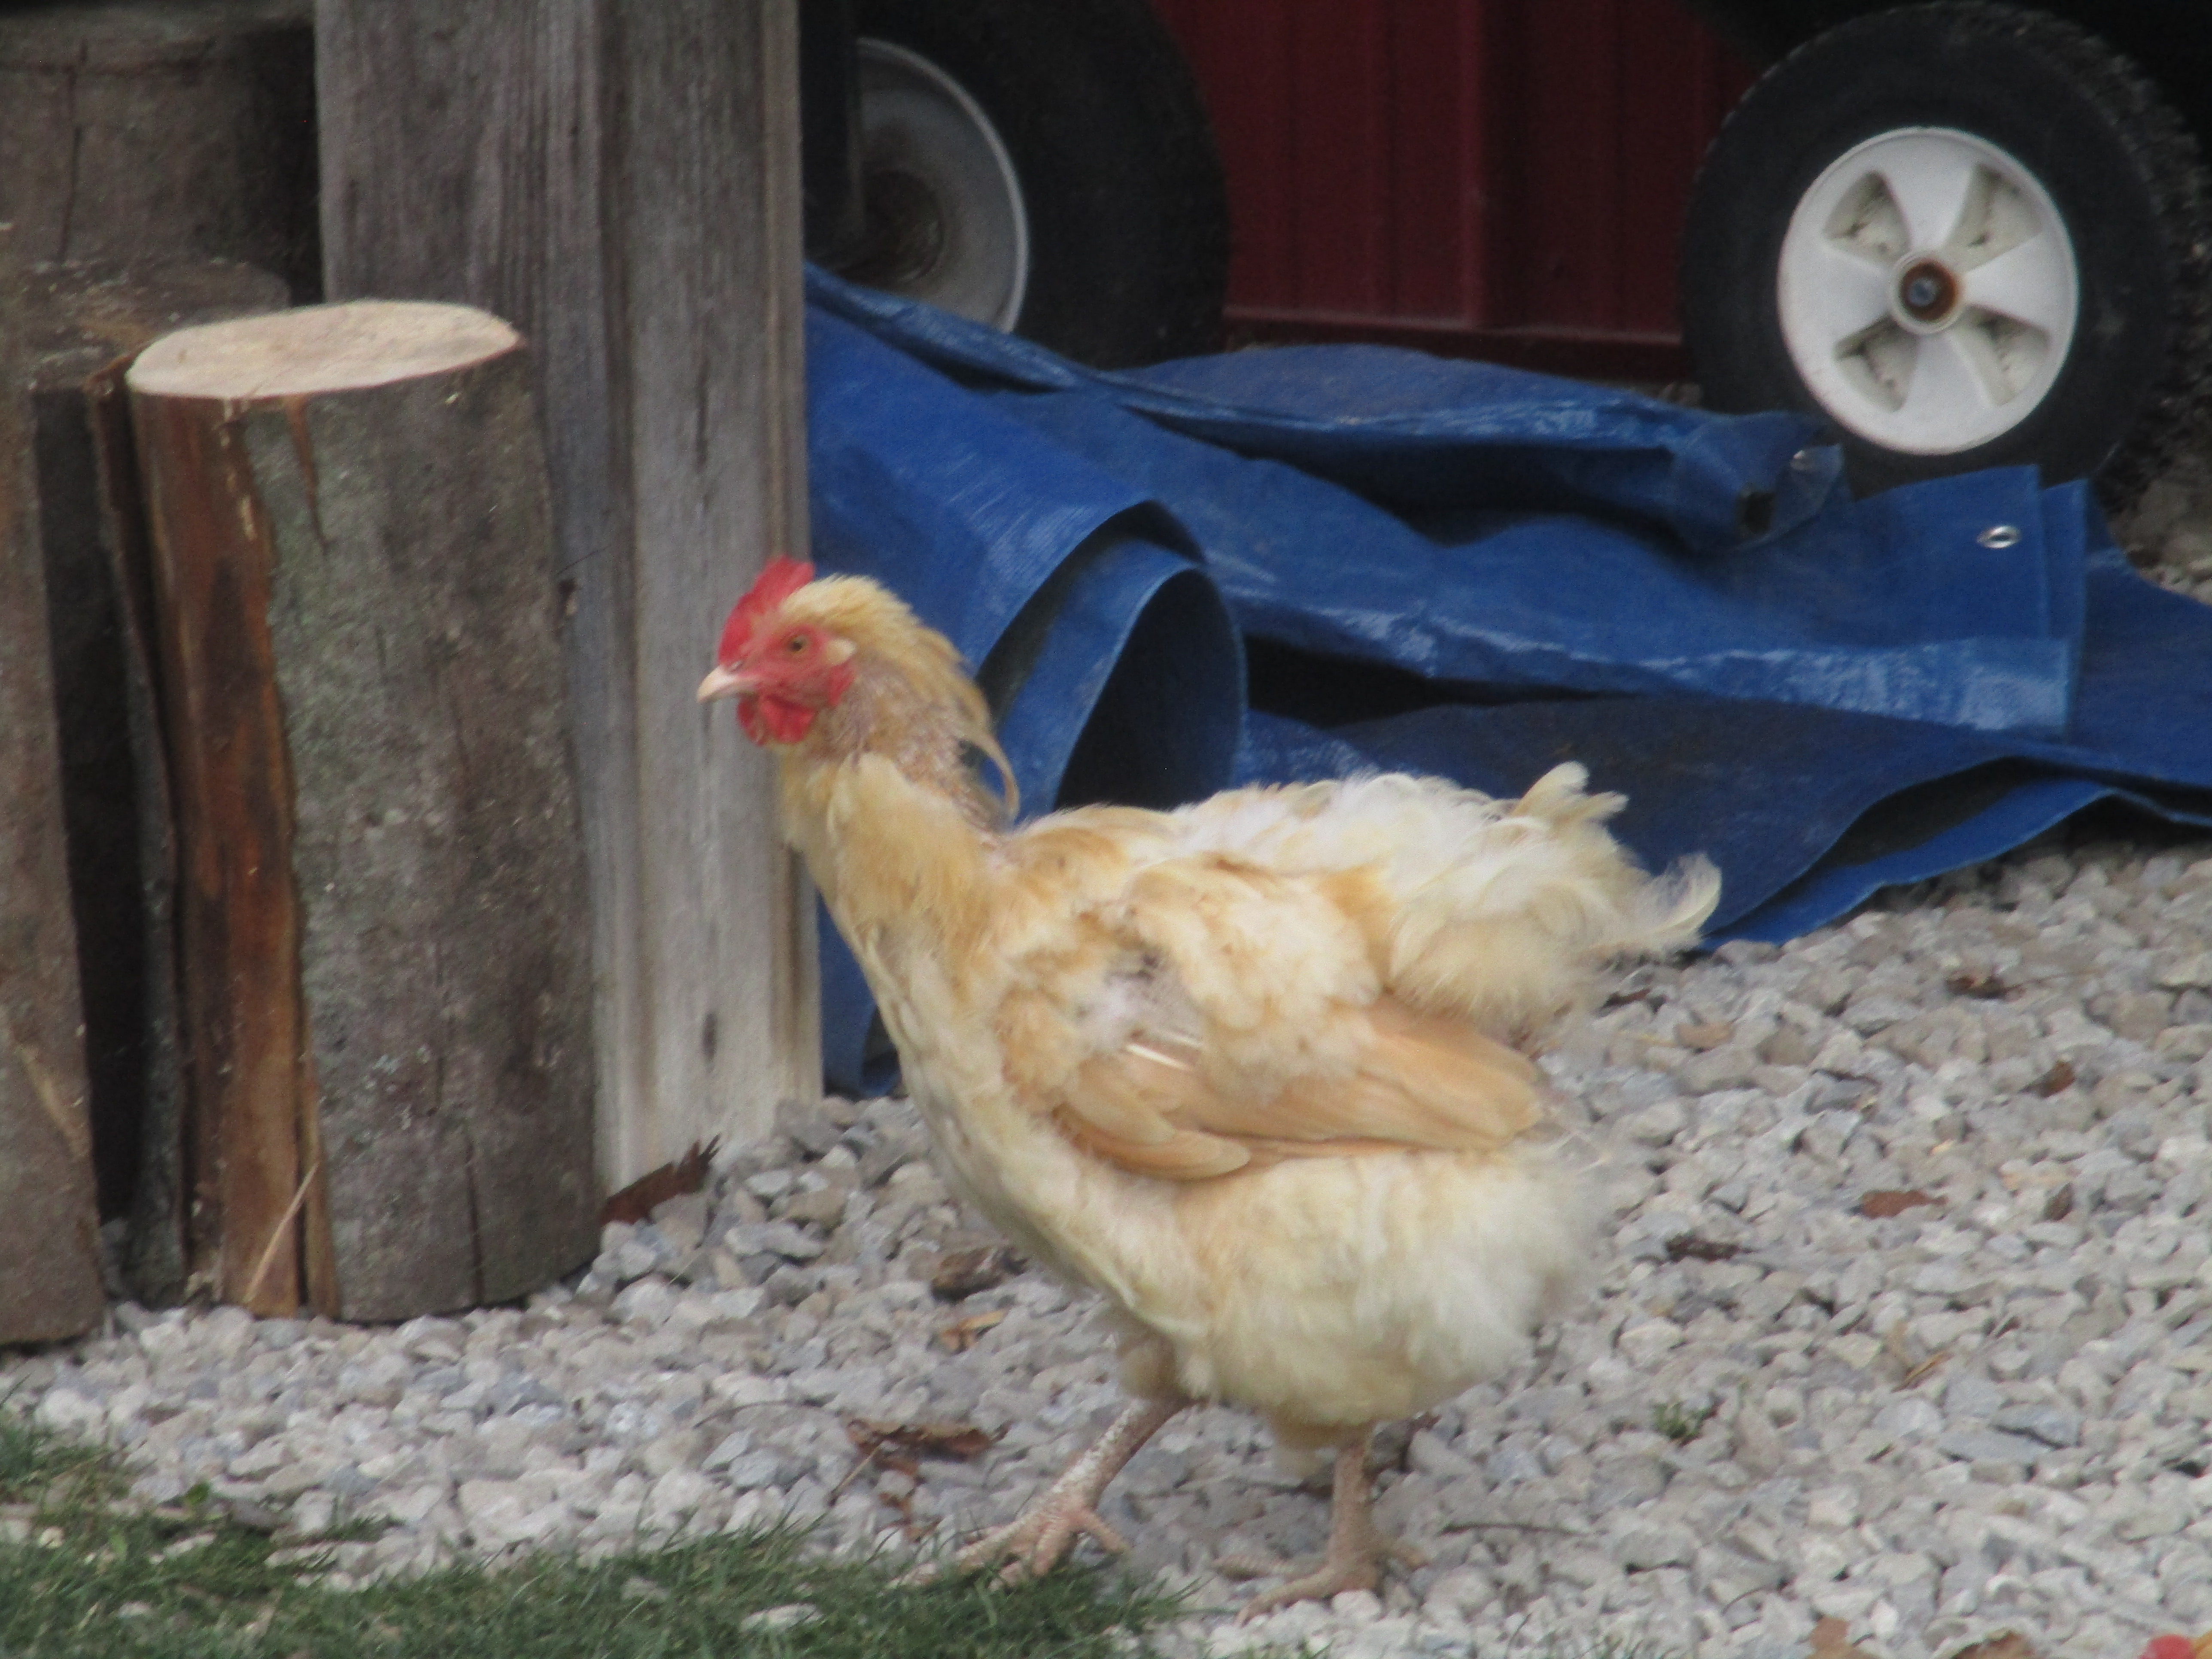
They have been going through their molt and most have stopped laying eggs. I always feel sorry for them when I see them molting. They look so disheveled.
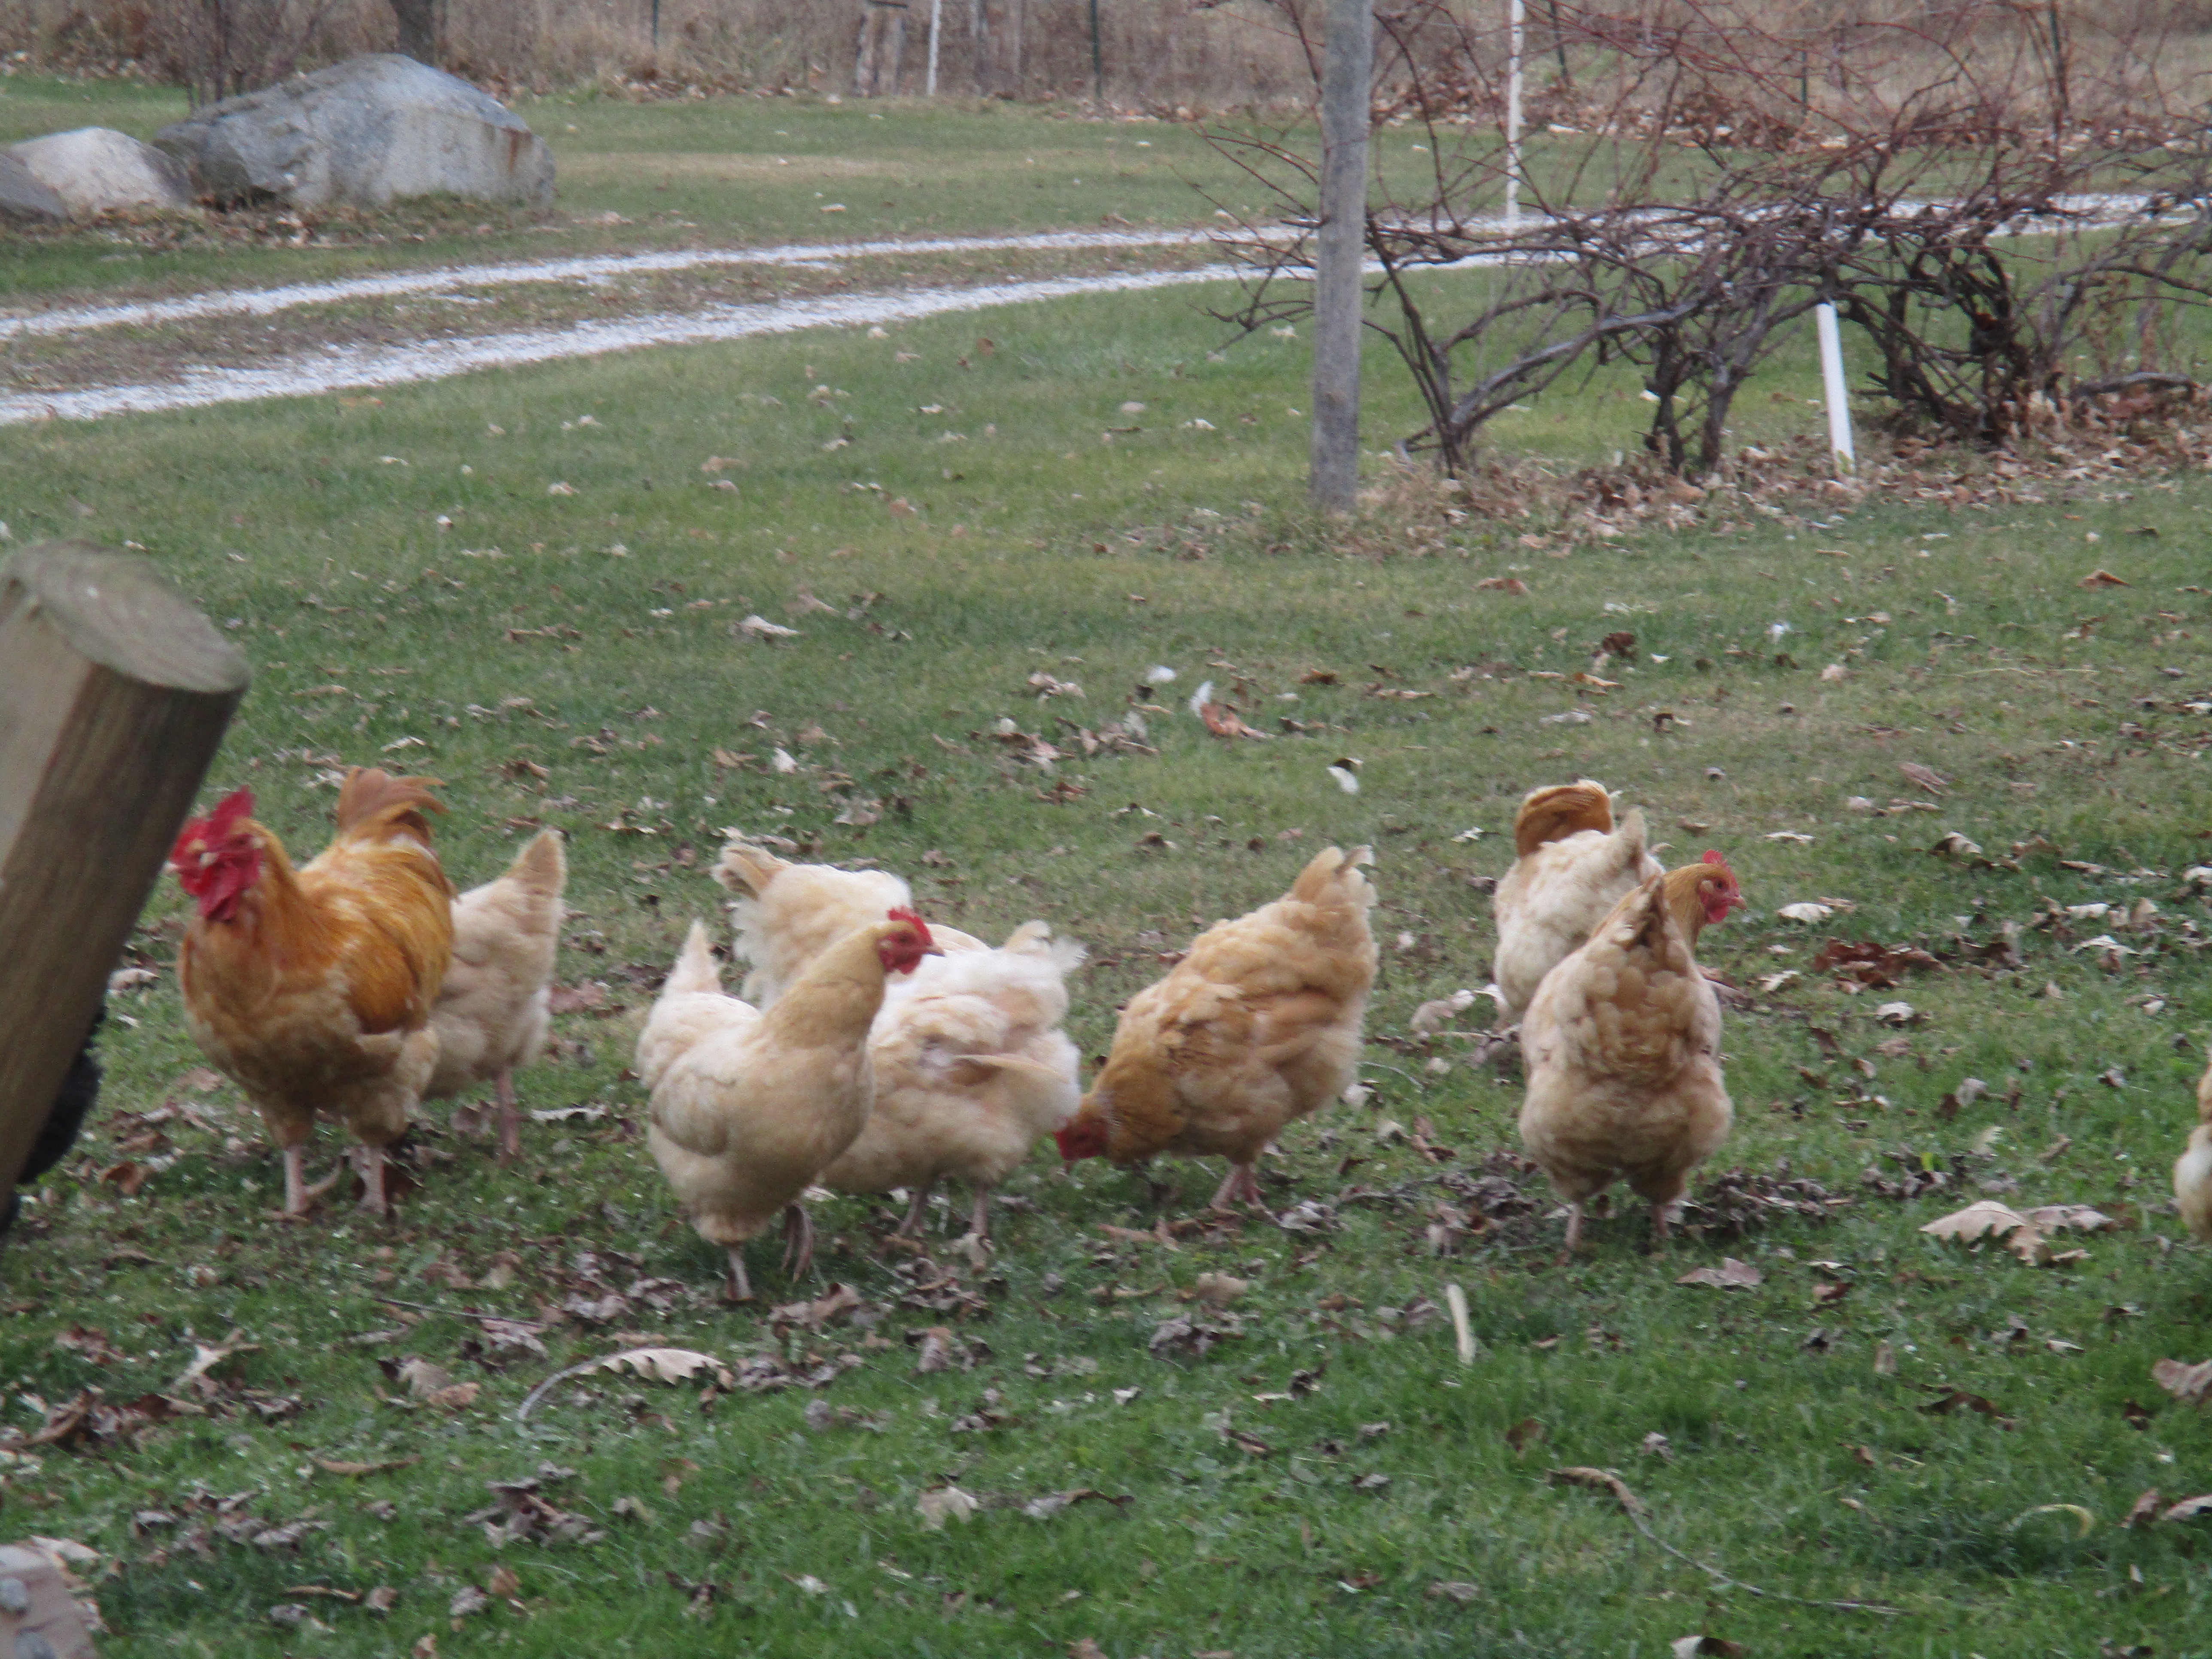
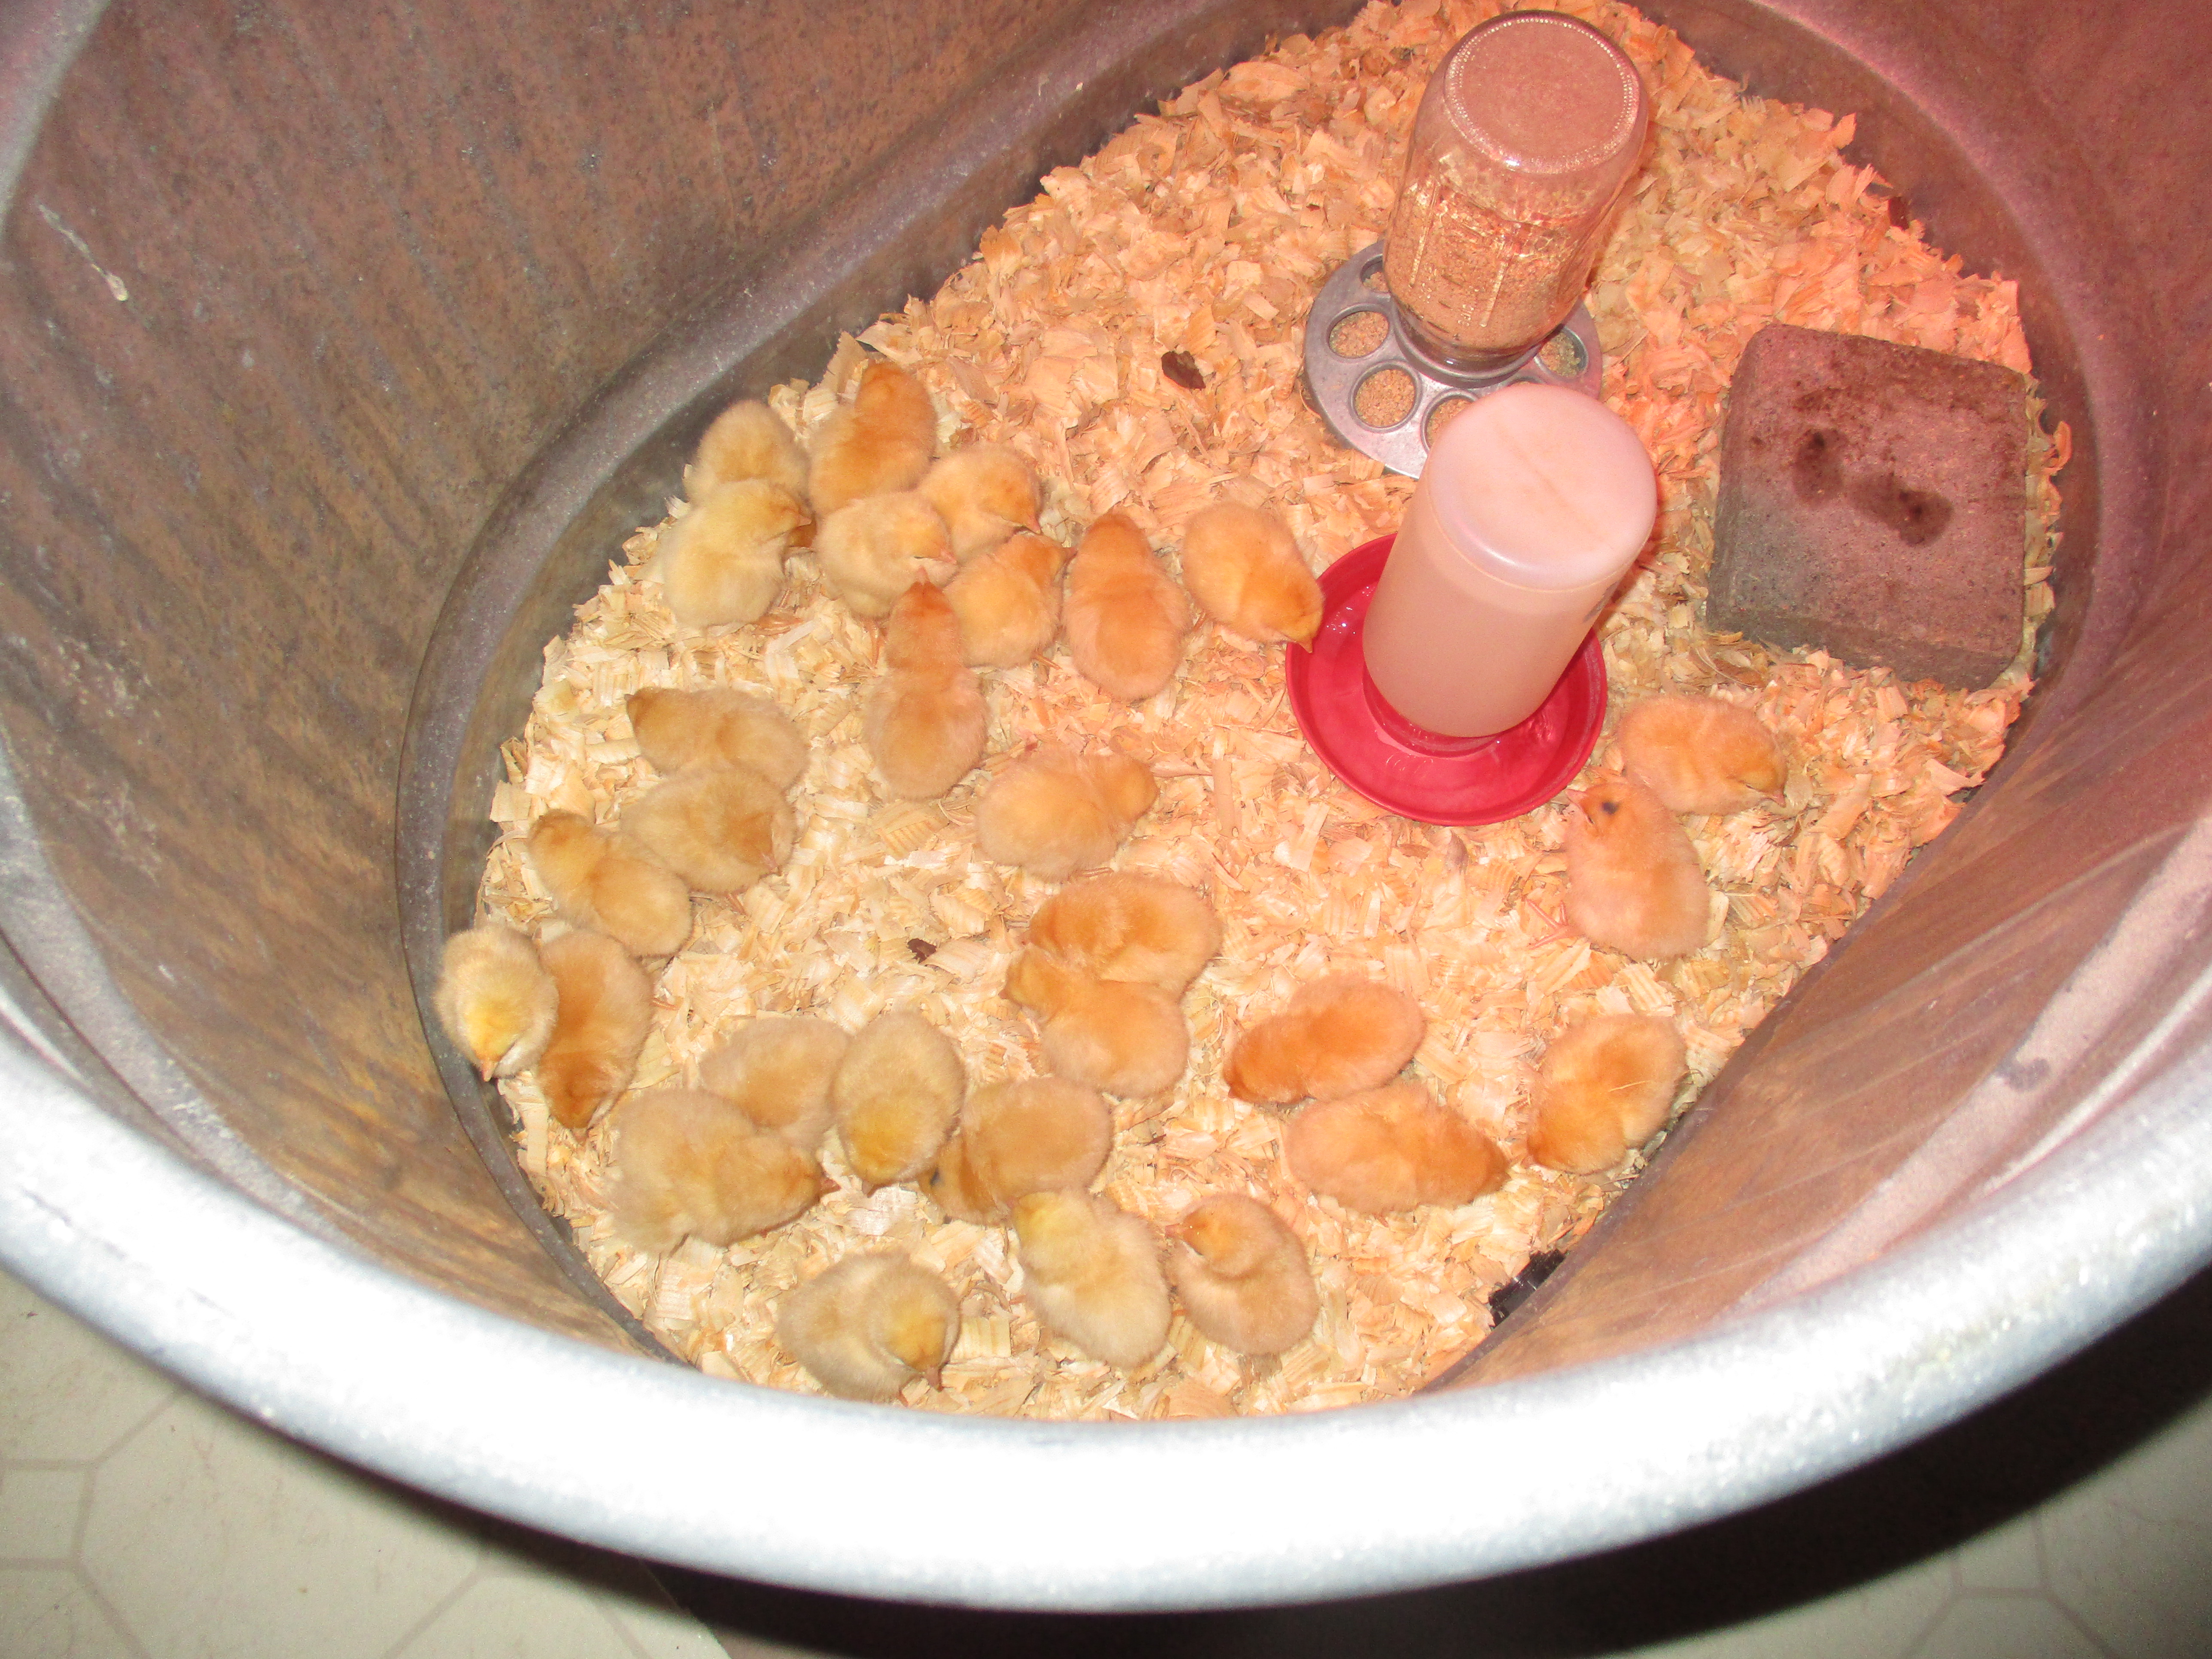
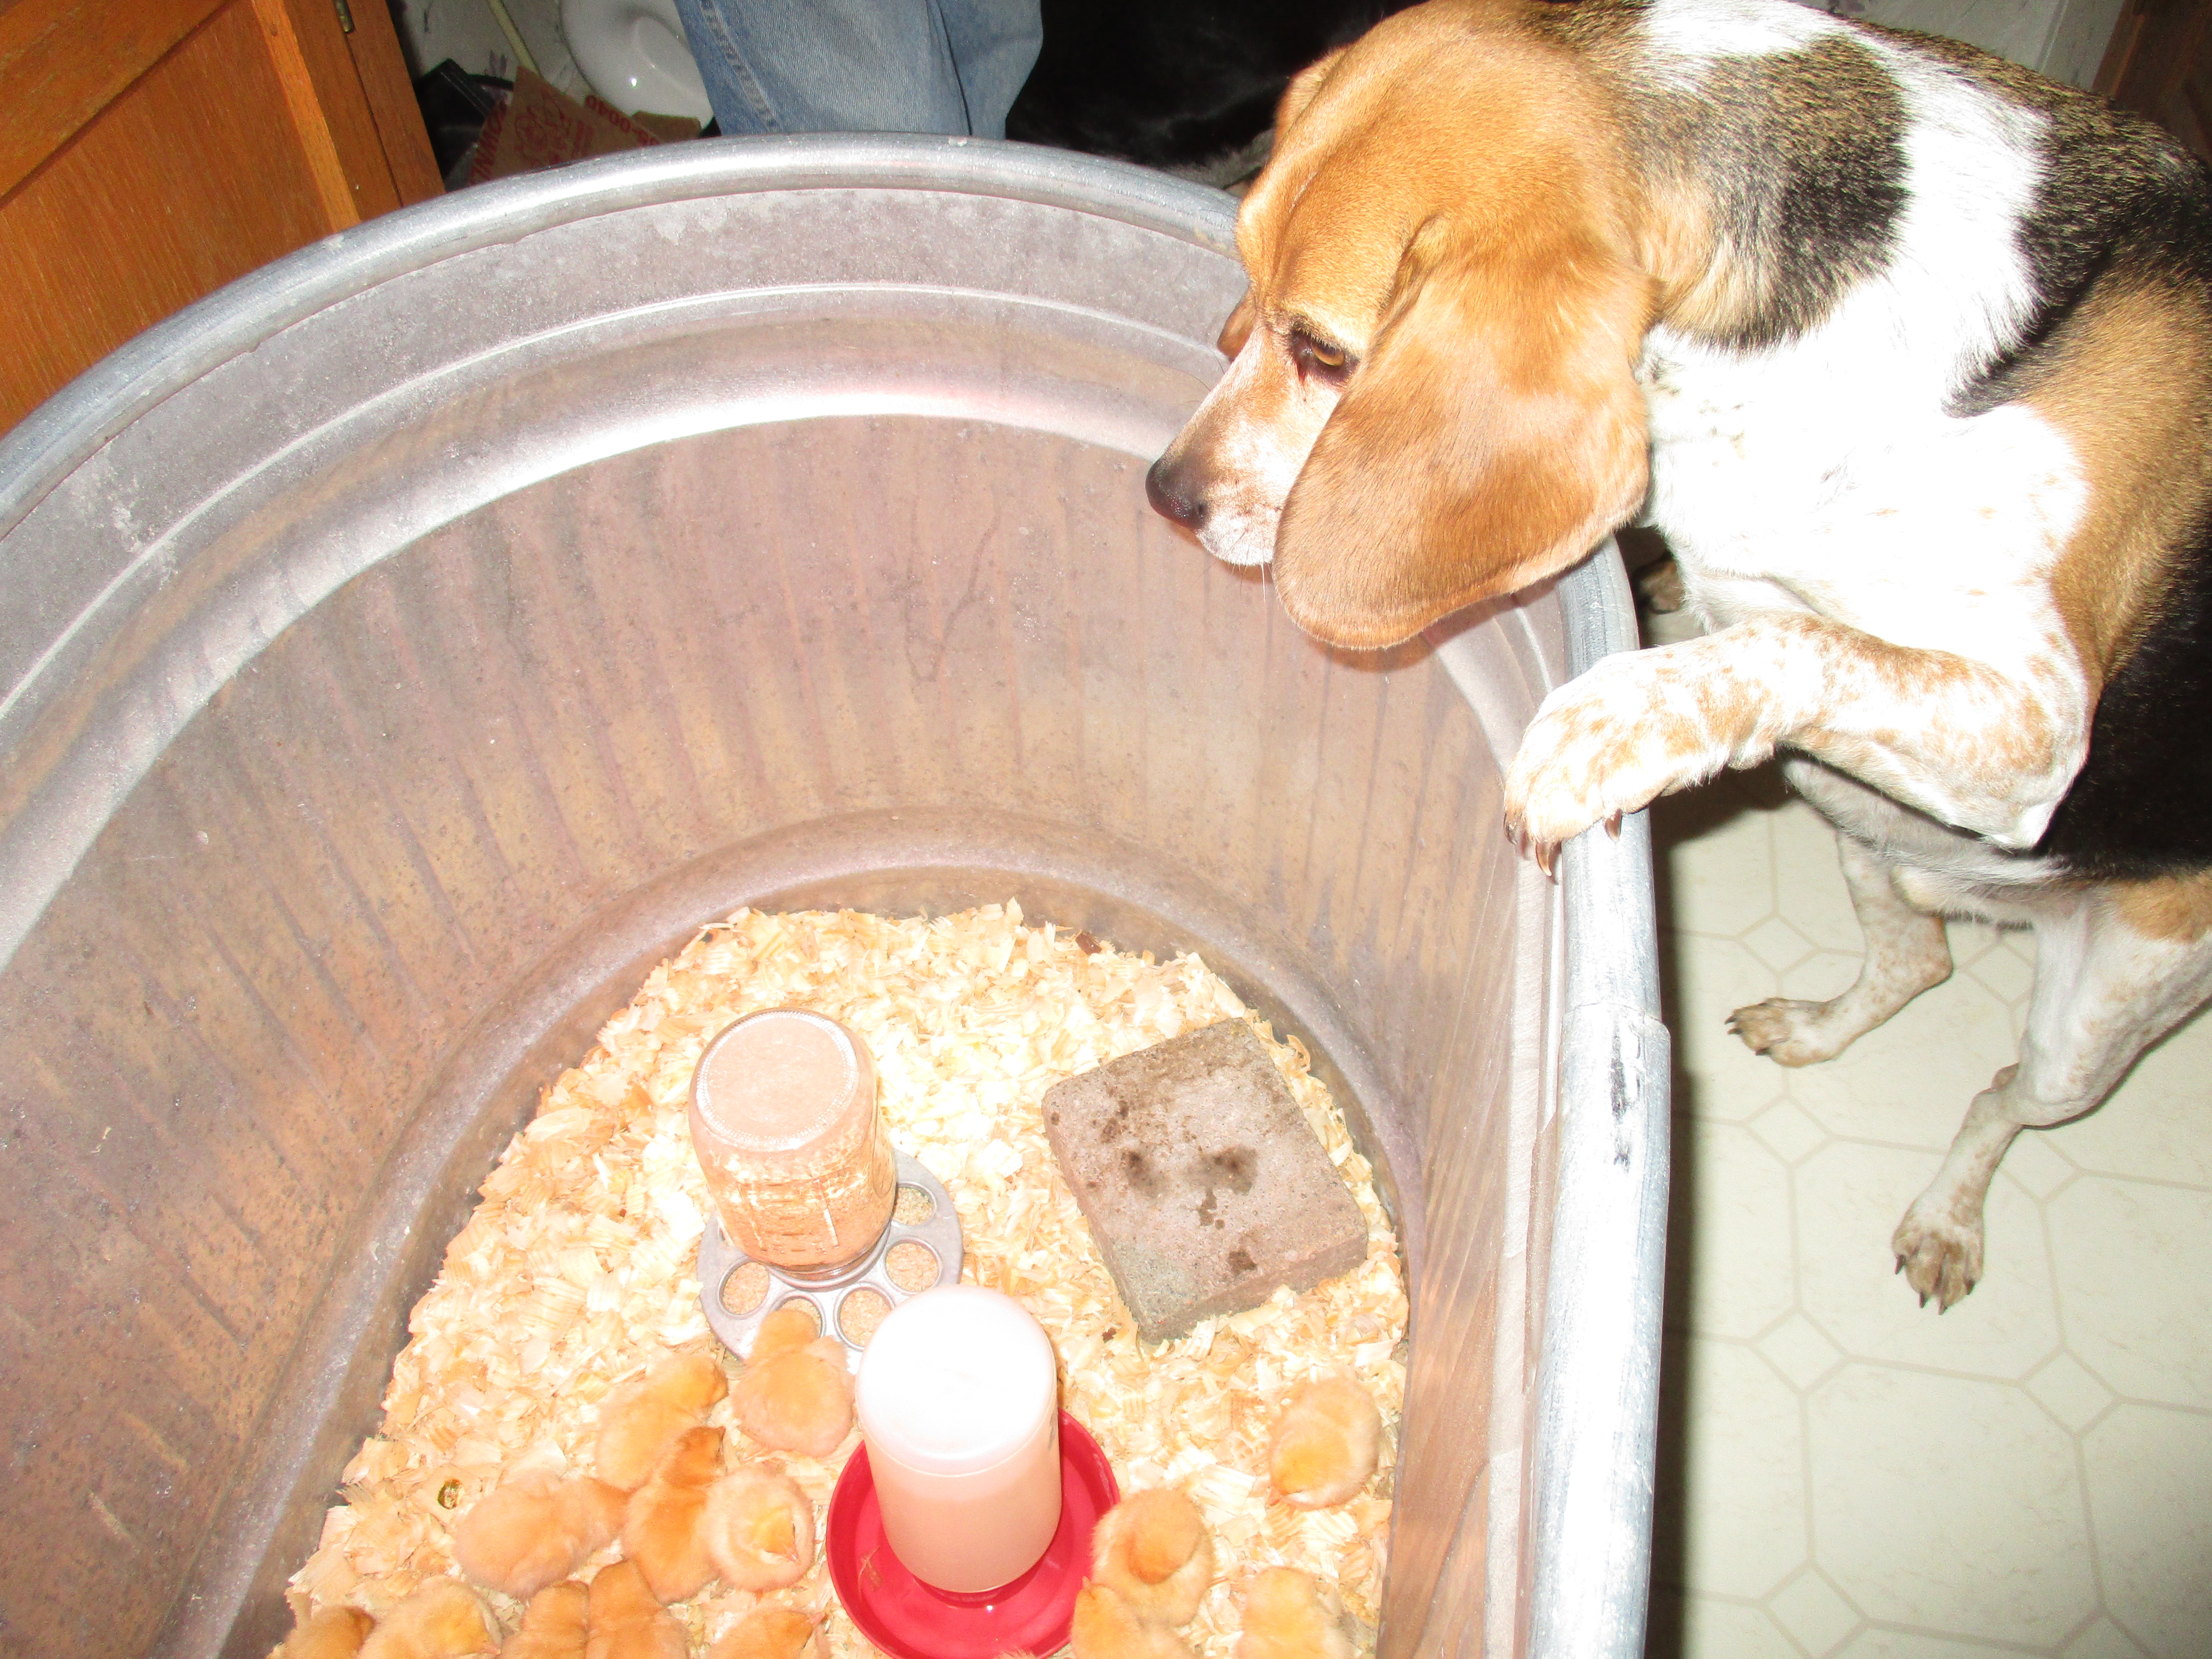
Many of them have gotten their new feathers in but won’t start laying again until the days become longer. For now we are still getting one or two eggs every other day. I’m thankful that my daughter and son-in-law have a new flock this year who won’t molt and should continue to lay through the winter. Hopefully I can get my eggs from them.
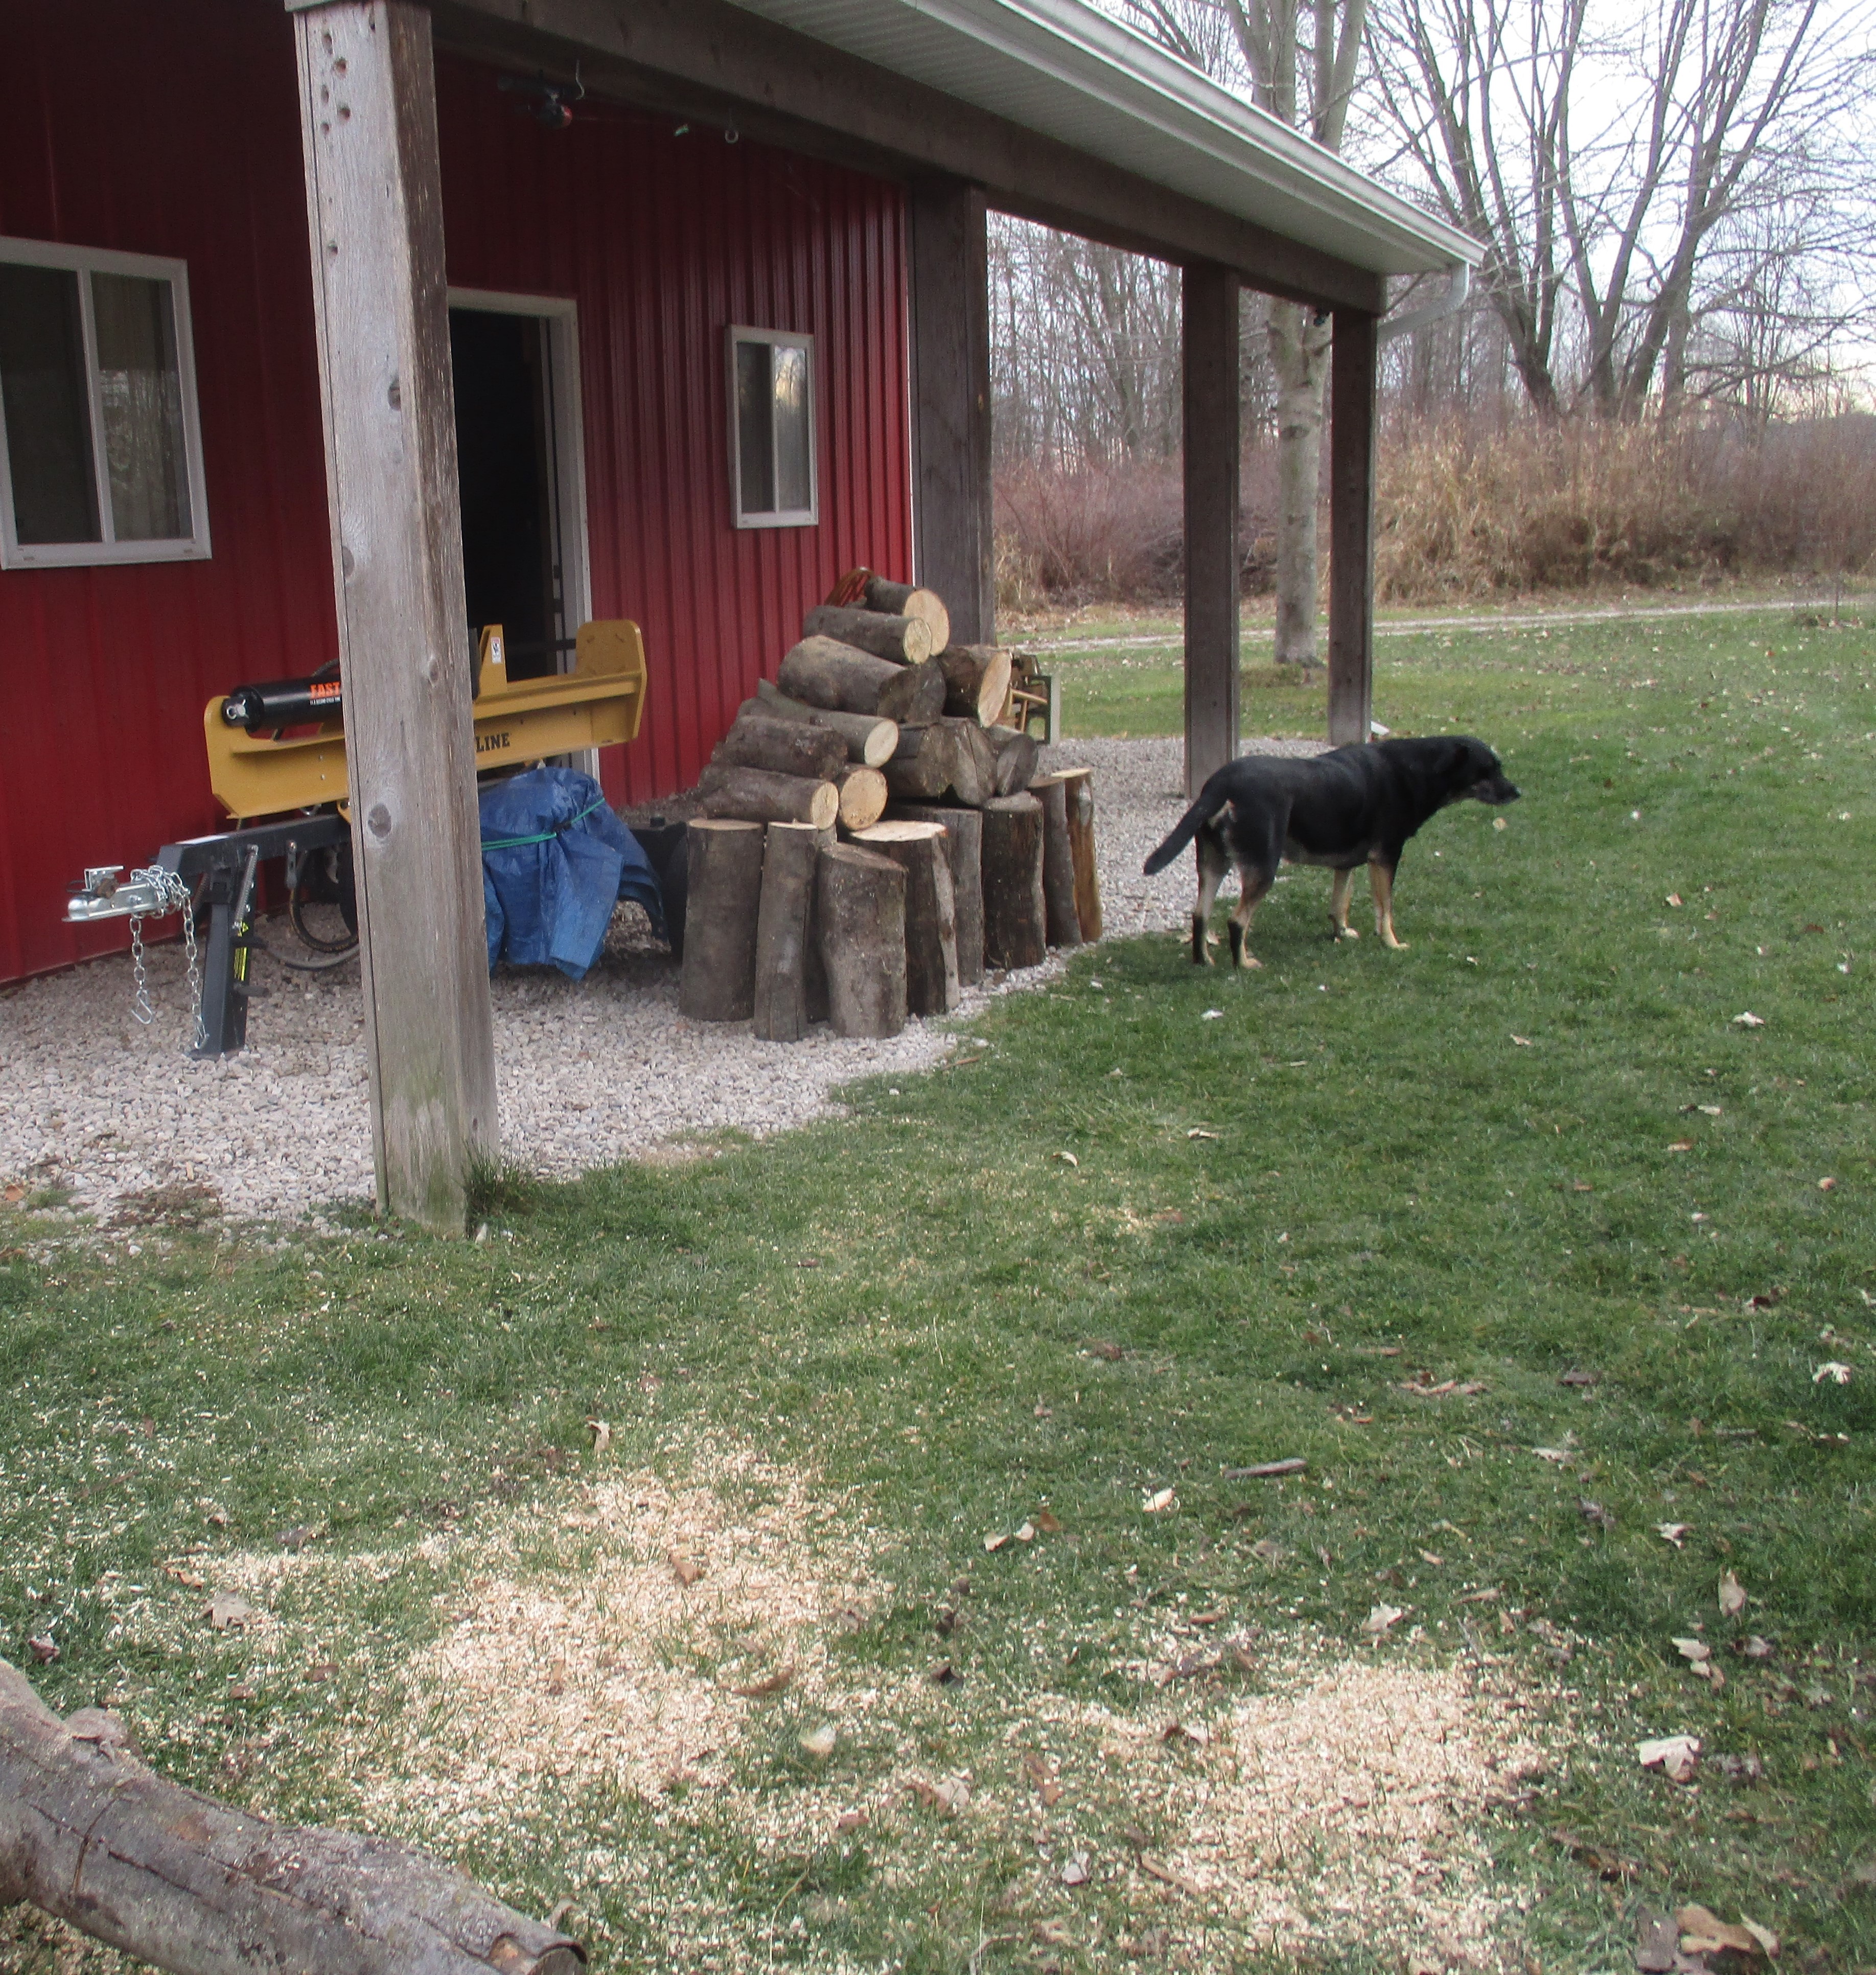
There isn’t a lot of work to be done at the farm this time of year but my husband has been working on cutting and splitting firewood. The large maple logs have been seasoning for two years so are ready to be split and burned. He had a stack cut and ready to be split.
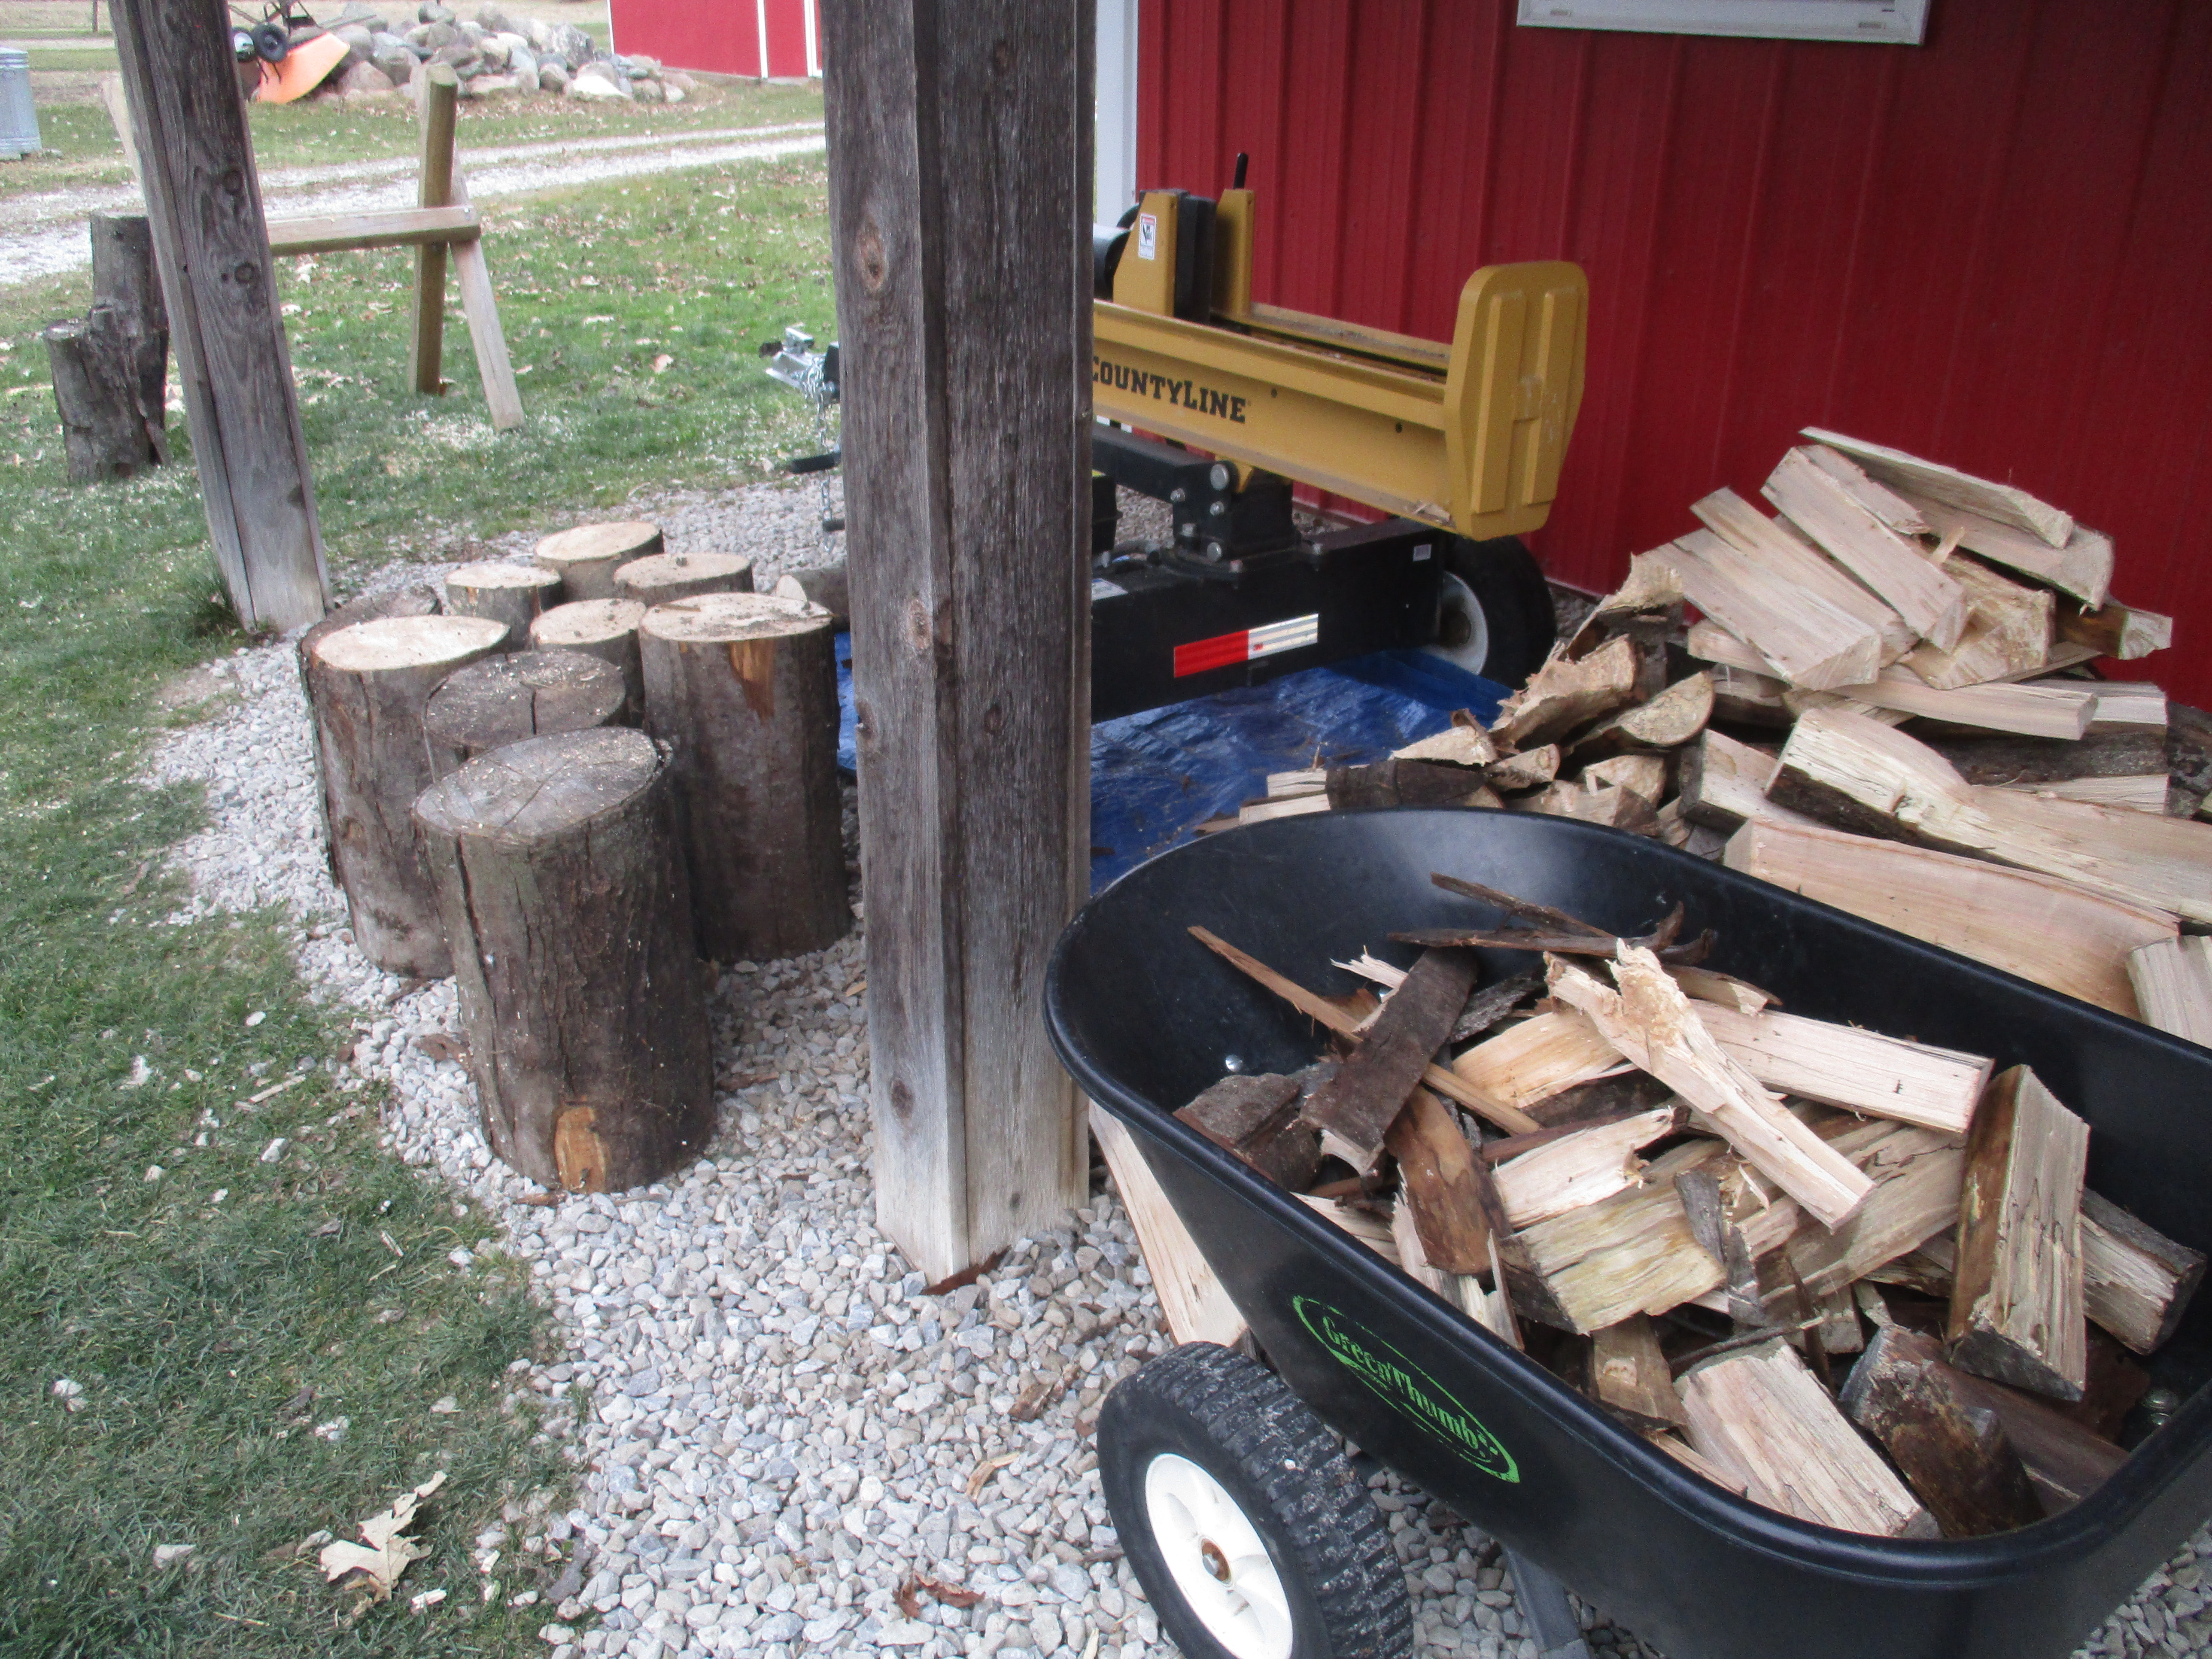
We worked together – he placing the log on the splitter, me operating the lever, both of us removing the split logs and tossing them on the pile.
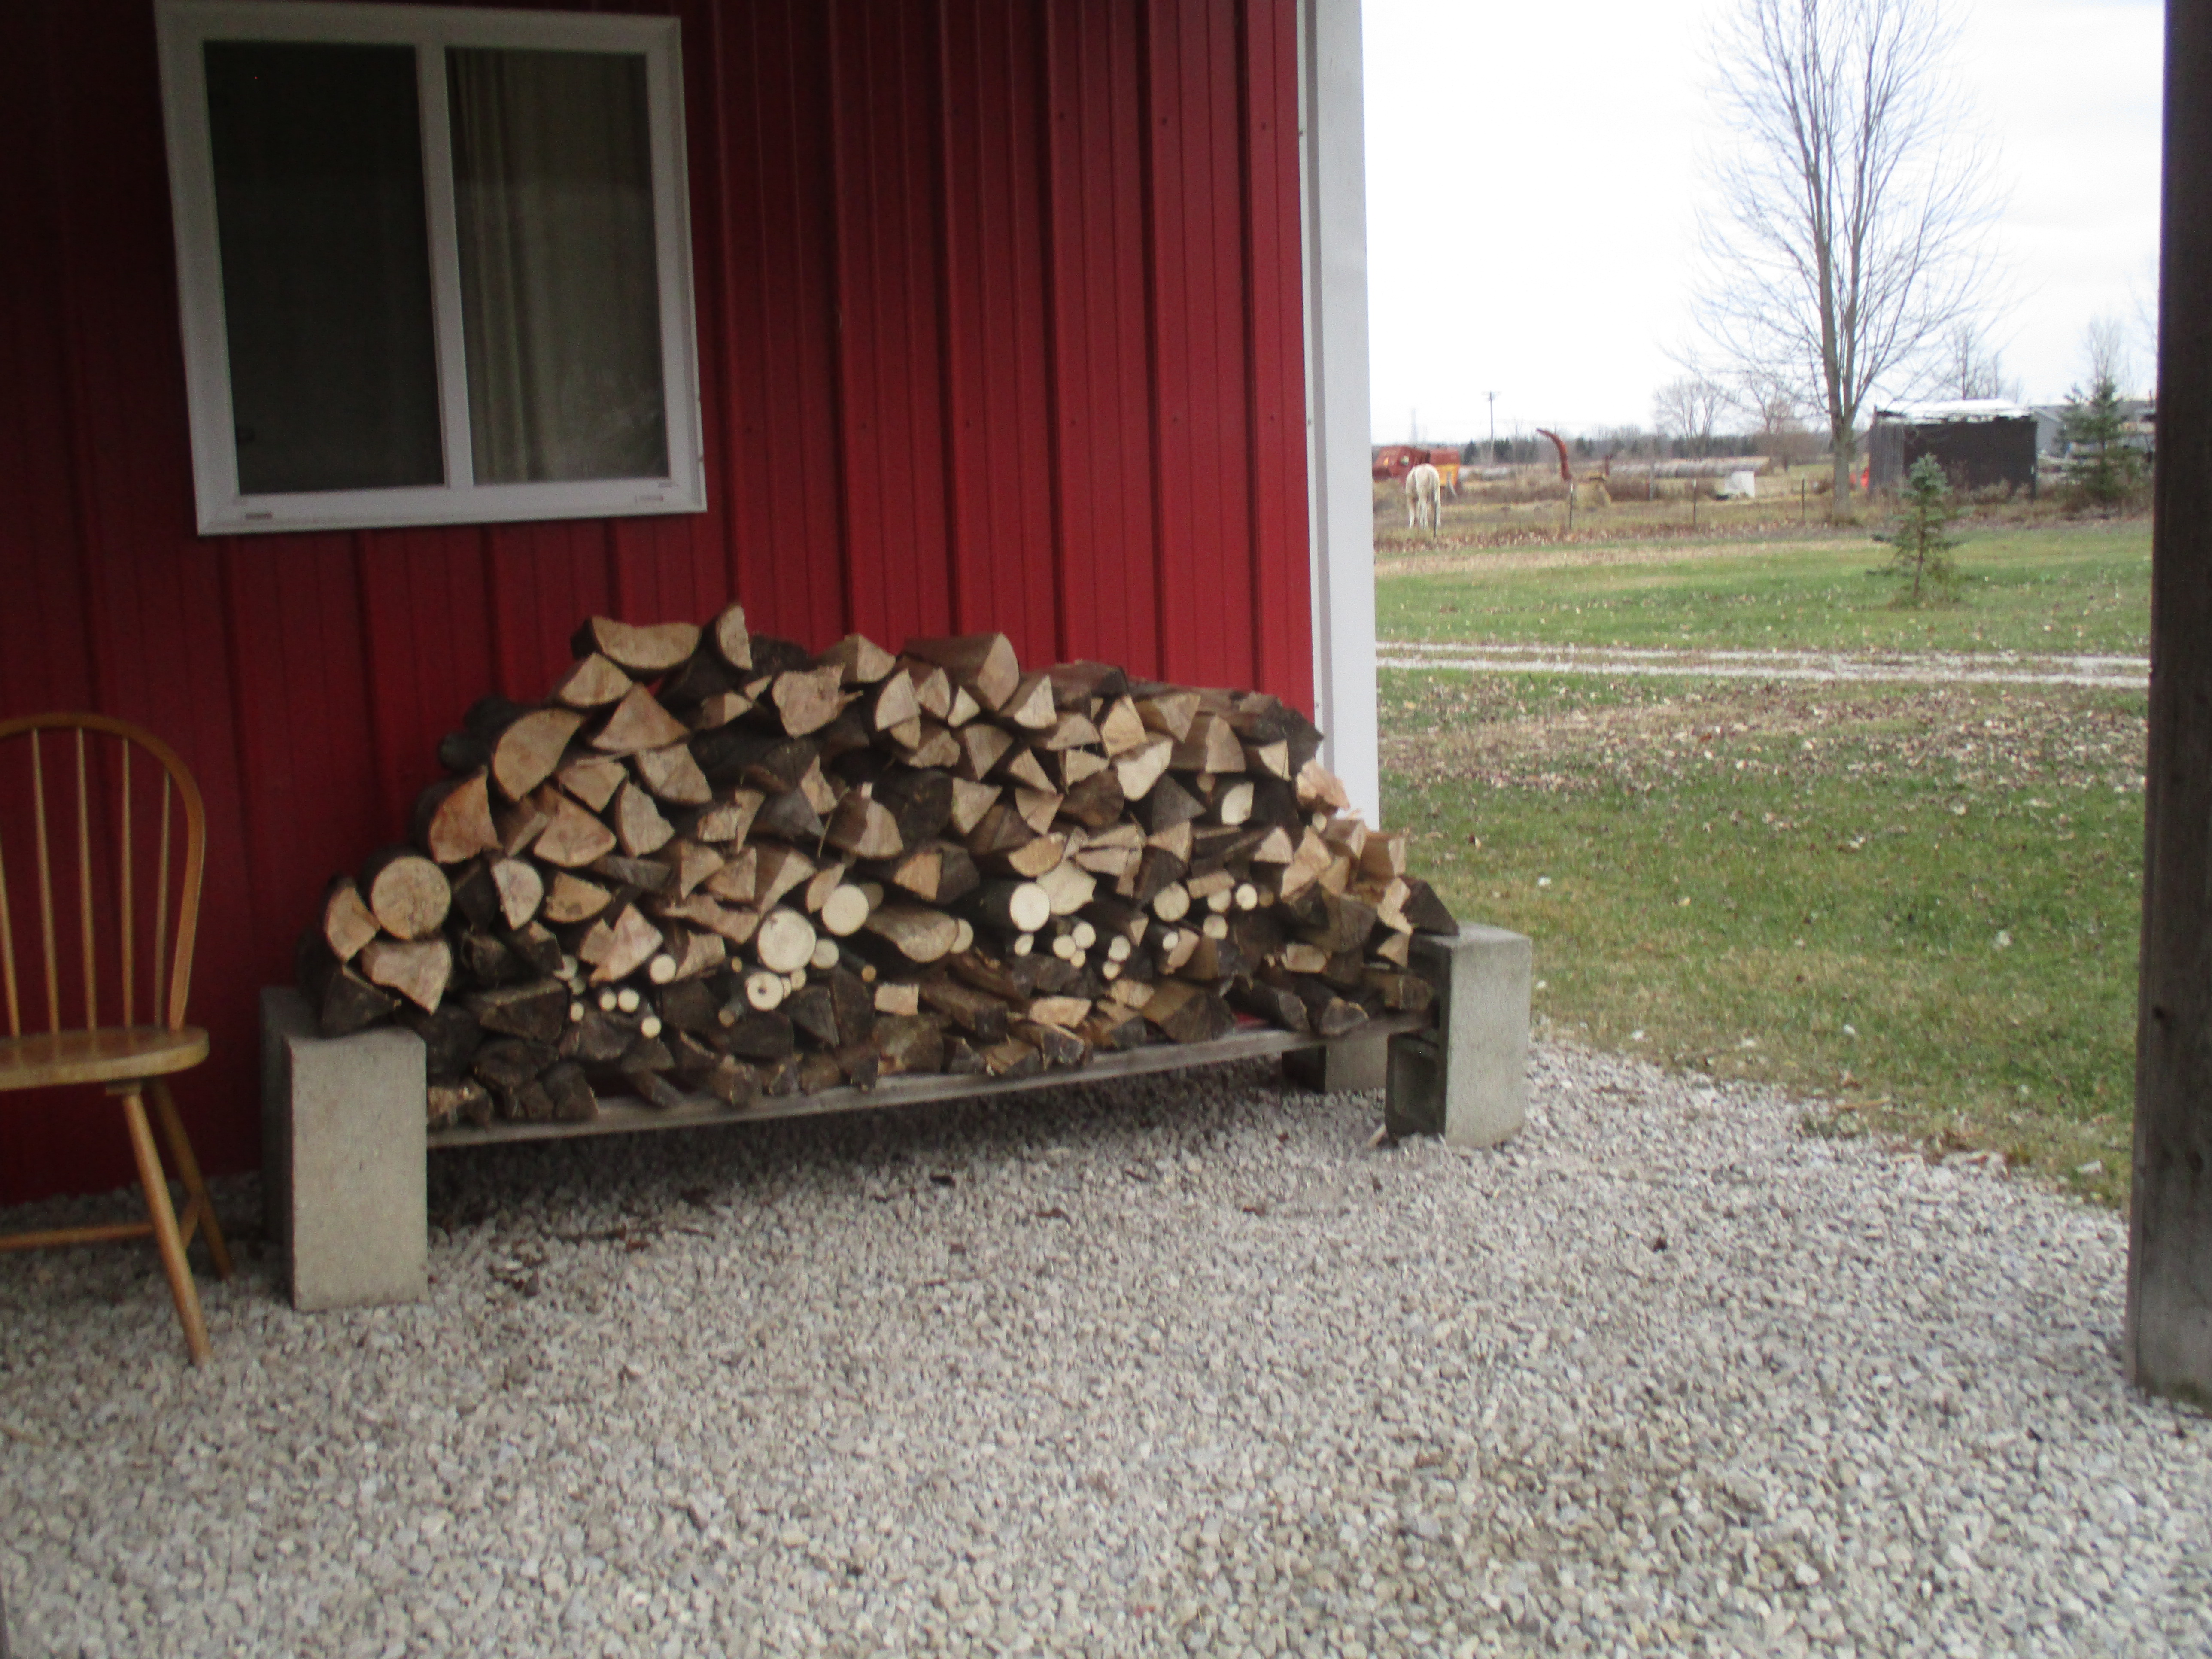
We also worked together to stack the wood once we had it split. We are so thankful for the gas-powered log splitter we purchased two years ago. It makes short and easy work of the task of splitting firewood.
Now as my husband and I prepare to watch the Detroit Lions Thanksgiving Day Game, I wish you all many blessings and a Happy Thanksgiving for those of you who are celebrating today.
GO LIONS!