It’s been over three weeks since I my last post. This has been the longest period in between posts since I started this blog in May of 2015. Even though I am still dealing with pain and numbness in my right arm, due to a pinched nerve, I think it’s time to start writing again or at least let readers know I’m still alive and kicking (click the link for the idiom reference).
Here’s some bits and pieces from the last three weeks.
Managing
To address my pinched nerve I have continued to receive chiropractic adjustments twice a week, I have been doing daily exercises or stretches and taking some supplements to help relieve the pain. I have been able to maintain most of my regular activities. Sitting at my computer is still the most painful activity. In fact, right now my computer has literally become a laptop and I am sitting in my recliner while I tap away at the keys. Sleeping has also been difficult. I can usually find one position that is comfortable but when I need to change positions it usually takes a while to find another comfortable position. The other activity that I’ve not been doing is crocheting – thankfully I I was not planning on crocheting Christmas gifts this year.
I have come to accept that this condition is probably the result of decades of bad posture, and it is going to take some time to correct. There is NO quick fix. Meanwhile I’m managing.
Weather Report
Our weather has been like a roller coaster ride. We have had days that are warm and sunny, some that are rainy, on a couple of days we have gotten 2-3 inches of snow that has melted over the next day or two. We even had a windstorm that knocked out our electricity for about 15 hours on Saturday/Sunday.
Christmas Is Coming
Christmas is just over a week away and I’m getting really excited. I have been spending a great deal of my time making Christmas gifts. It’s a good thing that most of the recipients don’t live with me because I would probably just give them out as I finished each one (like I did with my husband) then have nothing to give on Christmas.
I made my husband these boxer shorts, and when I had them finished I couldn’t wait to give them to him. I was so happy to find out that they fit perfectly, and he loves them.
The rest of my homemade gifts this year are also things that I have sewn. At the time of this writing, besides the boxers, I have 7 items that I have completed and only one more to do. Of course, I won’t be posting pictures of those projects until after Christmas because I don’t want to ruin the surprise for those who will receive them.
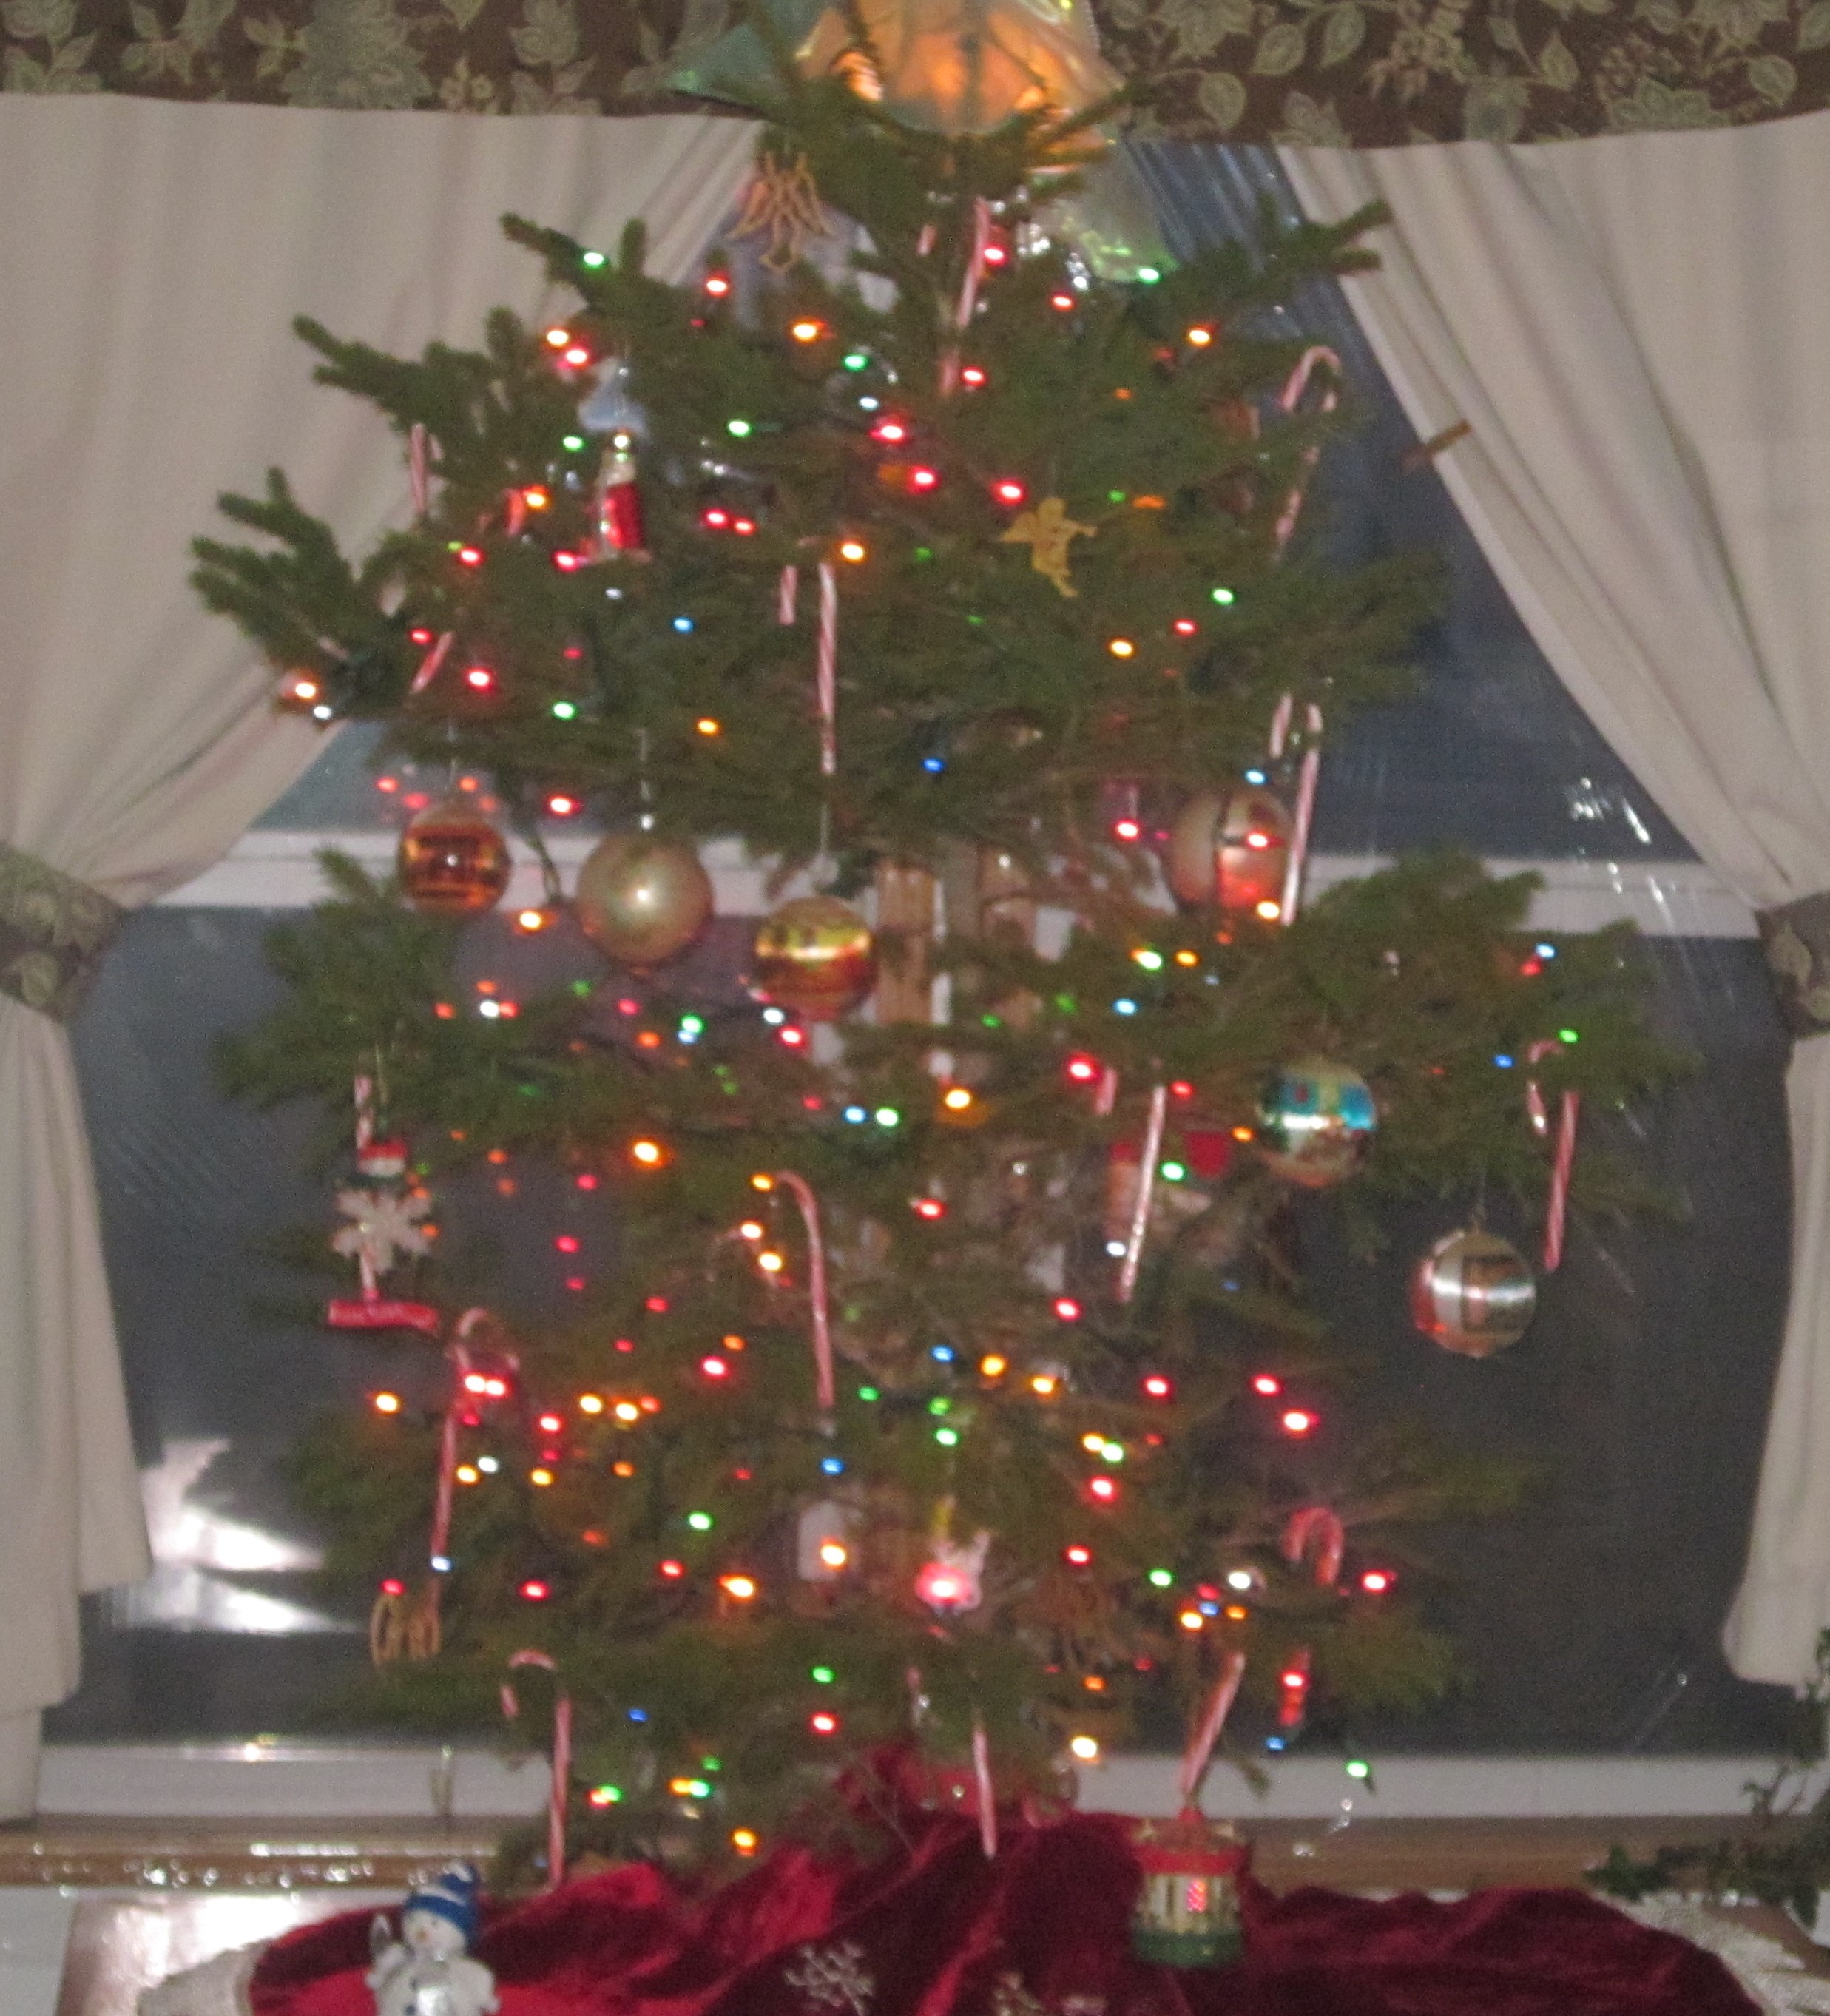
It was a warm day in the first week of December when we went to the farm to pick out our Christmas tree. We walked the perimeter of the back field then up the west property line toward the front, the two areas where most of our spruce trees are planted. We examined each tree, looking at things like its size and shape, as well as how straight its trunk was, and did it have a lot of dry needles.
The Norway spruce that we selected was one of the last ones we looked at. One of my favorite things about this tree is how its branches reach upward as if in joy or praise. I think it is a quite cheery tree.
I’m also getting excited about the New Year. Normally I don’t get very excited about the New Year – it’s just something that happens but last weekend my husband and I were doing some shopping and I spotted this 2022 wall calendar with my verse on it.
I couldn’t resist buying it and am now looking forward to hanging it in my kitchen.
Thanks for visiting.
What have you been up to? Are you looking forward to Christmas?
Last time I posted it really was my intention to be caught up by now, and even do some posts about soap making that one of my readers requested. However, for the last week pain in my back and right arm, due to a pinched nerve, has prevented me from spending much time on my computer. Even sitting at my desk scrolling through articles will trigger the pain. Yesterday I began chiropractic treatment, but because of the holiday tomorrow I will not have a second treatment until Monday. I have also begun a couple of exercises that seem to help relieve the pain, but until I find more relief I’m afraid I will be taking a bit of a blogging break. Hopefully it won’t be long.
To all of my U.S. readers we wish you a very Happy Thanksgiving.
I’ll just leave you with this picture of one of my sewing projects from last week.
My sister gifted me this fabric. As I was wondering what I would do with it she said “You need a Christmas apron don’t you?” So here it is – because everybody needs a Christmas apron – Right?
Once again I’ve fallen behind in blogging. In this post I am sharing some of my activities from the week of November 1st – 7th. I plan to get another post, highlighting November 8th – 14th, up early next week. If all goes as planned I will be caught up. 🙂
Monday Nov 1 – I rendered beef suet into tallow. Suet is raw hard fat found around the loins and kidneys of the cow. For the last few years we have been buying our beef from a local farmer. we purchase a quarter of a cow at a time. Once the cow goes to the butcher or processor I have to call them and give them instructions for cutting and wrapping the meat. At this time I ask to have the suet included in our order. Most people who buy their meat this way to not want the suet so I always have to ask.
Rendering is the process of cleaning the suet. To do this I cut the suet into small pieces. It’s easiest to cut when cold or partially frozen. I then put it in my crock pot on high until it is completely melted.
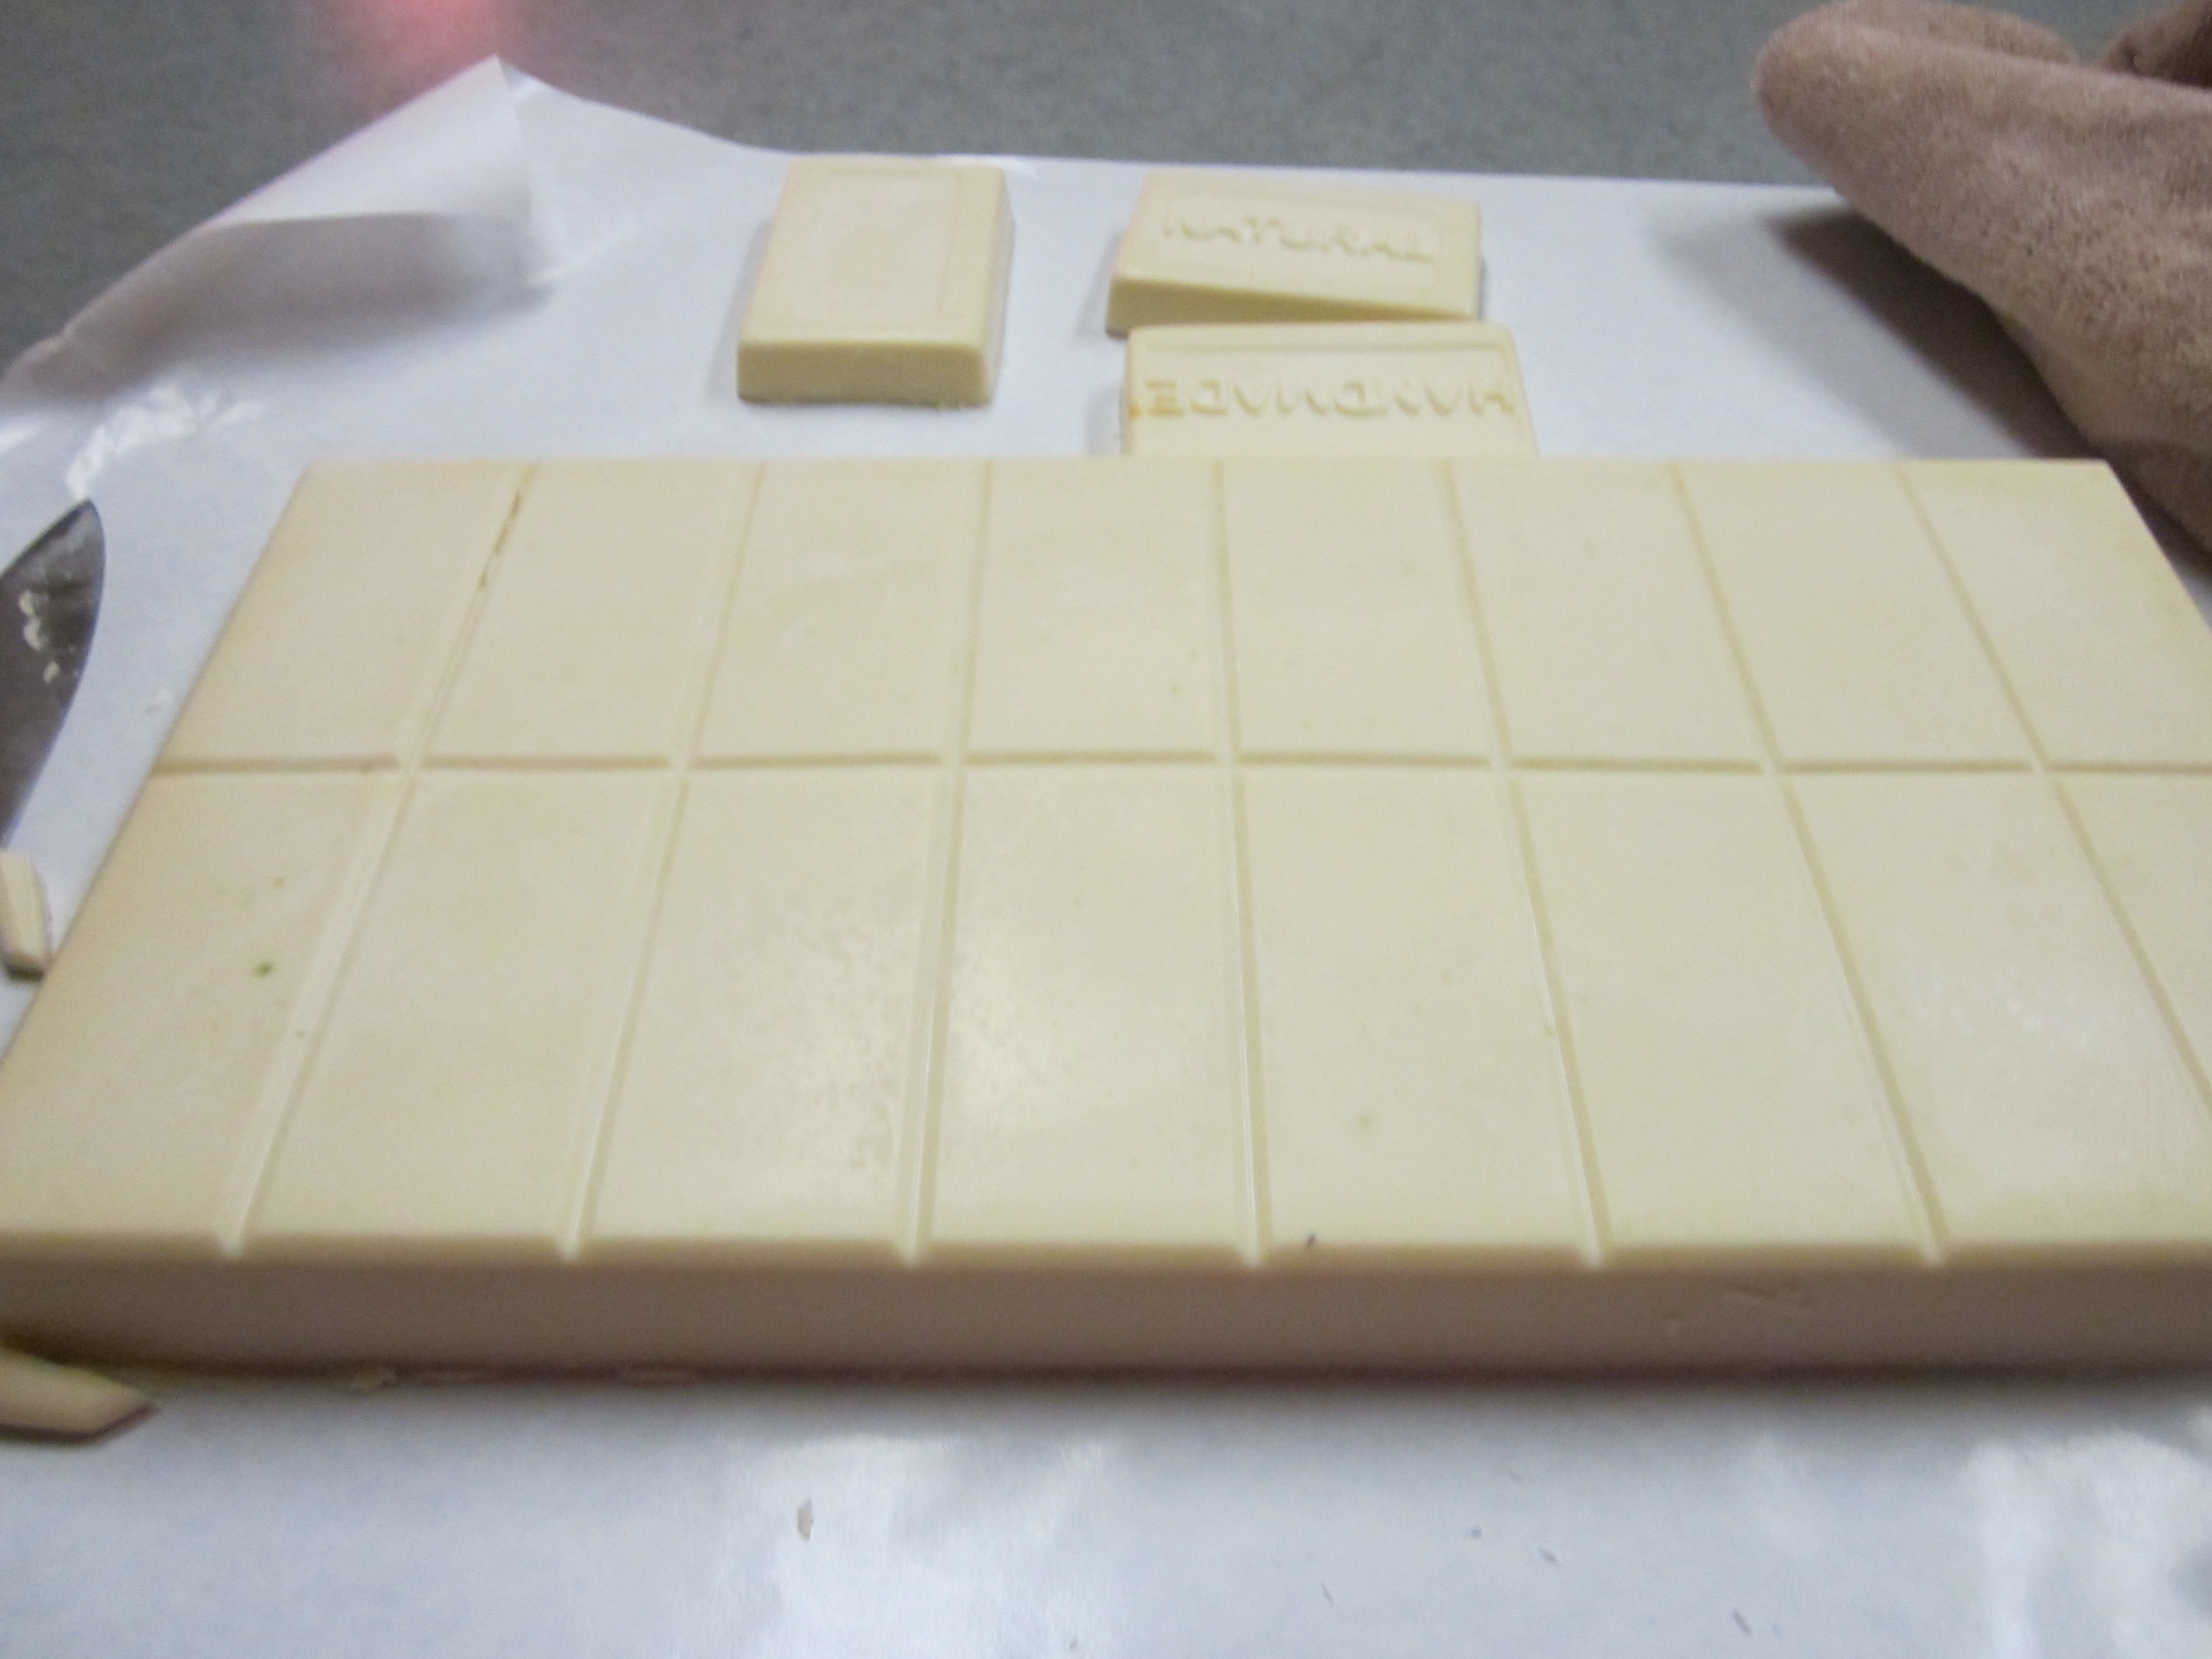
Tuesday, Nov 2 – The suet was still in the melting process Monday when I was ready to go to bed so I just unplugged the crock pot and would finish it on Tuesday. After reheating it I strained the hot fat through 2 or 3 layers of paper towel. When the hot fat (tallow) cools it solidifies and becomes white. (picture above)
Tallow can be used for cooking. (The original McDonald’s french fries were cooked in tallow), candle making and is commonly used for soap making. If you read the ingredients on your store bought bar of soap you won’t see tallow as an ingredient but it is there. It is listed as sodium tallowate which is the result of combining sodium hydroxide (lye) with tallow.
Any solid that are left after rendering the suet are called cracklings. While some people eat these I never have. I decided to feed them to the chickens but my husband said next time don’t bother. When I asked if the chickens did not like them he told me that the chickens would have loved them but instead they were forced to stand by, dining only on bread crusts, as Ranger gobbled up the cracklings.
weighing the tallow
Wednesday, Nov 3 – I made soap. I wanted to use some of the tallow that I just rendered. The recipe I made was an oil combination of 40% coconut oil, 40% tallow and 20% olive oil. This is the first time I used this particular combination so I’ll try to remember to report how it turns out. It will be about 6 weeks before it is ready. I also added aloe to this batch.
Thursday Nov 4 – I did my dad’s grocery shopping. He orders his groceries online then I picked them up from the store. I then went to the dollar store and picked up a few things that he prefers to get from there. I delivered the groceries to dad and helped him with a few chores.
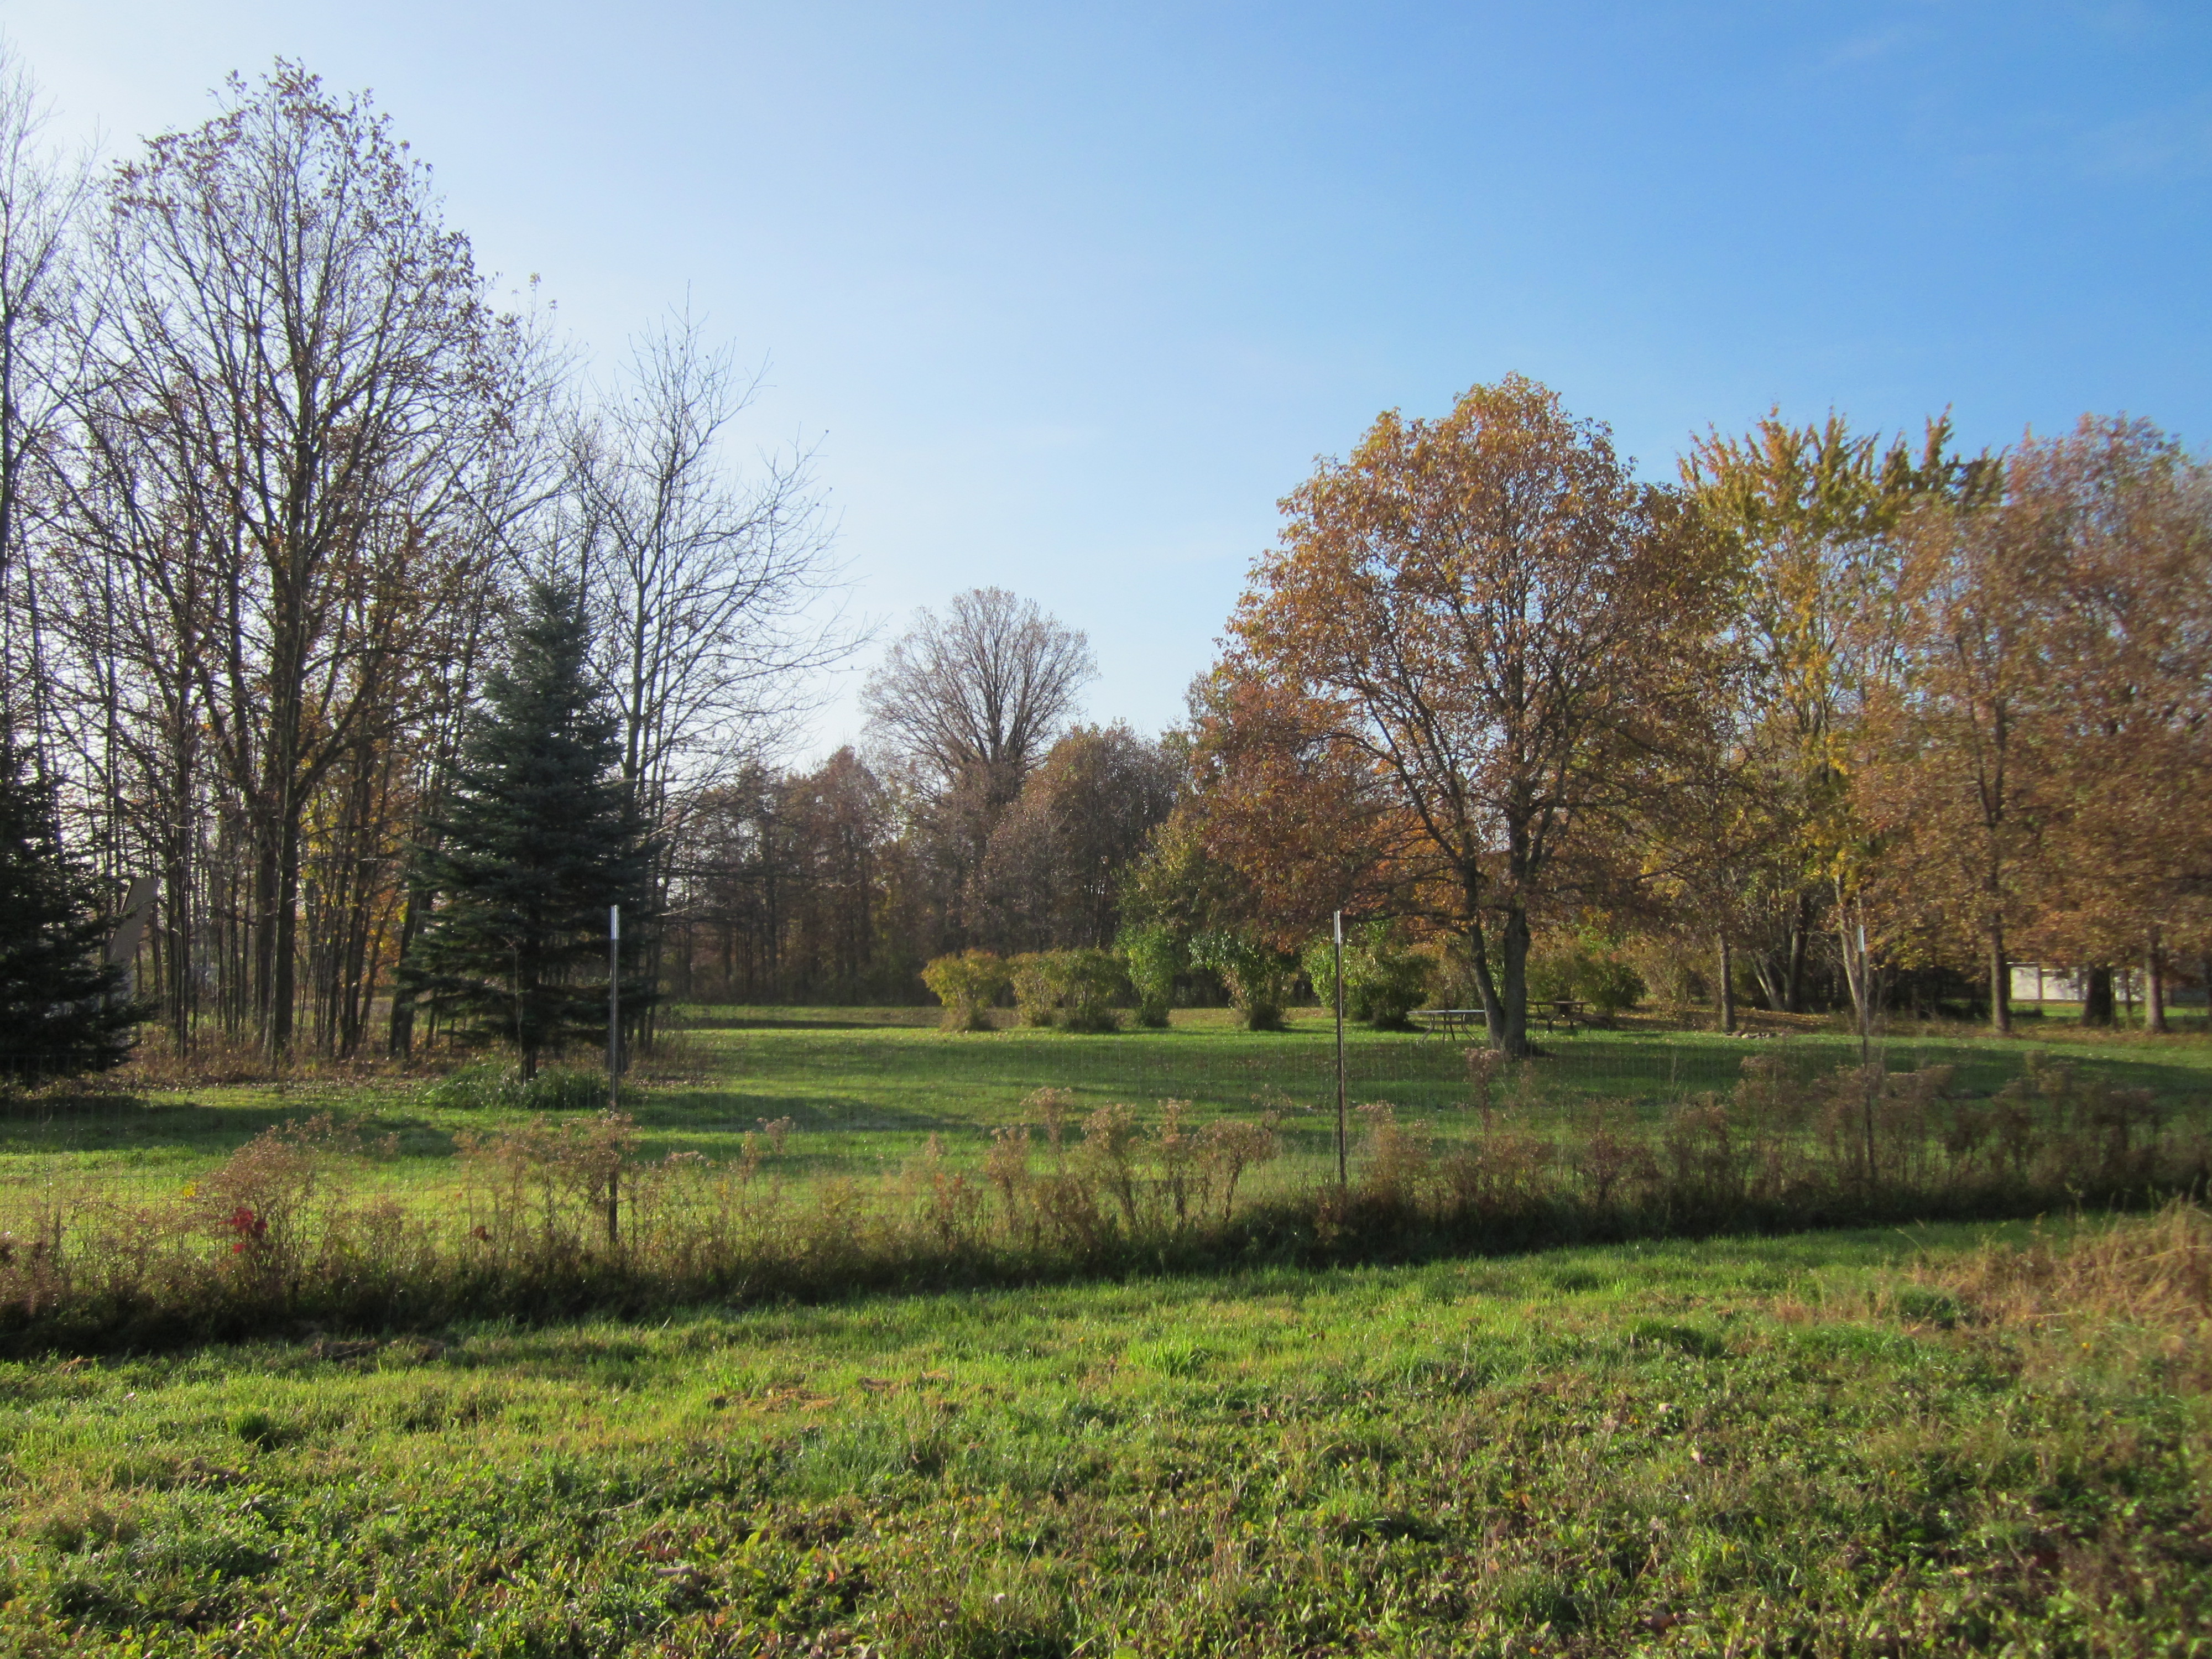
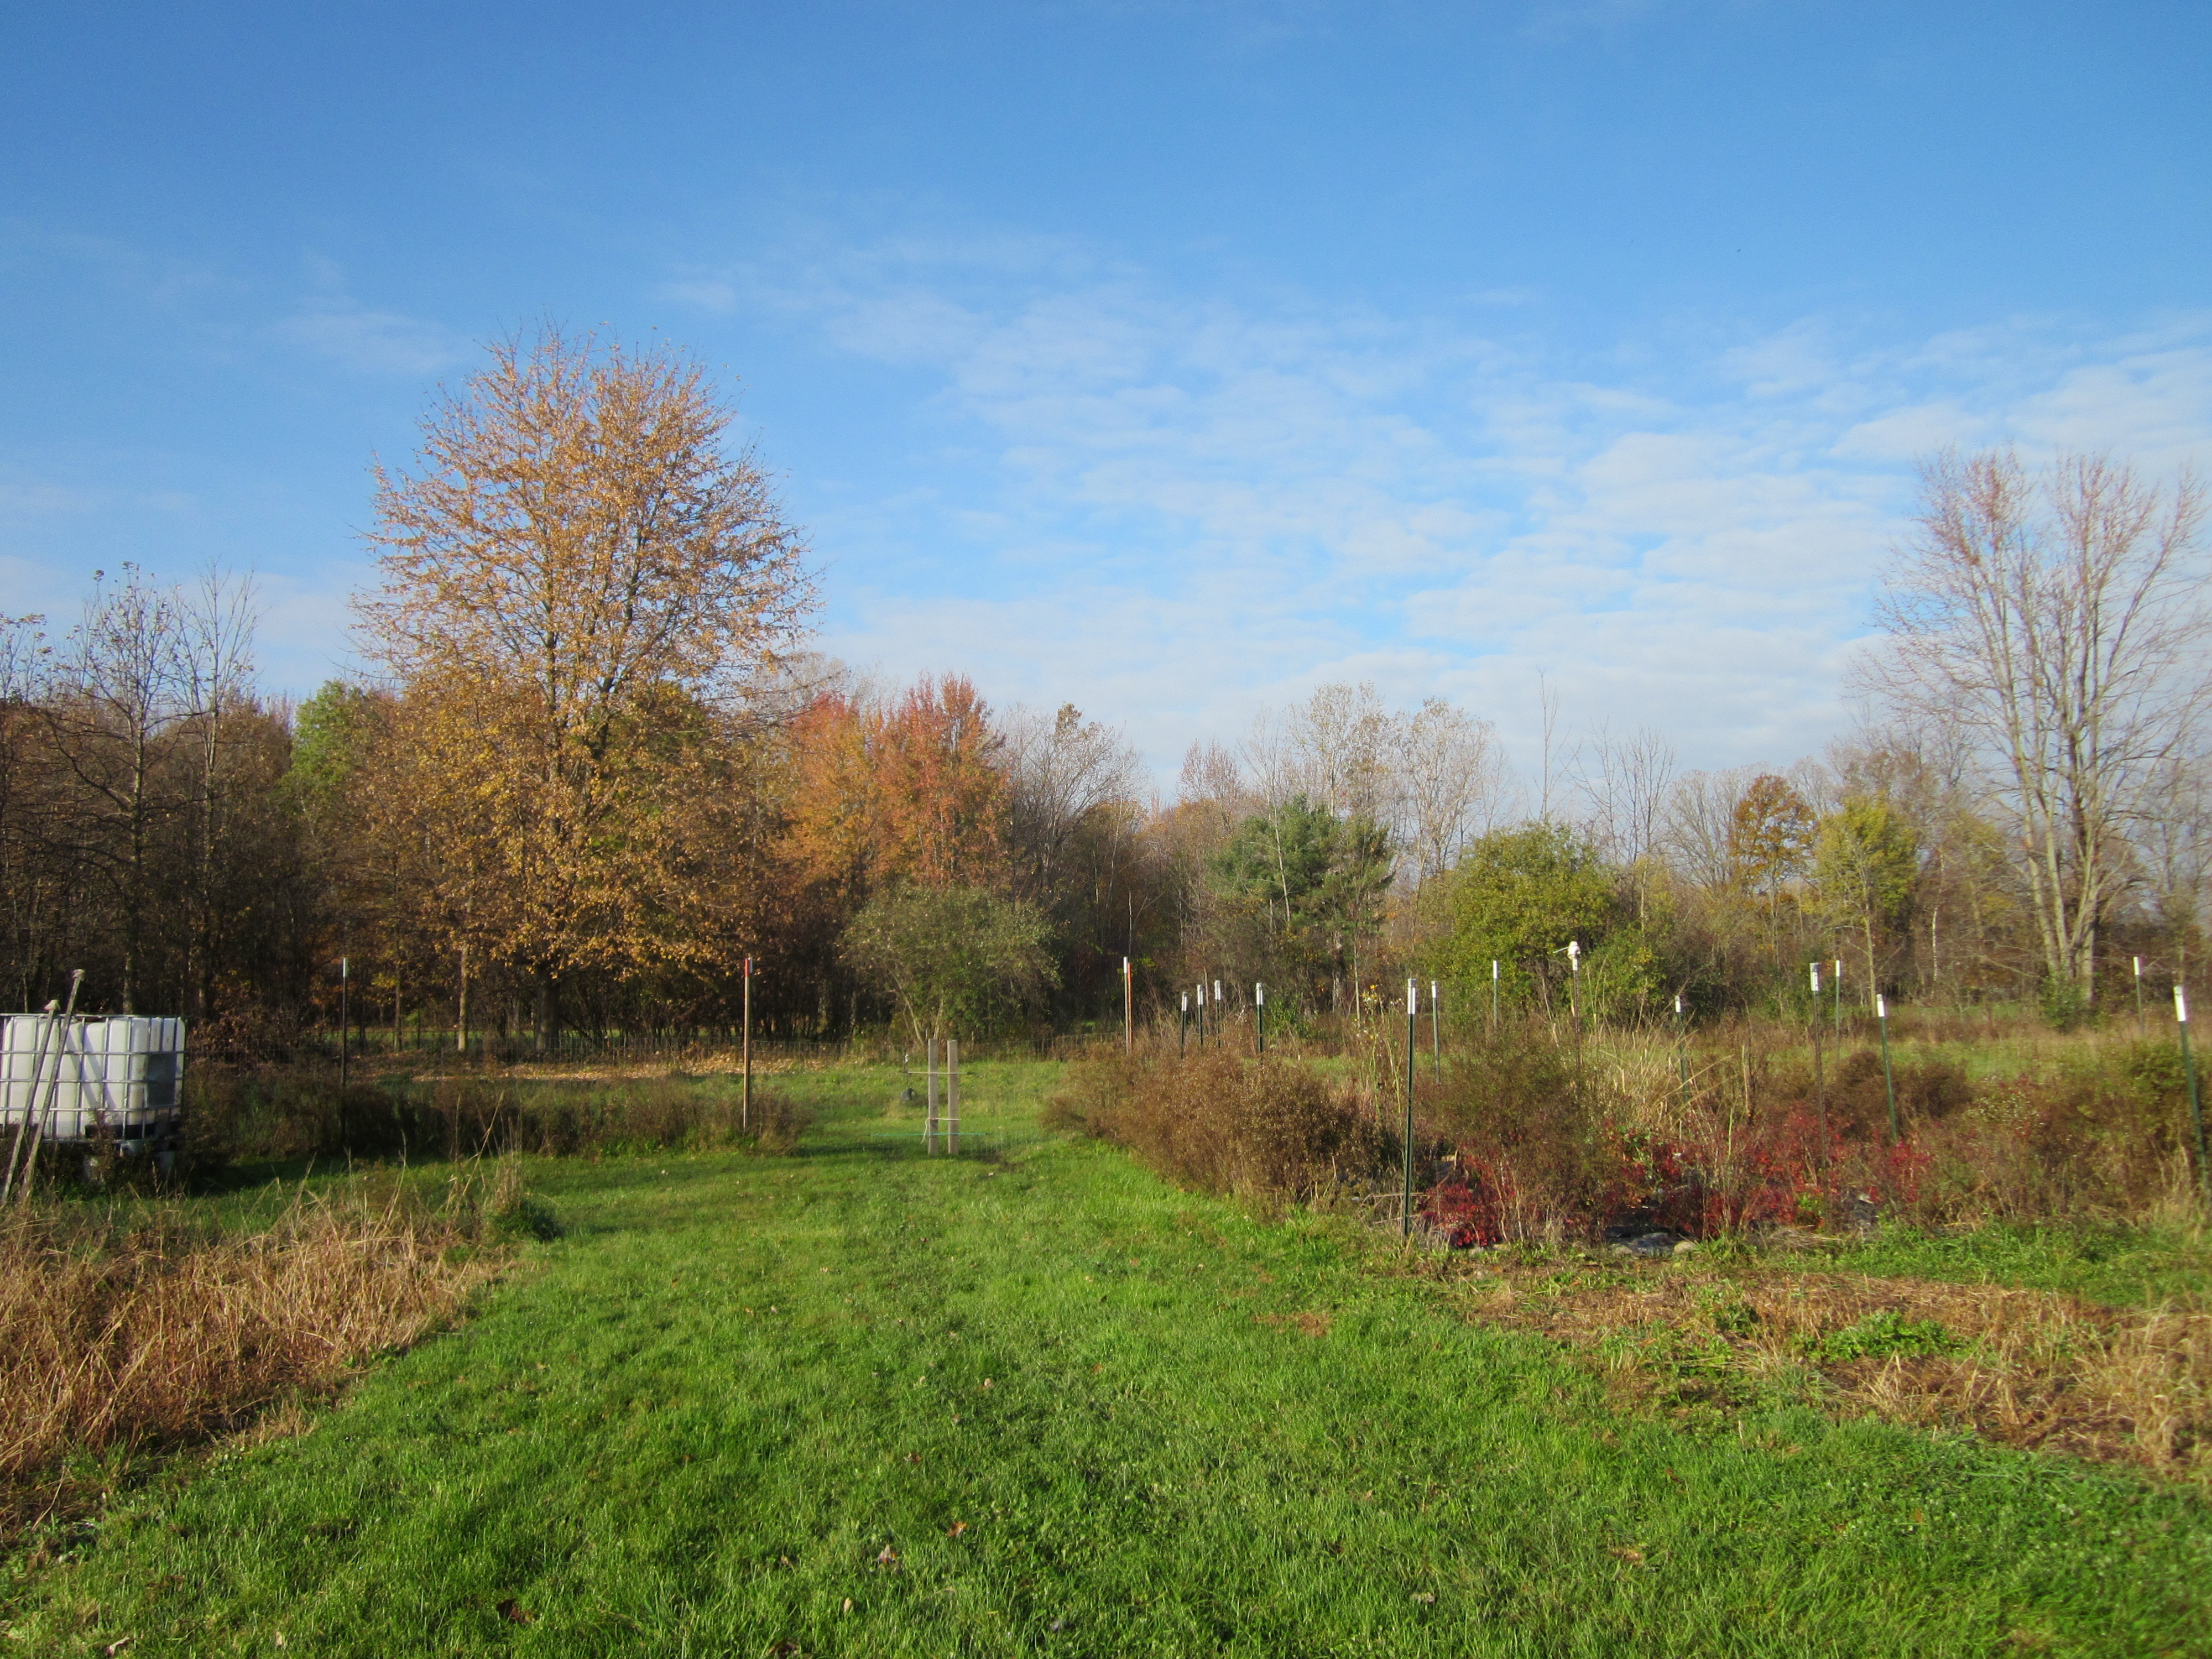
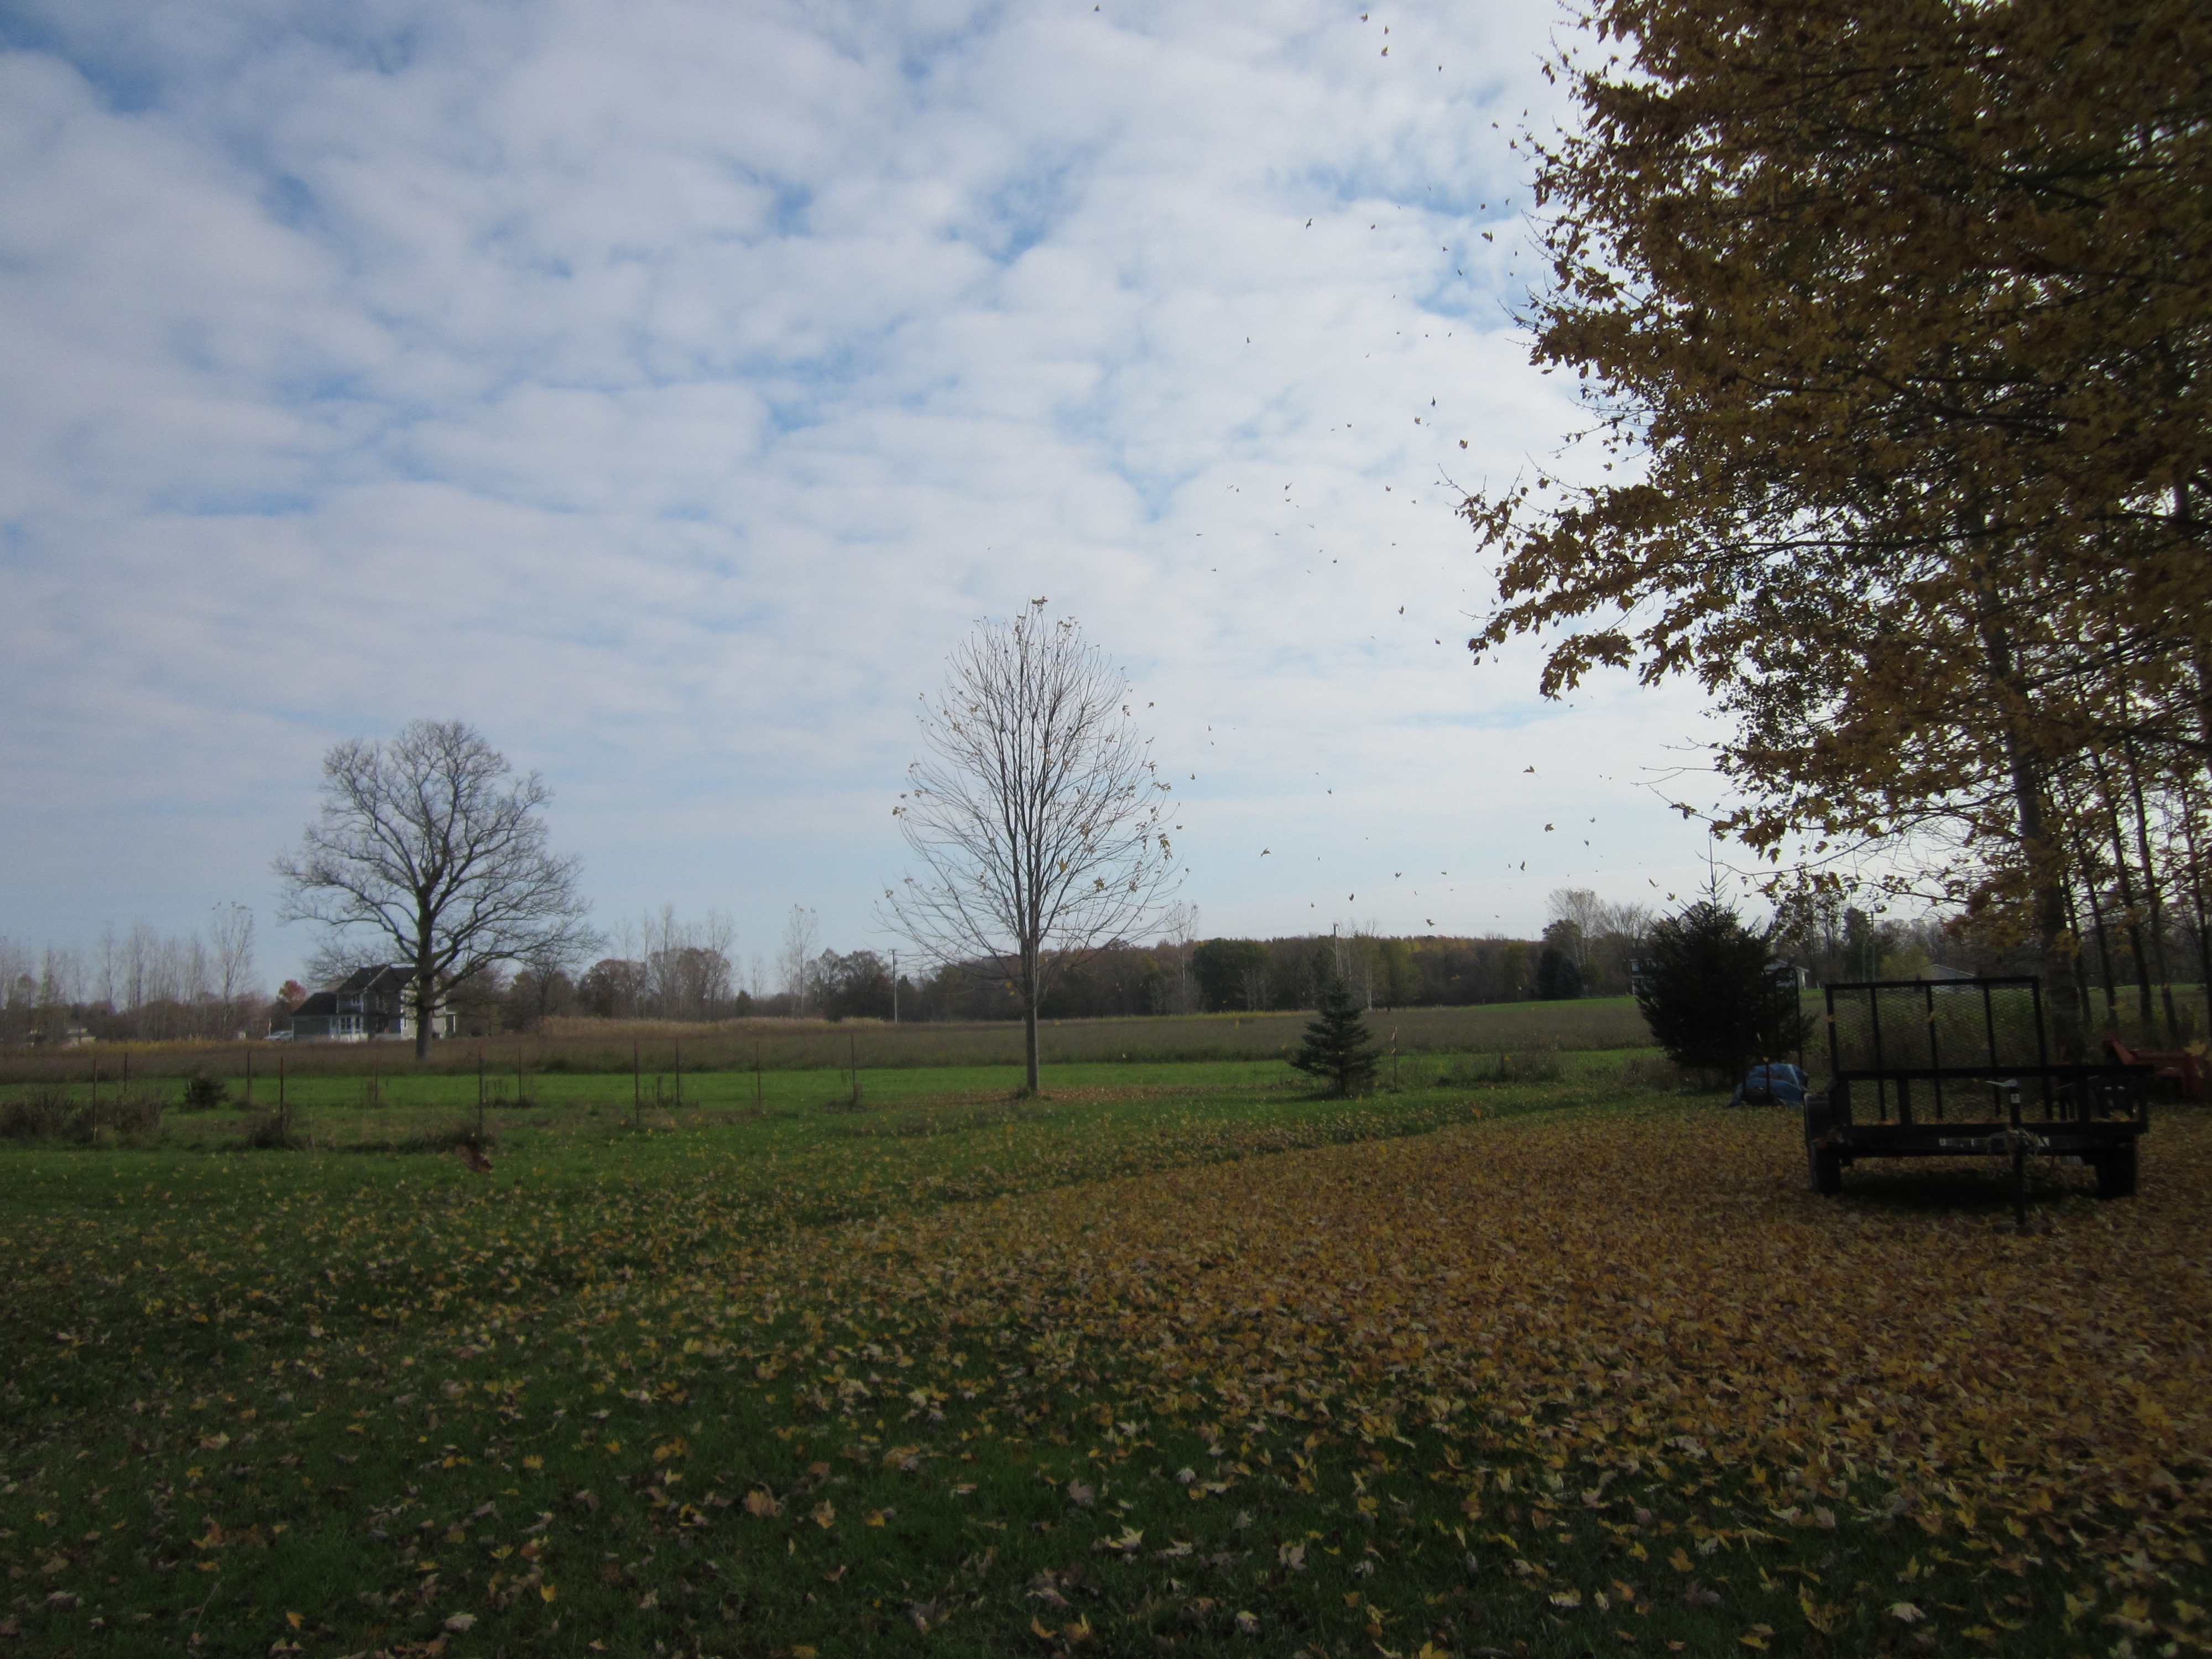
Friday Nov 5 – I took the boys out for their morning walk at the farm.
It was a beautiful fall morning. When we went out, around 10:00 A.M., the sun had melted the heavy frost that had blanket the area in the early morning hours. Our feet/shoes got wet as we tromped though the grass.
The breeze, if any, was gentle.
I observed moments when a single, random, tree would suddenly drop a shower of leaves.
It was and interesting phenomenon as the trees seemed to be taking turns.
Many leaves were still holding on. Fall is not over yet. 🙂
Saturday November 6 – My sister visited.
I still have one sister who lives near-by and we have been trying to block off some time, at least once a month, to spend together.
Last month when I visited her house I returned two bags of books that she had given me earlier this year. They had been passed onto her by our other sister and most she had not read yet. As I packed the books to return to her I stuck slips of paper into some, labeling them “must read” or “good read” so she will know where to start when she digs into this stack of books.
We also looked at different sewing patterns and she showed me some fabrics that she had purchased but wasn’t sure what she would make with them. “Take what you want” she said. There was one flowered print that caught my eye. We agreed that it was beautiful and needed to be made into something but neither of us could decide what. Even though I didn’t have a plan for it I decided to take that piece of fabric.
That fabric nagged at me for a couple of weeks. Because it was a large print I kept thinking that it needed to be turned into a large item of clothing. I searched for patterns for full length skirts and found a few simple ones but I don’t wear skirts very often and I don’t really know anyone who does.
Seemingly out of the blue I remembered the bathrobe pattern that I had. This fabric would make a lovely bathrobe. I bought a contrasting fabric for the trim and decided to make a bathrobe for my sister.
As I was making the robe I would try it on for size and in doing so discovered that as beautiful as this print is it looks horrible on me. Thankfully when my sister put it on it looked gorgeous – elegant, like I had imagined. ” I don’t know if I love it so much that I won’t want to wear it” she said, “or if I love it so much that I will wear it all the time”.
“Wear it all the time!” I told her. That would be the ultimate compliment.
In addition to giving her the robe, I showed her the projects I have planned to make as Christmas gifts. And we solved a few of the world’s problems over lunch. LOL!
Sunday Nov 7 – It was a perfect fall day for being outdoors and I started out by raking leaves.
The maple tree just off our deck had shed most of it’s leaves.
It took about an hour and eight trips with the wheelbarrow to remove the leaves from the front yard.
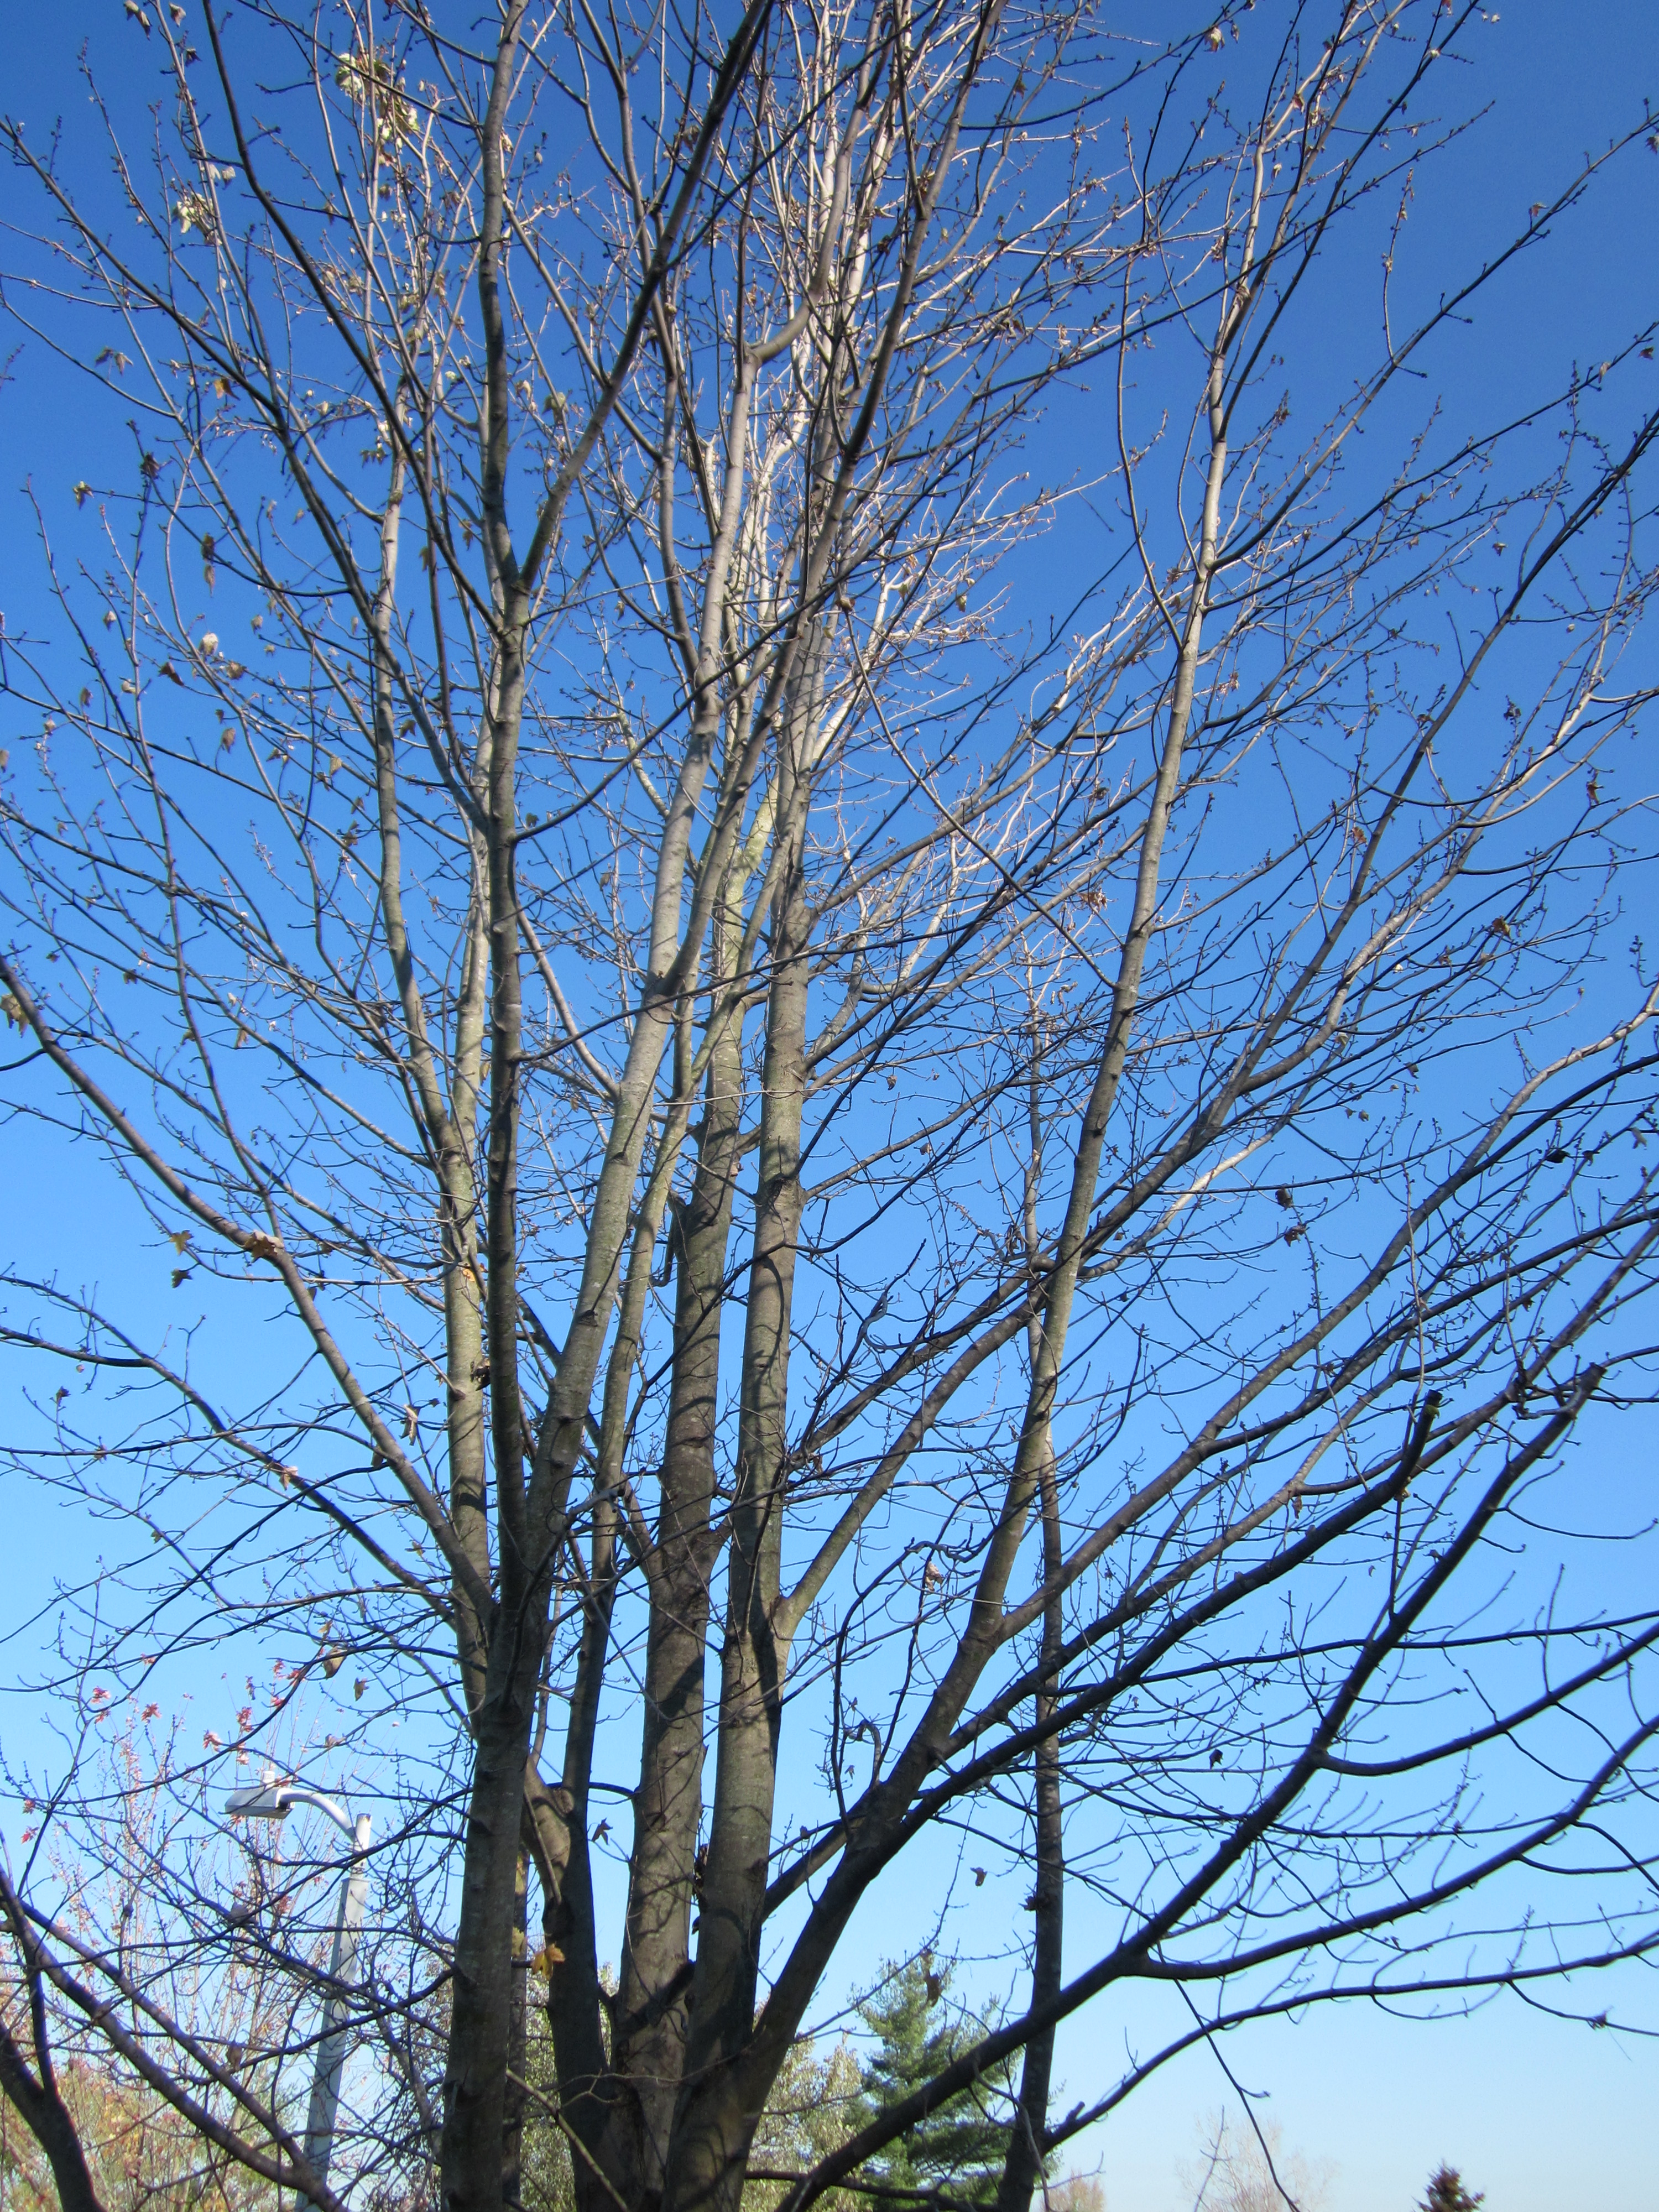
The maple that stands in front of our house was still holding many of her leaves.
As were many of the trees in the woods behind our home. The work is not finished yet.
After lunch I headed to the farm with my husband and the boys (dogs) to plant garlic. Normally we plant garlic around the middle of October. This year the ground has been too wet and muddy to plant, so we have been waiting for things to dry out a bit. We had decided earlier this year that growing garlic to sell is not in our future, so we were only going to grow enough for us and to be able to share some with family. We were able to get about 250 cloves planted, mulched and fenced (so the chickens couldn’t go digging them up). This is the smallest amount we have planted since we began growing garlic in 2013 and it was a breeze compared to years past. Now we can only pray that the weather stays warm enough for the garlic to get a start before the ground freezes. It will be spring before we know if this crop will survive.
When my husband told me that our son-in-law would be stopping by the farm to winterize his bee hive I decided to take along the gifts I made for Jackson and Addy. I had a hoped that the kids would be with him, but even if they weren’t he could take the gifts home for them – just in time for Addy’s (4th) birthday on Monday.
I hadn’t taken pictures of the super hero capes I made for the kids so my husband hung them from a plant hook and held them so I could get some photos.
Addy loves unicorns so one side of her cape was made from this unicorn fabric.
The capes are reversible so the other side of Addy’s was made with this brilliant yellow, orange and white tie-dye fabric.
I wasn’t sure what Jackson’s favorite thing is currently so I selected this superhero(ish) fabric for one side of his cape.
and this outer space type fabric for the other.
I wasn’t able to give the kids their gifts in person but I received a message from my son-in-law that the kids love the capes and that Addy was pretty insistent on wearing hers to bed. 🙂
If I made you a super hero cape what would you want on it?
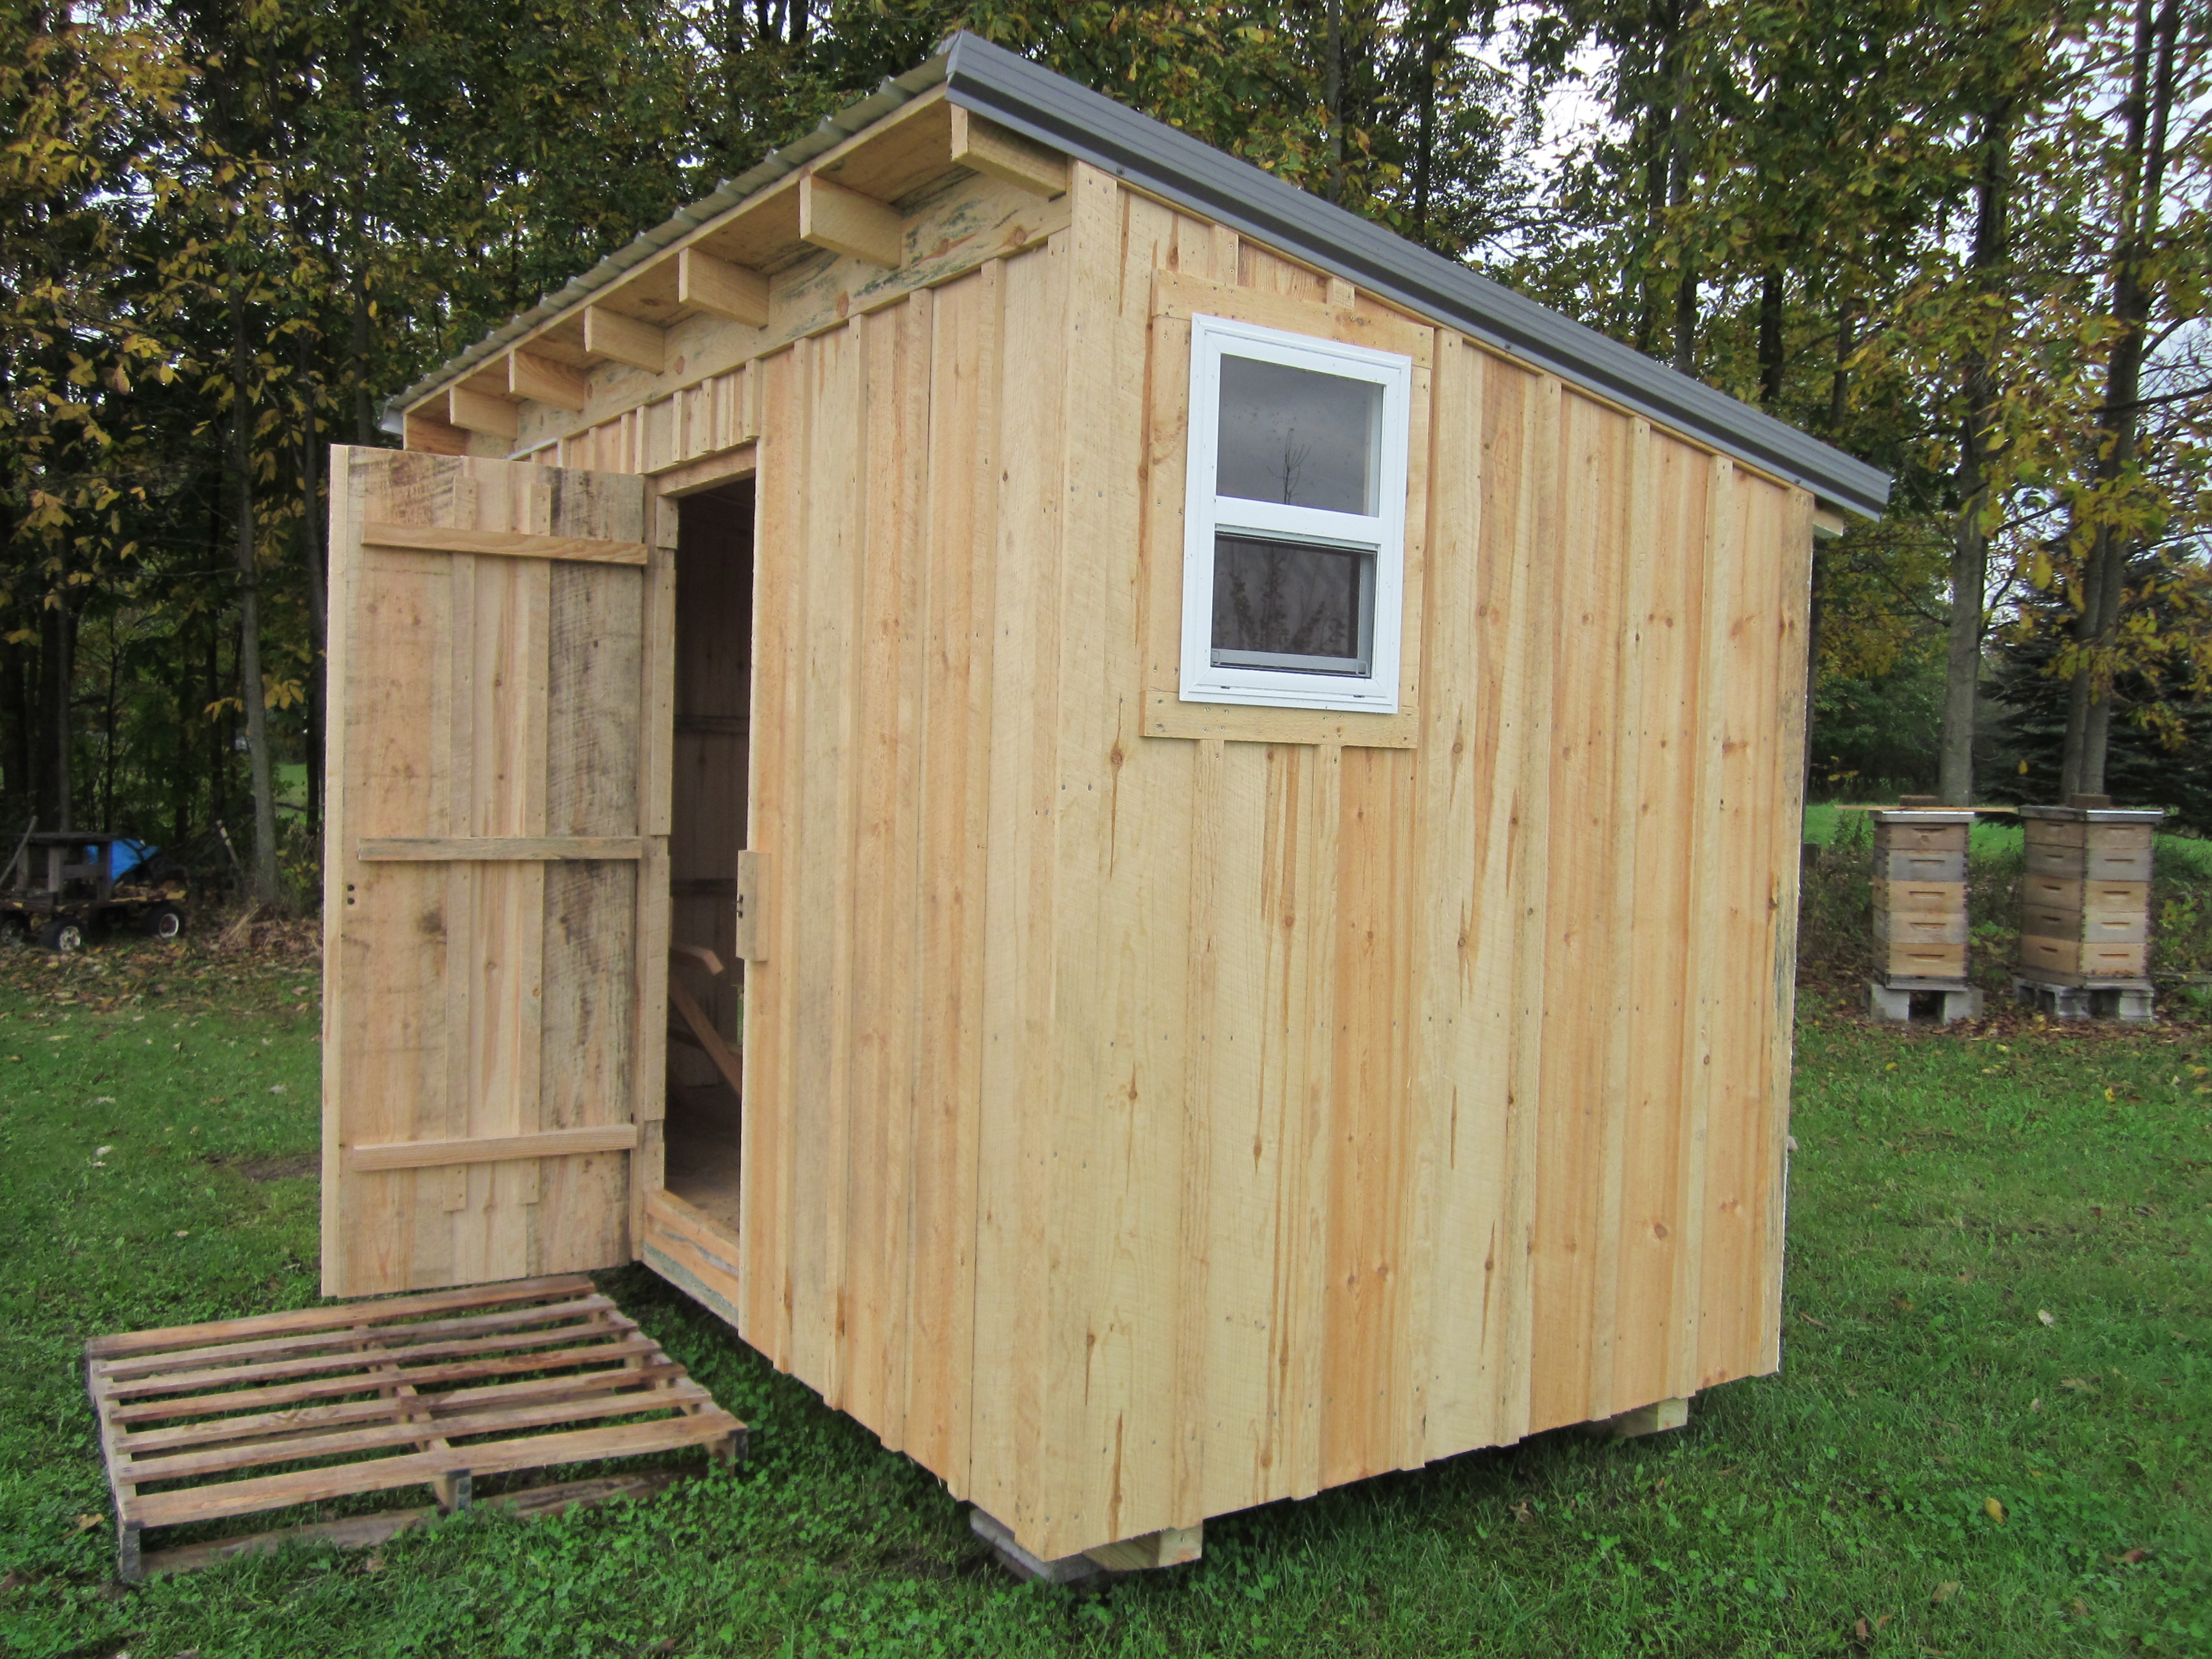
This spring we had planned on building our new chicken coop, but life often doesn’t go as planned. Lack of time and know-how led us to the decision to purchase a pre-made coop. It was advertised as being Amish built, though the person sold it to us and delivered it was not Amish.
It is made from rough cut pine with a metal roof.
We had an extra windows installed to provide more light inside and a cross breeze on those hot summer nights.
Before it could become a home for our flock it needed some finishing touches.
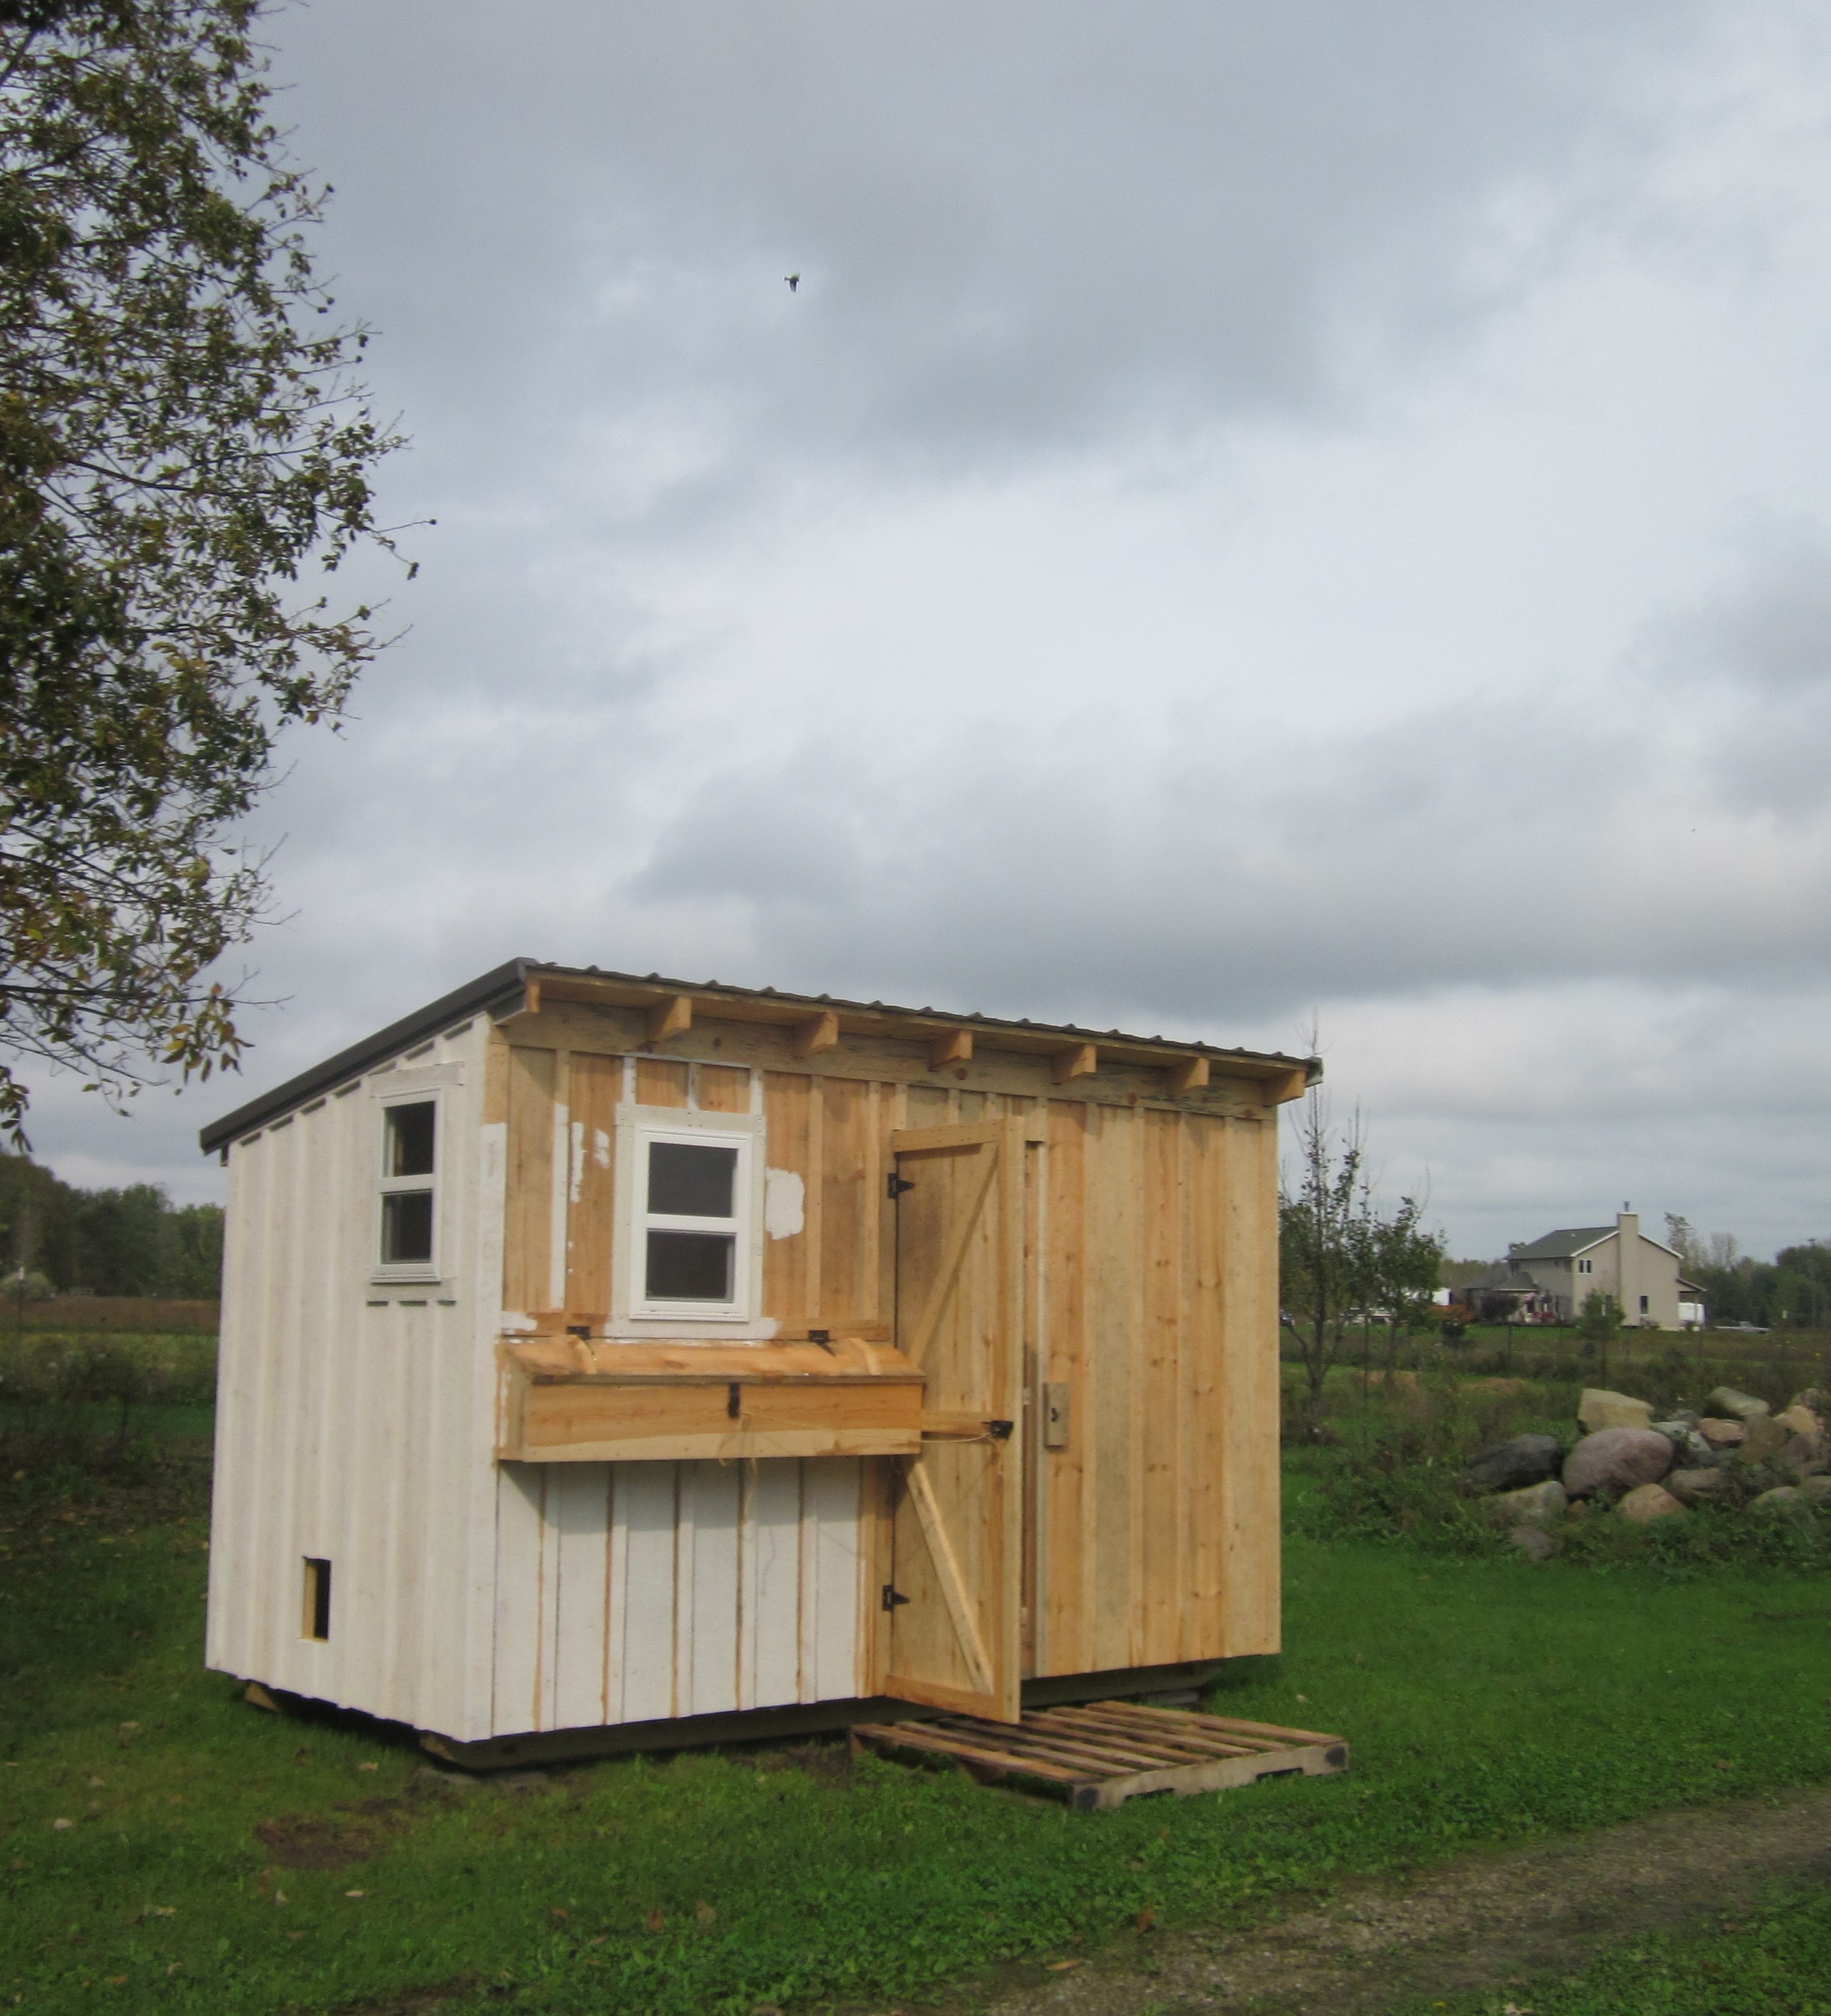
We started by priming and then painting the outside.
We would have liked to put a second coat of paint on it but the weather has been quite rainy so that will have to wait until next spring/summer.
Inside the coop we discovered that the untreated lumber was quite susceptible to mold growth. My husband did a little research and found that a product called concrobium is recommend for removing or arresting mold on porous surfaces such as wood. After treating the entire inside of the coop twice with this product he was satisfied that the mold was taken care of.
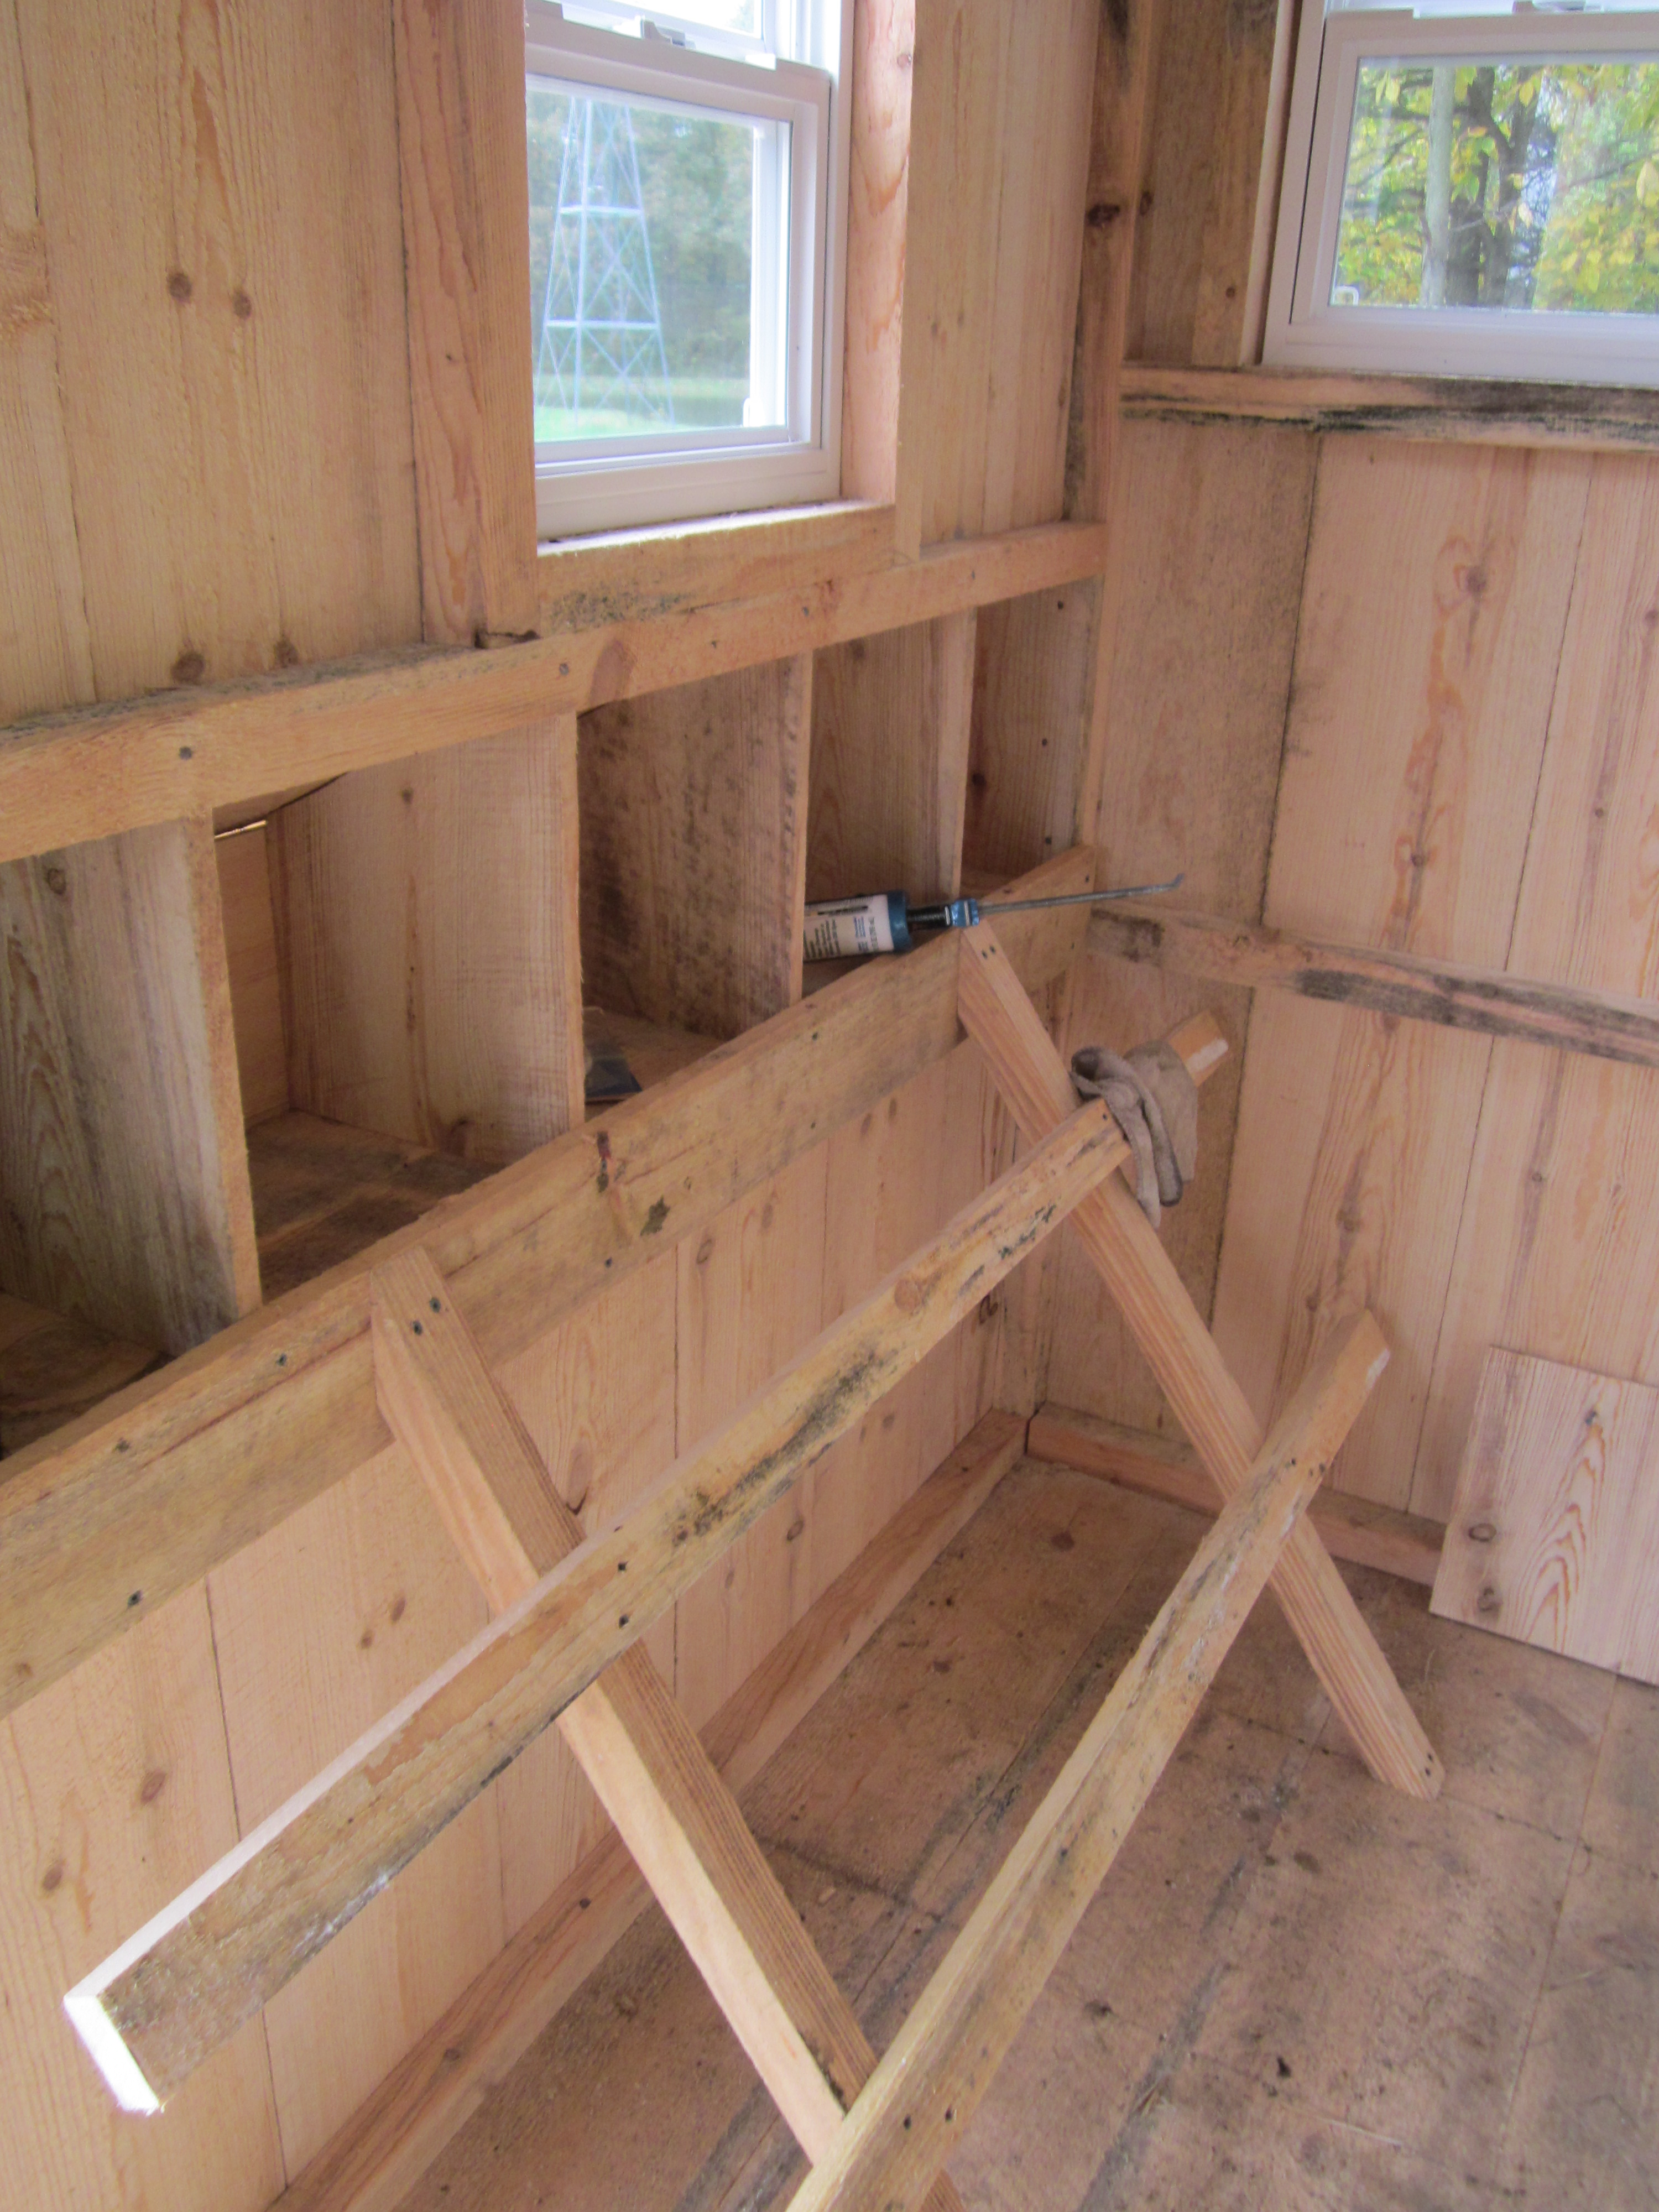
Then it was time to add more roosts to the coop. Chickens like to roost at night and since our chickens always spend the nights inside the coop we find it necessary to have enough roost space for all of them. The roosts (pictured above) that were installed by the builders were not adequate to meet the needs of our flock.
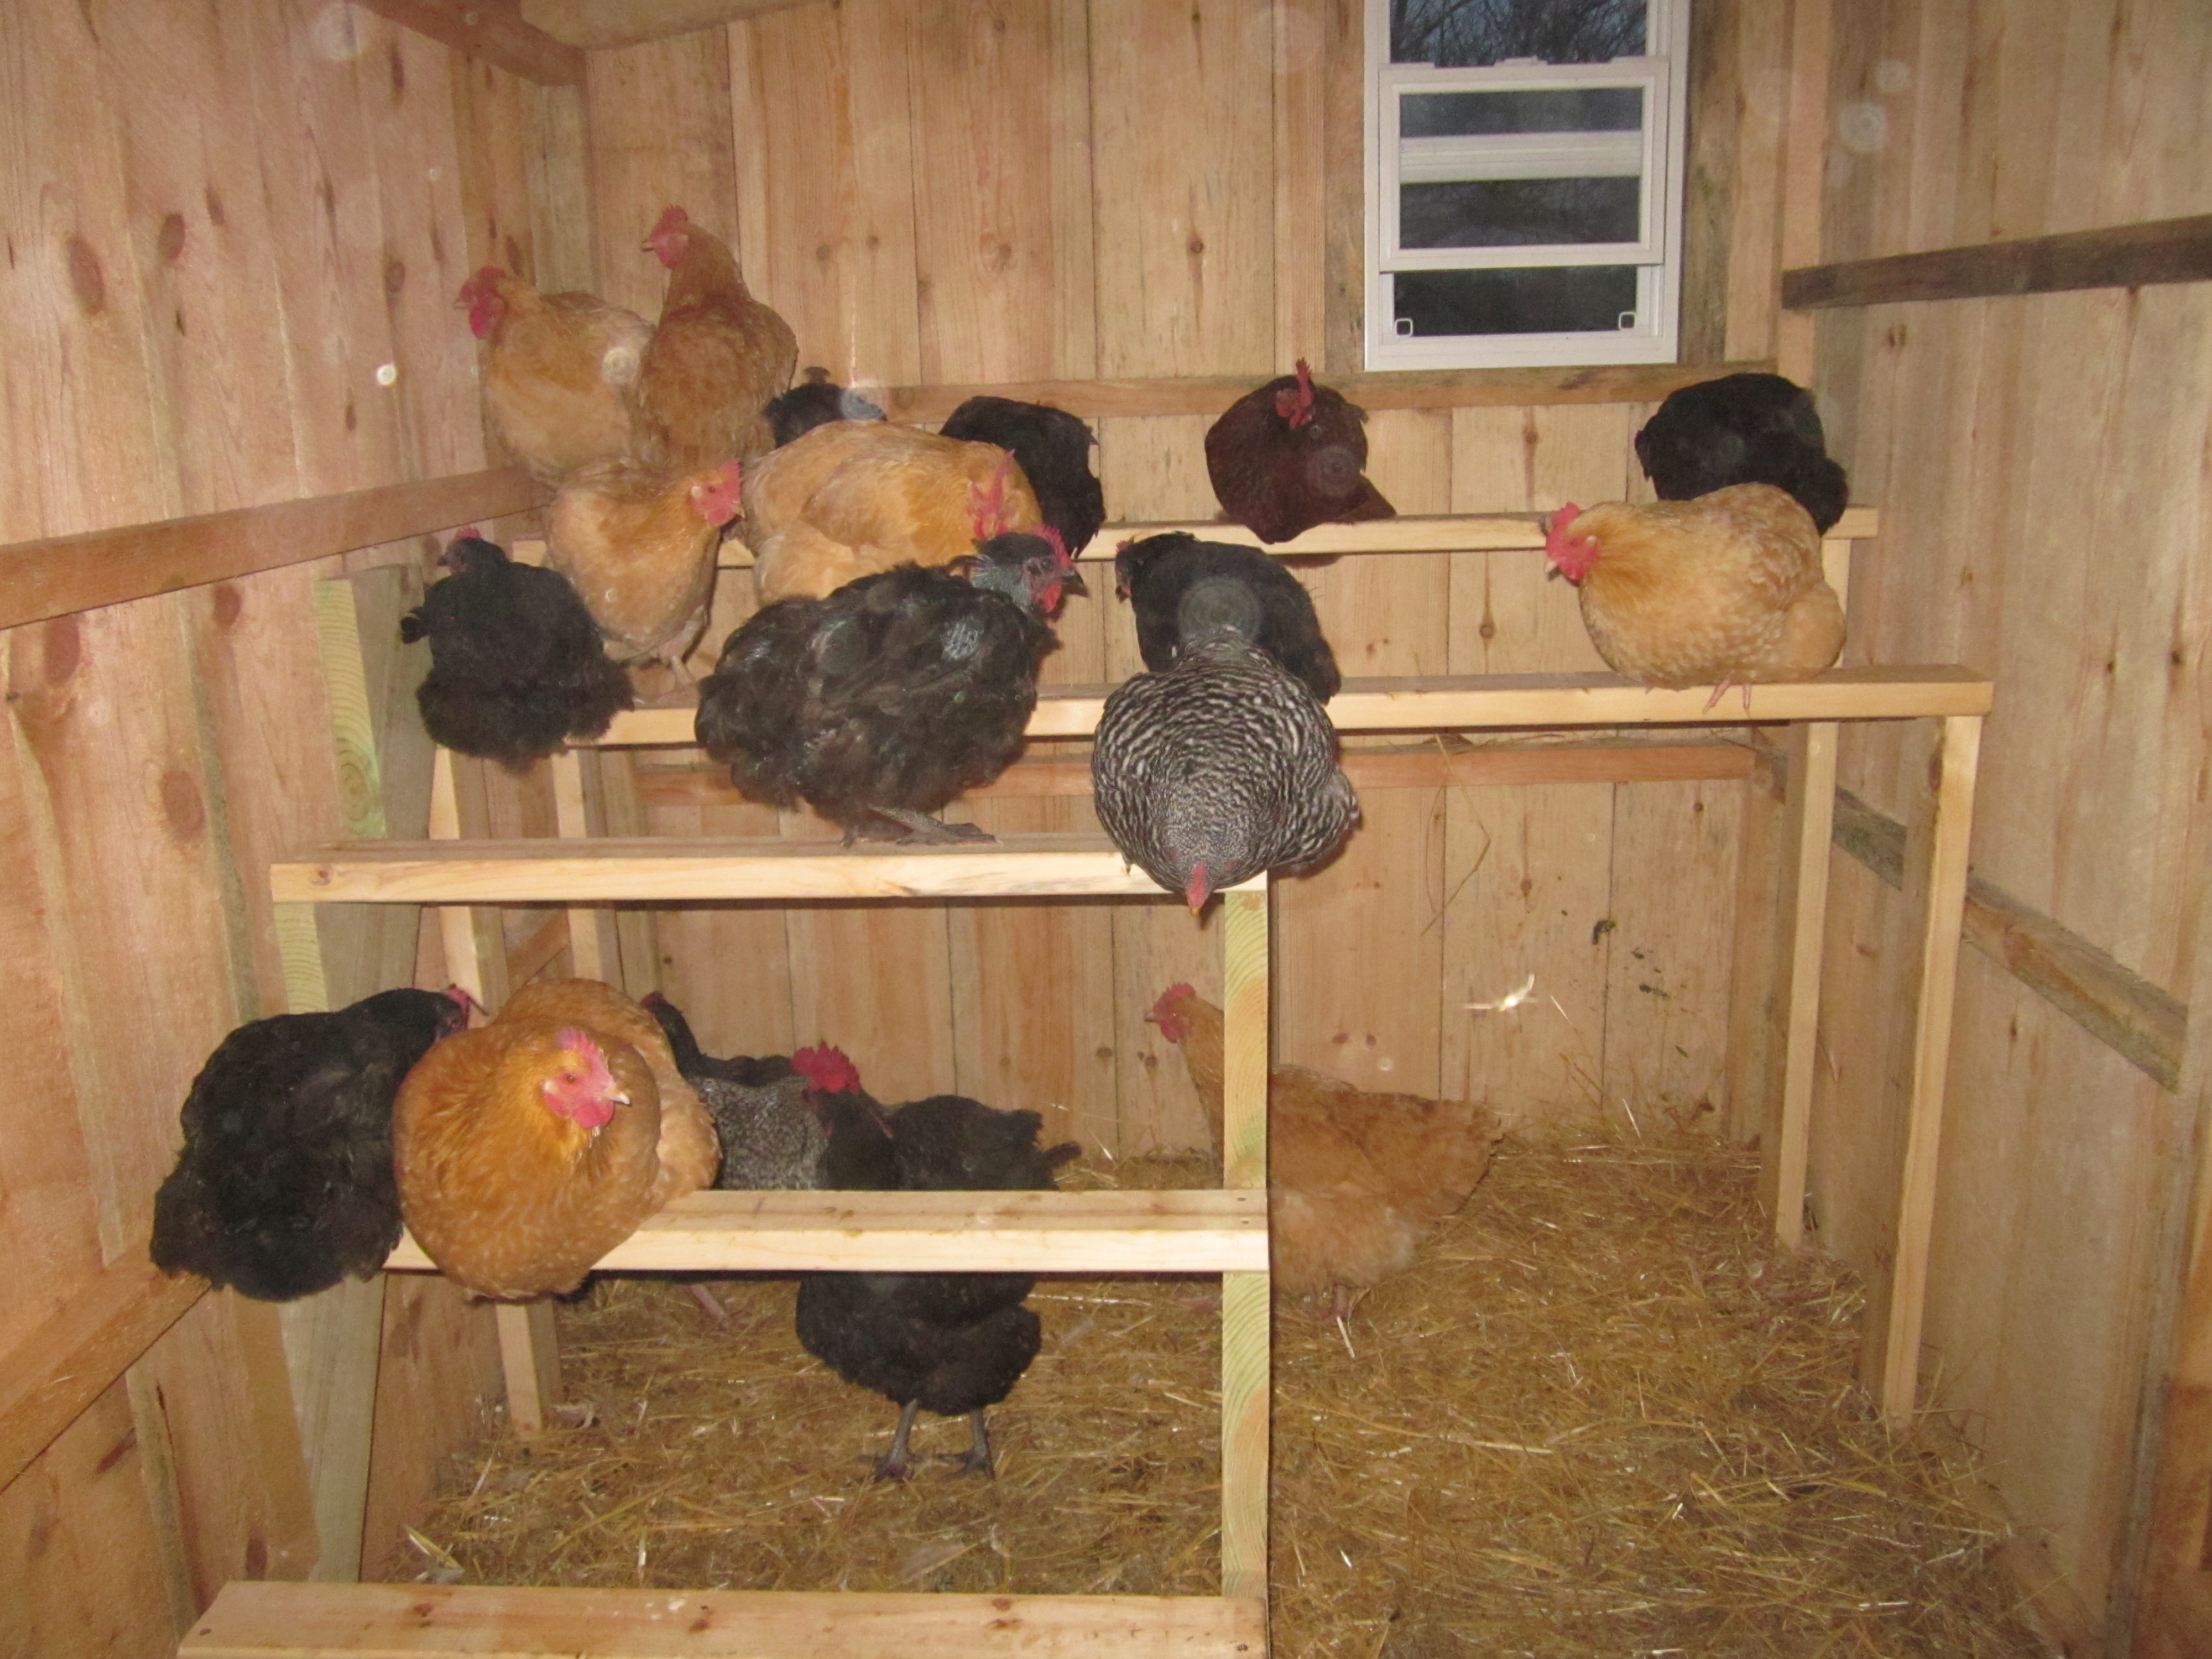
The roosts he added are pictured below.
It was then time to move the chickens to their new home. The biggest challenge in this was that the location of the new coop is not in the area where the old coop was. The chickens were in the habit of returning to their (old) coop each night so it was time to teach them “new tricks”.
While we didn’t think it would be quite so easy, we first attempted to just put the chickens in the new coop at night and let them out to free range as usual during the day. In order to get the chickens into the new coop at night we had to wait until they returned to the old coop, where they were corralled, then we could catch them and put them into a carrier (cage) and take them to the new coop. We have three carriers that will hold 3-4 chickens each so it took two trips to move the whole flock (24 chickens).
After repeating this process on two evenings, because the chickens naturally returned to the old coop, we decided that was enough of those shenanigans.
The next step was to (temporarily) fence them in so they were not able to get to the old coop. It’s a little difficult to see in the above photo but my husband put up plastic fencing around a large area which included the chicken door. There are lots of leaves on the ground in the area so the chickens had lots to scratch through and he left the trailer inside the fenced area so the chickens could use it for shelter from the rain. They also had access to the coop through the chicken door.
After being fenced in all day, all of the chickens returned to the new coop two evenings in a row. On the third day my husband decided to let the chickens out of the fence, hoping they would return to the new coop that evening. 21 out o 24 chickens independently returned to the new coop. The other 3 returned to the old coop where my husband caught them and took them back to their new home. The following night only two hens returned to the old coop and needed assistance to find their new home. These two are apparently set in their ways. Again the next night these two hens showed up at the old coop in the evening. In anticipation of this my husband had staged a carrier there. He put the two hens in the carrier and transported them back to their new home. Keeping the flock fenced in for another day or two would probably have been enough to break their habit but he didn’t want to punish the whole flock for the actions of just these two.
I’m glad I didn’t publish this post yesterday when two of the hens had still not accepted their new home because last night when my husband closed up the coop all 24 chickens had independently found their way to the new coop. Woo Hoo! Cue Happy dance!
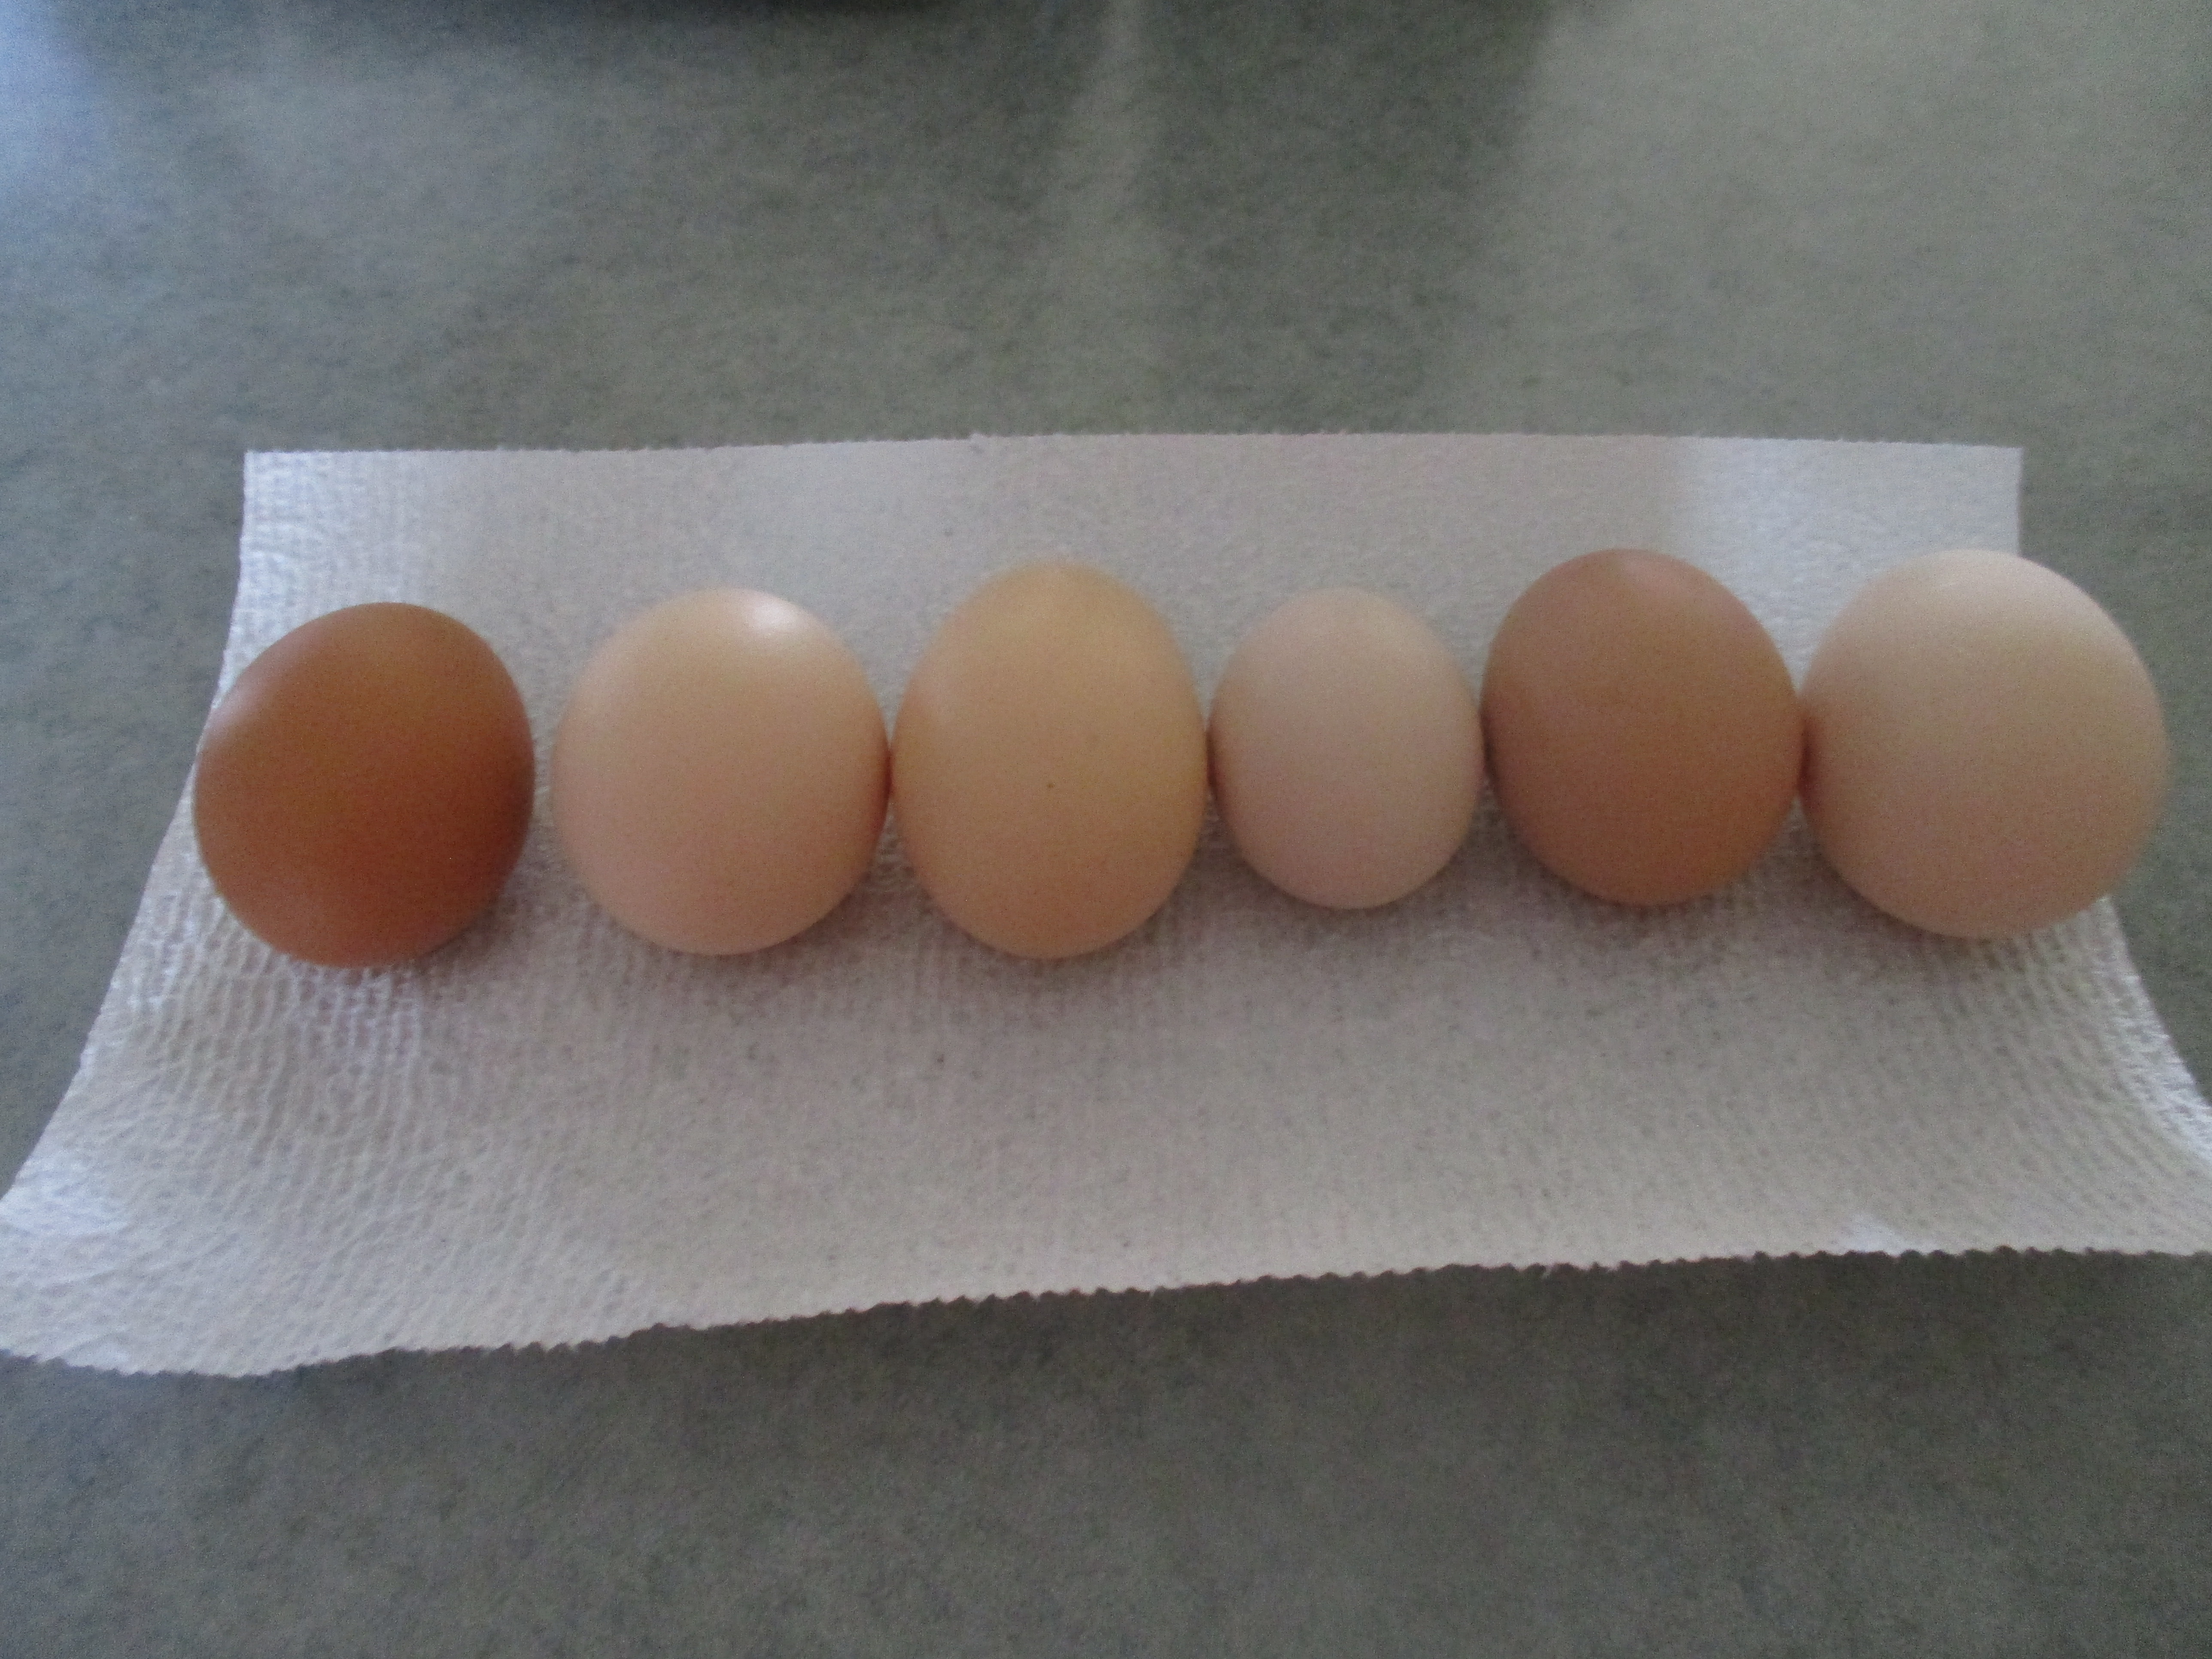
The other thing the hens need to learn about their new accommodations is where to lay their eggs. My husband has put some of the hens in the nest boxes so they know where they should lay. It seems to have worked but is to early to say fore sure. Right now most of the chickens are going though a molt and have stopped laying. We are getting just one egg per day which likely means that two or three hens are laying on alternating days. Each day, however, he has found one egg in a nest box so at least those hens that are currently laying have caught on. Based on our past experience it will be some time in February before most of the hens begin laying again, so we will have to wait to see if the other hens have become familiar with their new nest boxes. At least we know that it is possible to teach an old hen new tricks. 🙂
To feel embarrassed; to have made a fool of oneself.
They go on to tell us:
This expression first appeared in mid-20th-century America. It quickly made its way into British parlance as well.
Its exact origin is unclear. Sources speculate that it might come from eating eggs, and having some of the food stuck to one’s face in an embarrassing way.
Others think it might come from the theater, when angry audience members threw rotten food, such as eggs, at bad performers.
I don’t have a personal story to go along with this idiom but I am hoping some of you might.
Can you think of a time when you “had egg on your face”? Please tell us in the comments section below.