We are convinced that bee keeping is part art, part science and part luck. We have read many books and websites and there are so many ways of doing things and reasons behind doing things that it is really up to each bee keeper to decide what works best for them. Experienced bee keepers may read this and identify 5 or 10 things that they think we did “wrong”. New bee keepers should not use this as their “bee hiving bible”, but study different methods and decide for themselves what will work best. With that being said this is our story of hiving our bees this year.
Saturday morning we had perfect weather for putting our new bees in their hives. The sun was shinning, the temperature was in the low 60’s and the wind was clam. It was in February, after we realized the loss of two out of our four hives, that we decided to order two packages of bees. Since we had such a tragic experience last year when our bees were delivered by U.S. Mail https://donteatitsoap.com/2016/05/17/beware/ we knew we would never do that again. Fortunately last August at the Saint Clair County Farm Museum’s Harvest Days we met Scott and Jen from Osage Farms http://www.osagebees.com/ . They are building an impressive business which includes managing their own bees and bee products along with selling beekeeping products and packaged bees. They don’t raise and package the bees. Their supplier is out of Georgia and Scott personally makes the trip from Michigan to bring back a truckload of bees. We decided to order our bees from them.
We knew the bees would be arriving sometime on Saturday and when we got the news from Jen on Saturday morning that we could pick them up anytime after 9:00 a.m. we headed out the door. Their location in Avoca, Michigan is less than a 20 mile drive and we were back home and getting our bee suits and bee kit ready before 10:00 a.m.
Our bee kit contains the tools that we use when working in the bee hives – hive tools, bee brushes, a couple of small nails that are used for poking a hole in the queen candy to help the workers release the queen from her cage. It also has things like a mirror, flashlight and guitar strings that are handy at times but were not used for hiving the bees. I also made up a spray bottle of light sugar syrup.
When we got to the farm my husband organized all of the hive pieces that we were going to need. He had already in place a bottom board, a deep hive body with 10 frames, a medium hive body with two frames removed from the center, and a medium hive body with all frames removed, for each of the two new hives. Next to each new hive he had set out an inner cover and an outer cover.
Having everything organized is extremely important when hiving bees because you don’t want to be searching for missing pieces once you get that package of bees open.
Once we had everything in place we put on our bee suits. We don’t have full suits, just the hooded jackets and gloves. We wear blue jeans and pull our sock up over our pant legs so bees do not have an entryway.
Wearing a bee suit can be an encumbrance, the added layer of clothing can be hot and bulky, the screen can make it difficult to see clearly, and the gloves can interfere with manual dexterity.
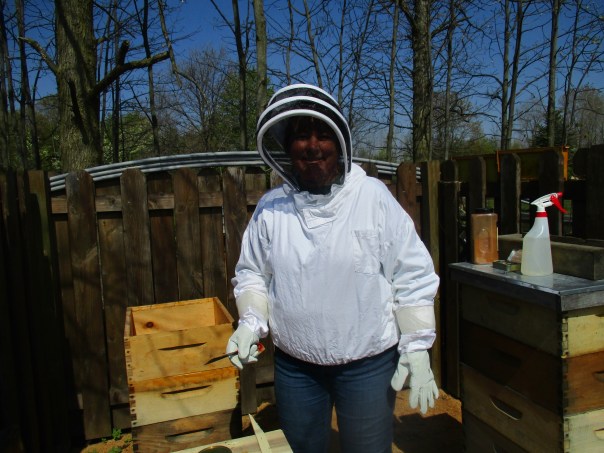
My husband tends to only wear his suit when it is really necessary and he decided early in the hiving process that it was not necessary. Honey bees are generally not aggressive and only use their stinger as a defense mechanism. At this point they had no food to defend, so unless he accidently put his had on one it is not likely he would get stung. He stopped me before I opened the package and said “This is just in the way,” while taking off his hooded jacket. The picture of him below is much later in the process since I could stop to take his picture while we were busy with the bees and there is no way I would have been able to press that little camera button with those bulky gloves on.

Usually my husband opens the package, dumps the bees, and deals with the queen cage while I stand by to quickly put on covers or hand him things he might need. This year he walked me through the process as I did more of the work.
Before we began opening the packages I sprayed them with the sugar water. I used a mixture of 1 part sugar to two parts water. Spraying the bees is said to calm them. I’m not sure if it does.
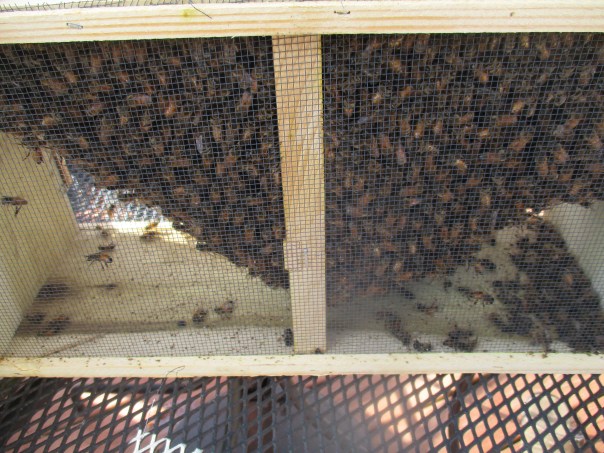
I started by using the hive tool to pry off the wooden cover that was stapled to the top of the package. When that was removed it exposed the top of the feeder can. I then used the tool to pry up the edge of the feeder can and loosen the plastic tag that held the queen cage in place. Once the feeder can was removed my husband took the queen cage out of the package and I quickly placed the wooden cover back over the hole in the package to keep the bees inside. We inspected the queen cage to make sure the queen was alive. Each queen cage had a queen and three or four attendants with her. It had queen candy on one end and a small cork to plug the hole that would expose the queen candy. My husband removed the cork then took a small nail to gently puncture a starter hole in the queen candy. He then used a slightly larger nail to make the hole bigger all the time being careful not to hit the bees with the nail. This will make it easier for the workers to release the queen from her cage.
My husband then set the queen cage in the hive, in the space where the two frames had been left out of the medium hive body. It was sitting on top of the frames in the bottom hive body.

Once we had the queen cage in place it was time to shake the rest of the bees into the hive. I let him do the first one but I decided I would do the second one. Even though I have watched my husband do this quite a few times, I didn’t realize how tough you have to be with them. After giving the package several good shakes into the hive with a cluster of bees dropping into the hive each time, and shaking them first to one end then to the other then out the center, and hitting the ends of the package to get them clustered and out, there were still a lot of bees clinging to the screened side of the packages. My husband then took the package from me and gave it a couple good slams on the wooded work table, then shook most of the rest of the bees into the hive.
All this time there were thousands of bees flying around us but I honestly didn’t pay them much attention. My focus was on the task at hand and thinking about what we needed to do next.
After most of the bees were out of the package he put the package on the ground near the hive entrance so the rest of the bees could find their new home when they exited the package. We brushed a few bees off the lip of the hive box as we slid the inner cover in place, then we put on the outer cover.
As far as feeding these new bees we decided not to use a feeder on the hive. We stopped feeding our bees sugar water several years ago and began making sure they have enough honey to keep them going. We are able to use honey that was in the hives we lost over the winter. Rather than putting it inside the hives my husband has it set up on the bench directly outside the hives. (see photo with my husband in it above).
By afternoon the bee activity had settled down quite a bit and there were bees coming and go from both of the new hives.
It was a good day. 🙂


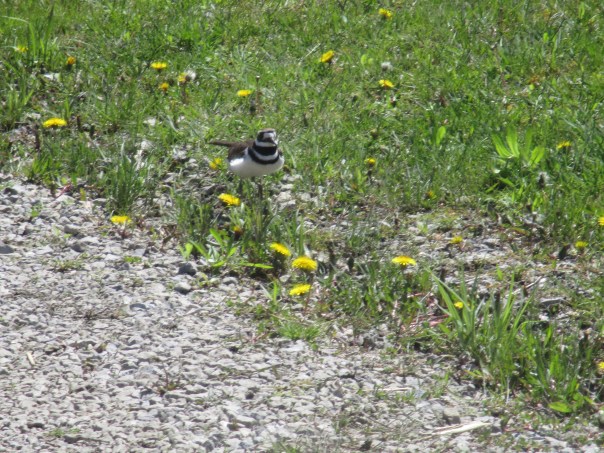

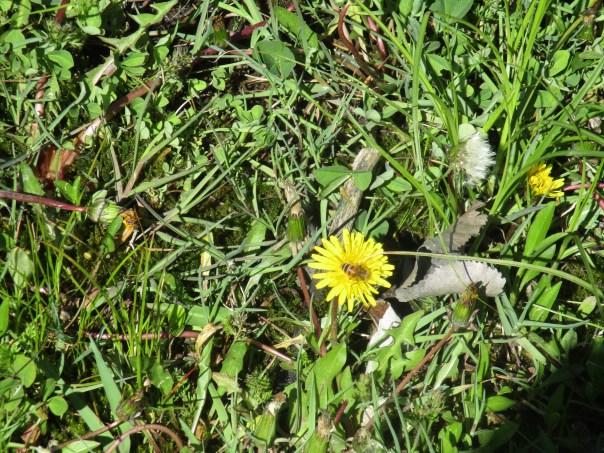
 The bees were also collecting a lot of dandelion pollen. This lady stopped for a few seconds, so I was able to get a clear shot before she moved on.