Hello and welcome! Spring has been very gradual in getting here this year. It seems like we go two steps forward then one step back. No quick warm up this year. I suppose the slow warm up is good in some ways – it means that trees and plants are slow to bud thus reducing the chances of fruit trees being hit by late season frost/freeze. We have had some rain as well but so far nothing extreme. There have been a few outdoors chores that I have been able to get done, but while I’m waiting for gardening and grass cutting season to arrive, I have had spring cleaning (indoors) and some other projects to keep me busy.
Making Soap
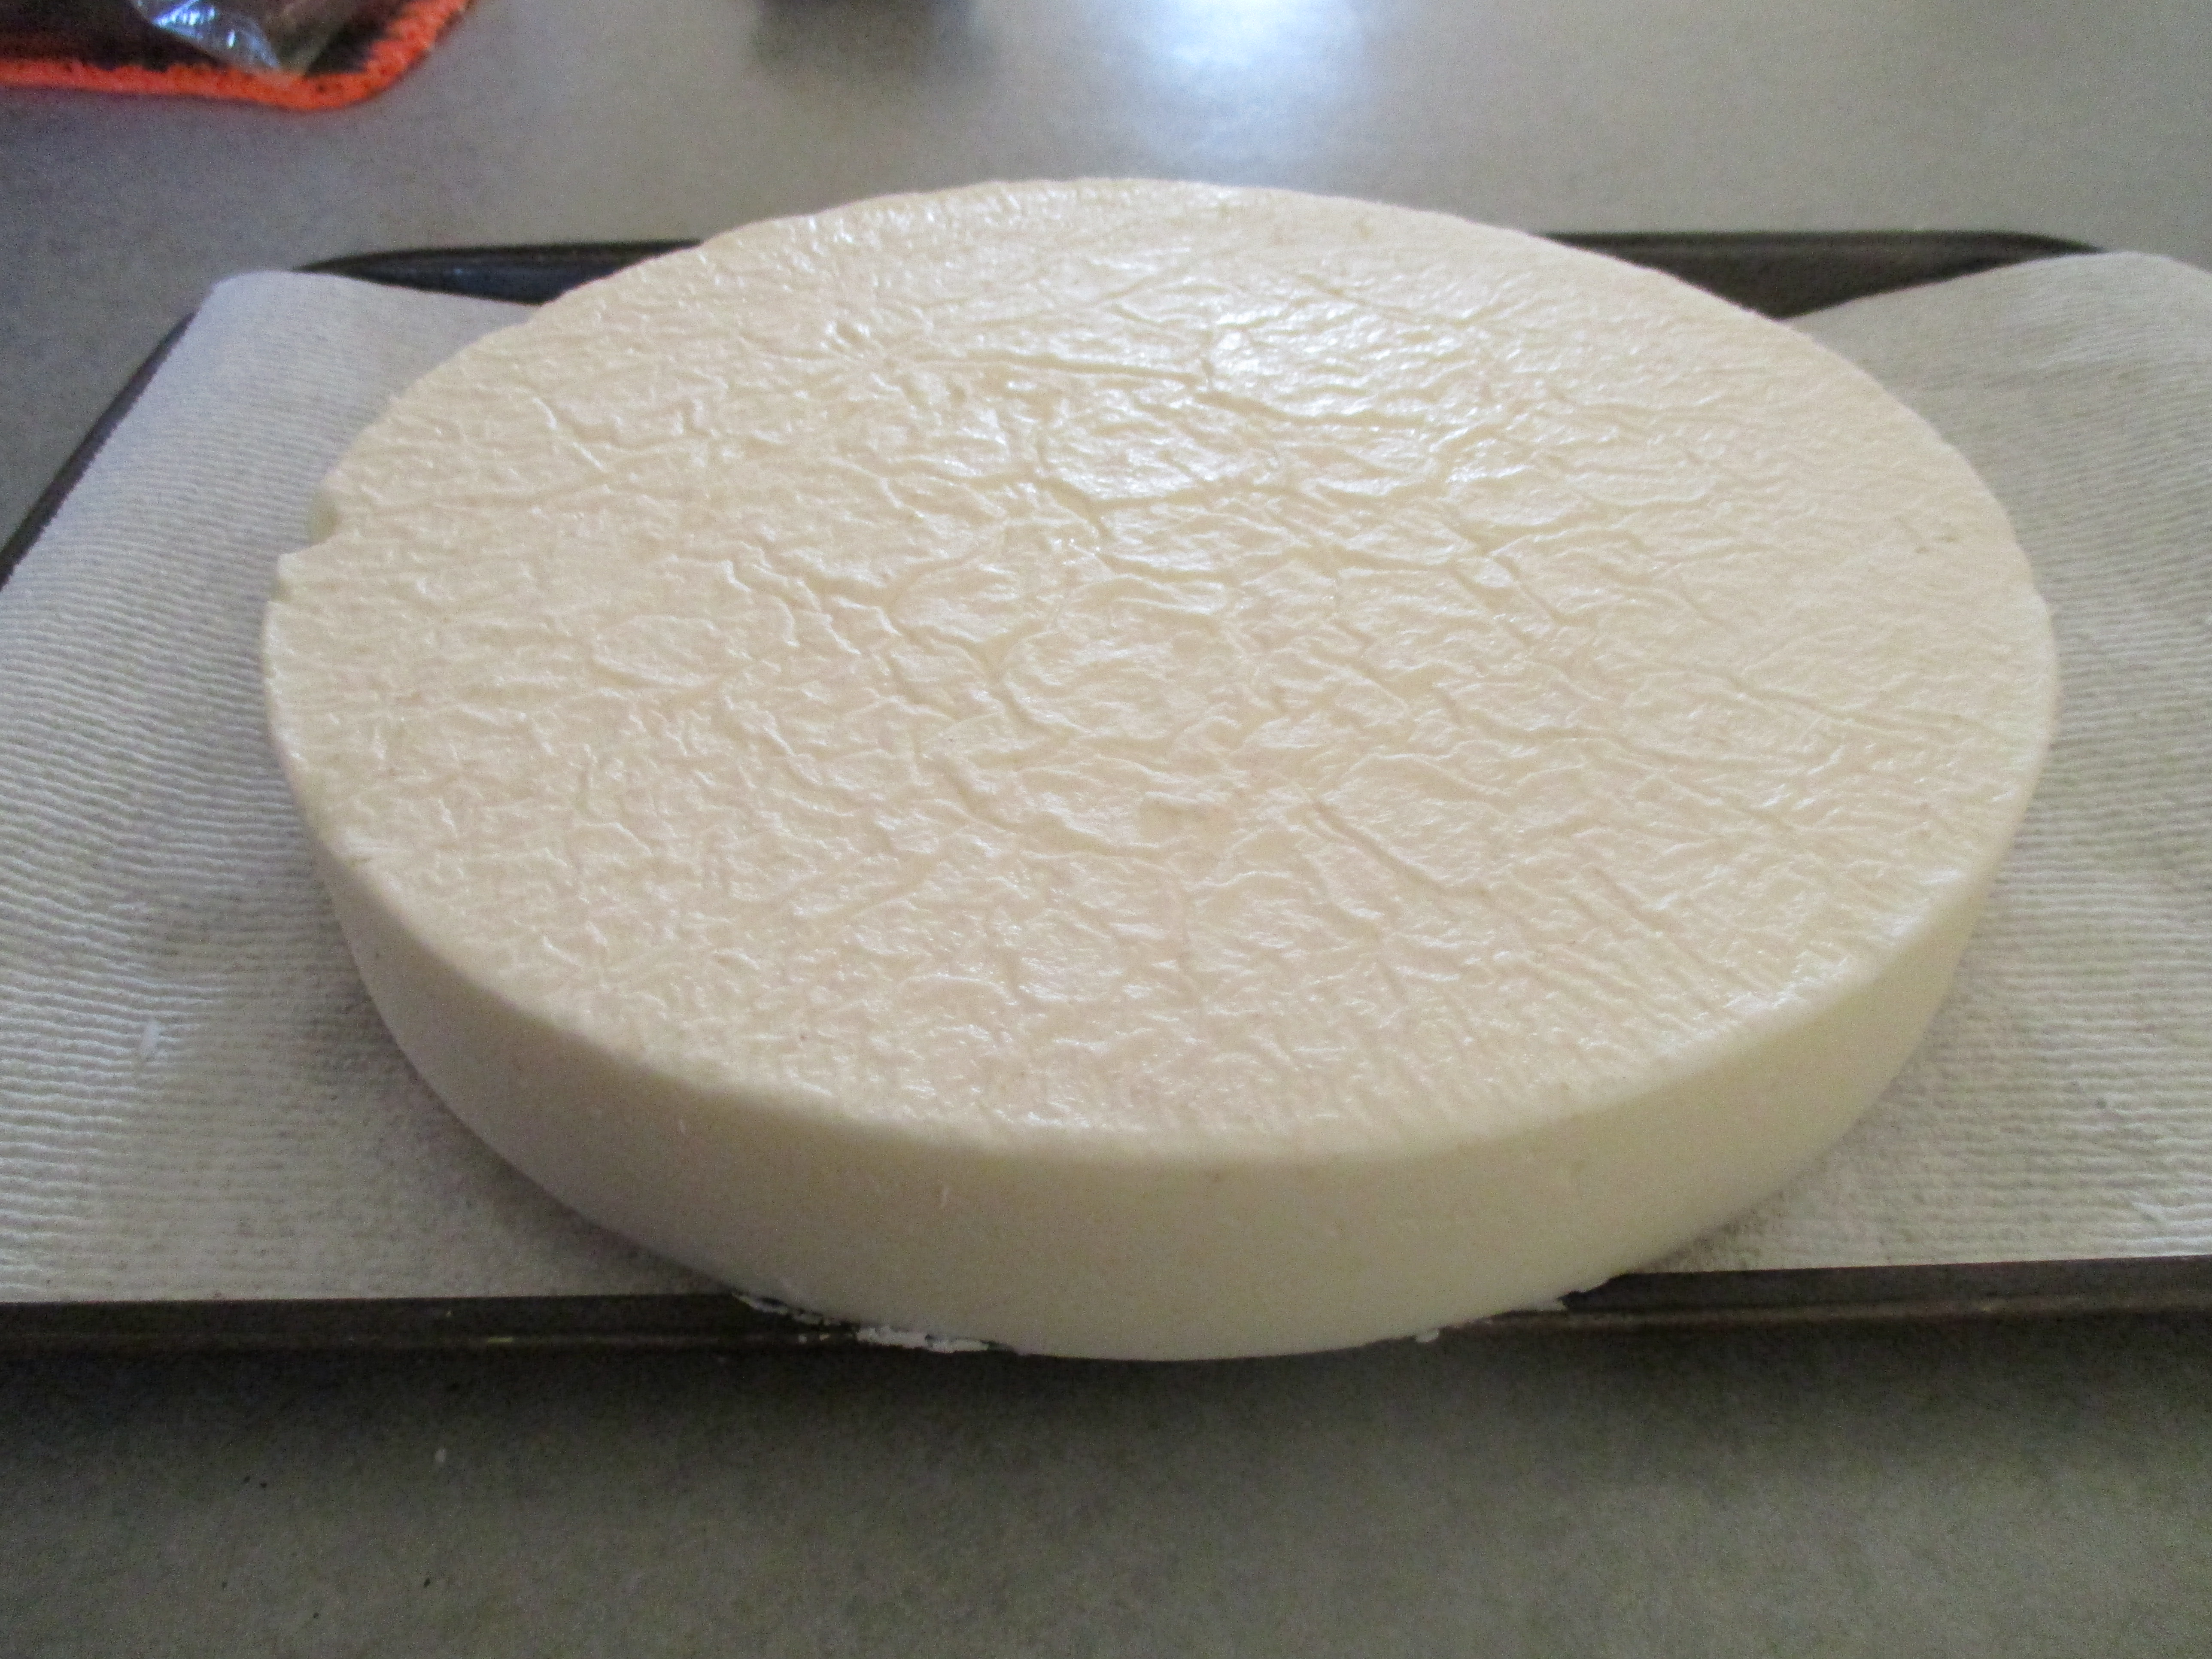
A few weeks ago, my sister told me that her husband wanted to go back to using natural soap. She asked if I would make them a batch. Of course I was happy to do it. When I asked what kind of soap she wanted, she asked for “the shaving soap” or aloe soap which makes a really nice soap for shaving. So, on April 1st I made a double batch of aloe soap. I want some to keep for us.

The above picture is the soap in the molds after several hours. The outer edges are hardening but the center is still a thick liquid. It was in the mold for about 30 hours before it was hard enough to remove. It will be a couple more weeks before this soap is ready to use but I am looking forward to it. I haven’t made this soap in a few years.
Below is my recipe for any soap makers who might be reading.
Aloe Soap Recipe
This recipe is a large batch – 32 bars of soap. It could be halved or quartered to make smaller a batch.
40 oz. Coconut Oil
70 oz. Sunflower Oil
8 oz. Olive Oil
16.95 oz. Lye (NaOH)
45 oz. Water
about 1/4 cup – Aloe Juice (Scrape out inside of aloe leaves and blend in small blender) added at trace.
For soap making instructions see my Soap Making Page.
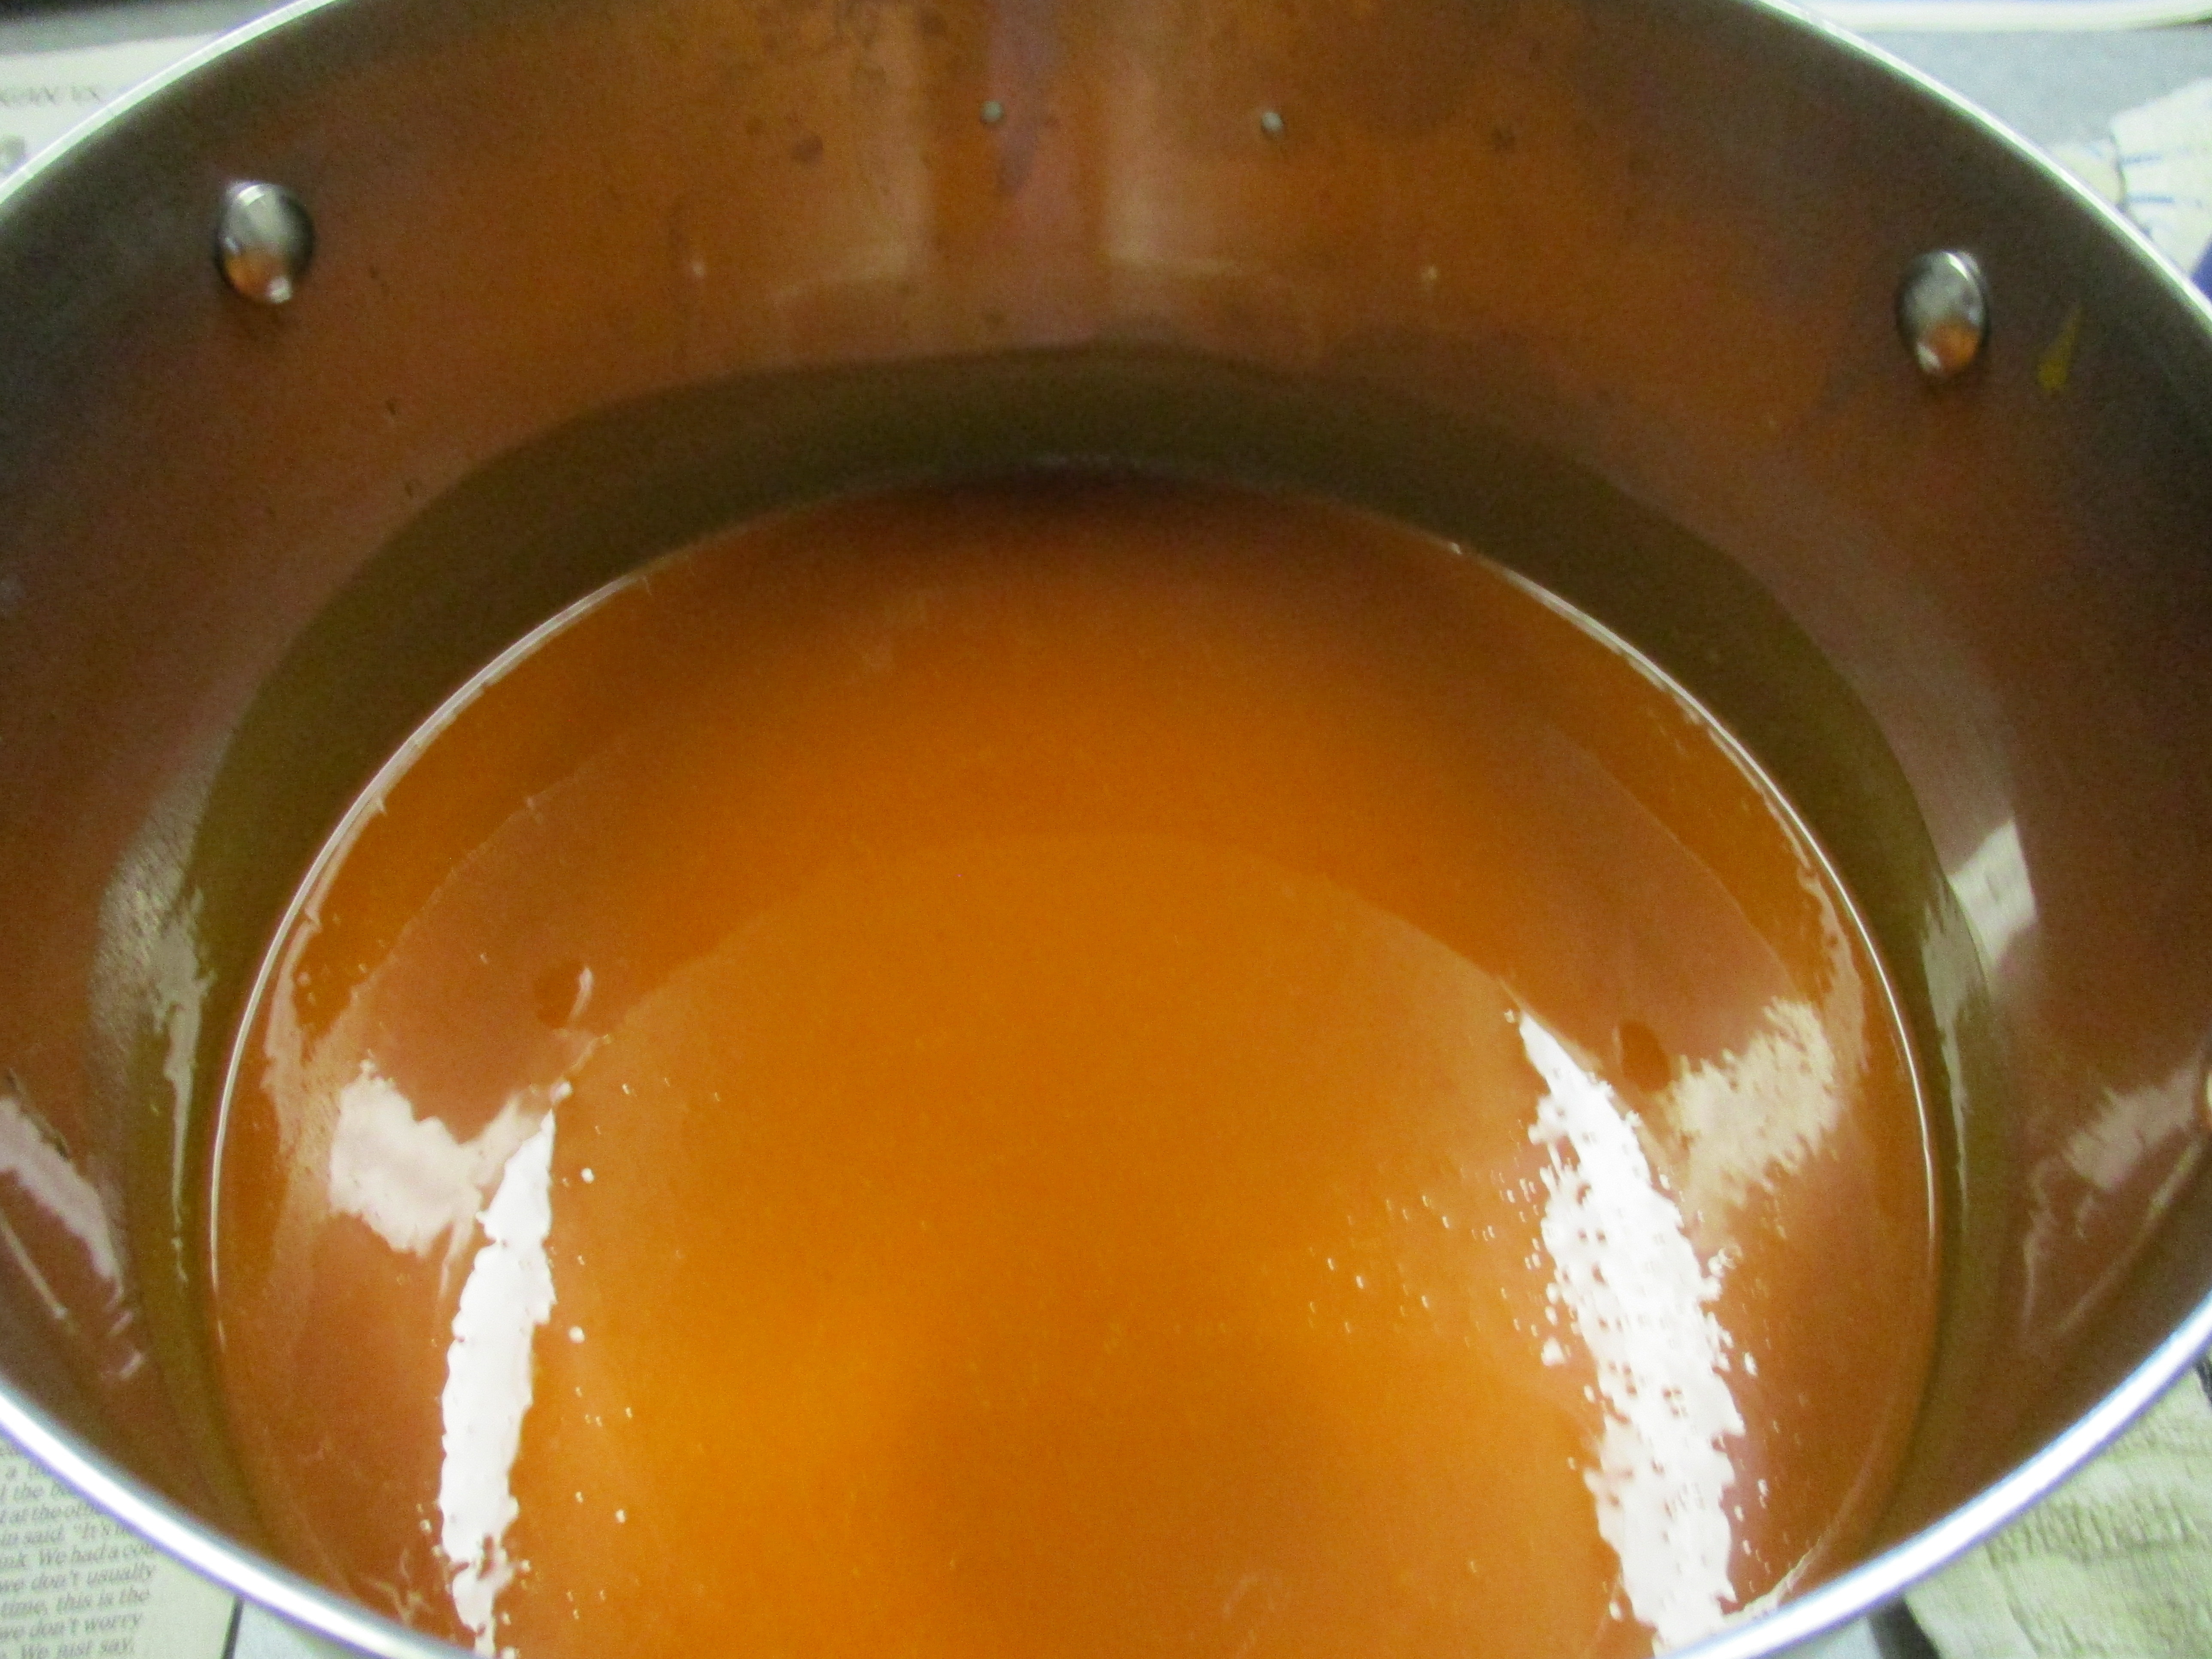
Making Jam
When I realized we only had one jar of strawberry jar left in the pantry I decided it was time make some more since strawberry is both my favorite and my husband’s favorite. Fortunately, I still had three packages of strawberries in the freezer.
We should now have more than enough jam to last until this year’s strawberries are ready. My husband has worked hard on the strawberry patch, so we are hoping and praying for a great crop this year.
Crocheting
In a previous post I mentioned that I was making an afghan to donate to the humane society for a raffle.

I completed that project. It’s difficult to see in the photo but the puppy paws print run through the burgundy stripes as well.
I then began a new project.

This is a cat pattern that I have not made before. Can you see the cats? I began making this using some partial skeins of yarn that I have. I really just wanted to learn the pattern. I’m not sure yet if it will be a small blanket or a pillow.
A Few Spring Pics

At last, the daffodils are blooming.

Forsythia just beginning to bloom.

I finally got a picture of a killdeer. Rarely have I seen one stand still long enough to get a photo. This one was unusual because it was all alone. Usually there are a pair in the area. I did a little research and learned that migratory killdeer will generally mate for a season and males usually return to the same area each year. They may mate with the same female as the previous year. Non-migratory killdeer may mate for life. So, I wonder, since I didn’t see it’s mate in the area, if it is yet to find a mate for this season.

Our hens like to roost in the lower branches of the spruce trees. I thought it was a picture worth sharing. 🙂
Looking Ahead
The weather is supposed to be warmer this week, and my husband plans to get potatoes planted. As for me I wouldn’t be surprised to find myself cutting grass for the first time this year.
Thanks for visiting. I hope you have a wonderful week.