It’s been a couple weeks since I finished my second big winter project. I have just been negligent in blogging about it. This project is a rag quilt that I made for our bed.
This quilt was more involved than the t-shirt quilt I made for my daughter because for her quilt she supplied the t-shirts and selected the flannel that it would be backed with. Also our bed is queen size so this quilt is larger than the one I made for her.
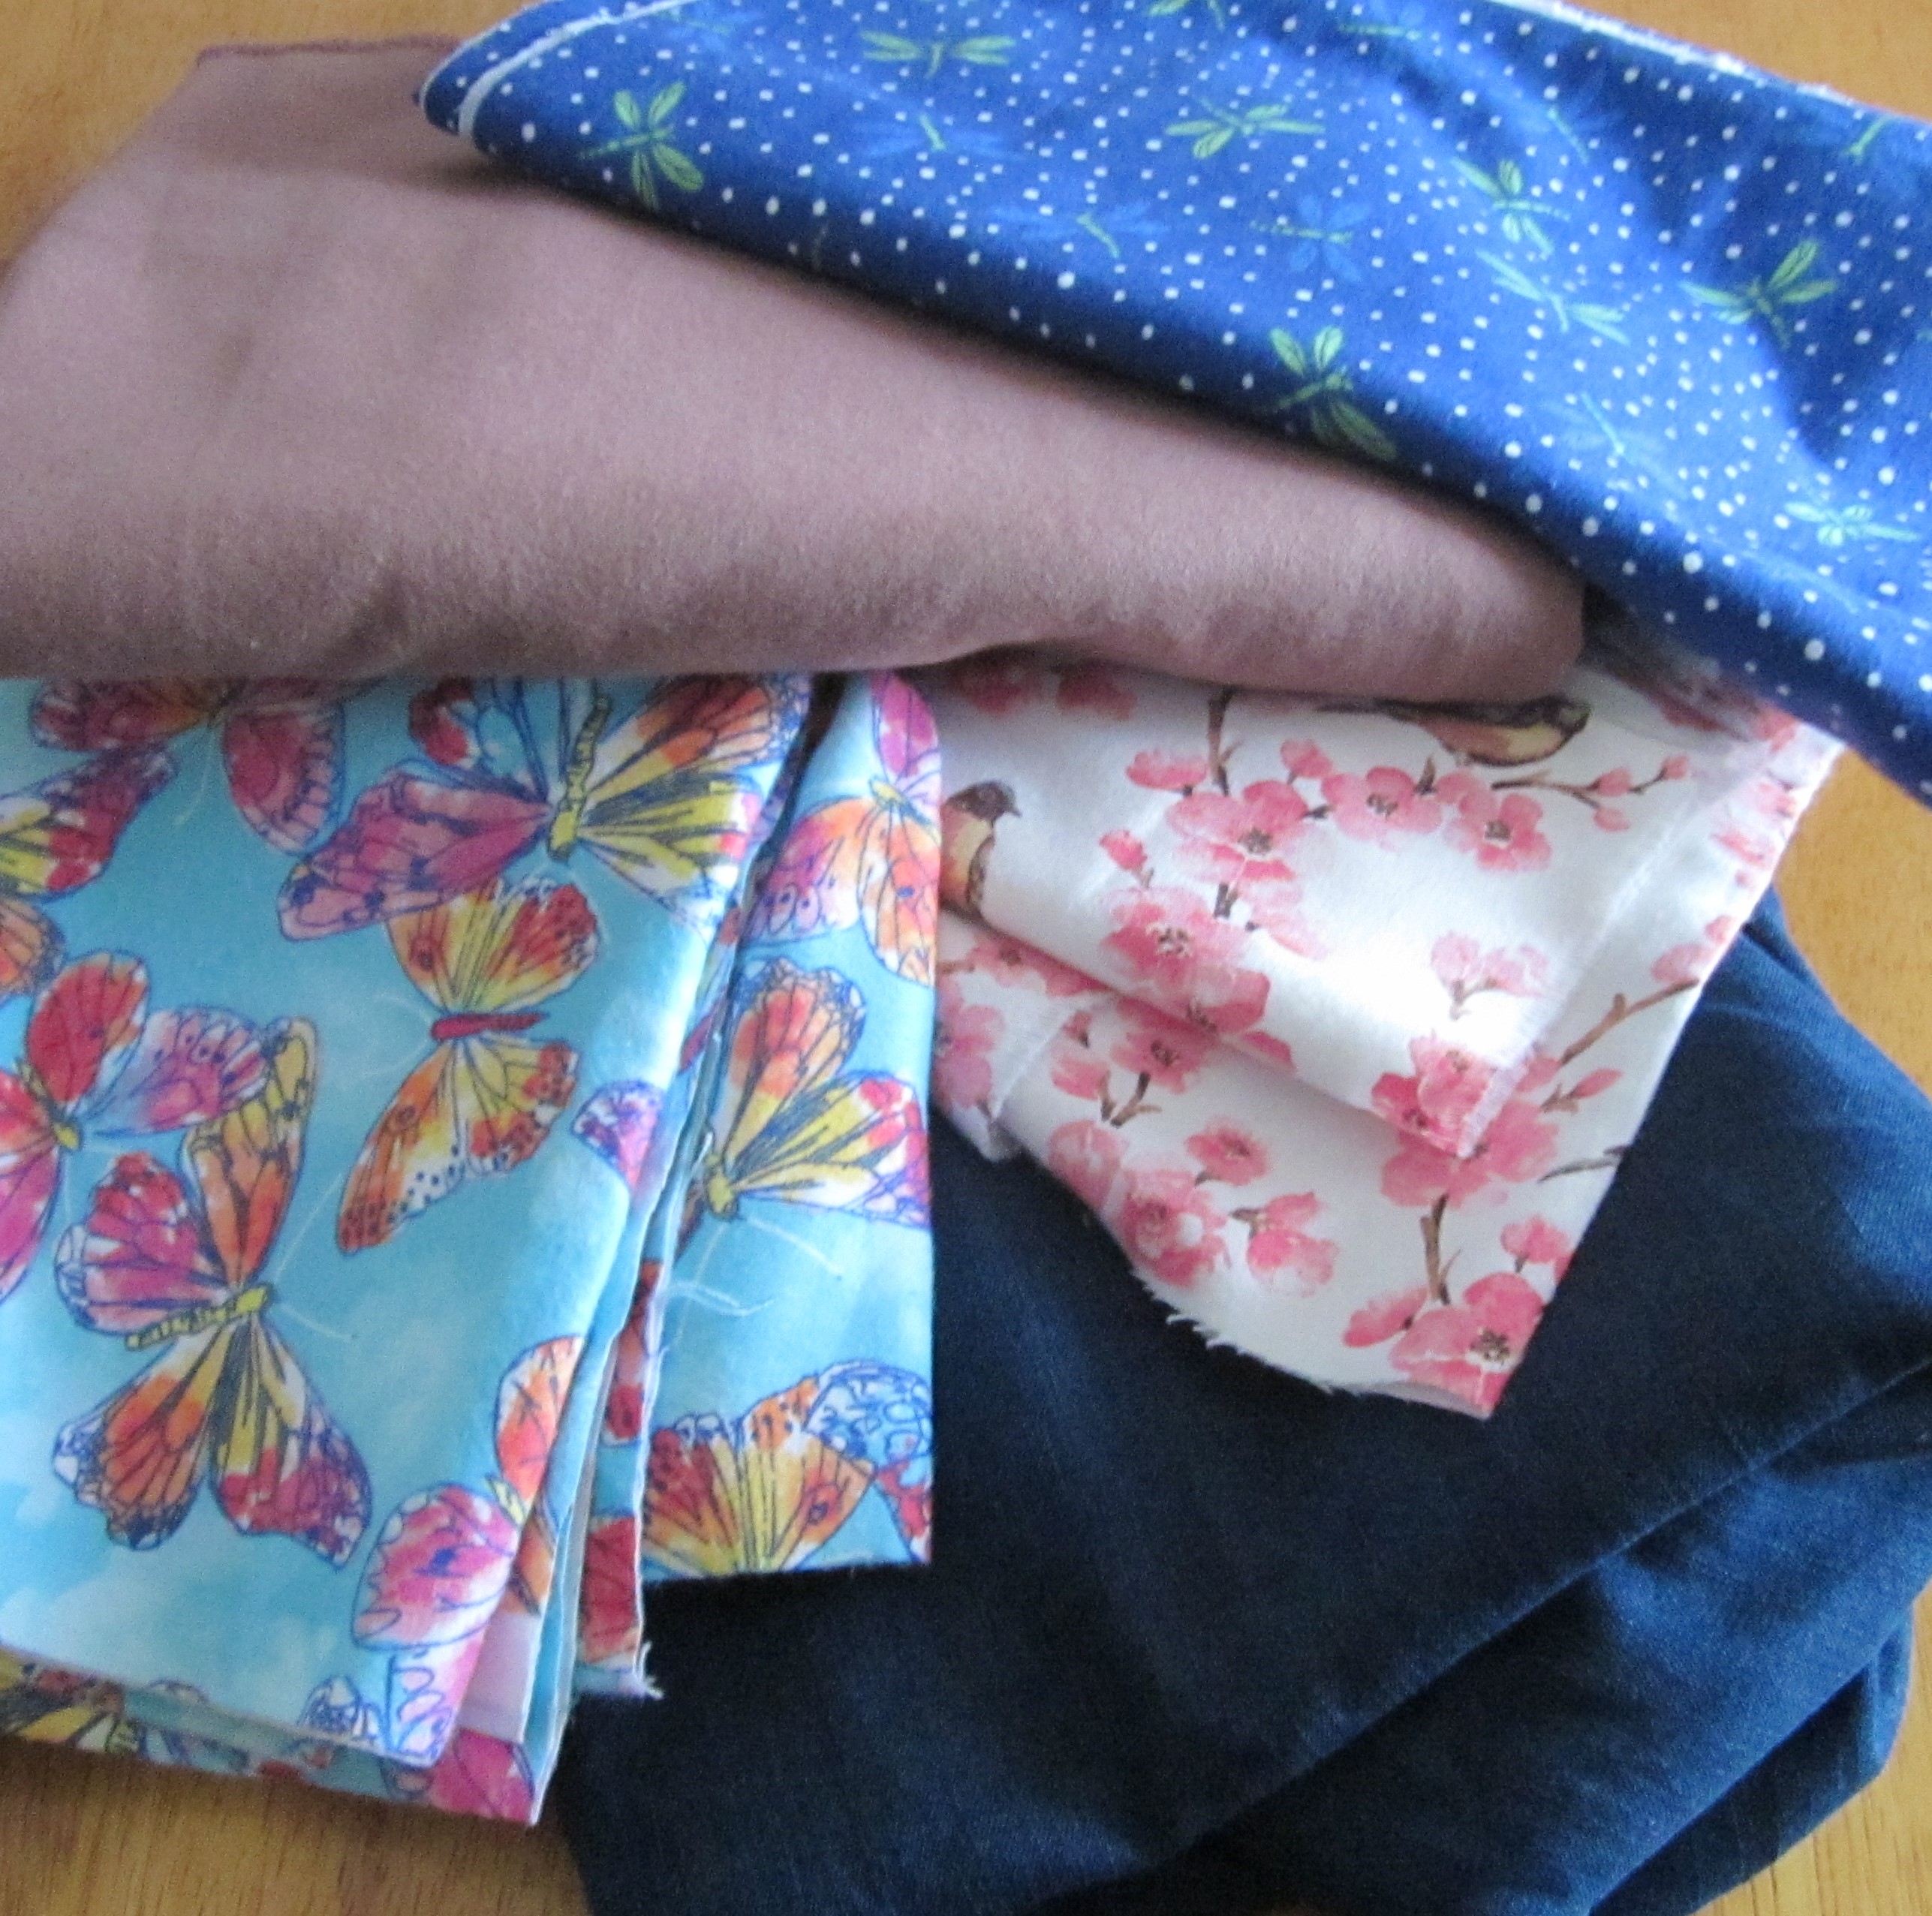
For our quilt I started with selecting the materials. It took several trips to the fabric shop before I had all that I would need. Our bedroom is done in blues and browns so I decided to stick with (mostly)those colors.

One of the reasons it took so many trips to the fabric store is because I didn’t really have a plan. So I took so measurements then drew it out on graph paper.
I decided to do an on-point design (the squares line up on a diagonal) and to use 12 inch squares. Once I knew how many squares I would need, 72 squares for each layer, I finished buying fabric. The quilt would be three layers but for the middle layer I planned on using an old flannel sheet set that I had so I only needed to buy enough fabric for the top layer and underside.

It wasn’t until I had purchased all of my fabric that I added the colors to this chart determining the actual pattern. This project actually involved a lot of math. You’ll notice some of the squares have different colors in them, these were changes that I made in the design and the inner most color was the correct one.
This chart was my road map throughout the cutting and sewing process. I would have been lost without it.

When cutting the fabric I layered the three fabrics together then made my cuts.

After I had all 72 squares (x three layers) cut it was time to start sewing. I sewed the layers together by stitching and X across each square.
Then I began piecing and sewing the rows together according to my chart.

In the above photo I was almost at the halfway point.
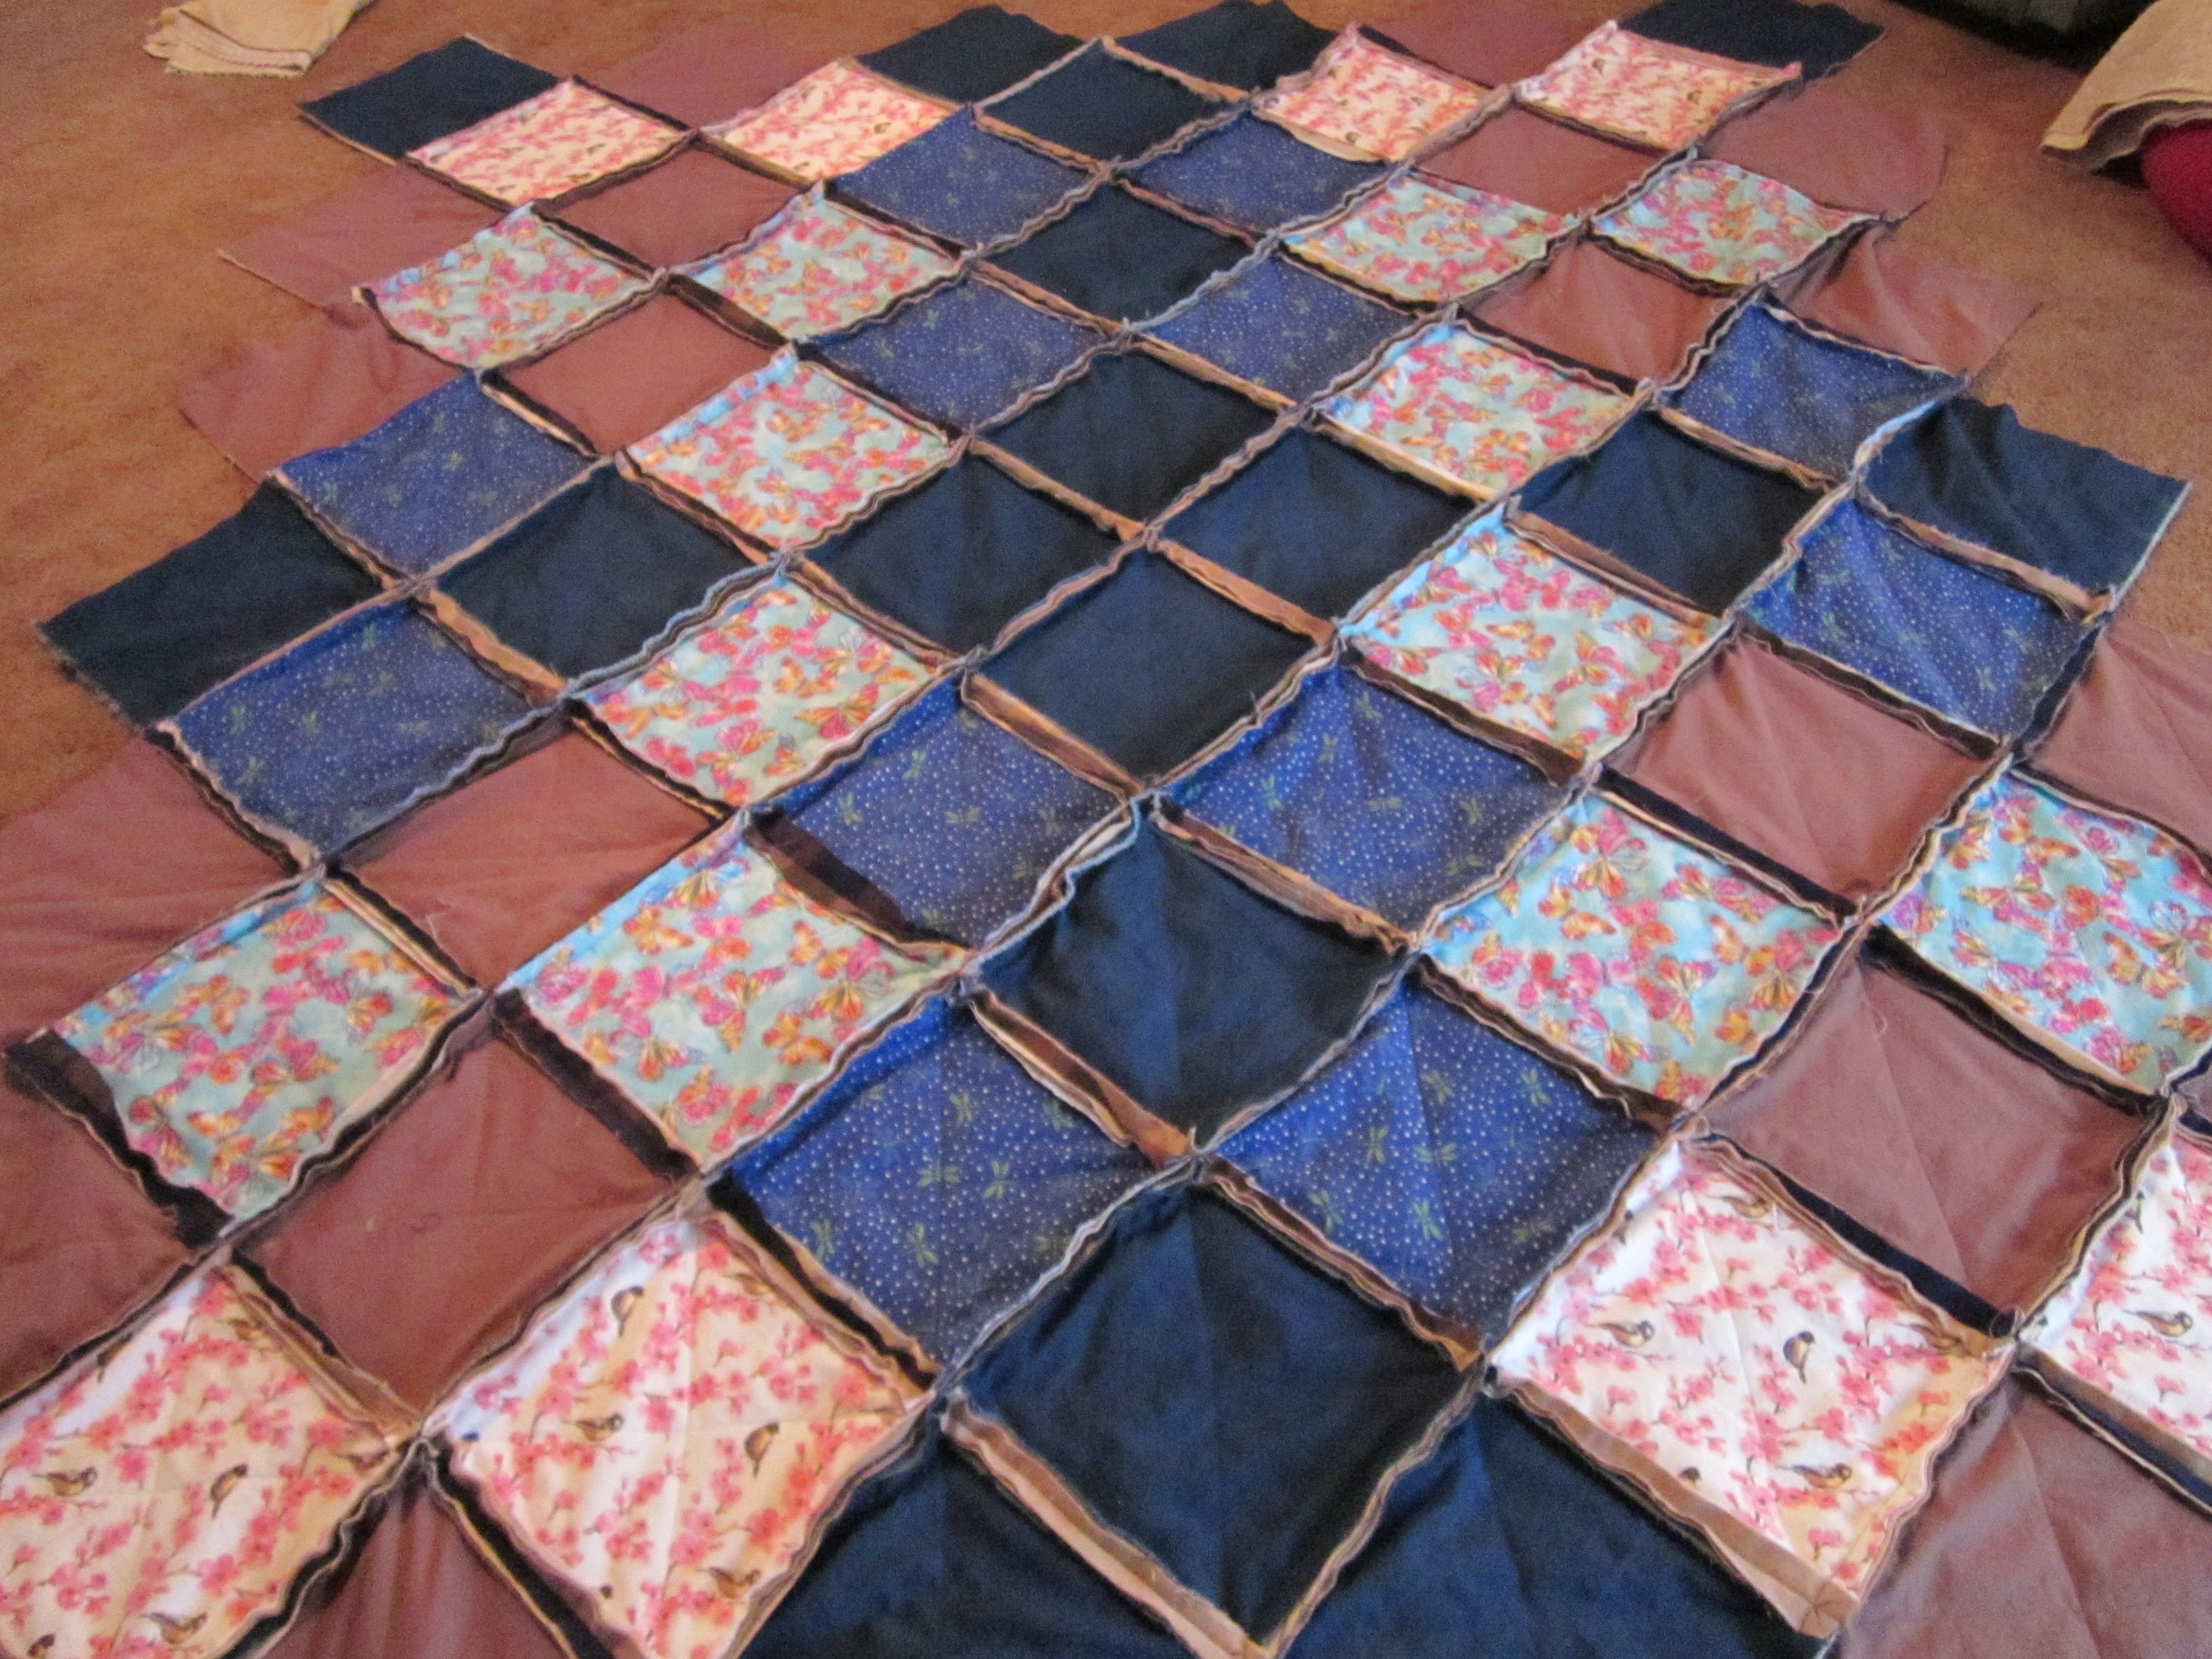
When the sewing was finished (above) it was time to start clipping the edges as in the photo below.

Clipping the edges was probably the longest part of the project with most of the edges having six layers of fabric to clip through (the outside edges had three layers) but the task was made a bit easier by using these small snip-type scissors that I purchased on one of my trips to the fabric store.
Once all of the clipping was finished it was time to wash and dry. This causes the edges to ruffle. While the quilt was drying I stopped the dryer every 15 minutes to empty the lint filter. The first few times it definitely needed to be emptied. There was less lint the last couple of times I emptied it but still enough to clean it out.

I’m very pleased with how it turned out and my husband was wowed. He has commented several times on how much he likes it and how warm it is. 🙂
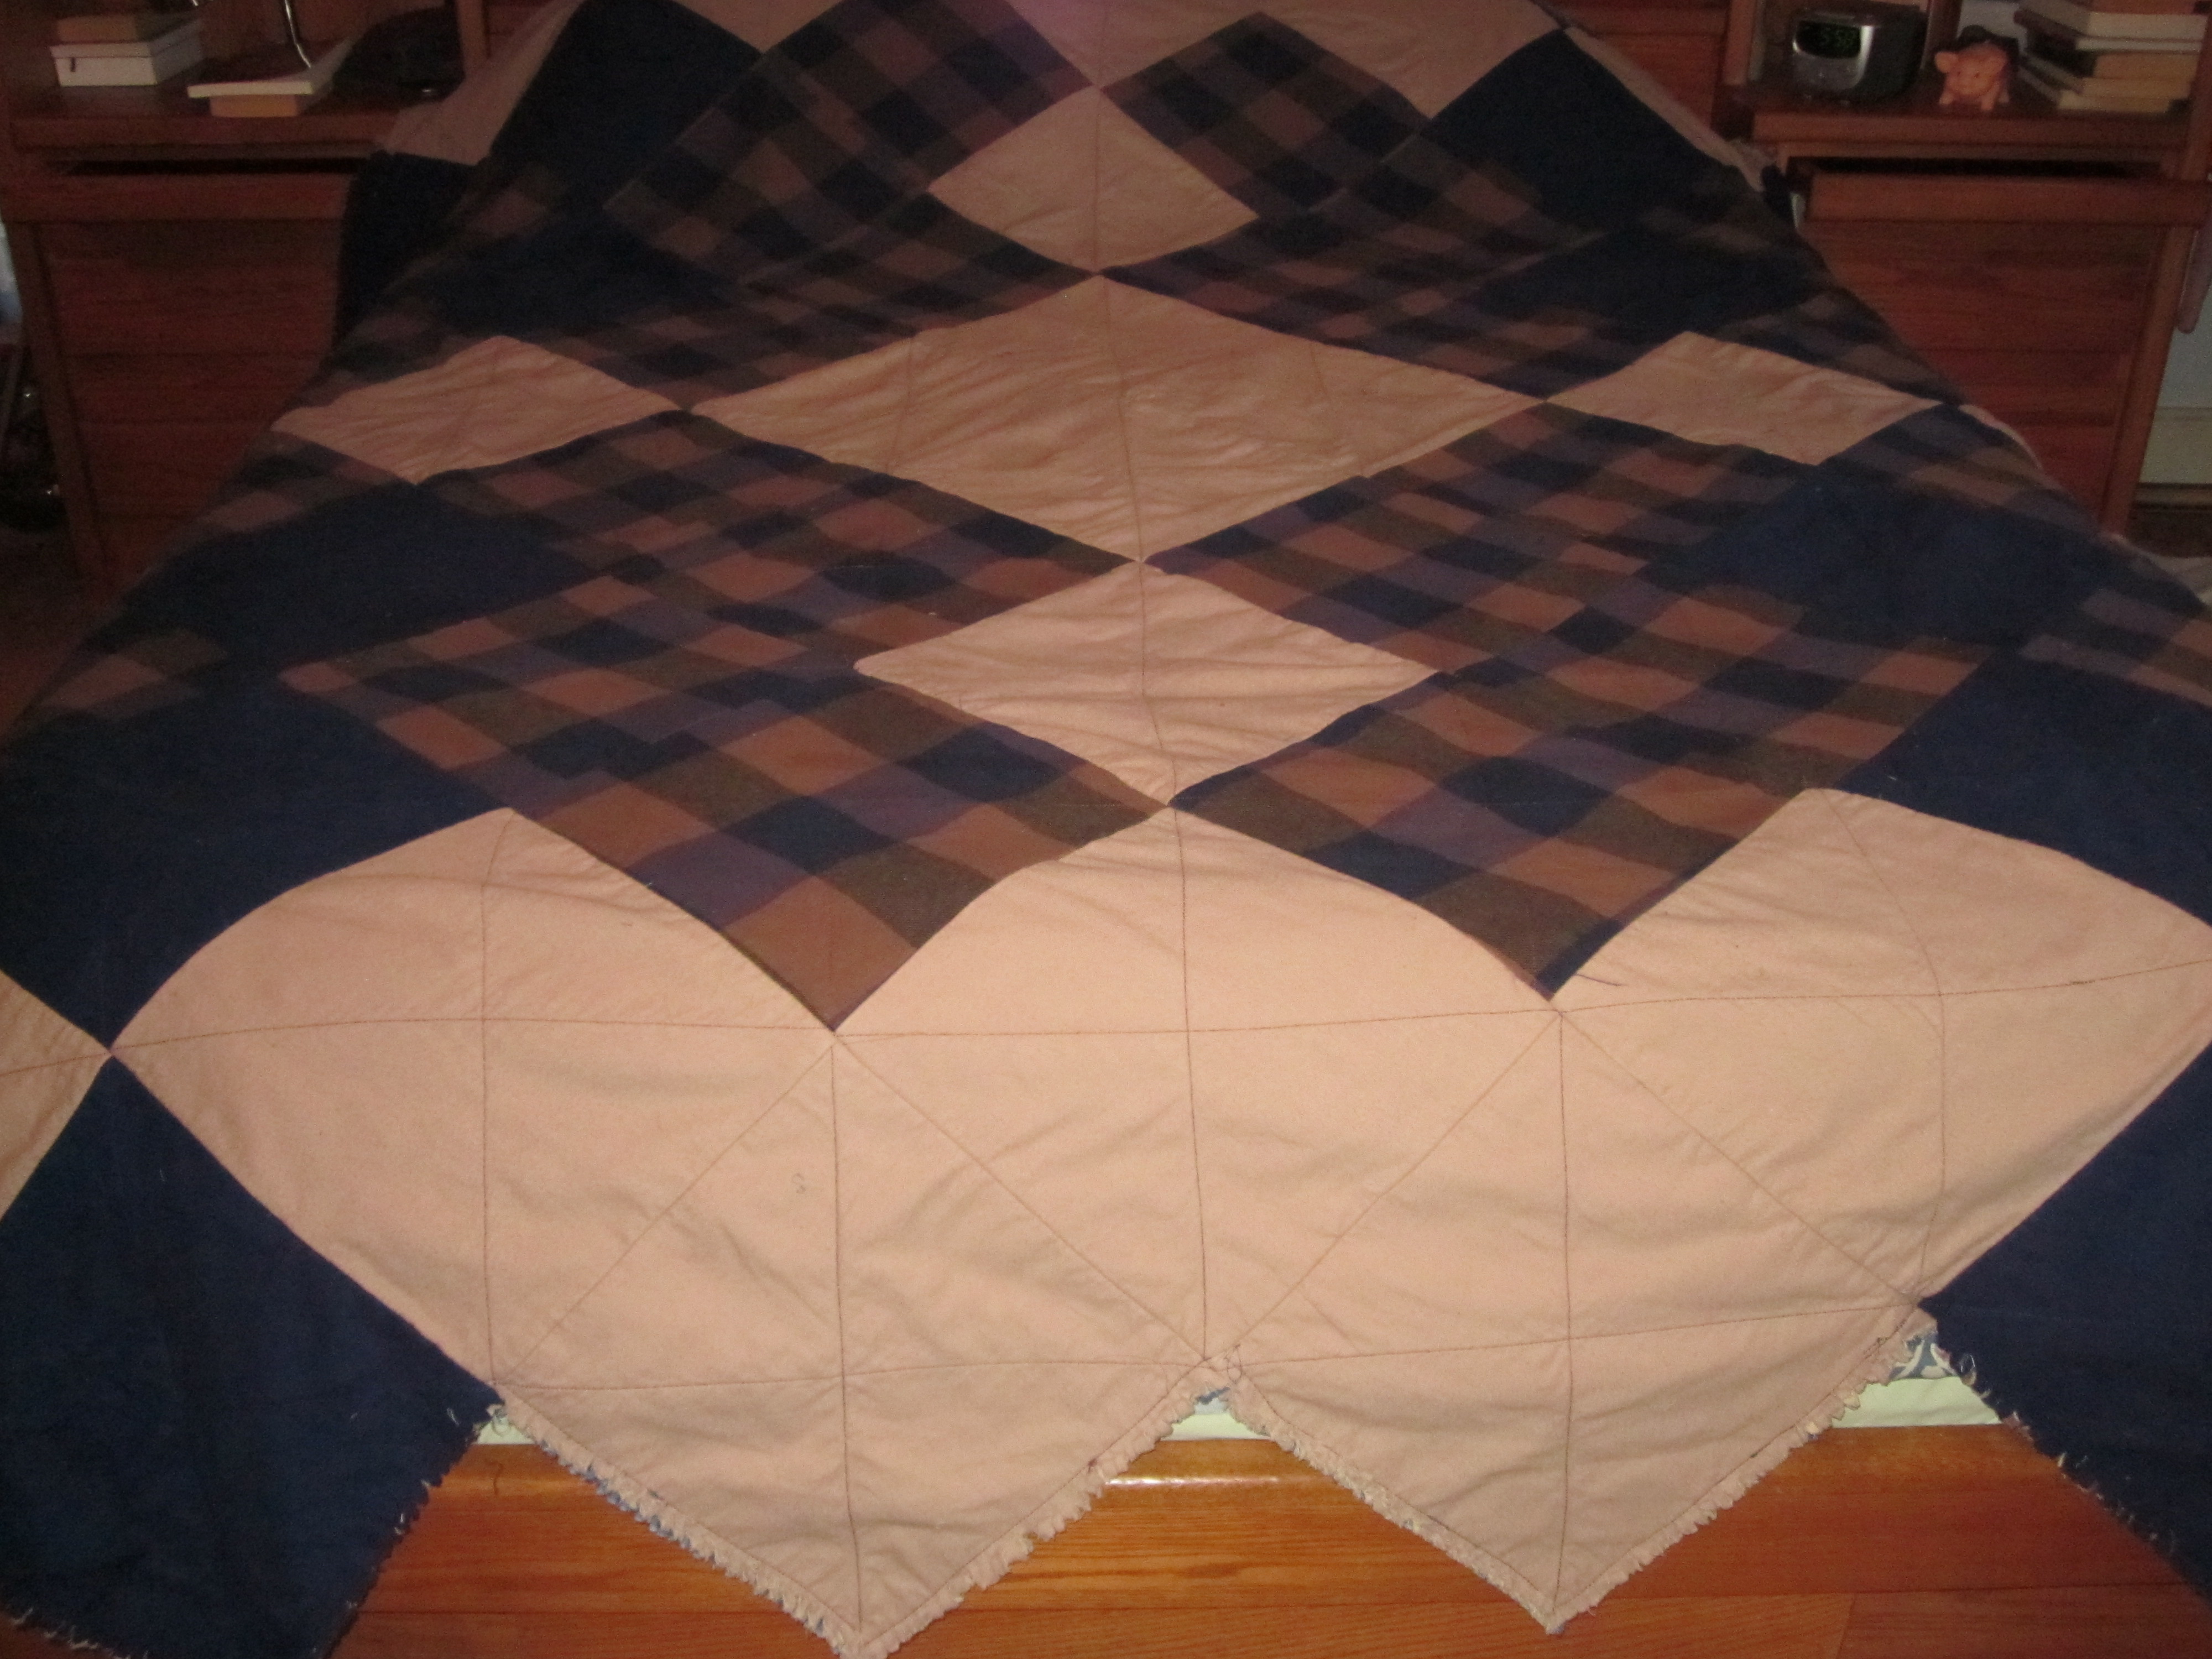
I like the design on the underside as well so reversing the quilt is always an option.
Thanks for visiting.

Spanking job Ruth a hearty well done – a great finish 🙂
LikeLiked by 1 person
Thanks Rory. We sure are enjoying it on these chilly nights.
LikeLiked by 1 person
Hey Ruth , l am sure you are 🙂
LikeLiked by 1 person
So pretty Ruth. I miss quilt shows here in our state. I always enjoy walking around and looking a all those beautiful designs. Your quilt took me back to my quilting show days. I look forward to that coming back again.
LikeLiked by 1 person
Thank you. I have never been to a quilt show but there are usually a few on display at the county fairs. So many beautiful designs. The possibilities are endless.
LikeLiked by 1 person
Oh, that’s gorgeous! I’ve been thinking about how to do something similar with all the old jeans I have–I’m inspired!
LikeLiked by 1 person
Thanks! I love this technique because even if the seams are not straight you can never tell. It’s easy to make it look good. Go for it!
LikeLiked by 1 person
That is beautiful, Ruth! I don’t quilt, but I have a couple friends that do. They enjoy it too!
Blue Rock Horses Frederick County, Virginia bluerockhorses.com
LikeLiked by 1 person
Thanks You!
LikeLike
That is beautiful Ruth … so much time and patience went into this creation and it shows, right down to the reverse side. My great-grandmother used to quilt and growing up I can picture the two quilts in my parents’ and my bedrooms respectively. She did feather ticks as well. You have many skills Ruth.
LikeLiked by 1 person
Thank you Linda. Quilts are something that can be treasured through the years. Feather ticks – WOW!
LikeLiked by 1 person
Yes, I can remember the design, especially the red one which was a dark red with a white sunburst. The light blue one was different colors, like yours, and a lot of calico as I recall. The feather tick was in a gold-colored satin material. My great grandparents had a farm and the feathers likely came from their ducks or geese.
LikeLiked by 1 person
I like that the edges aren’t of a standard quilt but adhere to the shape of the individual parts.
LikeLike
I think it gives it a country style and a cozy feel.
LikeLiked by 1 person
This is lovely! I made a queen size quilt from different colours of denim once, and when done, the quilt was too heavy for sleeping comfort. All that work….
LikeLiked by 1 person
Thanks! The denim that I used was a light weight denim. I guess it was a good choice. I can imagine how disappointed you were.
LikeLiked by 1 person
It’s beautiful Ruth and I love the colors!
LikeLiked by 1 person
Thanks Joni!
LikeLiked by 1 person
I agree with everyone else, it is beautiful! The technique reminds me of the one you used when you made a baby quilt for my grandson Braygen. (He loved it by the way.
You are so brave to do these things. I get overwhelmed at the planning and it never seems to get done. You are truly a doer. Miss you.
LikeLike
I miss you too! The one I made for Braygen was the first one I ever made. Starting with the baby quilt and gave me the confidence to do bigger ones. If I had never done his I might not have done any of the others. I am happy he liked it. 🙂
LikeLike
It’s really beautiful!!
LikeLiked by 1 person
Thanks Michelle.
LikeLiked by 1 person
Nicely done. I love the color choices. Its looks beautiful, comfy and warm. Its awesome the center layer was repurposed from sheets. On point is on of my favorites too. I’m agree with your husband, you did an amazing job!!!!
LikeLiked by 1 person
Picking fabrics was fun but challenging. I first picked the plaid that ended up on the back along with the denim. Then I fell in love with the robin fabric and bought the last yard that was available. I just couldn’t see the plaid and the robins together and I thought I need a little more pink to tie in the robin fabric so I chose the butter flies. I was happy that the dragonflies were a blue because I love dragonflies. In the end they did come together nicely both top and underside.
LikeLike
A really clever design!
LikeLiked by 1 person
Thank you. I looked at various designs before starting and decided the on-point would be unique without being too complicated.
LikeLiked by 1 person
How lovely!
LikeLiked by 2 people
Thank you!
LikeLike
Amazing! It’s beautiful and warm!
LikeLiked by 1 person
Thanks Anne. I was a little concerned that it wouldn’t be warm enough with only 3 layers because I’ve seen instructions some using 4 or more. This one is plenty warm and I wouldn’t have wanted to deal with any more fabric. 🙂
LikeLike
That is great! I’m always impressed by people who can create lovely, useful things. You’re so good at it.
LikeLiked by 1 person
I really enjoy creating things. These projects have made the winter pass very quickly and I feel like I was very productive.
LikeLike
Beautiful!
LikeLiked by 1 person
Thank you.
LikeLiked by 1 person