It’s been a couple weeks since I finished my second big winter project. I have just been negligent in blogging about it. This project is a rag quilt that I made for our bed.
This quilt was more involved than the t-shirt quilt I made for my daughter because for her quilt she supplied the t-shirts and selected the flannel that it would be backed with. Also our bed is queen size so this quilt is larger than the one I made for her.
For our quilt I started with selecting the materials. It took several trips to the fabric shop before I had all that I would need. Our bedroom is done in blues and browns so I decided to stick with (mostly)those colors.
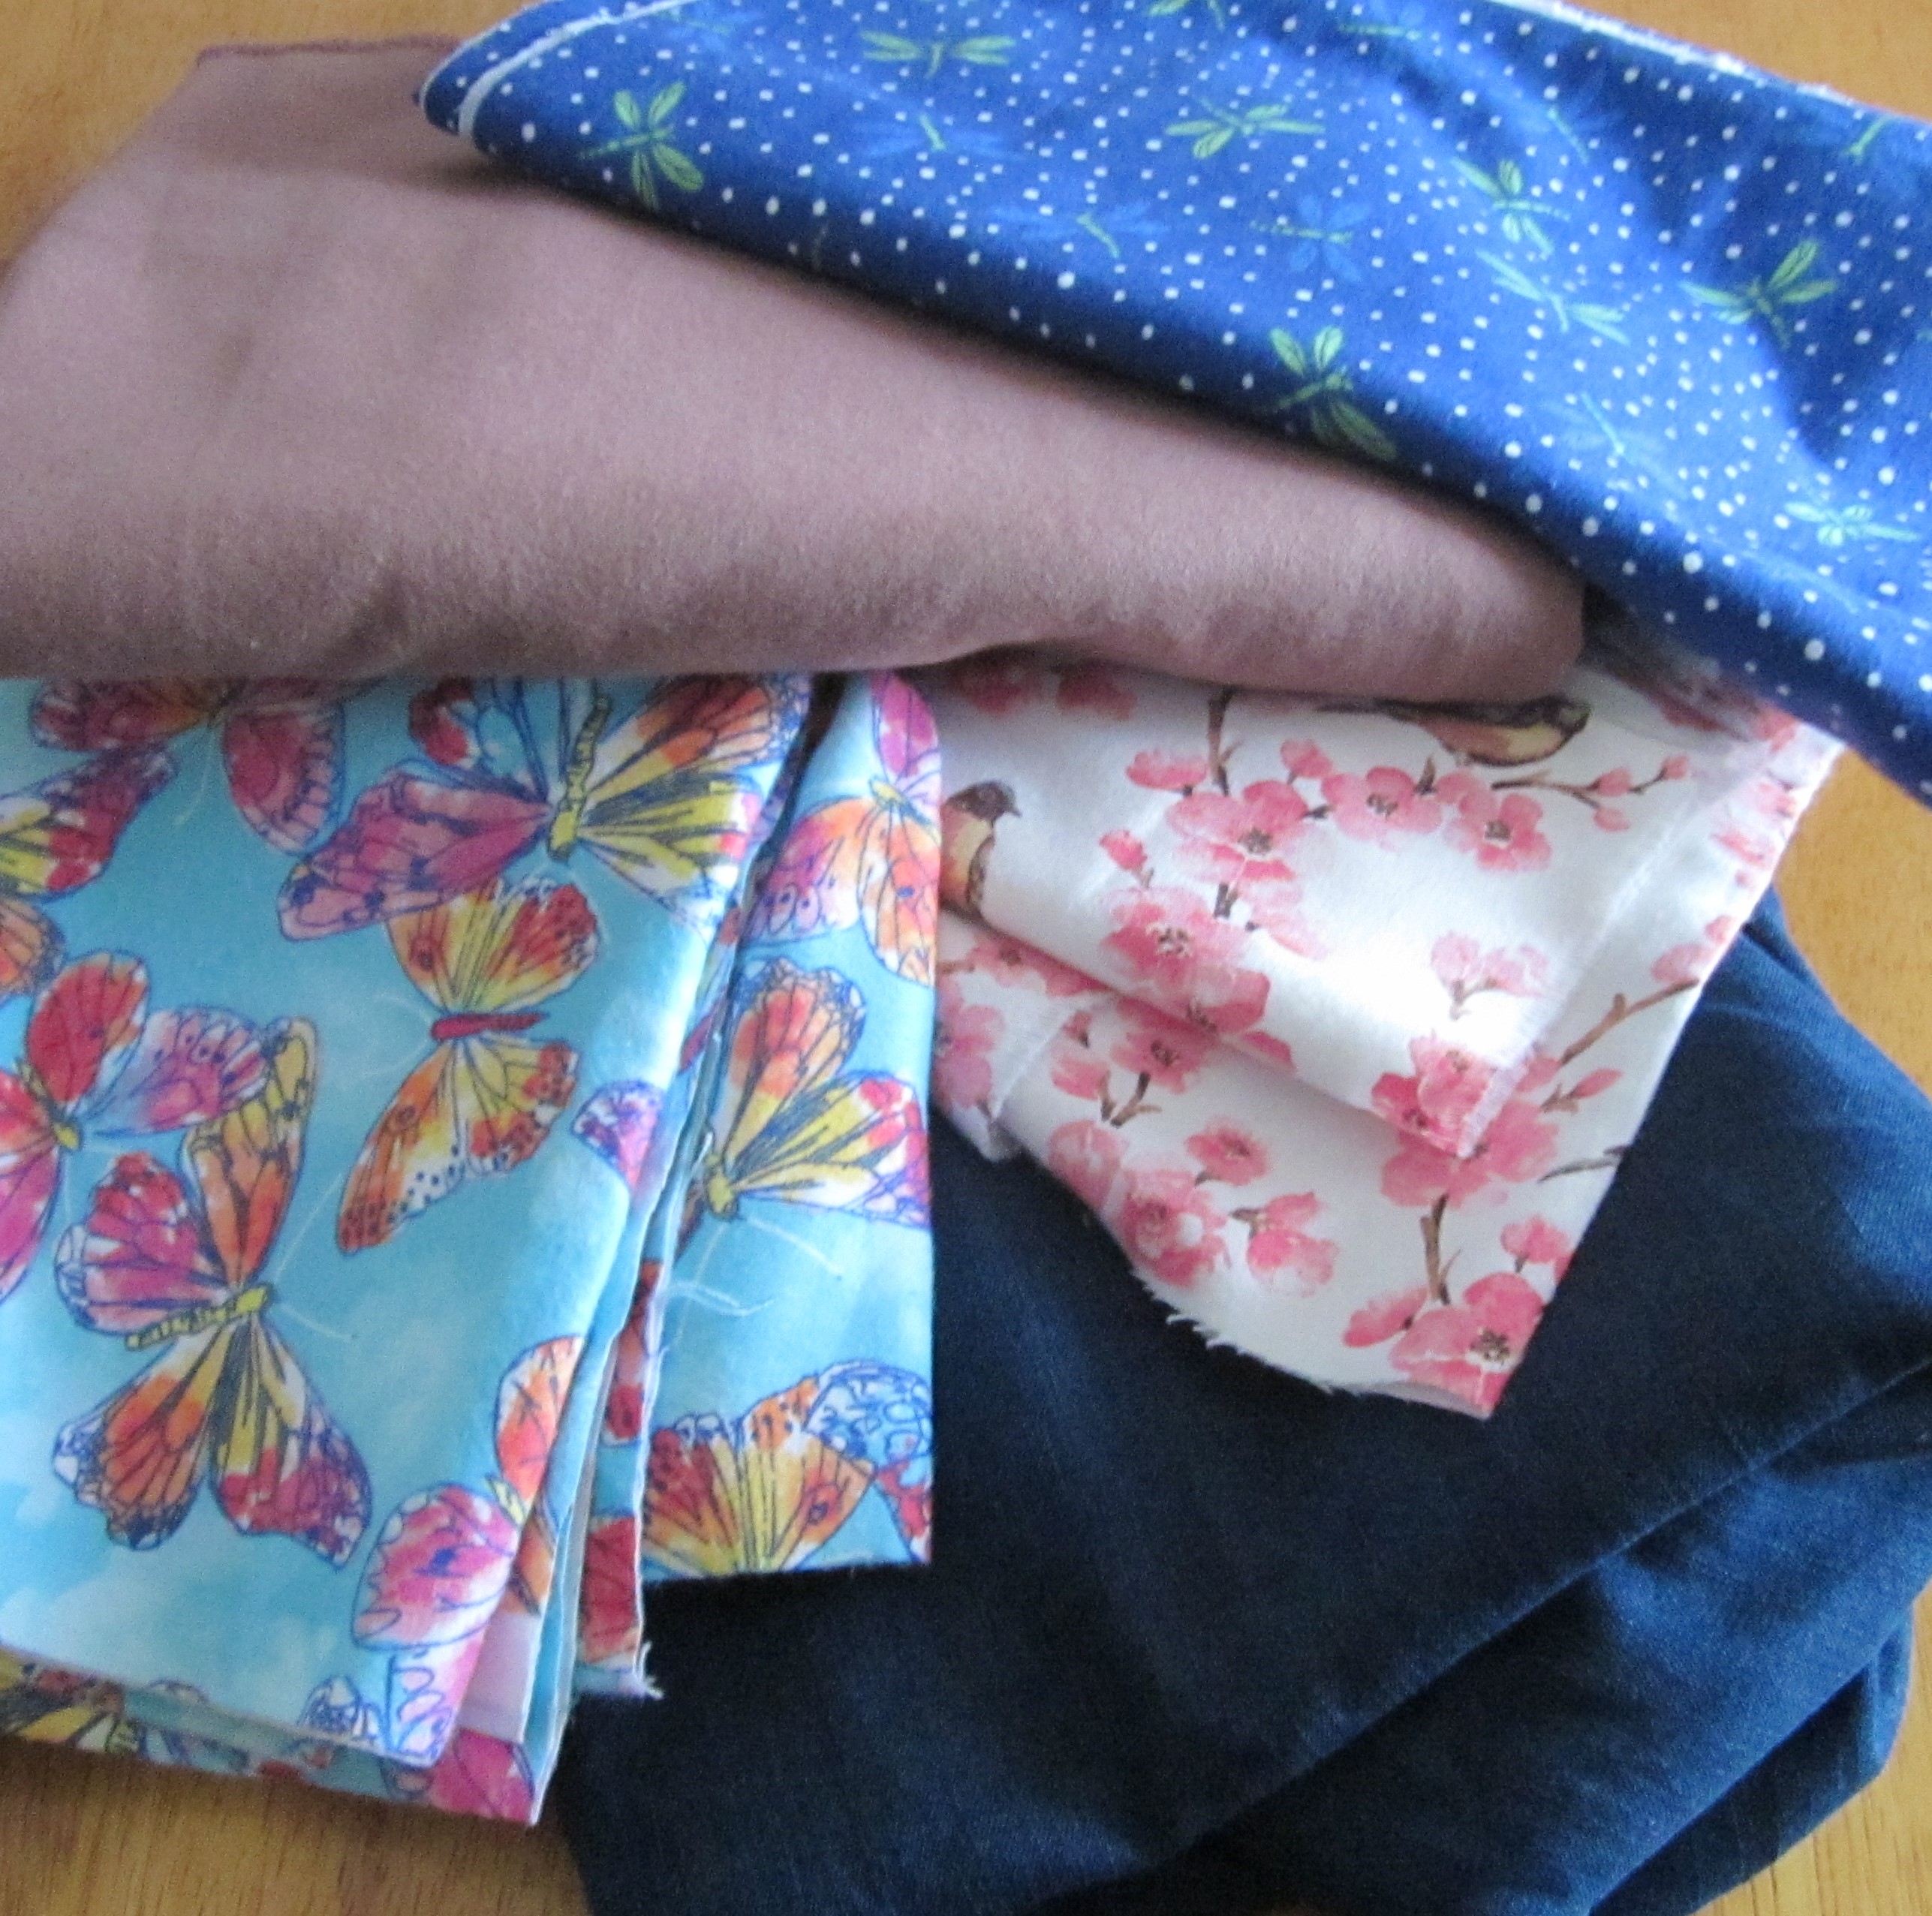

One of the reasons it took so many trips to the fabric store is because I didn’t really have a plan. So I took so measurements then drew it out on graph paper.
I decided to do an on-point design (the squares line up on a diagonal) and to use 12 inch squares. Once I knew how many squares I would need, 72 squares for each layer, I finished buying fabric. The quilt would be three layers but for the middle layer I planned on using an old flannel sheet set that I had so I only needed to buy enough fabric for the top layer and underside.

It wasn’t until I had purchased all of my fabric that I added the colors to this chart determining the actual pattern. This project actually involved a lot of math. You’ll notice some of the squares have different colors in them, these were changes that I made in the design and the inner most color was the correct one.
This chart was my road map throughout the cutting and sewing process. I would have been lost without it.

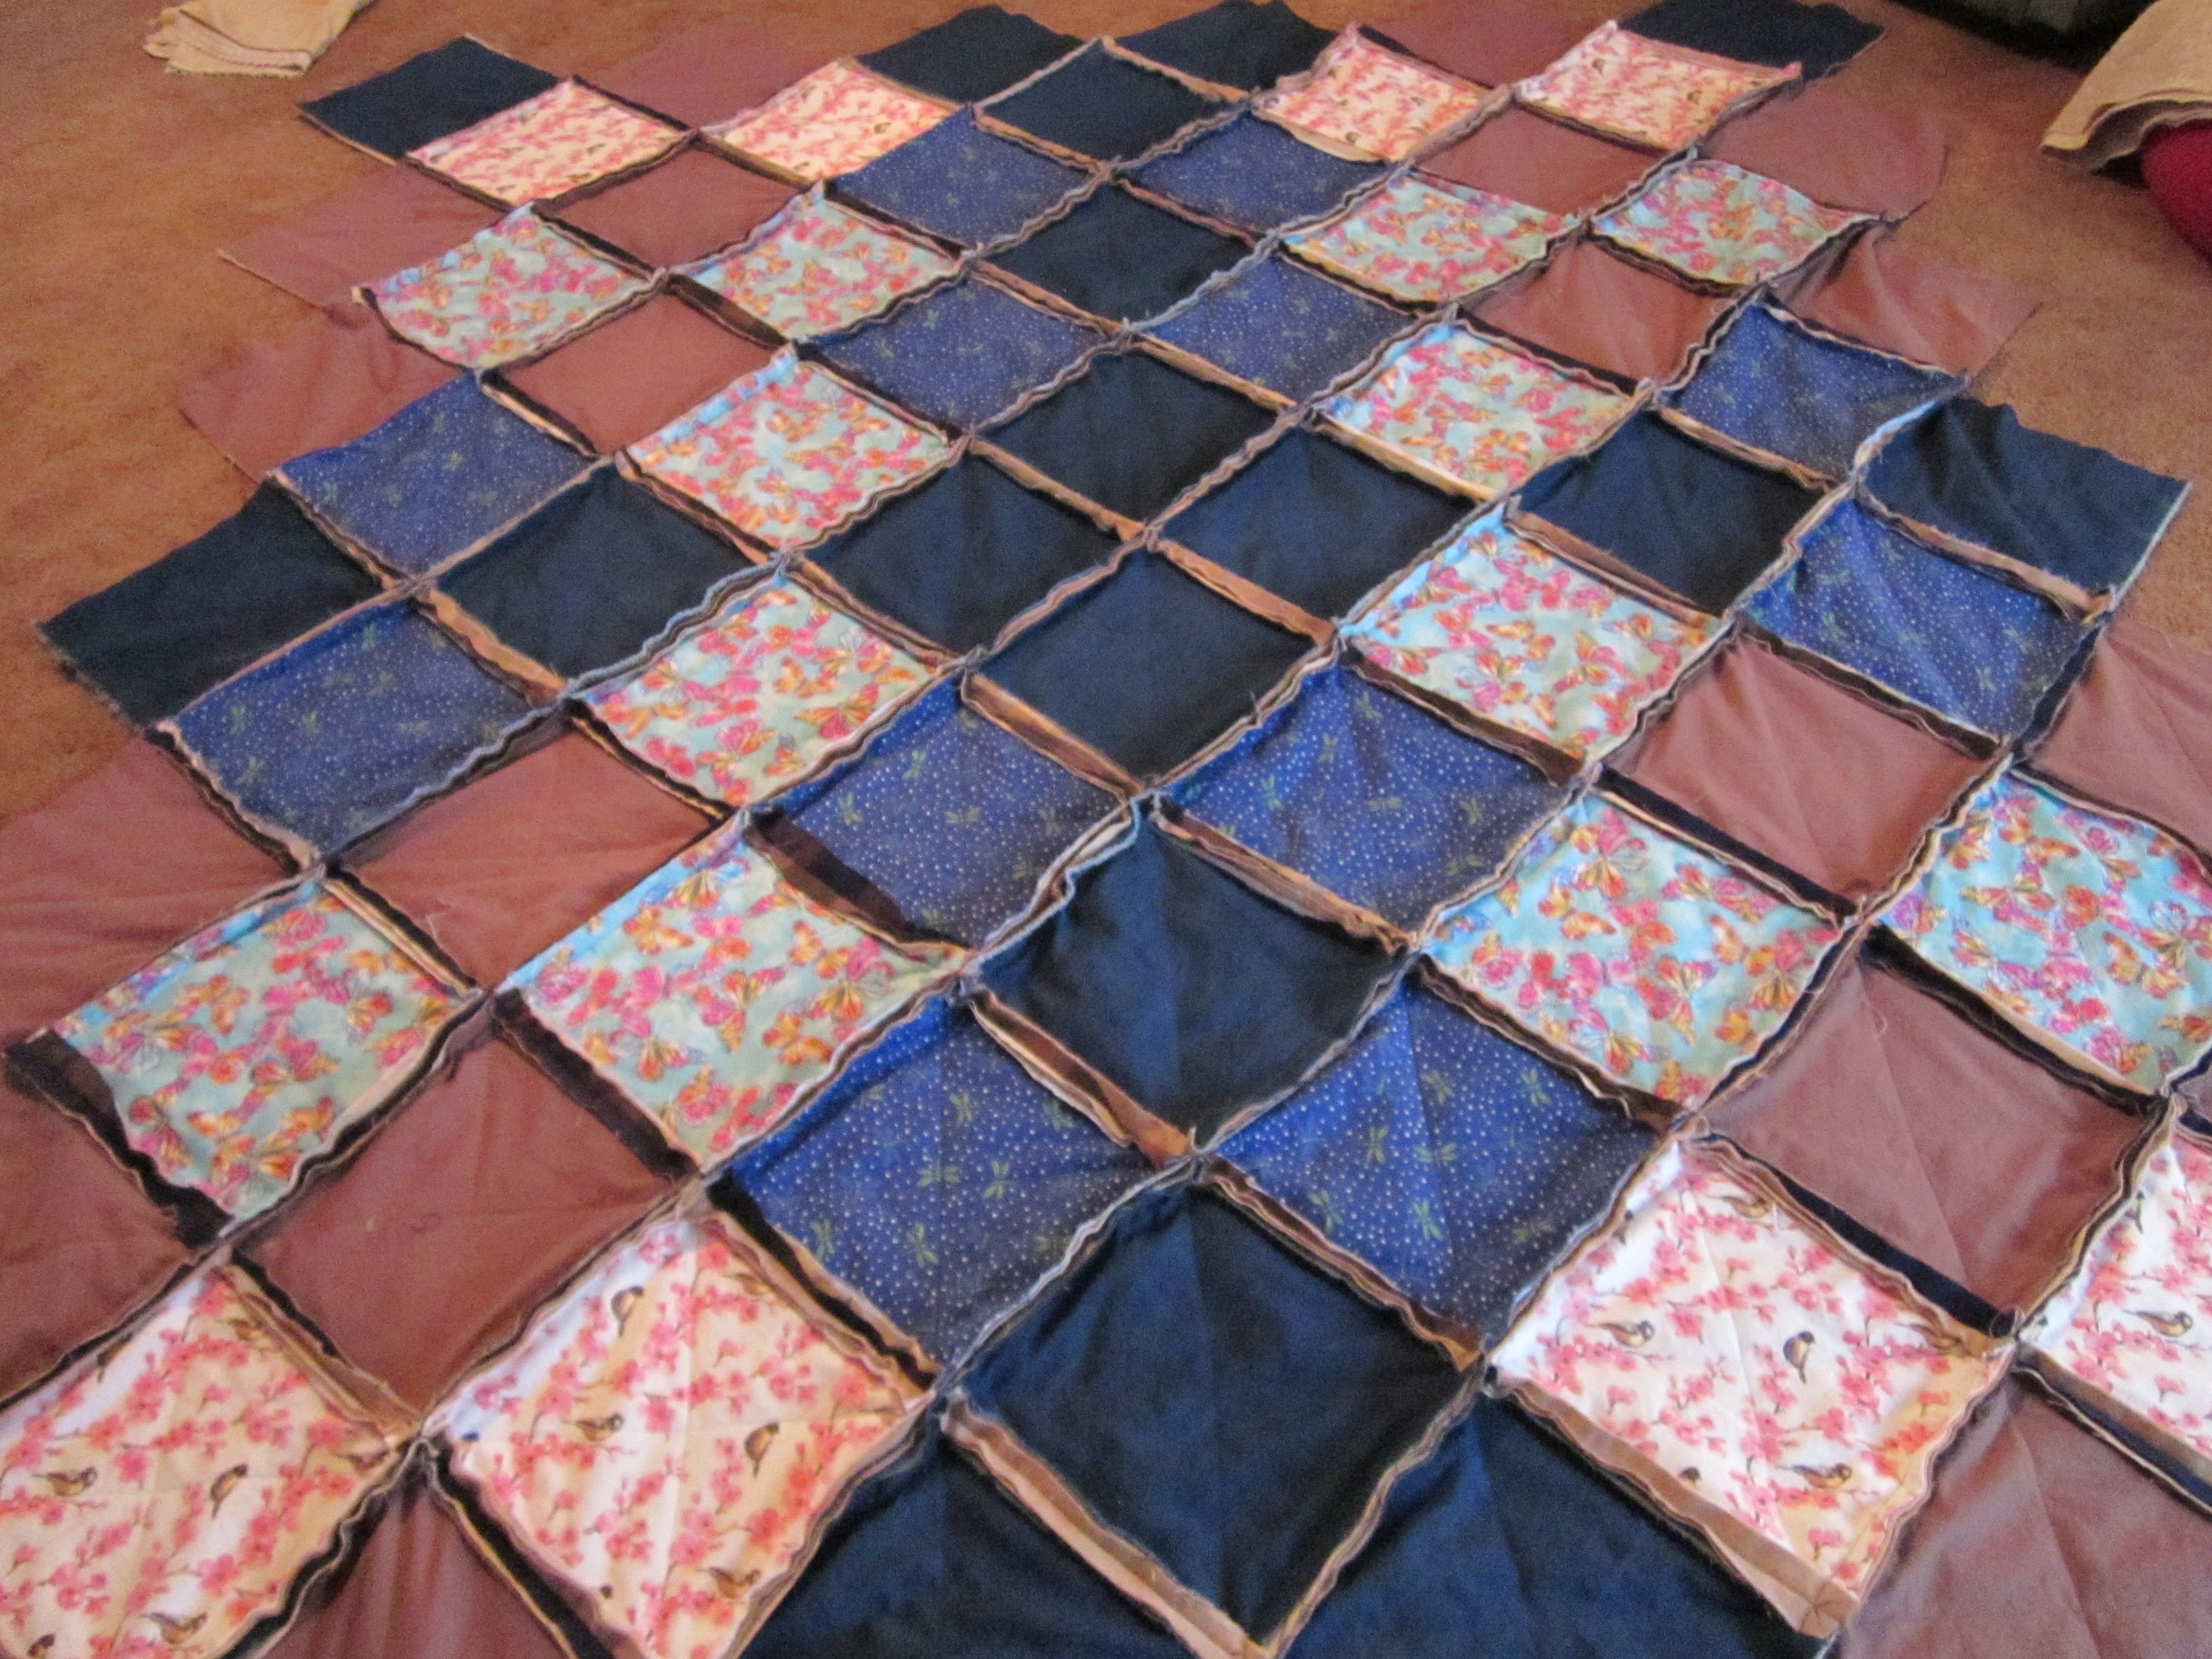
When cutting the fabric I layered the three fabrics together then made my cuts.

After I had all 72 squares (x three layers) cut it was time to start sewing. I sewed the layers together by stitching and X across each square.
Then I began piecing and sewing the rows together according to my chart.

In the above photo I was almost at the halfway point.
When the sewing was finished (above) it was time to start clipping the edges as in the photo below.

Clipping the edges was probably the longest part of the project with most of the edges having six layers of fabric to clip through (the outside edges had three layers) but the task was made a bit easier by using these small snip-type scissors that I purchased on one of my trips to the fabric store.
Once all of the clipping was finished it was time to wash and dry. This causes the edges to ruffle. While the quilt was drying I stopped the dryer every 15 minutes to empty the lint filter. The first few times it definitely needed to be emptied. There was less lint the last couple of times I emptied it but still enough to clean it out.

I’m very pleased with how it turned out and my husband was wowed. He has commented several times on how much he likes it and how warm it is. 🙂
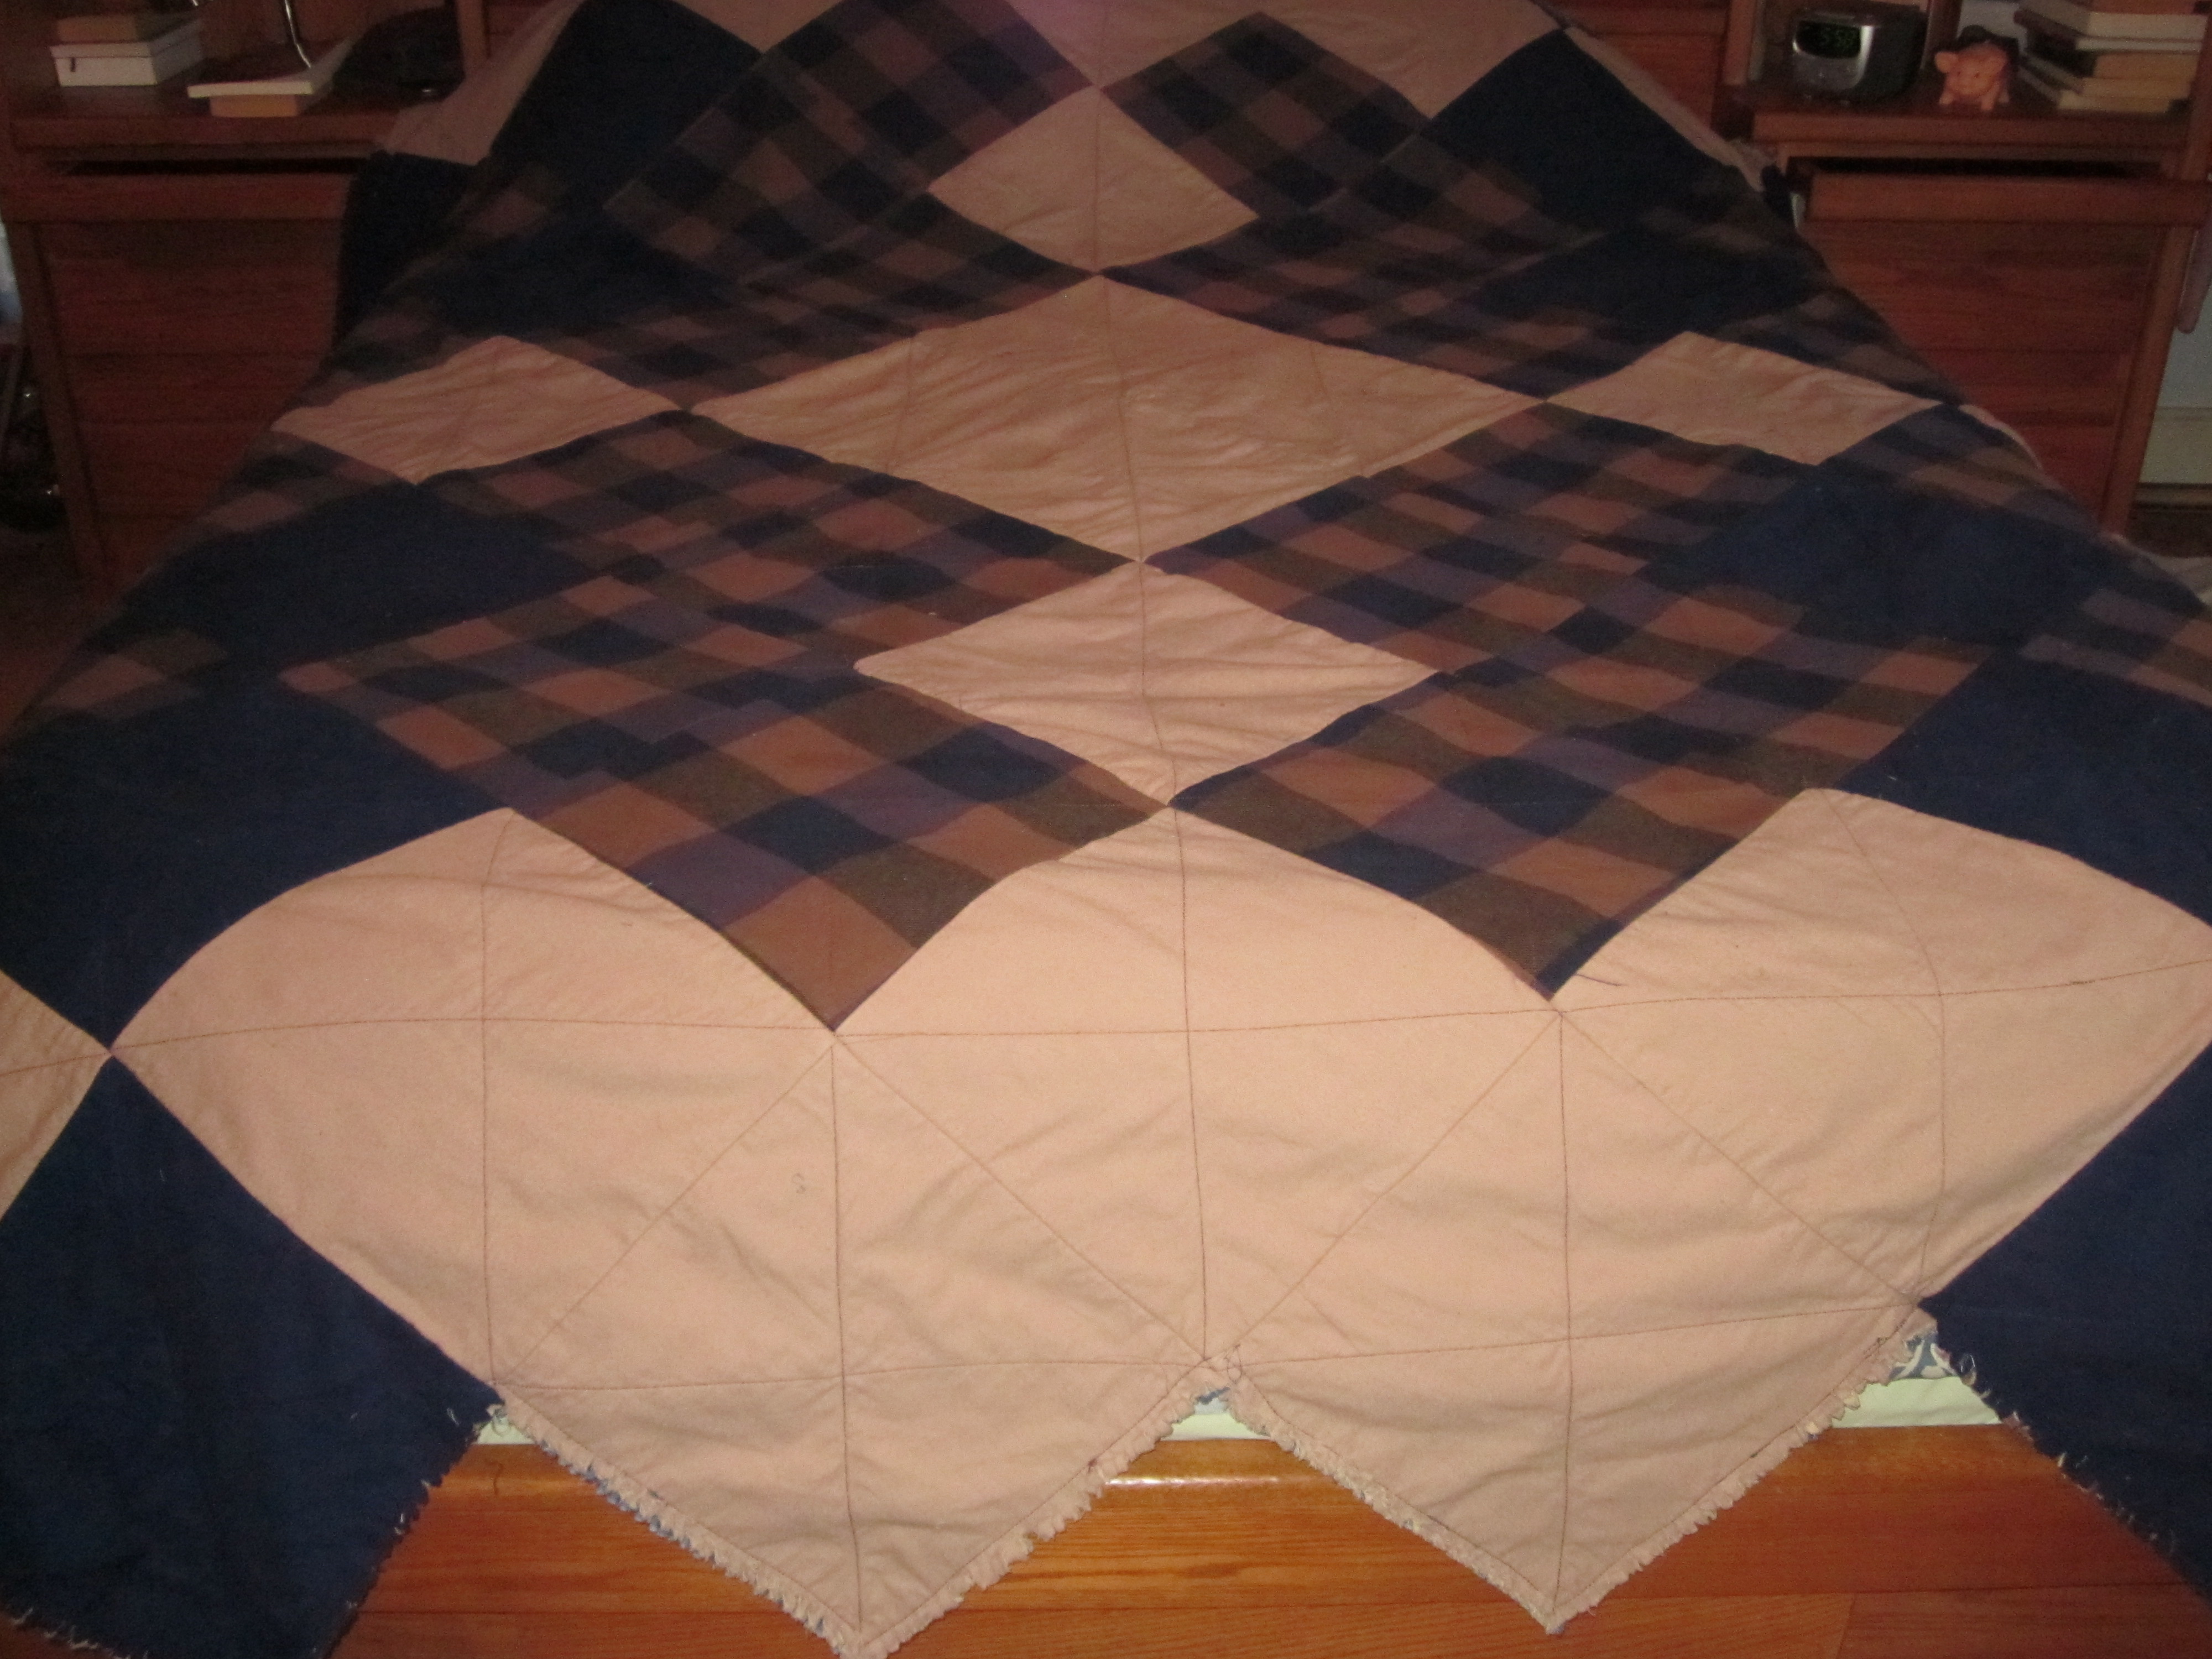
I like the design on the underside as well so reversing the quilt is always an option.
Thanks for visiting.