Category Archives: Tie-Dye

February Sewing Projects

I know February is long gone but I thought I would take a few minutes to show you the sewing projects I completed during the month.

First up is the set of pillowcases I made for me and my husband.

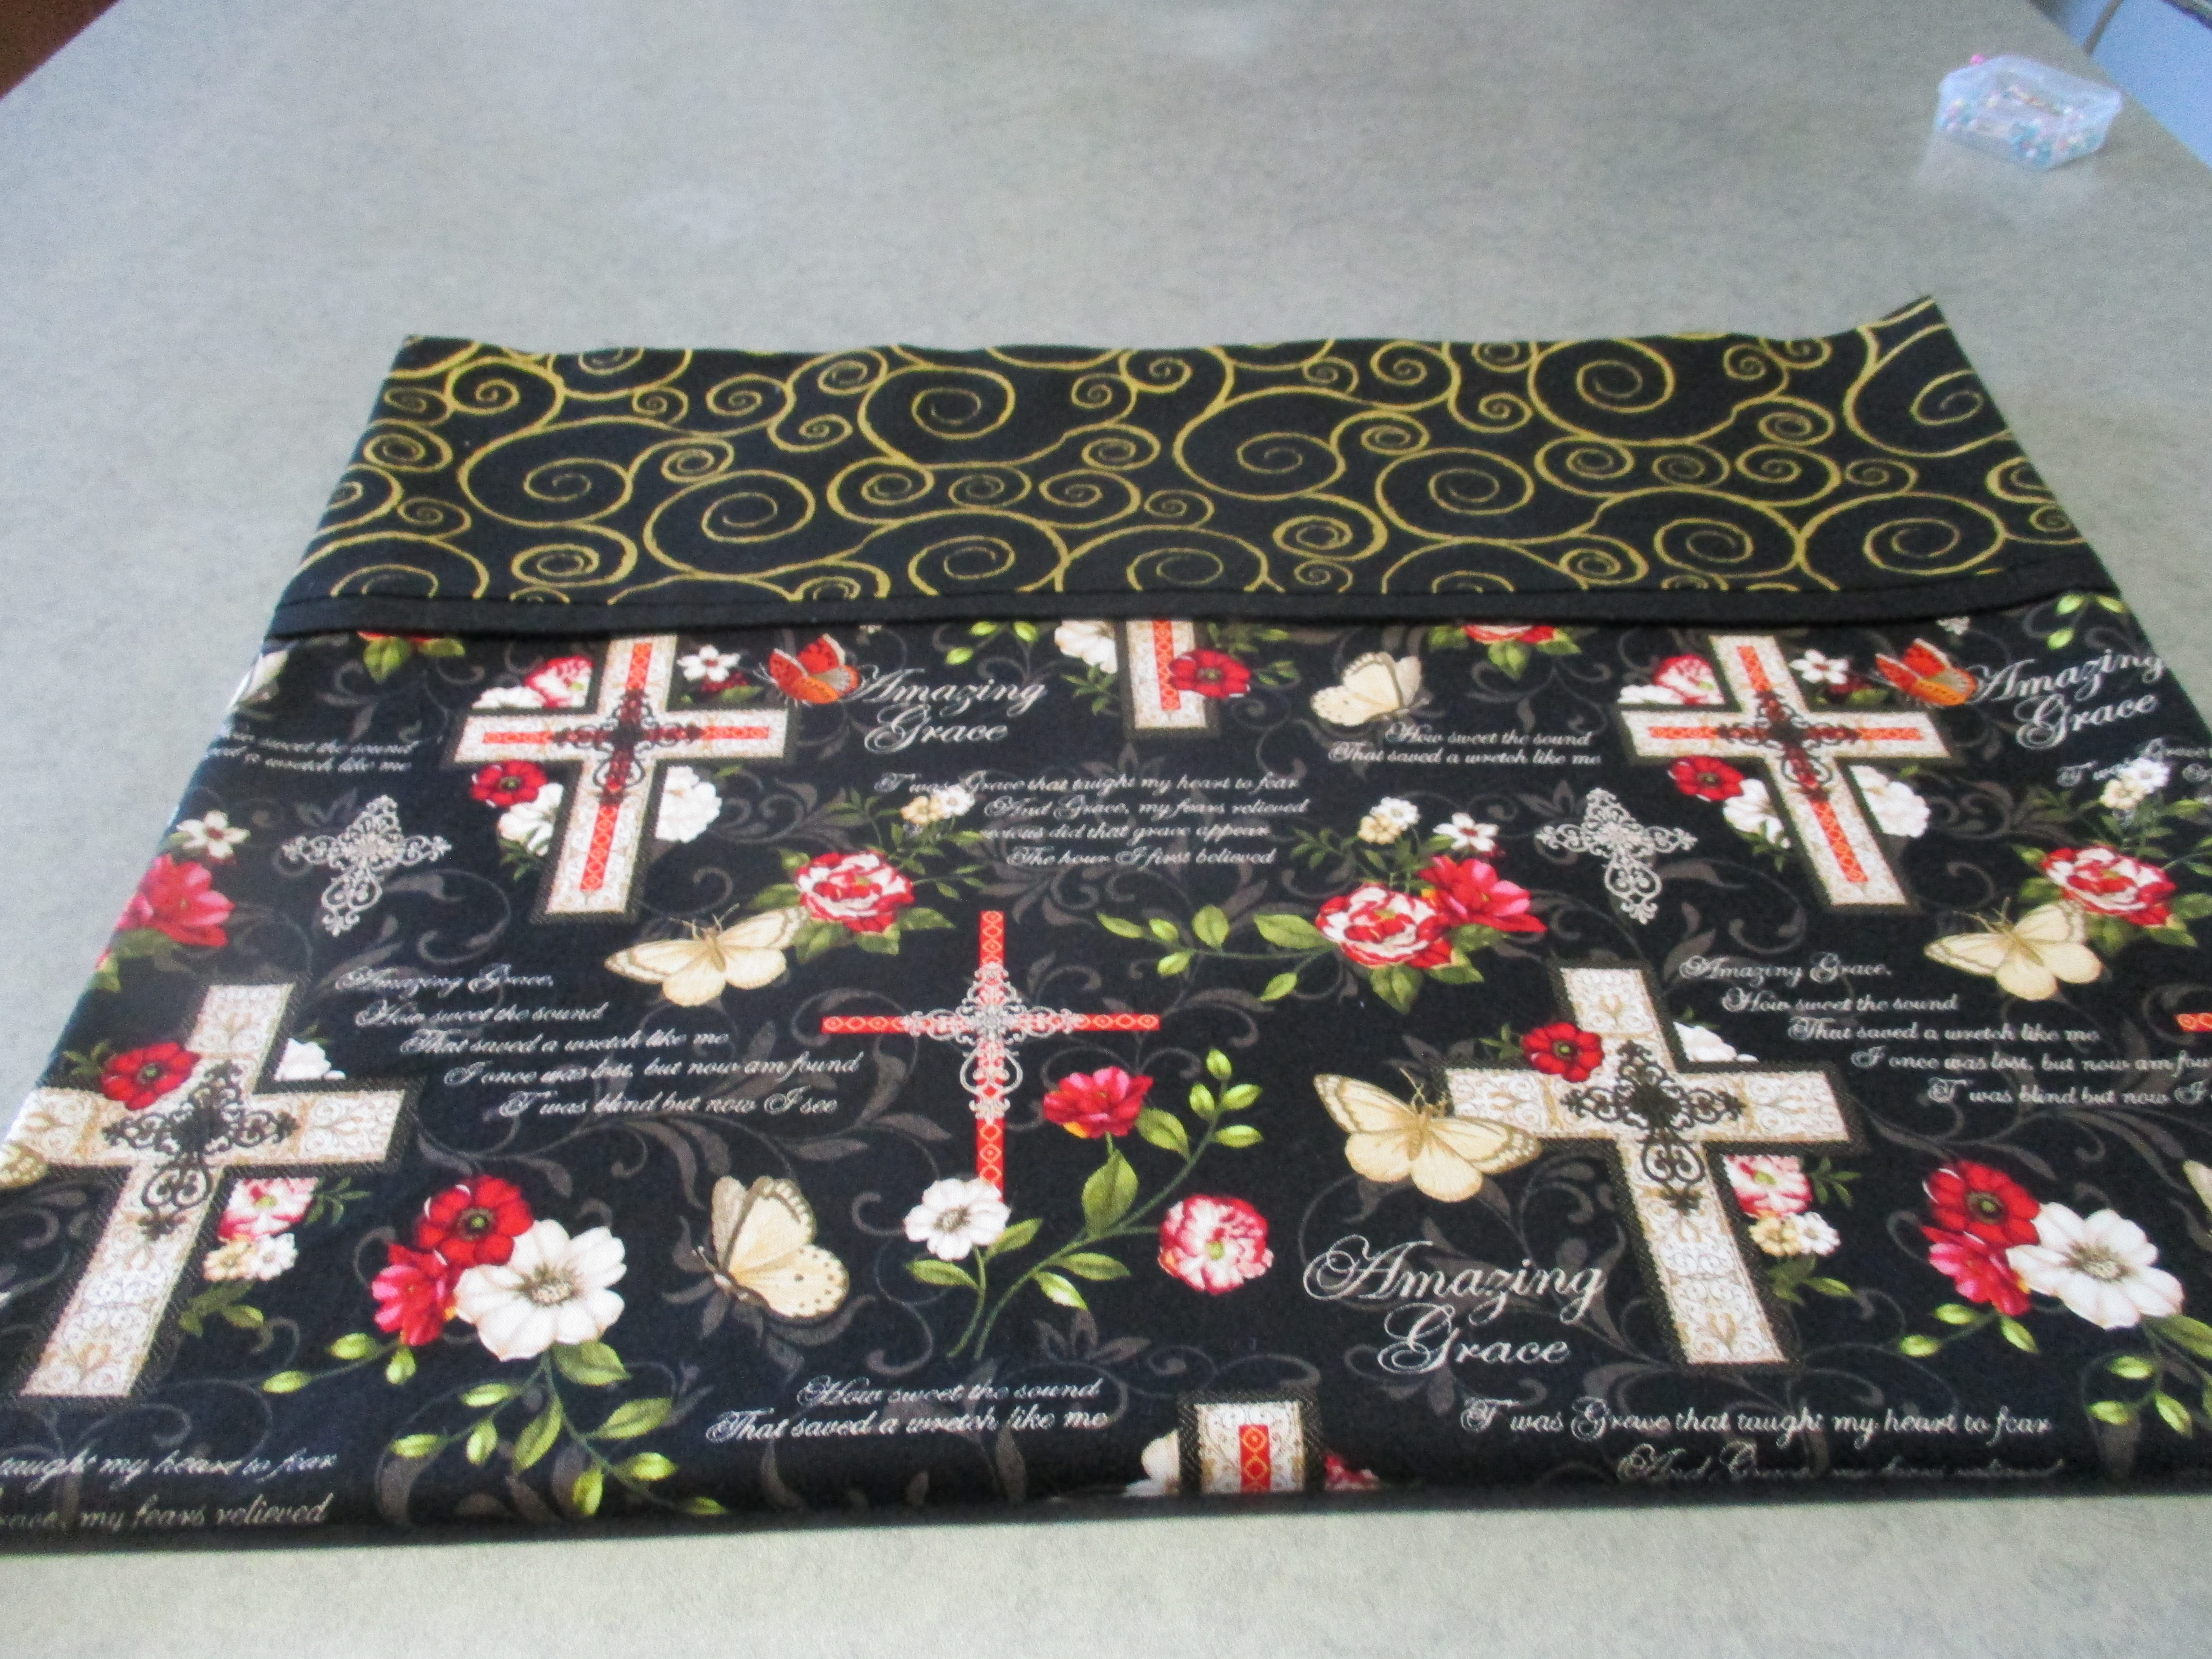
Last fall, when shopping a Hobby Lobby, I came across this Amazing Grace fabric and thought it was beautiful. I had no idea what I would make with it but purchased two yards anyway. When one of my sisters mentioned making pillowcases I decided that would be the perfect project for this fabric. I set it aside until after all of my Christmas projects were finished and it wasn’t until February that I around to it.

I followed this tutorial and the pillowcases came out beautiful. They look professionally made.

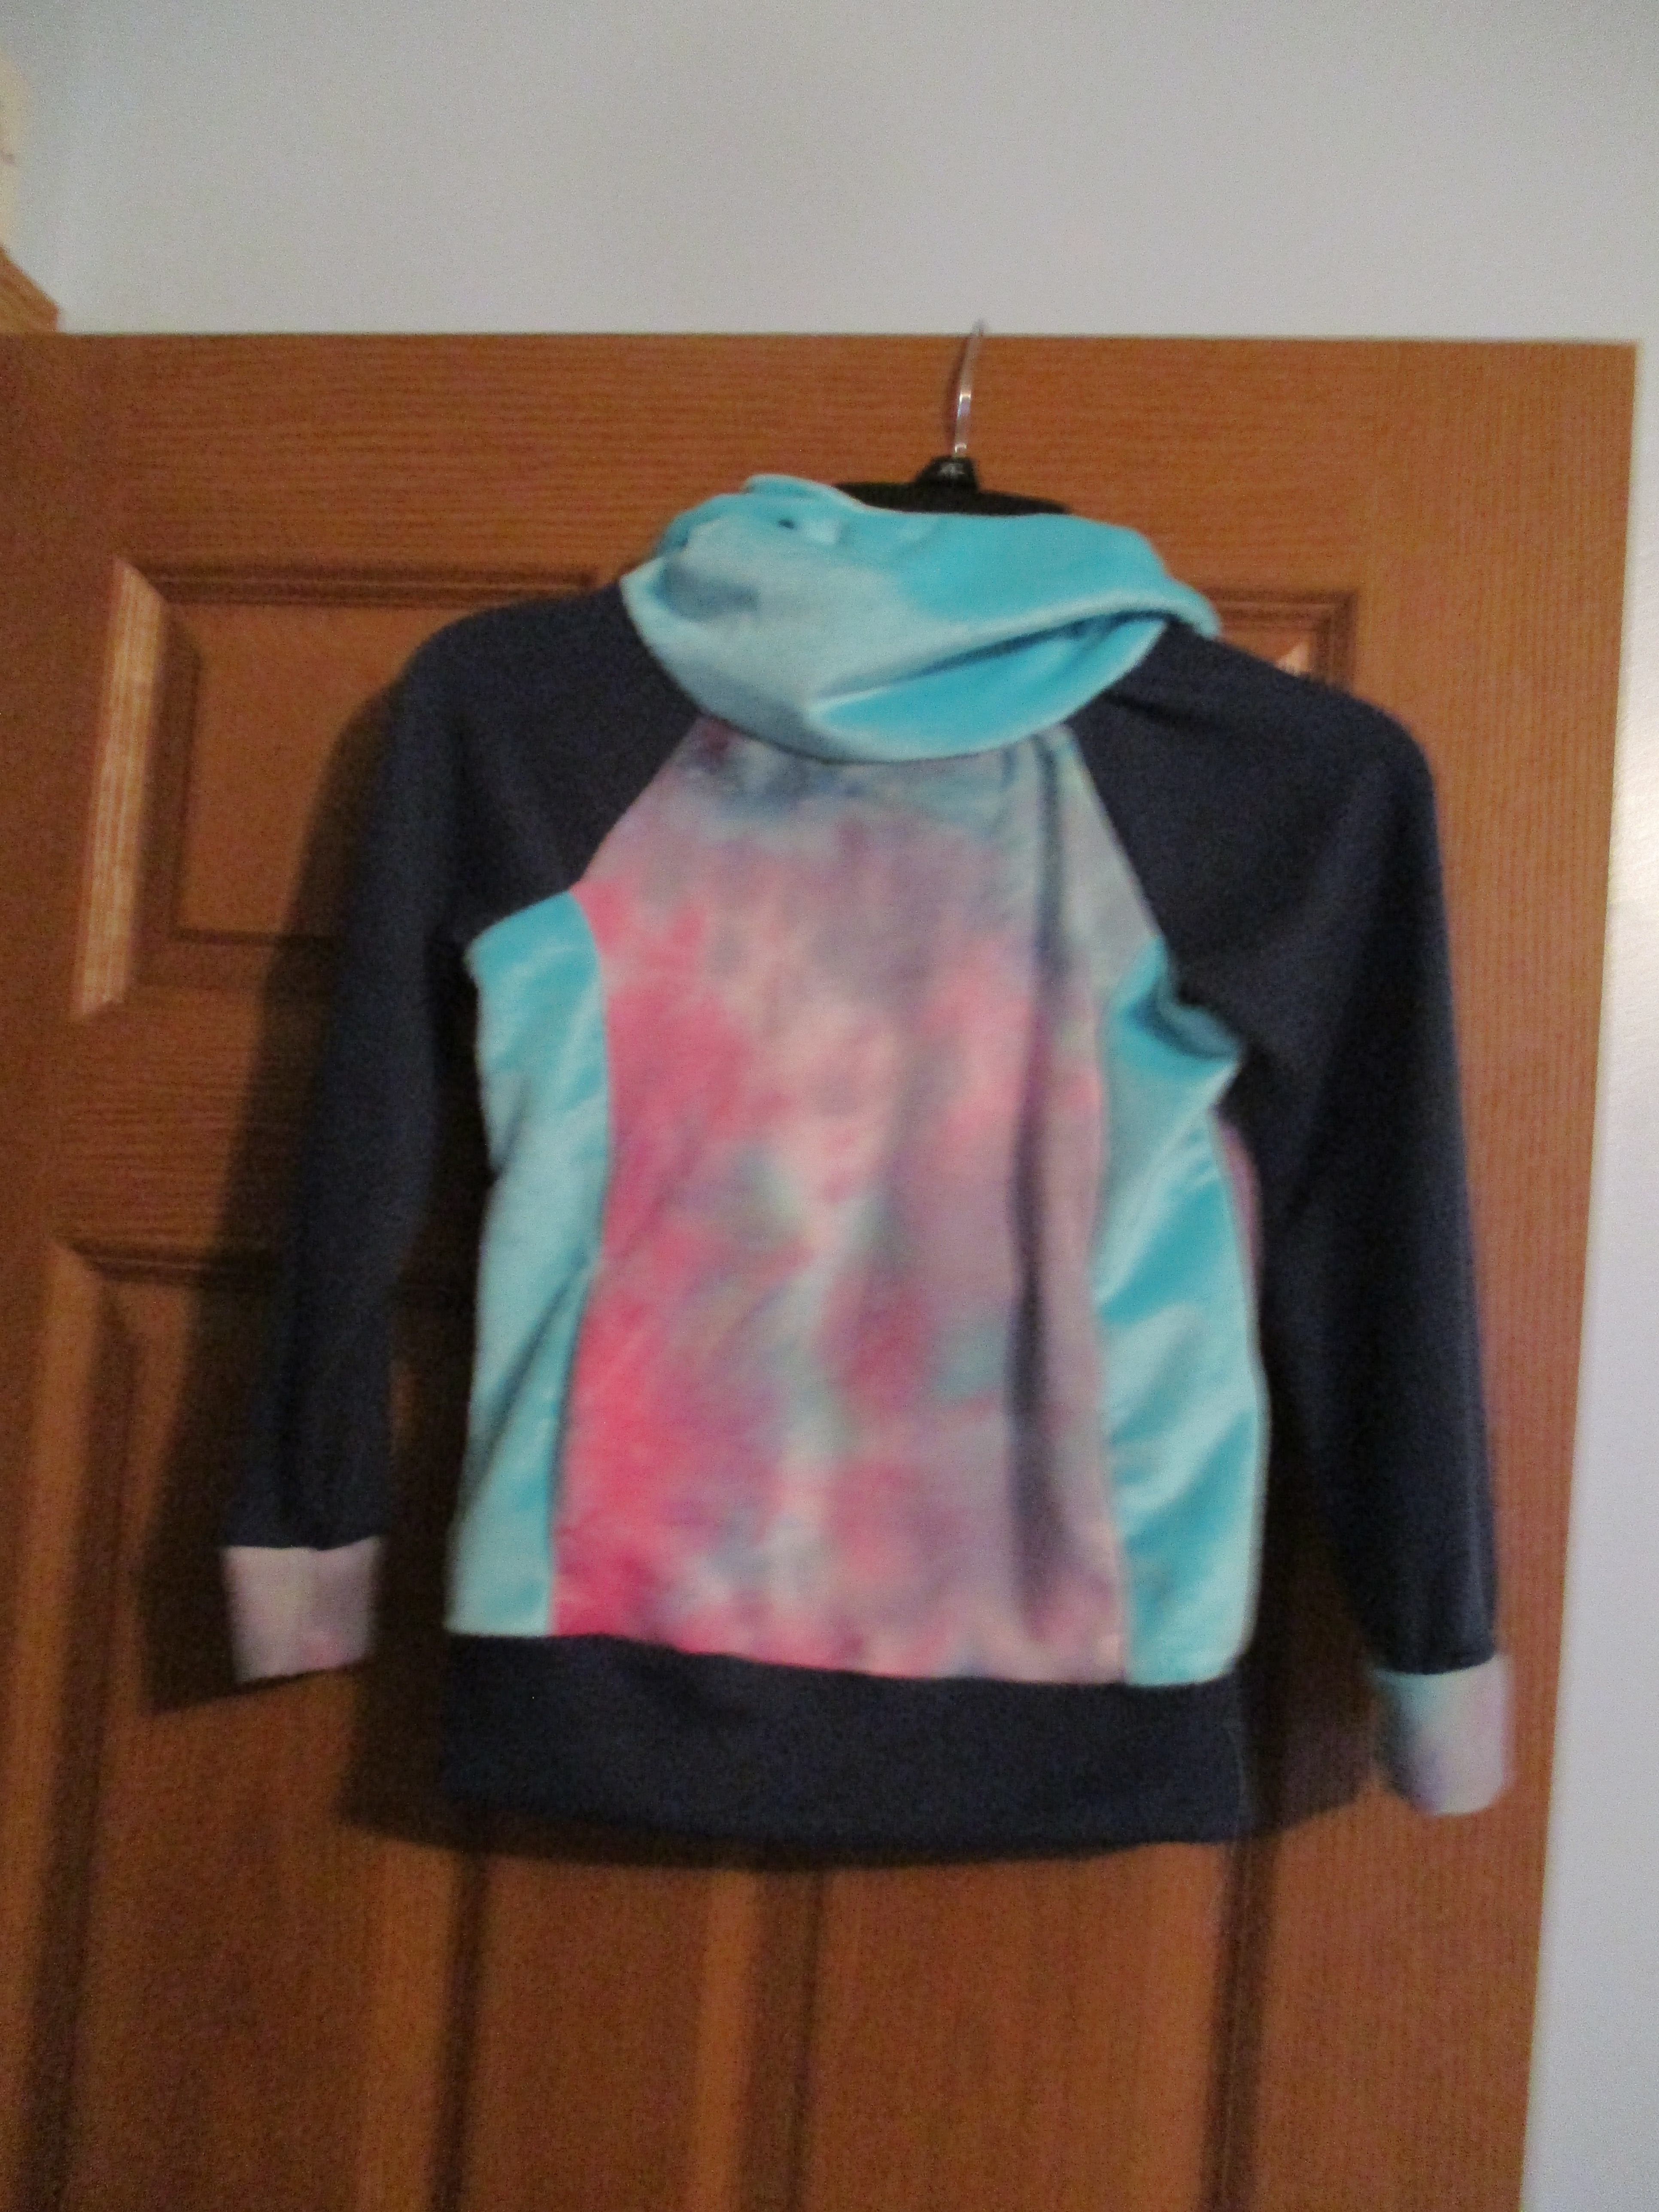
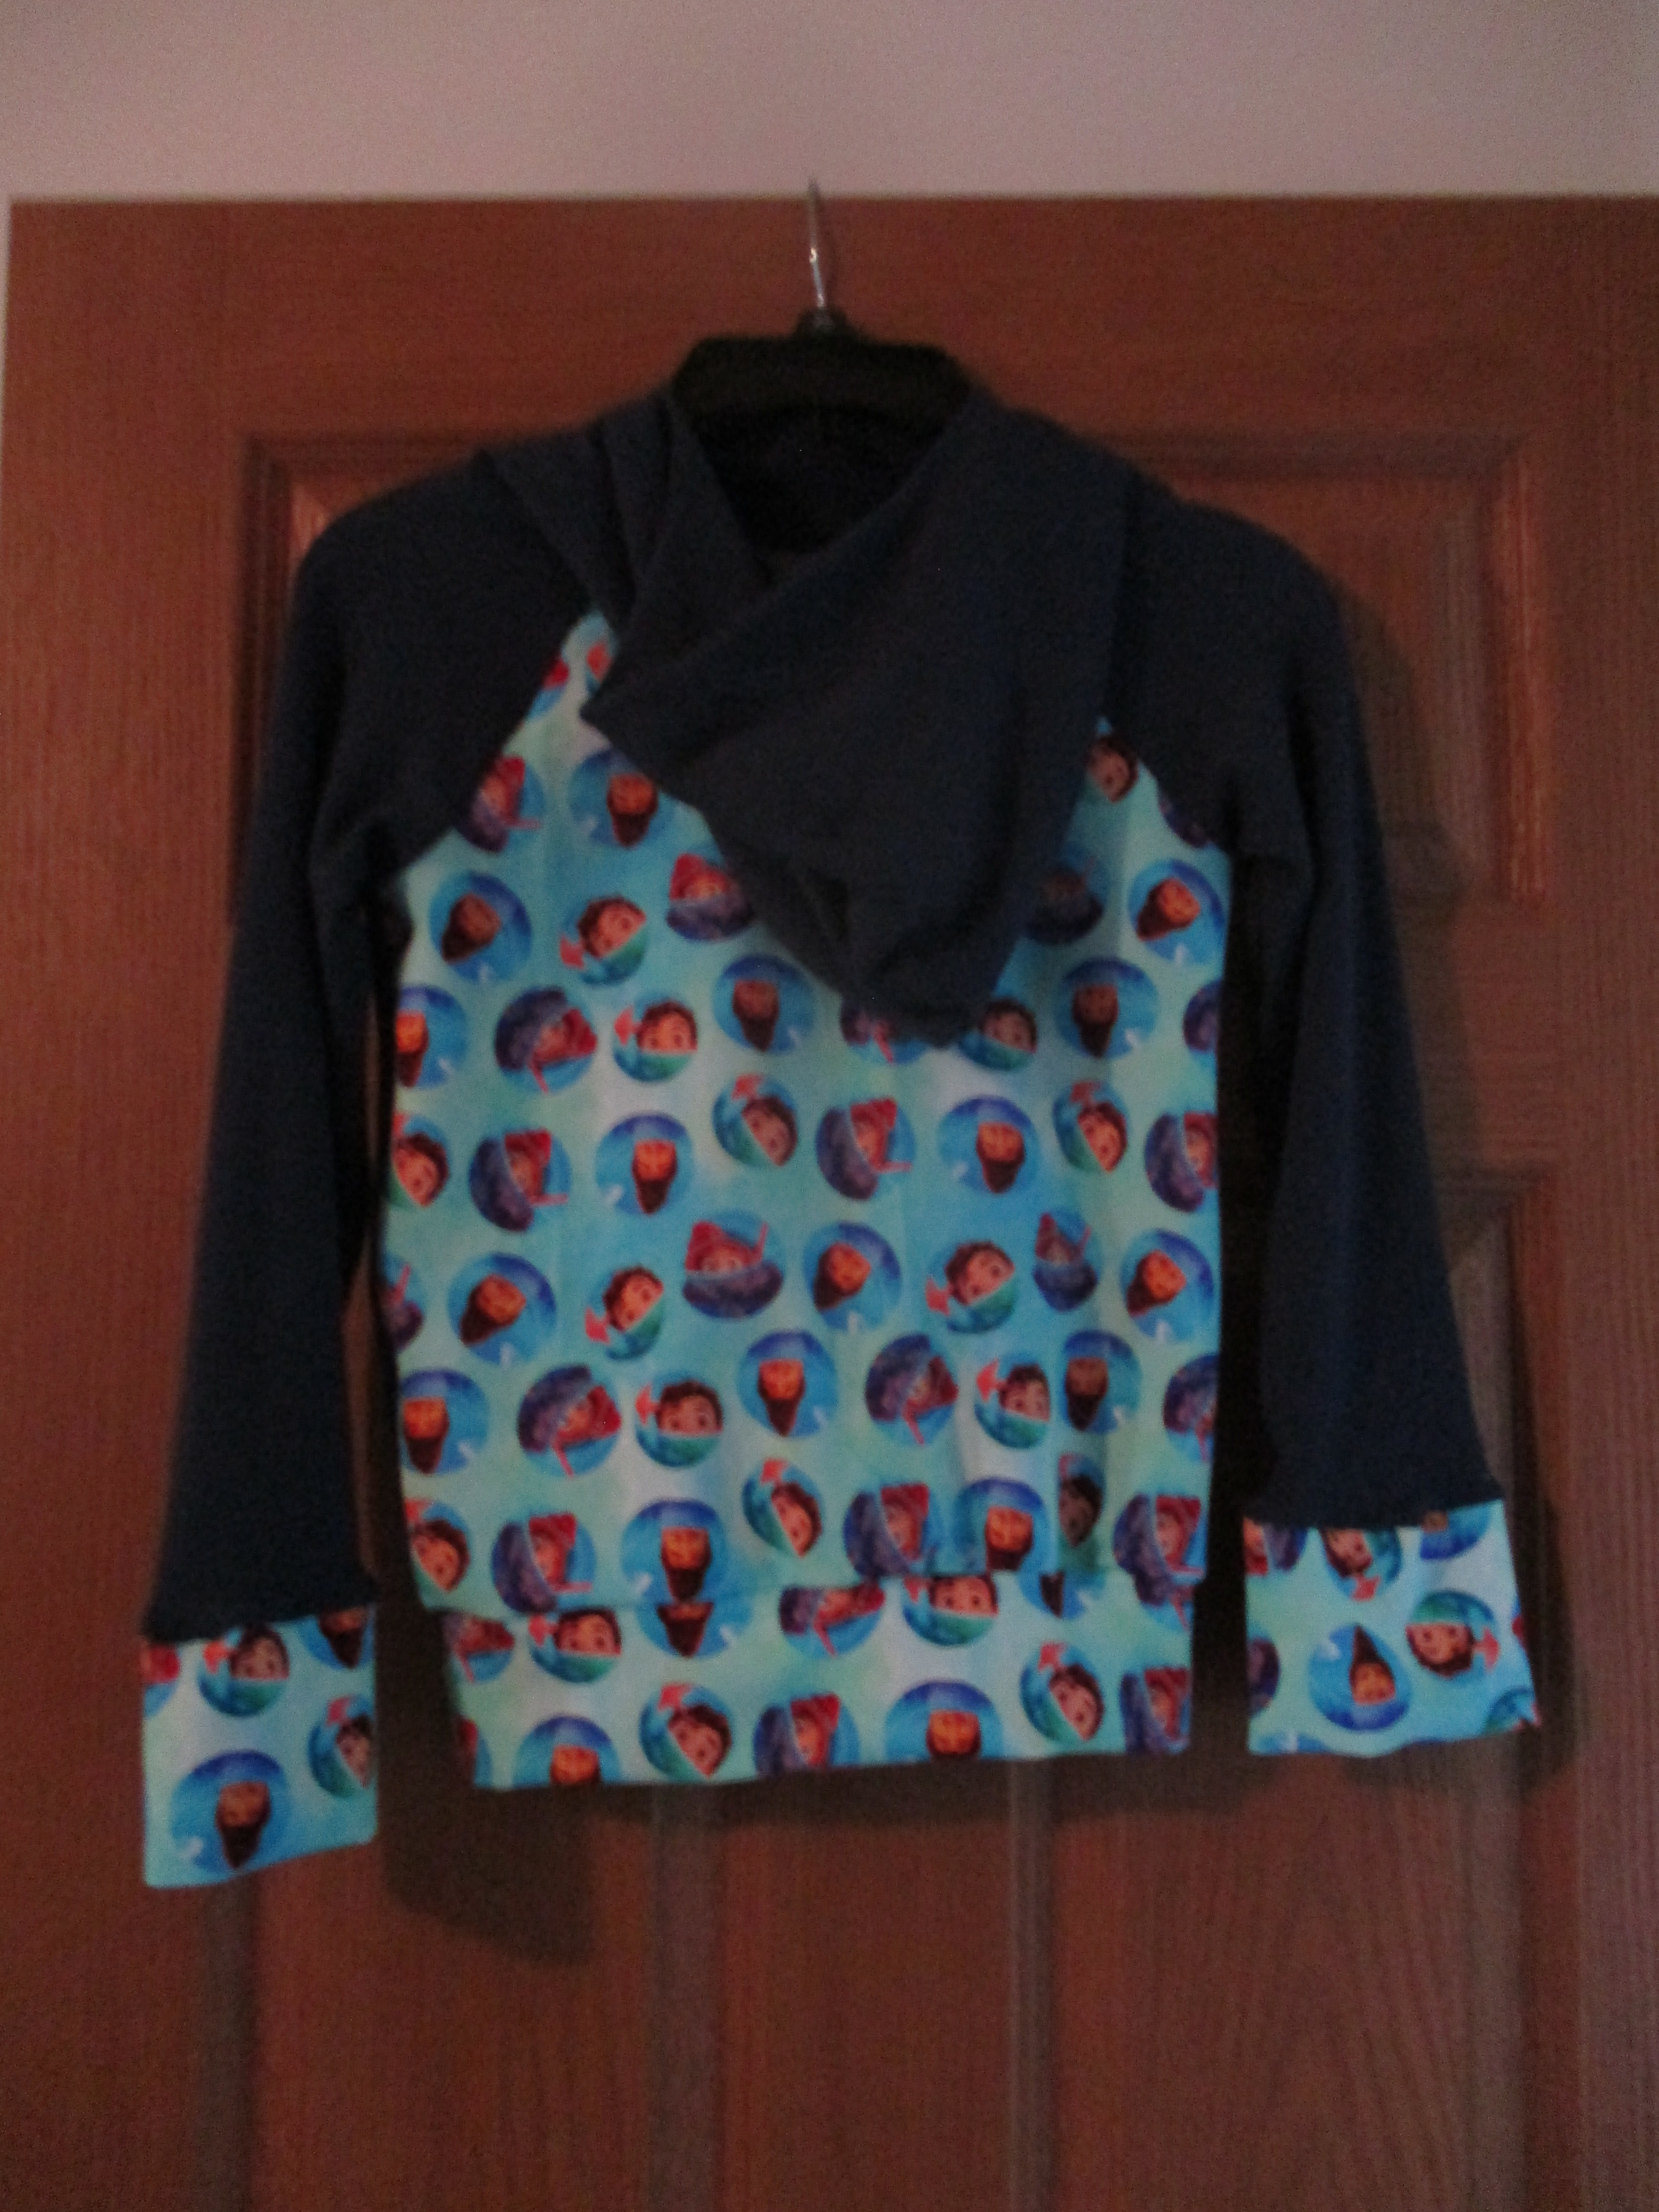
I made myself another hoodie (I love wearing hoodies in the winter). I then made hoodies for the grandkids.

Addie’s hoodie (front)

Addie’s hoodie (back)

The tie-dye fabric that I used for my hoodie and Addie’s came already dyed. Although I have done some more tie dying I have not yet combined tie dyeing and sewing to create a project.

Jackson’s hoodie (front)

Jackson’s hoodie (back)

The characters on Jackson’s hoodie are from the Disney movie Luca. I have never seen the movie and was not familiar with the characters, but my sister offered me the fabric that she had left over from making hoodies for her grandson and great nephew. I checked with my daughter who said that Jackson had seen the movie and would probably like the characters on his shirt. It turned out really cute, so I hope he wears it often.

My last and most challenging project in February was the dress I made for Addie.

The gray fabric of the bodice and sleeves has Disney princesses, Ariel and Belle on it, and the top layer of the skirt has iridescent swans embedded in the tulle. I found this project challenging as it required a lot of gathering (sleeves and skirt) which I haven’t done before. Also, I was nervous about working with tulle for the first time. Thankfully it all came together nicely.

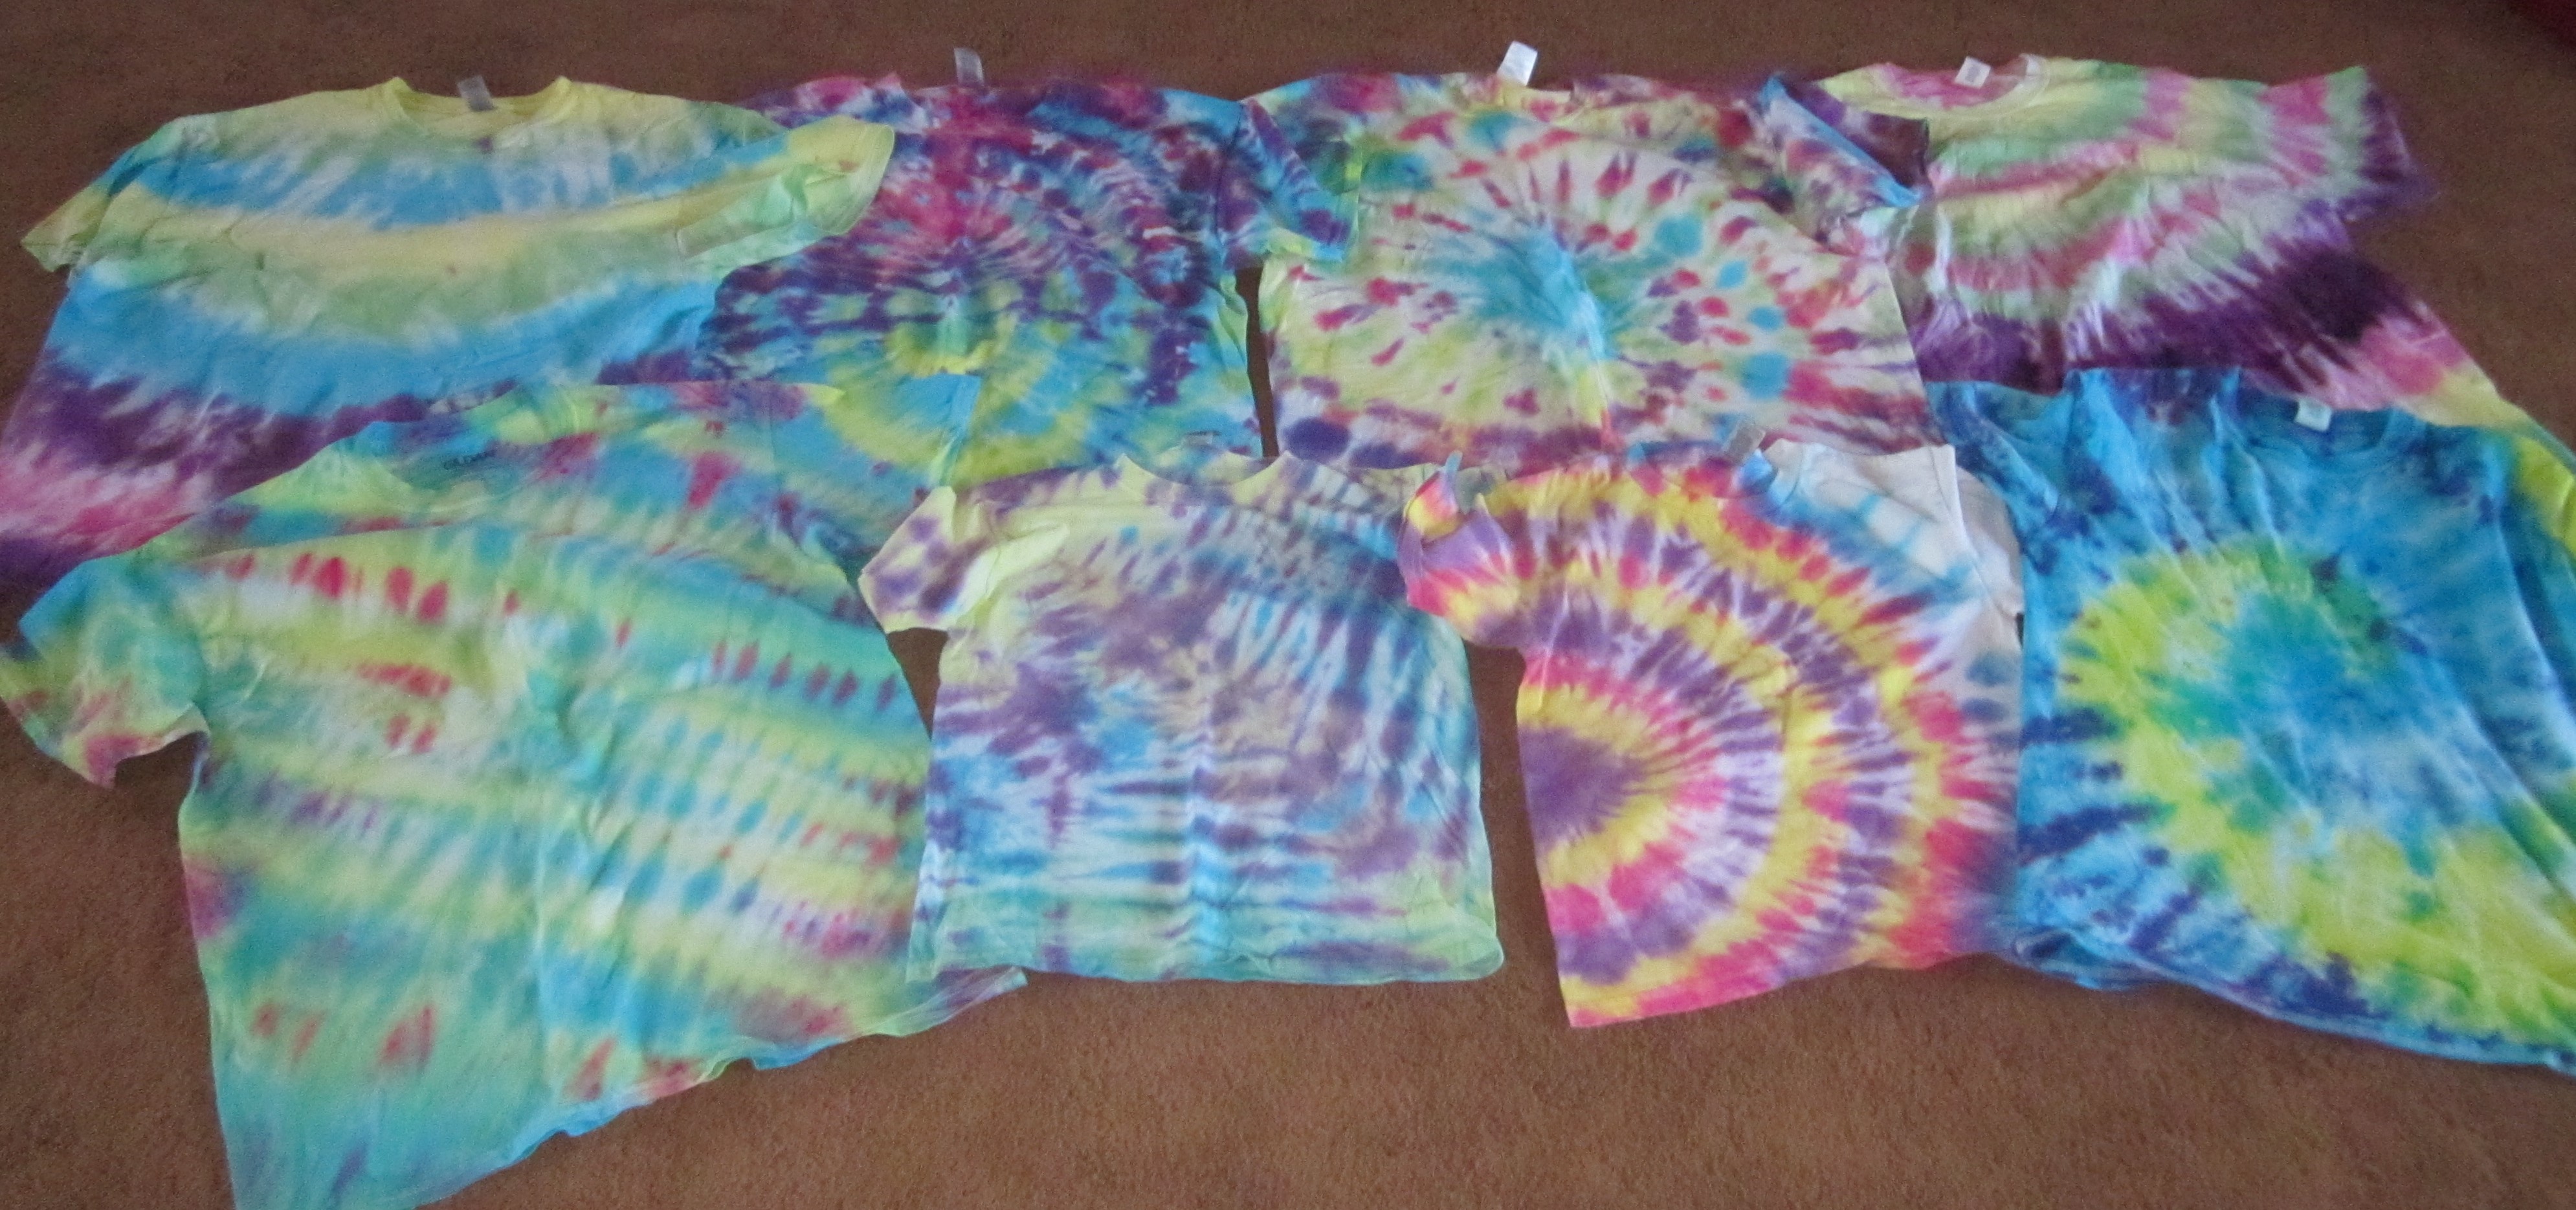
I mentioned earlier that I had done so more tie dying so I’ll show you those as well while you’re here.

The first two tie-dye projects were shirts that my sister asked me to dye for her. They were both light colored and she wanted to wear them for work. Since she works in a warehouse, and it can be a dirty job, she thought that the light-colored shirt would show the dirt too much. Adding the darker color would make any dirt less obvious. She asked for this blue marbled pattern and was pleased with the way they turned out.

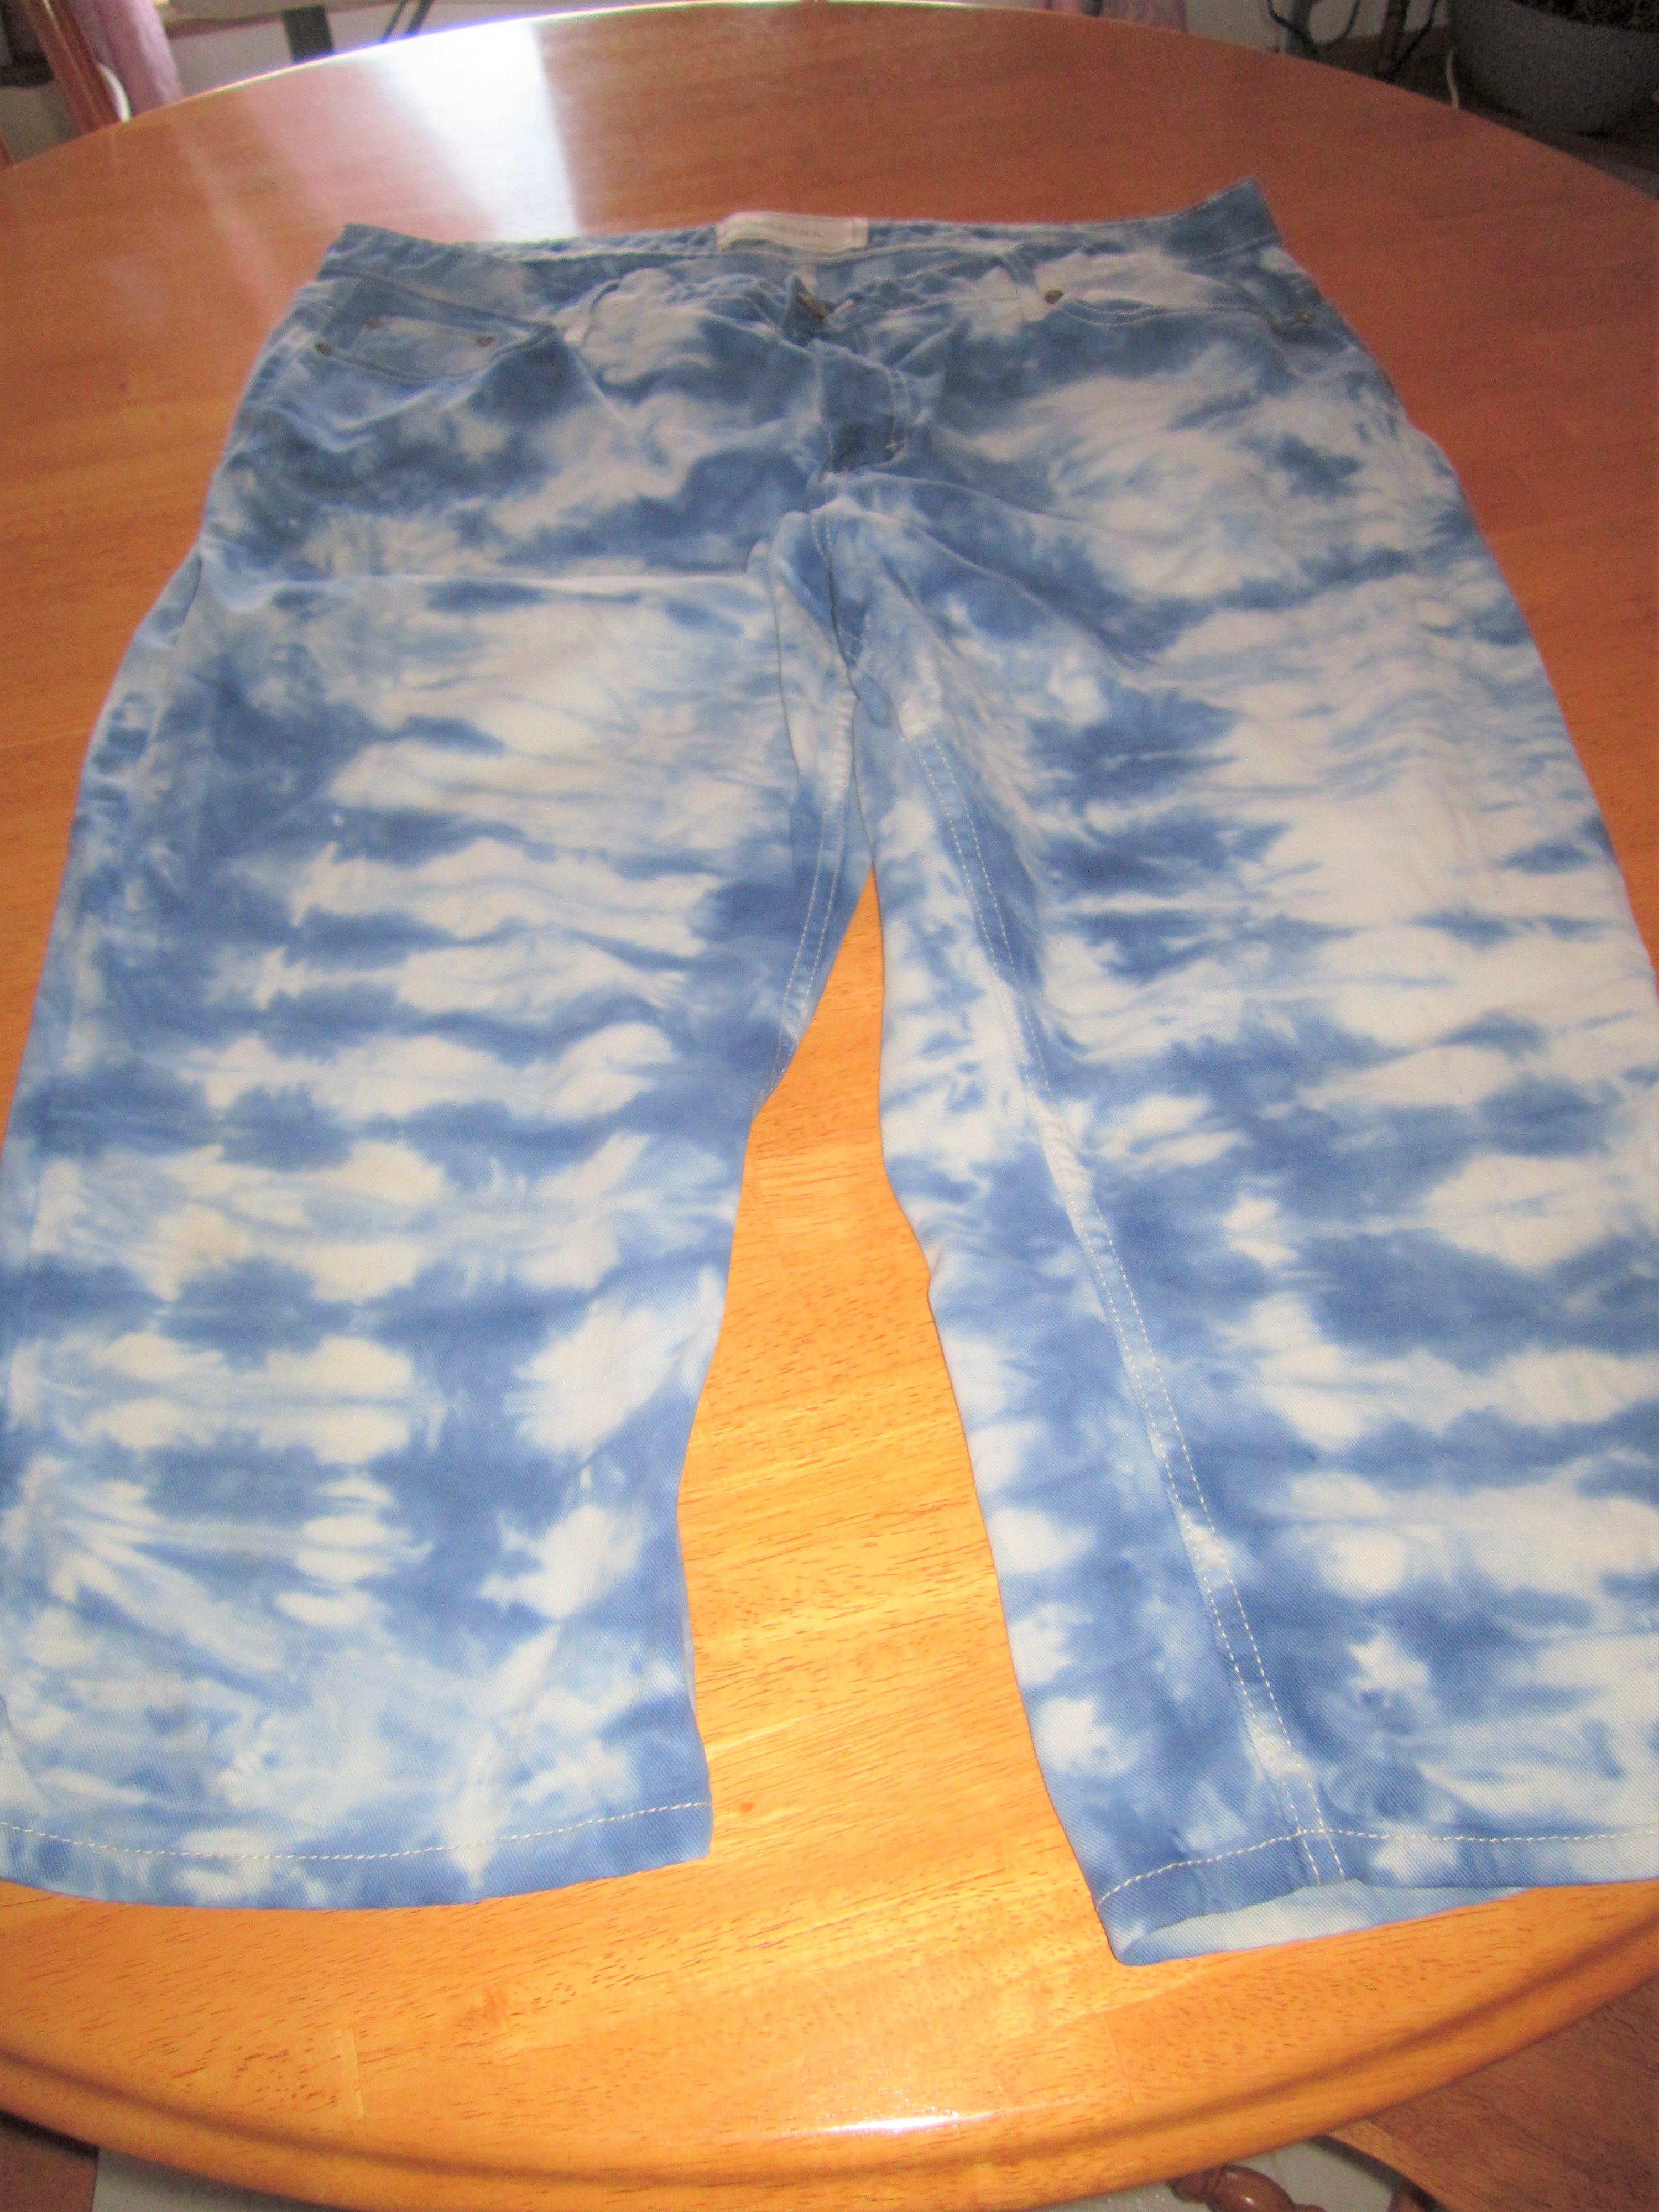
For the other project I used a new (to me) method called ice dying. I first got the garment wet then bunched it together and placed it on a rack in the bathtub. (I had lined the bathtub with a large plastic bag because I didn’t want the dye to stain the tub.) I then covered the garment with a layer of ice cubes. Next, I sprinkled the powdered dye on the ice. I decided to do rainbow colors.

I then covered it with another plastic bag and let it sit until all of the ice was melted. (About 24 hours.) As the ice melted the dye dripped down into the fabric creating the shirt you see pictured below.

Ice Dye hoodie (front)

Ice Dye hoodie (back)

I like the really like the way it turned out. I think I will do this again in the future.

Thanks for visiting.

What’s keeping you busy these days?

Time Is Flying

It’s hard to believe April is almost over already. This post contains some of the things that have happened in the past two weeks.

Chicks

After a week at the farm my husband decided it was time for the chicks to learn what farm life is all about. He opened up just one side of their pen so they could roam and learn to forage. It is amazing how they instinctually know how to find bugs and worms and grubs. Some breeds are said to be better at foraging than others. It’s a trait that we look for when choosing what breed(s) of chickens to raise.

It didn’t take long for them to spread out and begin scratching and pecking. They didn’t wander too far from their pen, or the coop and they mostly stayed close together or split into two smaller group.

They also learned quickly (within one day) how to find their way back into the coop which makes closing up the coop at night very easy.

They have been very entertaining to watch (Chicken TV). It’s always funny to see when one finds a big grub or worm and the rest of the flock begin chasing it to try to steal it away. At night they all huddle together in one or two of the nest boxes. It’s a tight fit but they seem to like it that way.

This year there was also a new star in the show. It was quite comical watching Ranger trying to wrangle those young chicks. I’m not sure what he was trying to do with them, and I don’t think he knew either. He would follow them trying to keep them all together as if herding them (he never tried to hurt them). If they went into the coop through the small chicken door, he would follow them in and as they exited through the big door, he was right behind them. If one or more of the chicks went under the coop, where he could not go, (it sits about 6 inches above the ground) we would hear BaROOOO. Again, I’m not sure of his intention. Was he trying to tell us that a chick was where it shouldn’t be or was he telling the chick to come out of there? I’ve not yet become fluent in beagle. LOL!

Bee Day

Our bees came last Saturday. This year we decided to try raising Carniolan bees, a breed we have not raised before. I didn’t go with my husband to pick up the bees or to the farm to hive them, so some of these pictures are from a couple years ago. We ordered three 3# packages like the ones in the picture below.

Most of the bees that you see in these clusters are worker bees and a few are drones. In the middle of the cluster is a small separate cage like the one in the photo below. Inside the cage is the queen bee and a couple of attendant worker bees whose job it is to feed and care for the queen.

Once the bees are in the hive my husband uses a nail to put a hole in the queen candy. That is the white stuff that you see in the end of the queen cage. He then places the queen cage in the hive. Over the next few days some worker bees will eat a hole in the queen candy that is big enough for the queen to get out of the cage. The reason for leaving the queen in the cage is that the bees will stay where the queen is and there is less chance that the colony will abscond from the hive.

This year rather than feed sugar water my husband had some frames of honey that he had saved from last year’s hives. Each new hive was started out with a couple of frames full of honey for food.

It was Wednesday before the weather warmed up enough for the bees to come out of the hive.

These pictures (above and below) were taken on Thursday.

Today, Friday, my husband opened the hives to be sure the queens were out of their cages. In two of the hives the queen was out, and all was well. In the third hive the queen was still in the cage and many of the workers were still trying to free her. She was alive so he opened the queen cage and released her into the hive.

First Flowers

We began seeing our first blossoms this week.

These mini daffodils are always the first to open.

Some of the larger daffodils have begun to open as well.

The chives are not blossoming yet, but I could begin harvesting them any time.

These primroses have begun to blossom – I do hope the chickens leave them alone.

I spotted this crocus in bloom. Last year we had more crocuses, but this is the only one I have seen so far.

The forsythias are taking their time but one bush has a few flowers that opened this week.

Tie Dye

One of the things I have have been doing is sorting through my clothes and getting rid of some that, for various reasons, I no longer wear. I came across a pair of white denim capris that I haven’t worn in sometime because they had some stains on them. They still fit and were in good condition, so I decided to tie dye them make them new again.

I’m quite happy with the way they turned out. Quite stylish.

Thanks for visiting.

Do you find that time is flying by?

A New Craft

Hello and welcome!

I started a new (to me) craft this month – it’s Tie-Dye. Here in the U.S. tie-dye clothing is most associated with the 1960’s and the hippie era, however according to this article tie-dye was first used in the 6th century in Asia and first used in the U.S. in the 1920’s. Tie-dye methods have evolved over the years, so if you remember making tie-dye t-shirts by putting rubber bands on a shirt a soaking it in a bucket of dye that is not what I did.

I bought a kit that came with five bottles of different colored dyes and enough dye to fill each bottle twice. Form that kit I was able to create the 8 t-shirts below plus one more that I made just because I didn’t want to waste any of the dye.

For design ideas and inspiration, I watched videos on this website.

I then clothed my whole family in tie-dye. There is one for each of my (4) daughters, one for each of my (2) grandkids, one for my husband and one for me.

It was lots of fun experimenting with different techniques of folding and applying the dye then waiting to see the results. I see more of this in my future. 🙂

Granddaughter Addy wearing her “beautiful new shirt” as she called it.

Have you ever done tie-dye?

Have you ever worn tie-dyed clothing?

Thanks for visiting.