If you know me or have been following my blog for very long you probably know that spring is my favorite season and it has dutifully arrived here in Michigan. (Cue: Happy dance.)
The first day of spring is also referred to as the spring equinox so I thought we would take a look at the word equinox.
1: either of the two points on the celestial sphere where the celestial equator intersects the ecliptic
2: either of the two times each year (as about March 21 and September 23) when the sun crosses the equator and day and night are everywhere on earth of approximately equal length
It goes on to tell us “Equinox descends from aequus, the Latin word for “equal,” and nox, the Latin word for “night”—a fitting history for a word that describes days of the year when the daytime and nighttime are equal in length. In the northern hemisphere, the vernal equinox marks the first day of spring and occurs when the sun moves north across the equator. (Vernal comes from the Latin word ver, meaning “spring.”) The autumnal equinox marks the first day of autumn in the northern hemisphere and occurs when the sun crosses the equator going south. In contrast, a solstice is either of the two moments in the year when the sun’s apparent path is farthest north or south from the equator.”
Hello and welcome. I’m running a bit later than I hoped with our word of the week . Maybe we should just blame it on spring fever.
Our word for this week is Moment. Merriam Webster has several definitions for this word but I am only going to share the first one – the one I am going to write about. (click the link for the other definitions)
Definition of moment
1a: a minute portion or point of time : INSTANT
b: a comparatively brief period of time
Growing up I learned the importance of taking one day at a time but in recent years I’ve been learning to break those days down even more – to live in the moment. What I love about living in the moment is that it is not an exact amount of time. A moment can be a few seconds or a few minutes or even more. It can encompass whatever is happening at the time. One of the great things is that if I find myself upset, angry, frustrated or experiencing anything else that might make it a bad day it generally doesn’t last that long. I can take a moment and deal with it and move on. It doesn’t have to ruin my whole day.
On the other hand when life is good I need to remember to slow down and think about what I am experiencing. I need to realize the value of and appreciate all of the precious moments.
Today I am wishing you a day filled with beautiful moments.
Hello and thanks for stopping by for the word of the week.
This week our word is mudpuppy. According to the website Active Wild (linked below) the common mudpuppy is a large salamander found in North America. A few interesting facts about the common mudpuppy are:
It is also called a waterdog.
It lives in fresh water including ponds, streams, lakes, rivers and canals.
Unlike most amphibians it never loses it’s gills.
Upon reaching adulthood it continues to live in the water.
They are mostly active at night and they do not hibernate during the winter.
They are carnivorous and will eat just about anything they can catch including insects. larvae, worms, mollusks, small fish and their eggs, other smaller amphibians and spiders.
They can be preyed upon by large fish, crayfish, turtles, water snakes, and the North American river otter.
For pictures and more information check out the below article.
I have never actually seen a common mudpuppy though there is a chance that they may live in our pond.
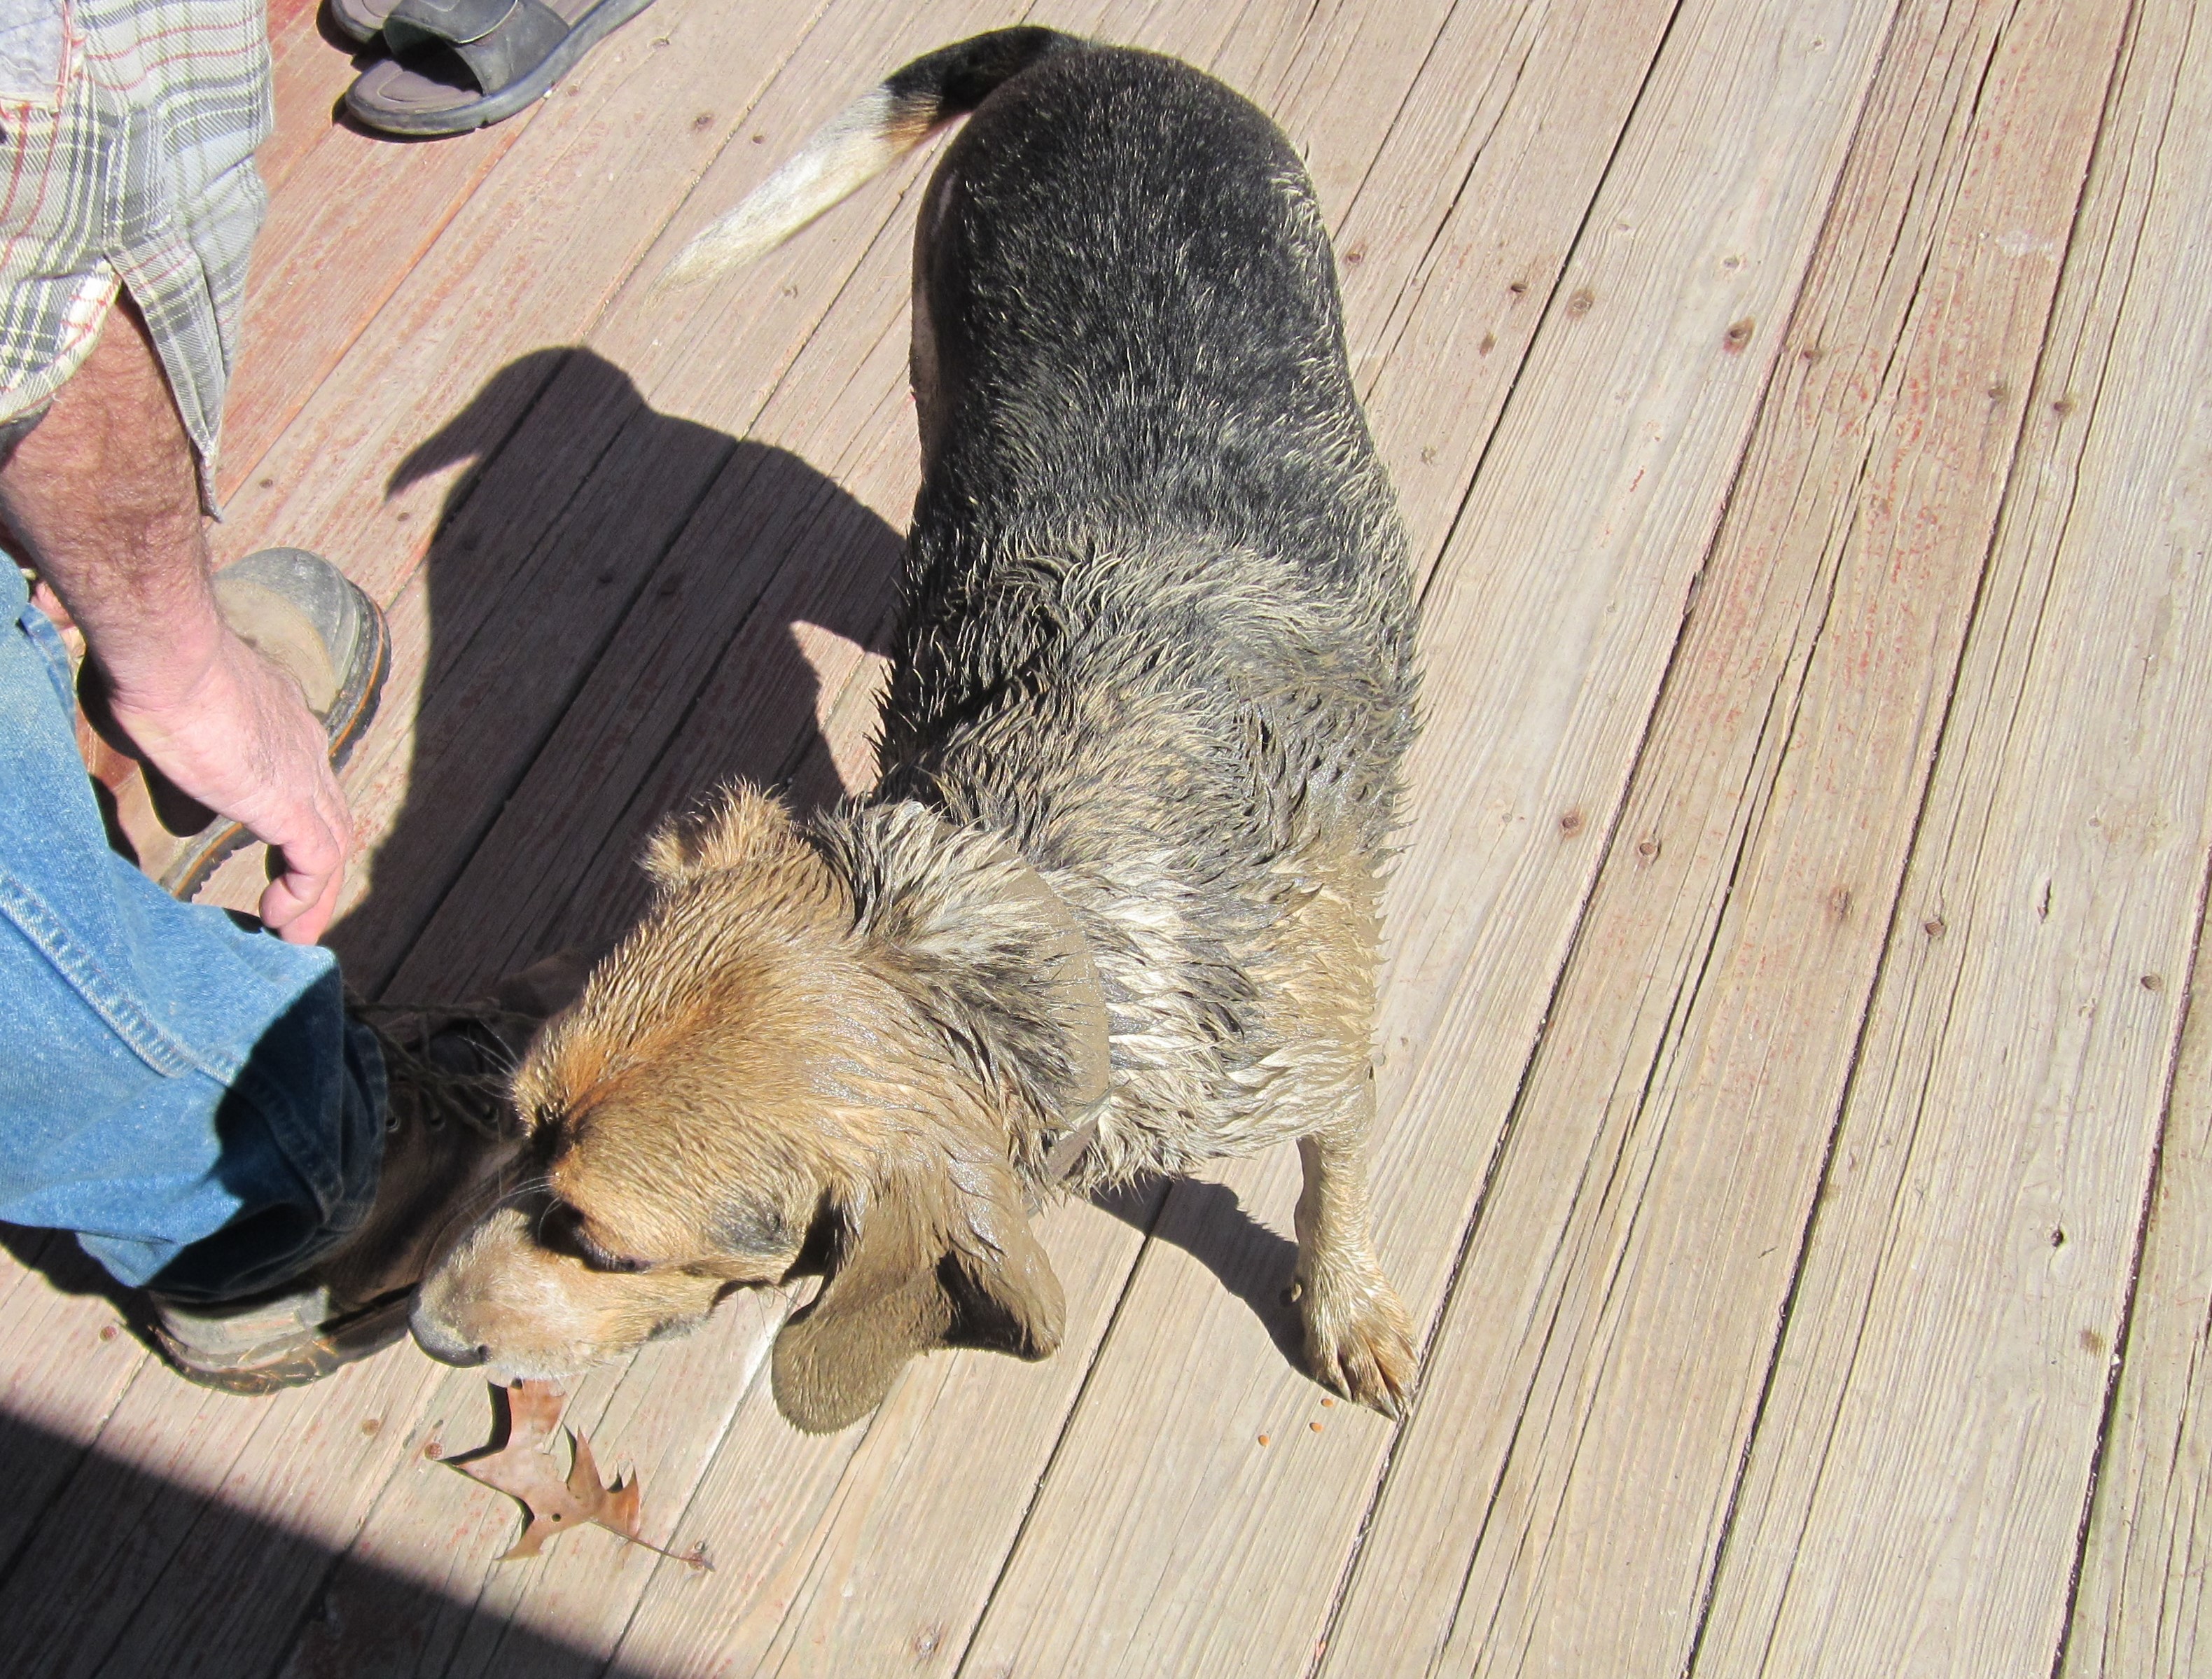
I have however seen what we will call an uncommon mudpuppy. This uncommon mudpuppy does not have gills, and while he might visit fresh water sources he lives on land. He is very active during the day and prefers to sleep at night. He doesn’t hibernate during the winter but is most recognized (as a mudpuppy) during the spring.
We have had very spring-like weather this week – so much so that I did some work in the garden. As far a I can remember this is the earliest in the year that I have worked in the garden.
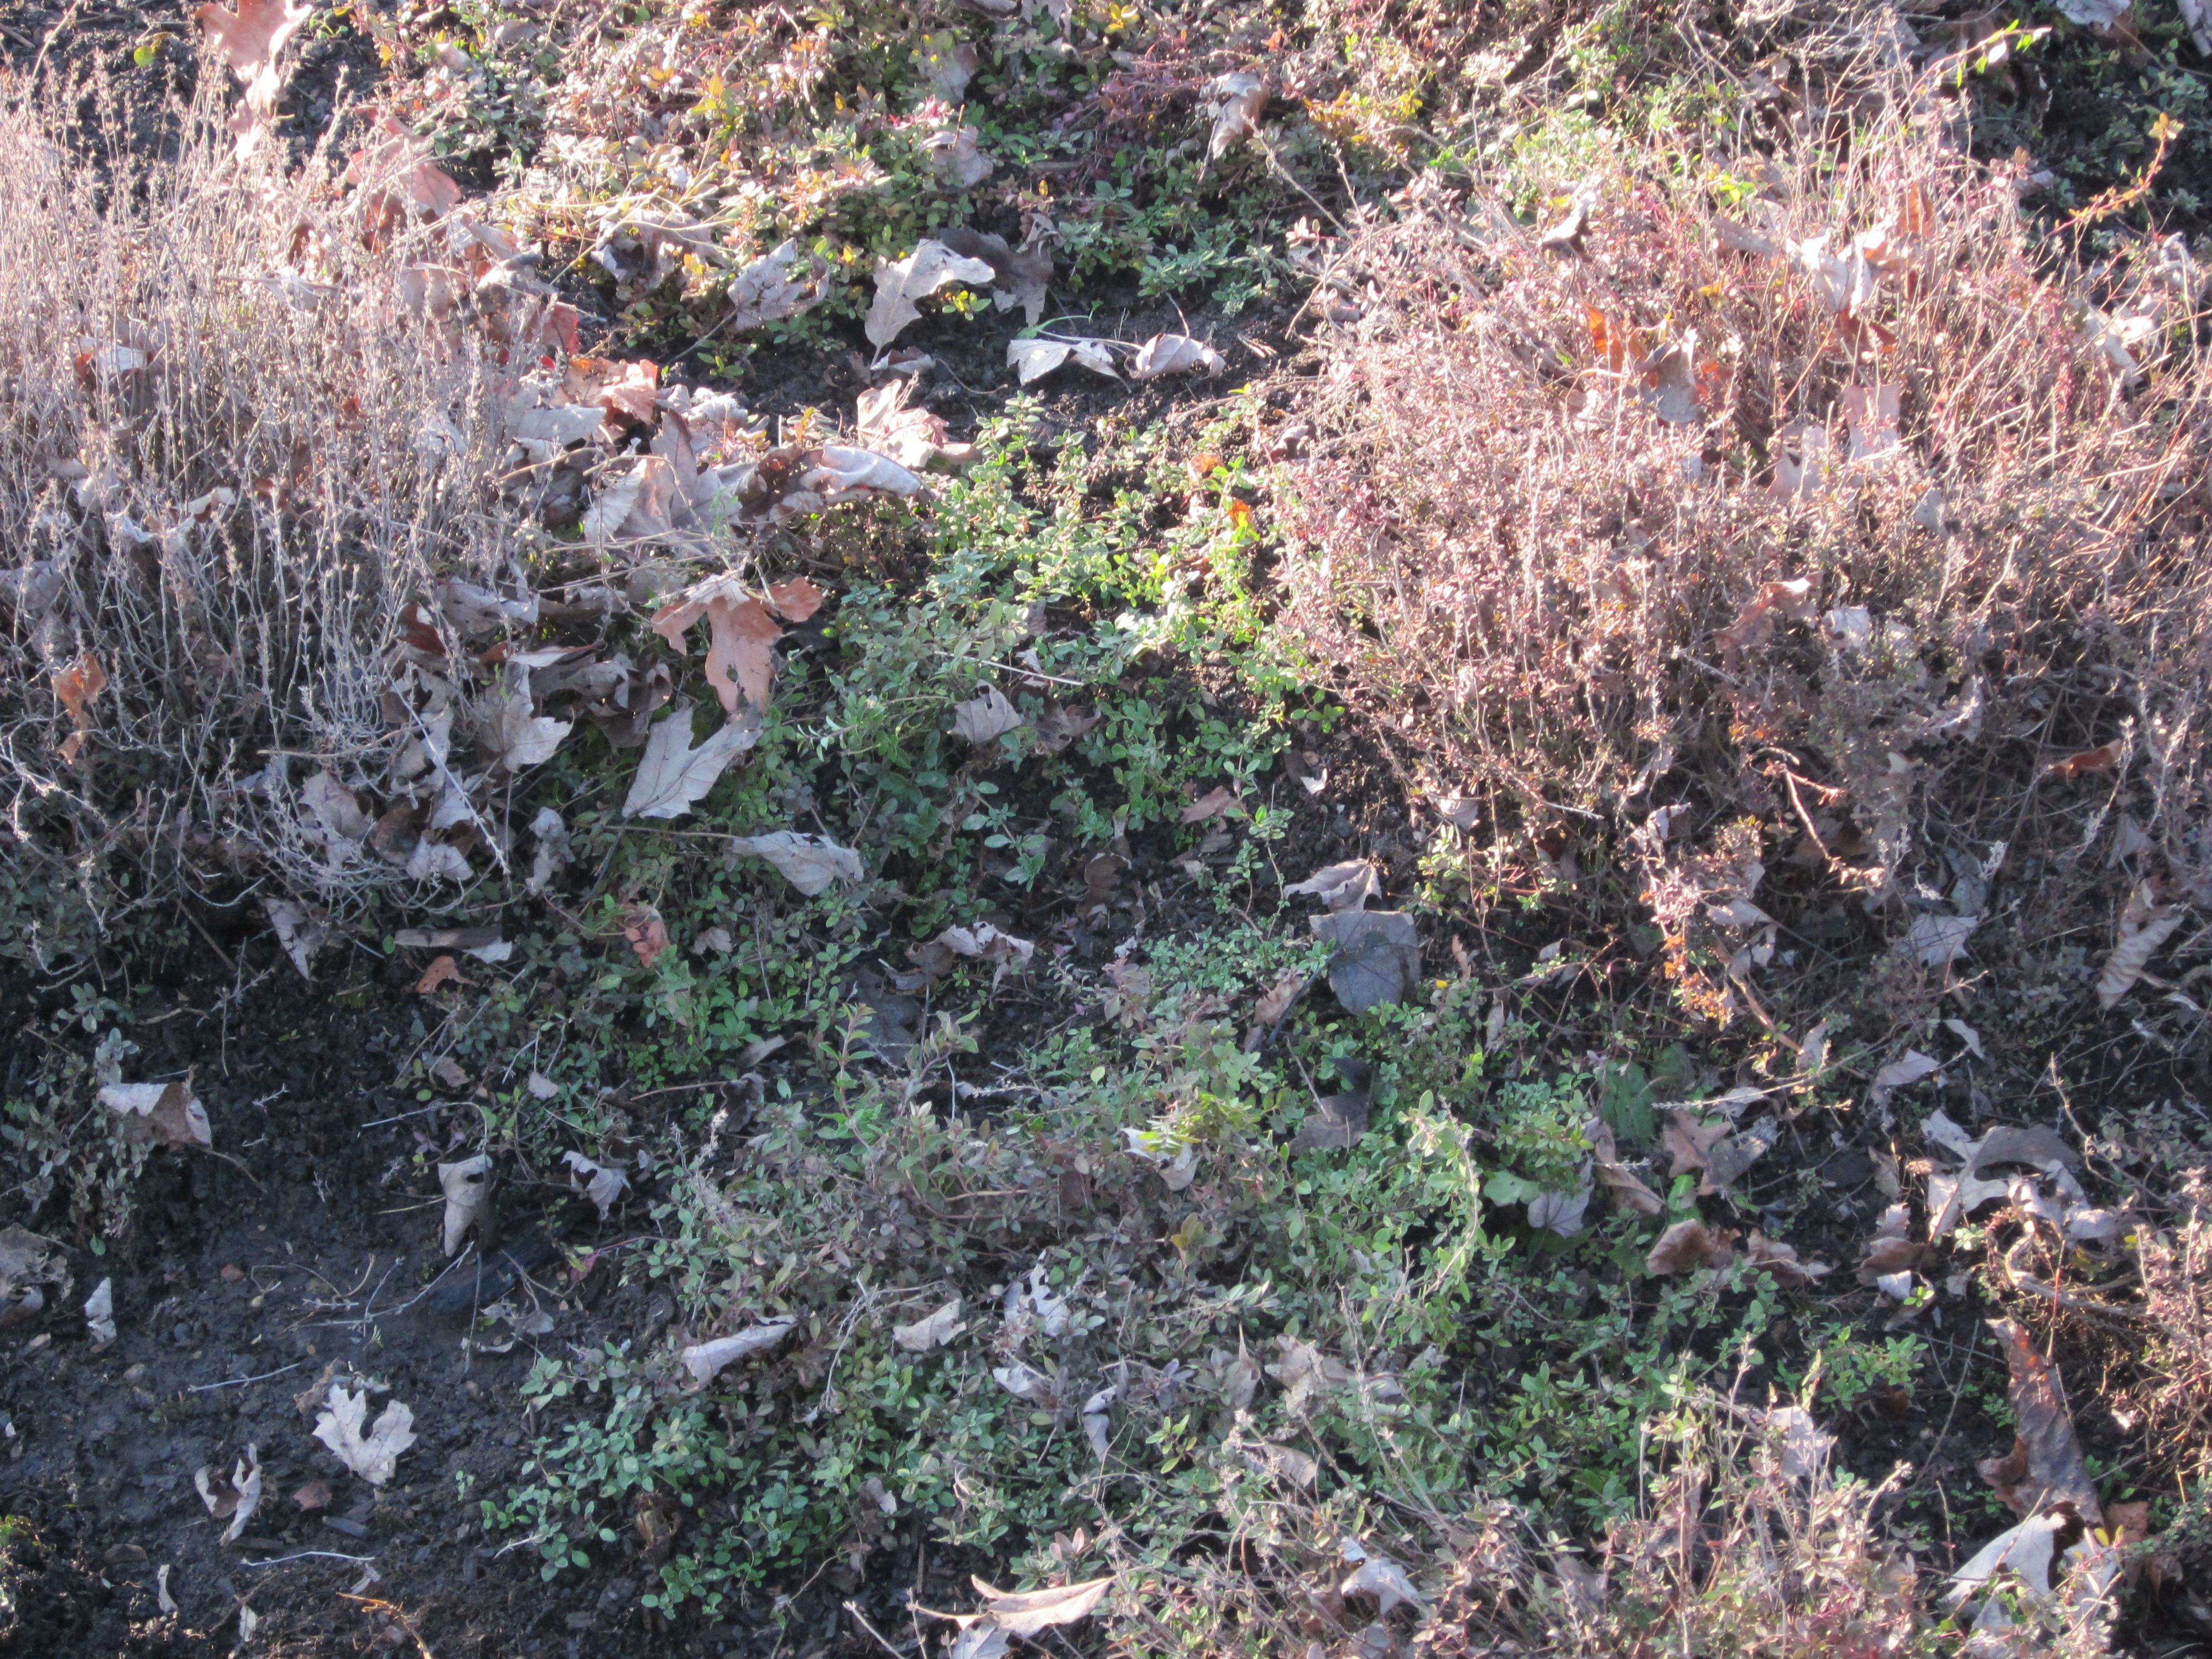
Thyme
After pruning last year’s dead foliage off some of the plants and raking dead leaves from their winter resting place I discover that the thyme is growing green leaves
Oregano
as is the oregano
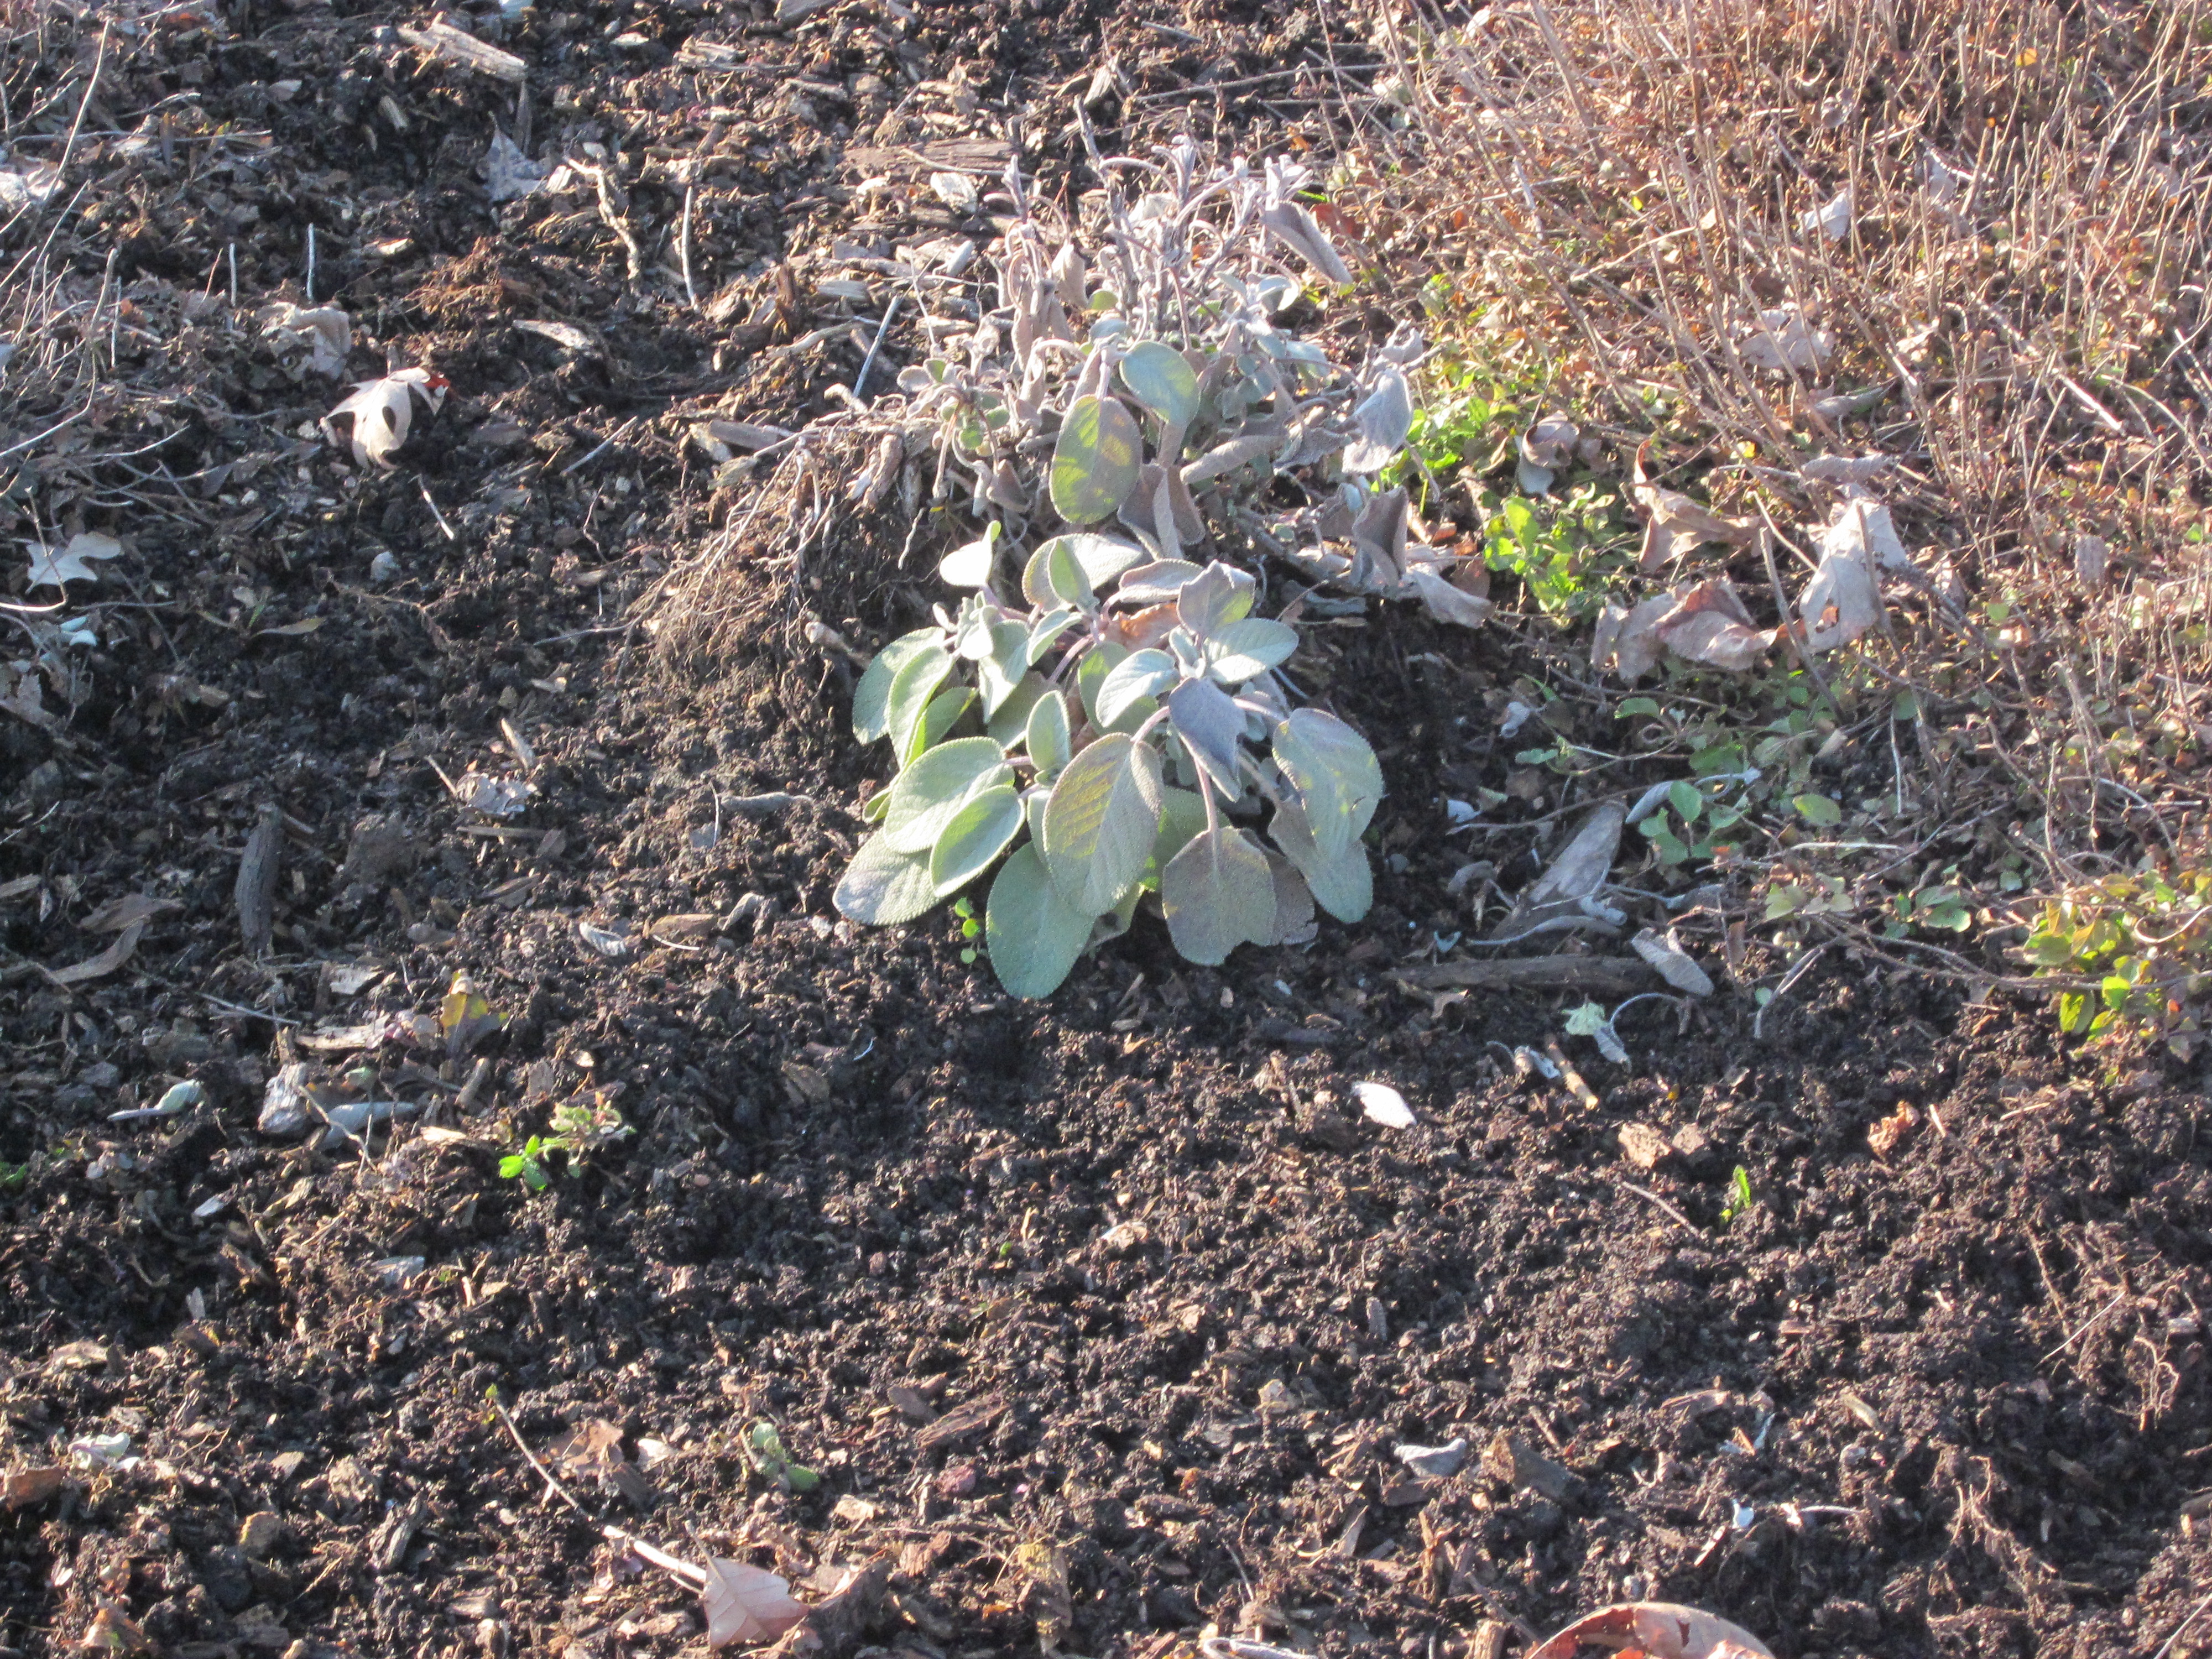
Sage
and the sage.
It’s not only the herbs that are coming back to life. I also spotted dandelions, winter cress and some other UIP’s (unidentified invasive plants) which means that before long the weeding will commence.
In addition to my work in the prayer garden my husband fluffed up the straw mulch in the garlic bed in order to assist the shoots that are beginning to emerge from the ground. We also raked out the straw that was blanketing the strawberry bed and discovered bright green leaves forming on the strawberry plants.
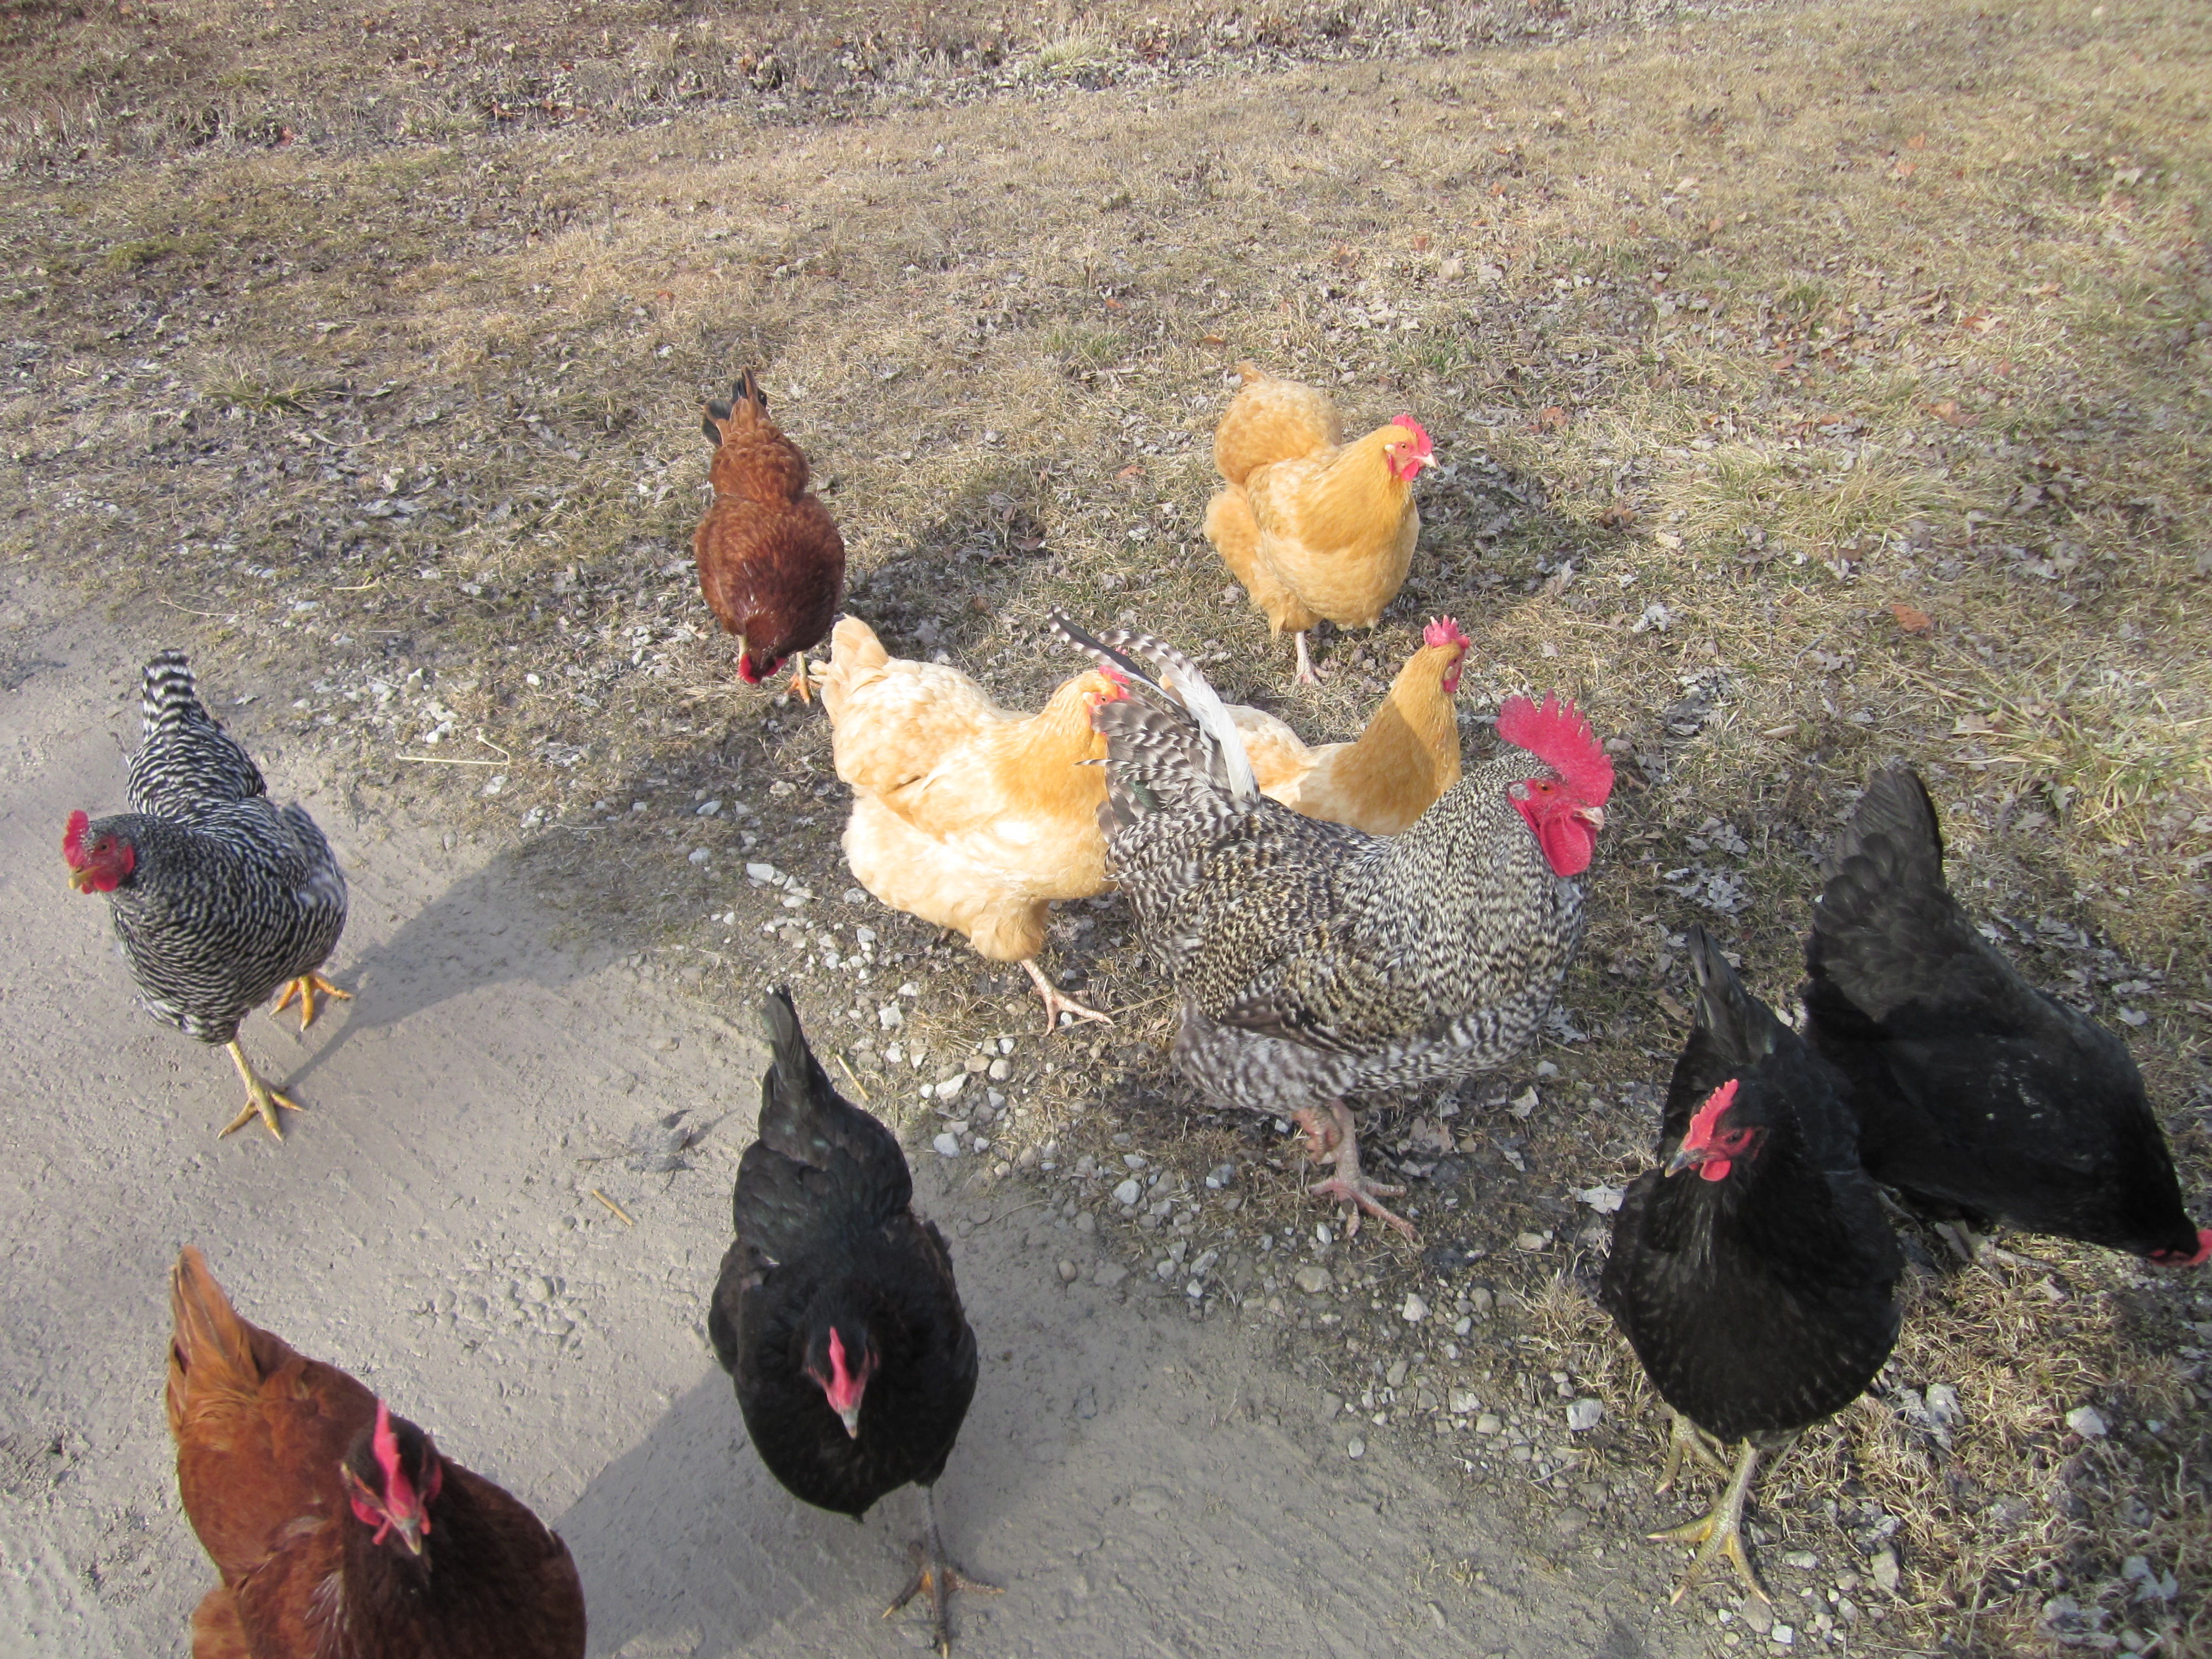
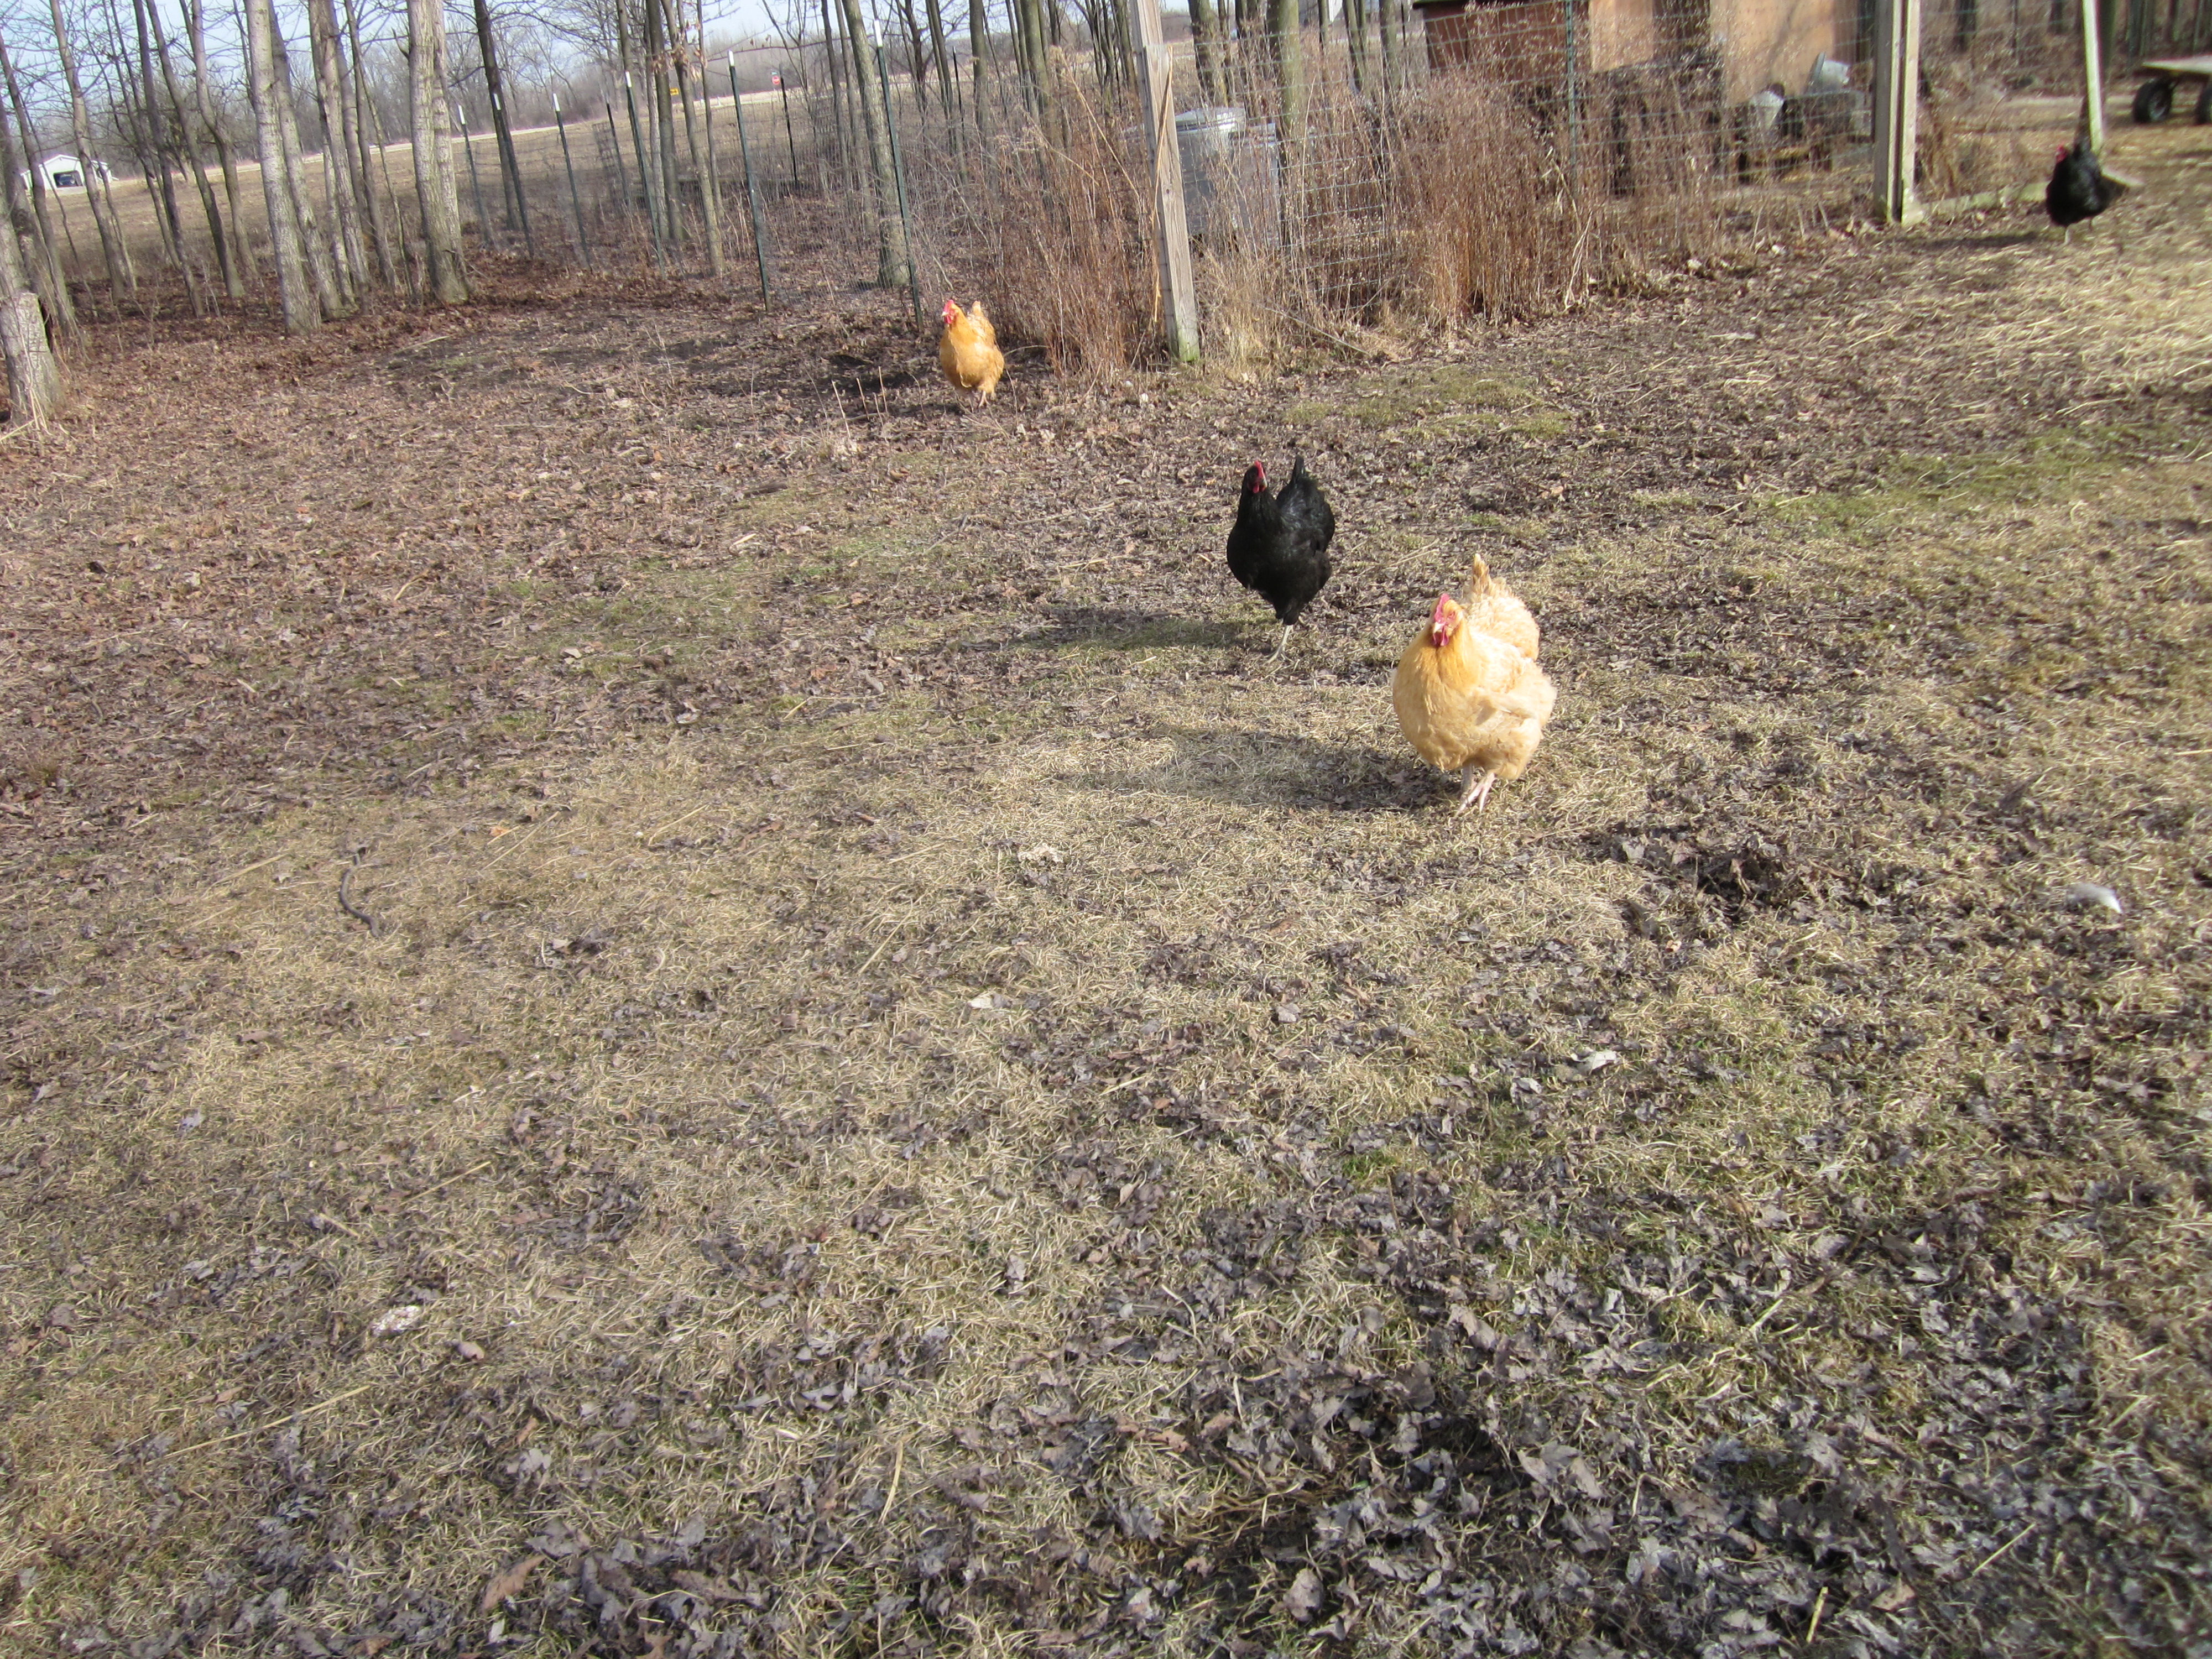
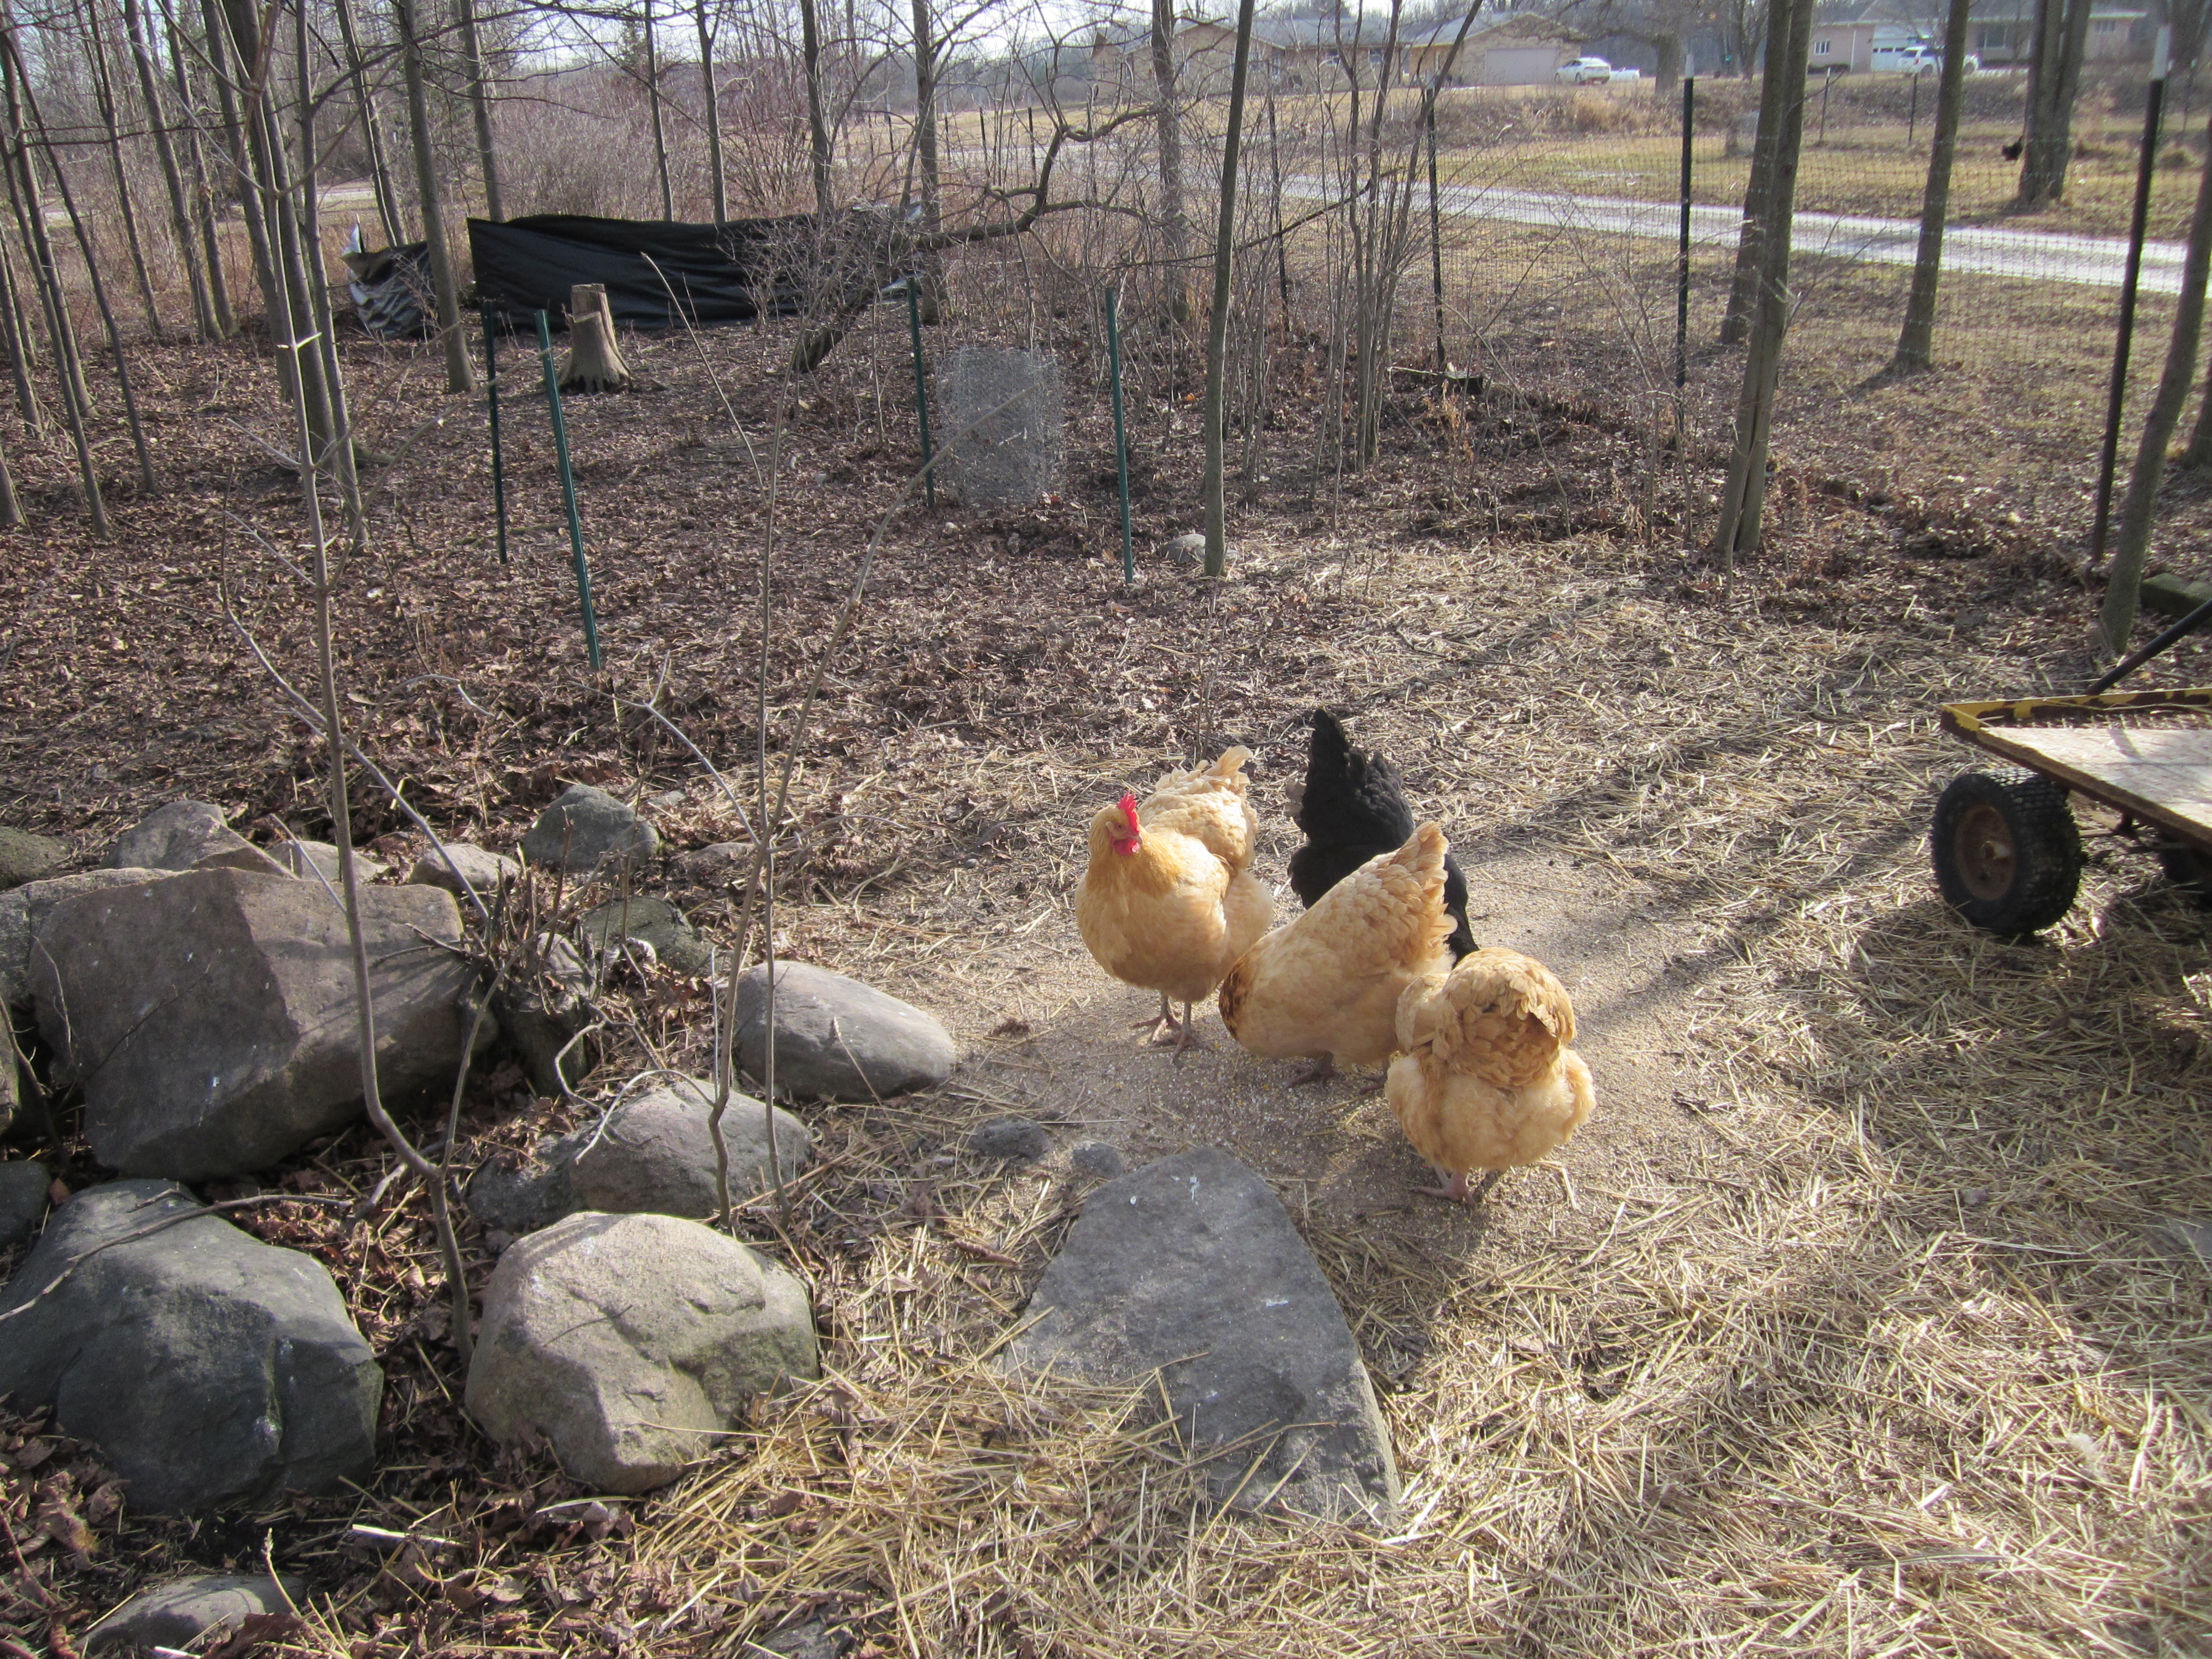
The chickens have been loving this weather. They spend most of their days out scratching and pecking finding bugs and grubs and bits of green vegetation. They did however think that seeing me or walking towards their coop was their cue to fall in line.
Others came running to greet me.
I didn’t have any treats or table scraps for them but they were satisfied when I scattered some scratch on the ground for them.
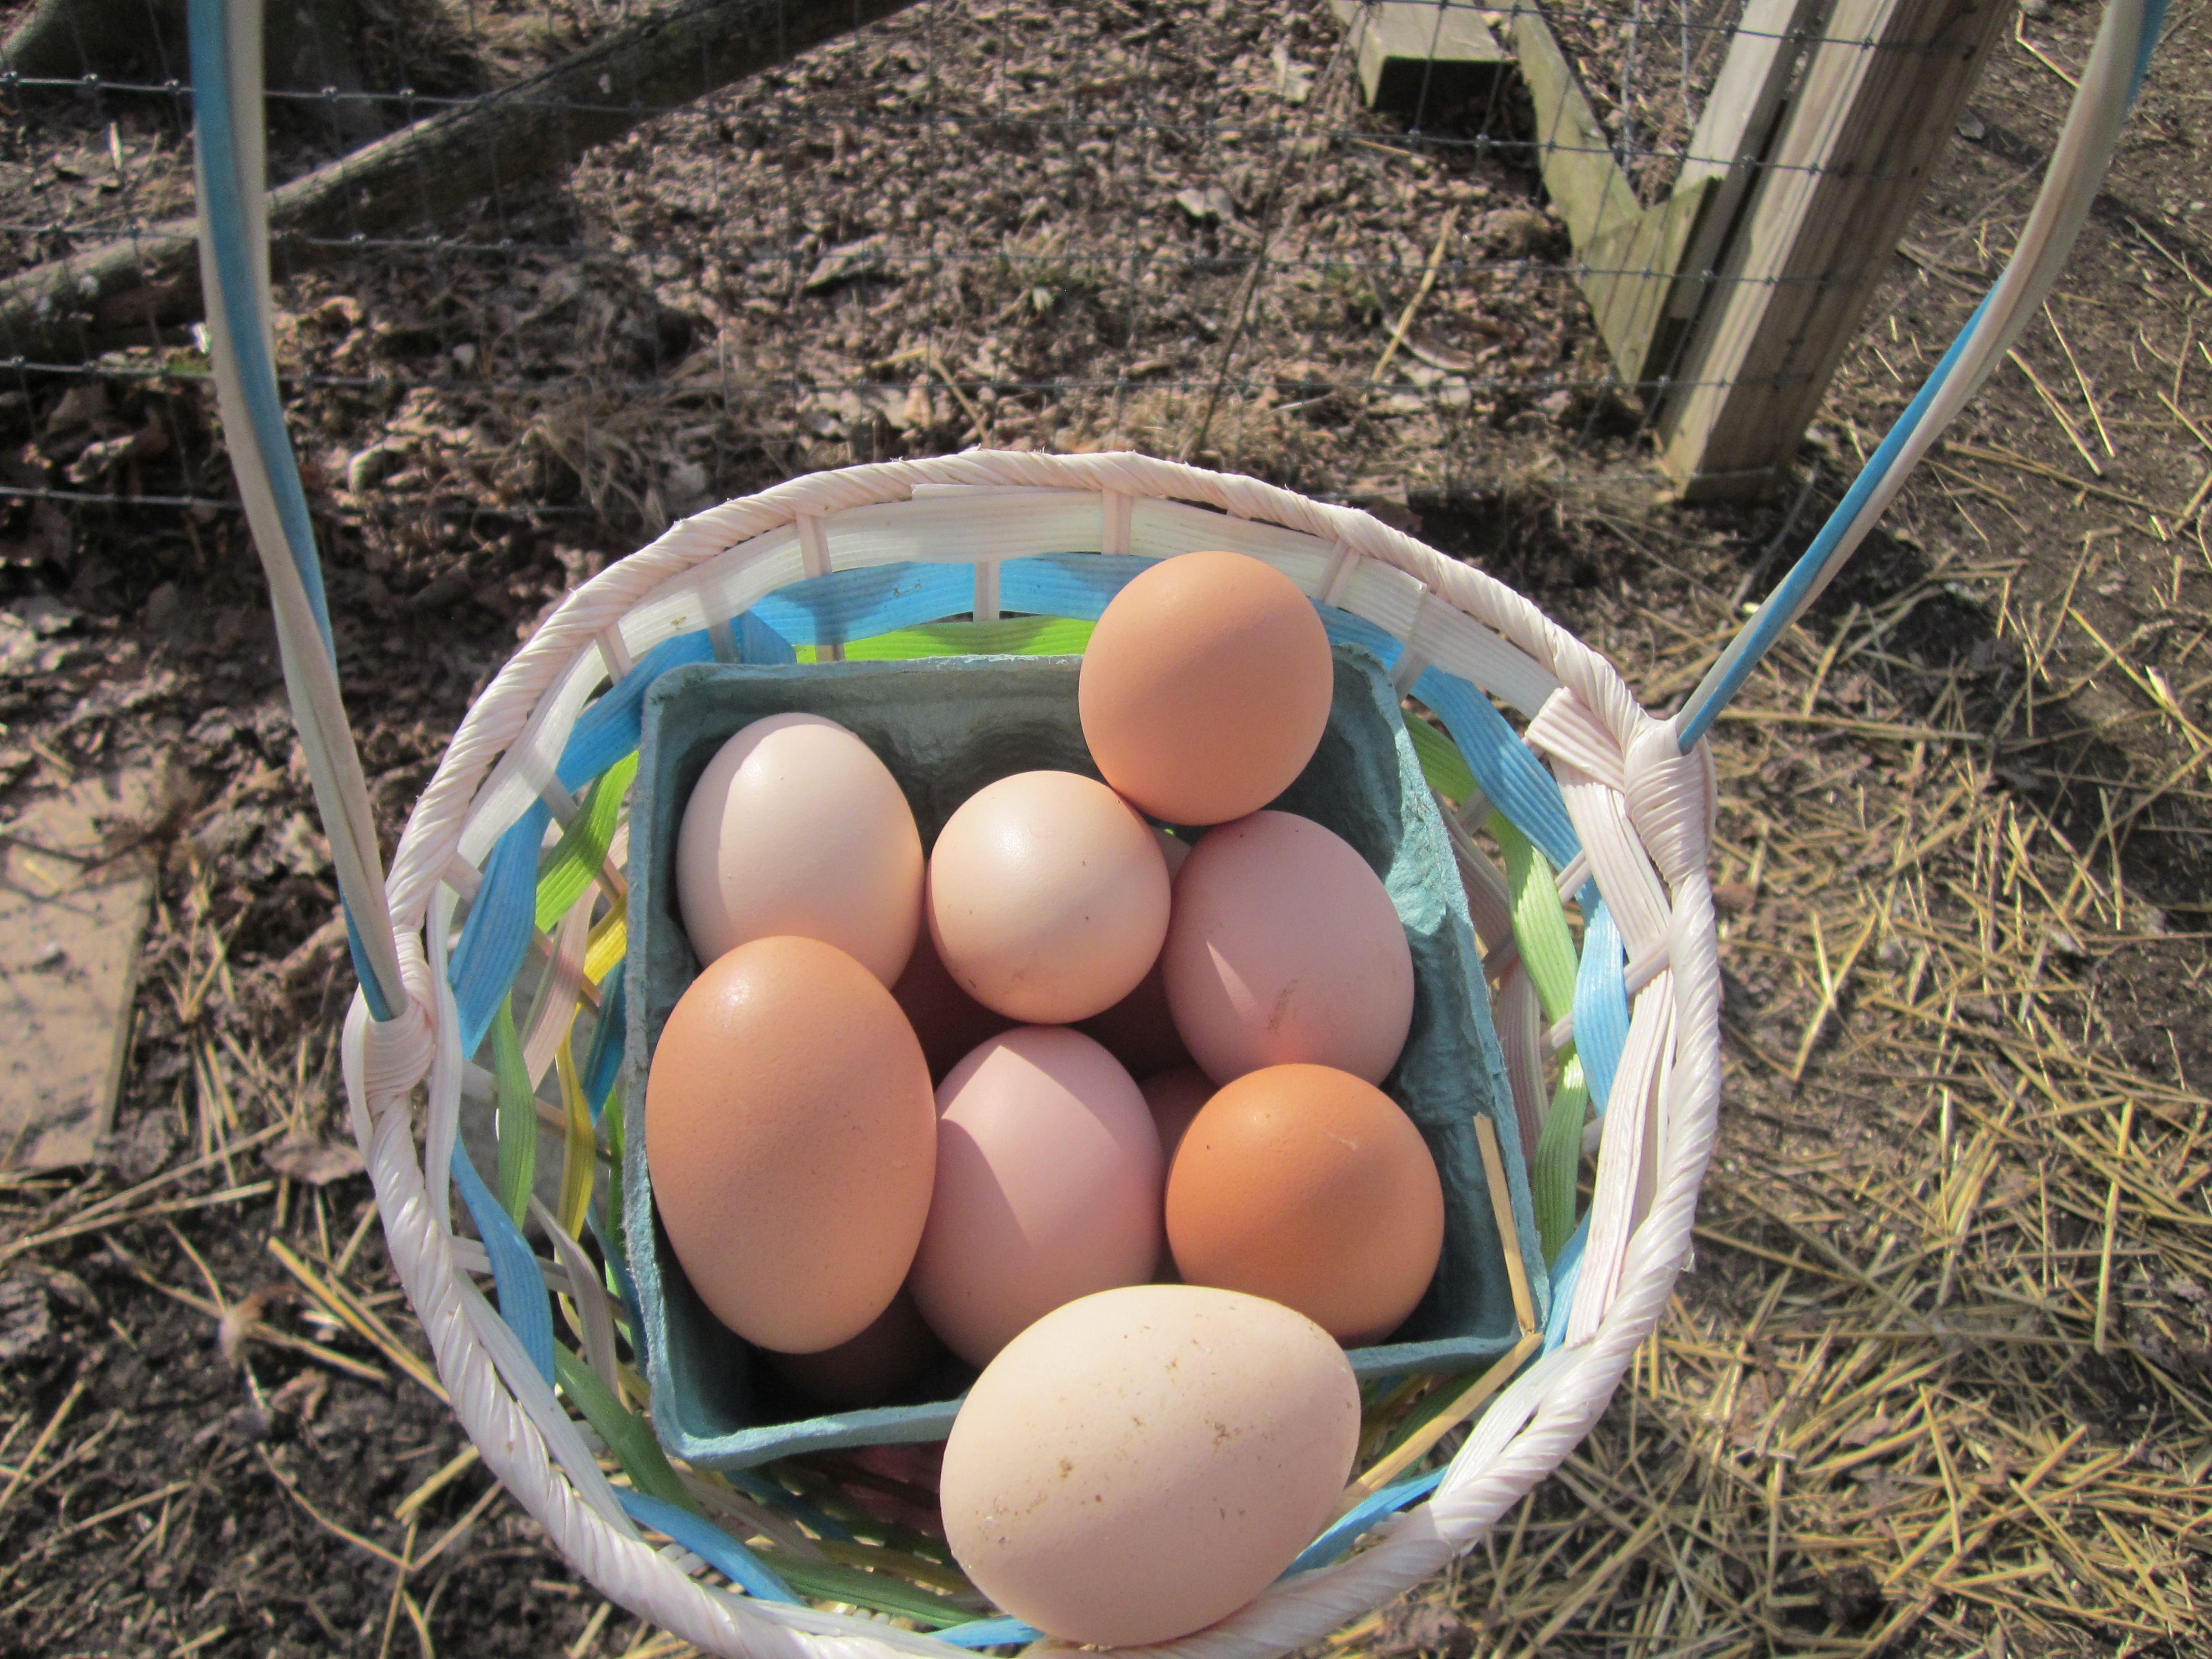
I then went on to gather eggs – a full dozen that day. 🙂
We have come a long way since December when we were getting one egg every three or four days. In November our flock went through a late season molt. I didn’t take any pictures of the molting hens because they looked so pitiful with their half naked bodies and new feathers poking though their skin that I felt sorry for them. Molting takes so much energy from the hens that they stop laying during that time. It was some time in early January when egg production gradually began to pick up again.
In December, for first time in 5 or 6 years, I ran out of eggs. Thankfully in the spring of 2020 my sister and her husband started their own flock and by fall their hens were laying well. Chickens don’t molt their first year so they did not experience the egg drought like we did.
It was strange a strange feeling, and we had a good laugh, the day I called my sister and asked “do you have eggs?” The tables had turned. For many years she had been calling me every couple weeks and asking “do you have eggs?” I couldn’t have been happier when she replied “how many do you want.” 🙂
It is time to consider adding to our flock so that our egg supply will continue through this upcoming winter. Perhaps rather than buy chicks we will allow a hen or two to brood some chicks. I’ll let you know what we decide.
I like the word conundrum because not only is the word fun to say (or maybe I’m just a little weird eccentric) the definition, a riddle, pun or puzzle, can be fun as well.
Here are a couple examples:
1. A poor old farmer had three roosters. One was a beautiful, robust, golden color, Buff Orpington; the second a prize winning Rhode Island Red; and the third an scrawny old leghorn.
Which one laid the golden egg?
2. If a plane crashed on the boarder of Canada and the USA where would they bury the survivors?
(answers at the end of this post)
Currently we are dealing with a bit of a conundrum in that the dog eats the cat food and the cat eats the dog food. It is a puzzling problem but we haven’t considered this too big of a problem since they do not fight over the food, none of them gotten sick, and they all seem to get enough to eat. I told my husband I will worry about it if the cat starts barking or the dog starts meowing. LOL!
Do you have a conundrum you would like to share? (go ahead make me laugh) Did you get the answer to my two examples?
Answers: 1. None of them – because roosters don’t lay eggs. 2. They wouldn’t bury survivors (those are the people who live). 🤣