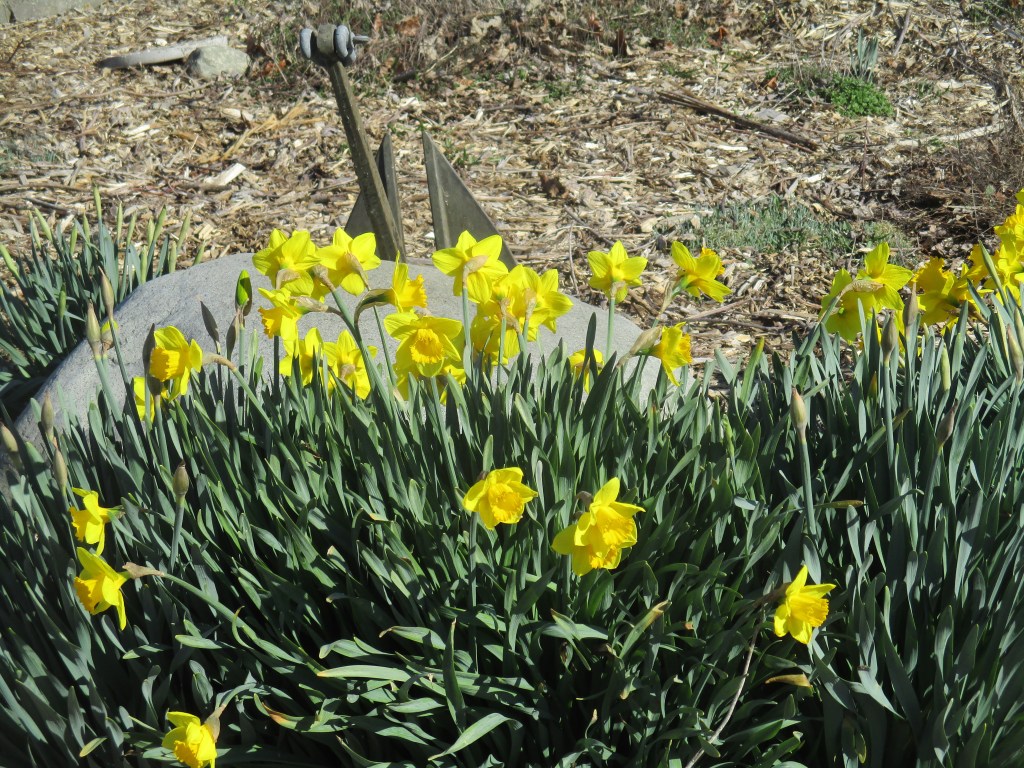
Our spring/summer alarm clock.
WARNING: This model does not come with a snooze button.
Our spring/summer alarm clock.
WARNING: This model does not come with a snooze button.

If you are new to my blog or haven’t spent much time here, you might not realize that in 2018 I was diagnosed with Parkinson’s Disease. I generally don’t write about it because, thankfully, it hasn’t had to, nor do I allow it to, take center stage in my life. Today I have decided to write about it because April is Parkinson’s Awareness Month.
I’m going to start by sharing a link to the Parkinson’s Foundation website where you can learn a lot about the disease.
Since I do not use social media, other than my blog, and I don’t watch much news I’m not really certain how much awareness is being spread. Today I’m going to share a brief story as an example of how more awareness may benefit me and perhaps others with PD. Since every person with Parkinson’s experiences it differently I will do a future post to tell you more about my PD story.
I need to preface this story by explaining that at this point my main Parkinson’s symptom and the only visible one is tremors. I am blessed that my tremors do not affect my limbs but are only present in my head and very, very slightly in my hands. Unfortunately, these completely involuntary head tremors, that at times I am not even aware are occurring, are often mistaken for a form of communication. They have in the past been interpreted as; shaking my head “No”, shaking my head in disgust, frustration, or anger, and one time I was asked if I was cold because the person thought I was shivering.
Most recently, I was shopping at our local dollar store. The store was not busy and there was only one person in front of me in line and no one behind me. The person in front of me finished paying and walked toward the exit, and the cashier began ringing up my items. As the person who had been in front of me in line was walking out, he stopped and asked the cashier if the carried powdered sugar. The cashier said “sometimes we do but I’m not sure if we have any. Let me check.” As she quickly left the register, the person said, “no, don’t bother. She’s shaking her head.” I’m not sure whether he thought I was indicating that they didn’t have the item, or that I was upset because the cashier had paused her service to me in order to attend to him. I attempted to explain to him that the tremors were involuntary and had nothing to do with his interaction with the cashier, but he didn’t seem to acknowledge me.
The cashier was back in a matter of seconds telling him they did not have what he was looking for. After he left, I told the cashier that it is frustrating when people assume that my tremors are something that they are not. I explained that the tremors are caused by Parkinson’s, and she understood, telling me that she thought that someone she knew was in the early stages of this disease.
In a day and age where people are highly sensitive and quick to react to a perceived offense, I often fear that someone, not understanding my condition, may take offence. I am sharing this story with you today because promoting awareness of Parkinson’s and perhaps wearing a button or clothing with the below emblem on it are the only things I can think of to help prevent these kinds of misunderstandings.
Please feel free to share this post and help promote Parkinson’s awareness.
Thanks for reading.

When we pulled in the driveway at the farm this afternoon the first thing I noticed was the forsythia in full bloom.

The brilliant yellow flowers are noticeable from a great distance.
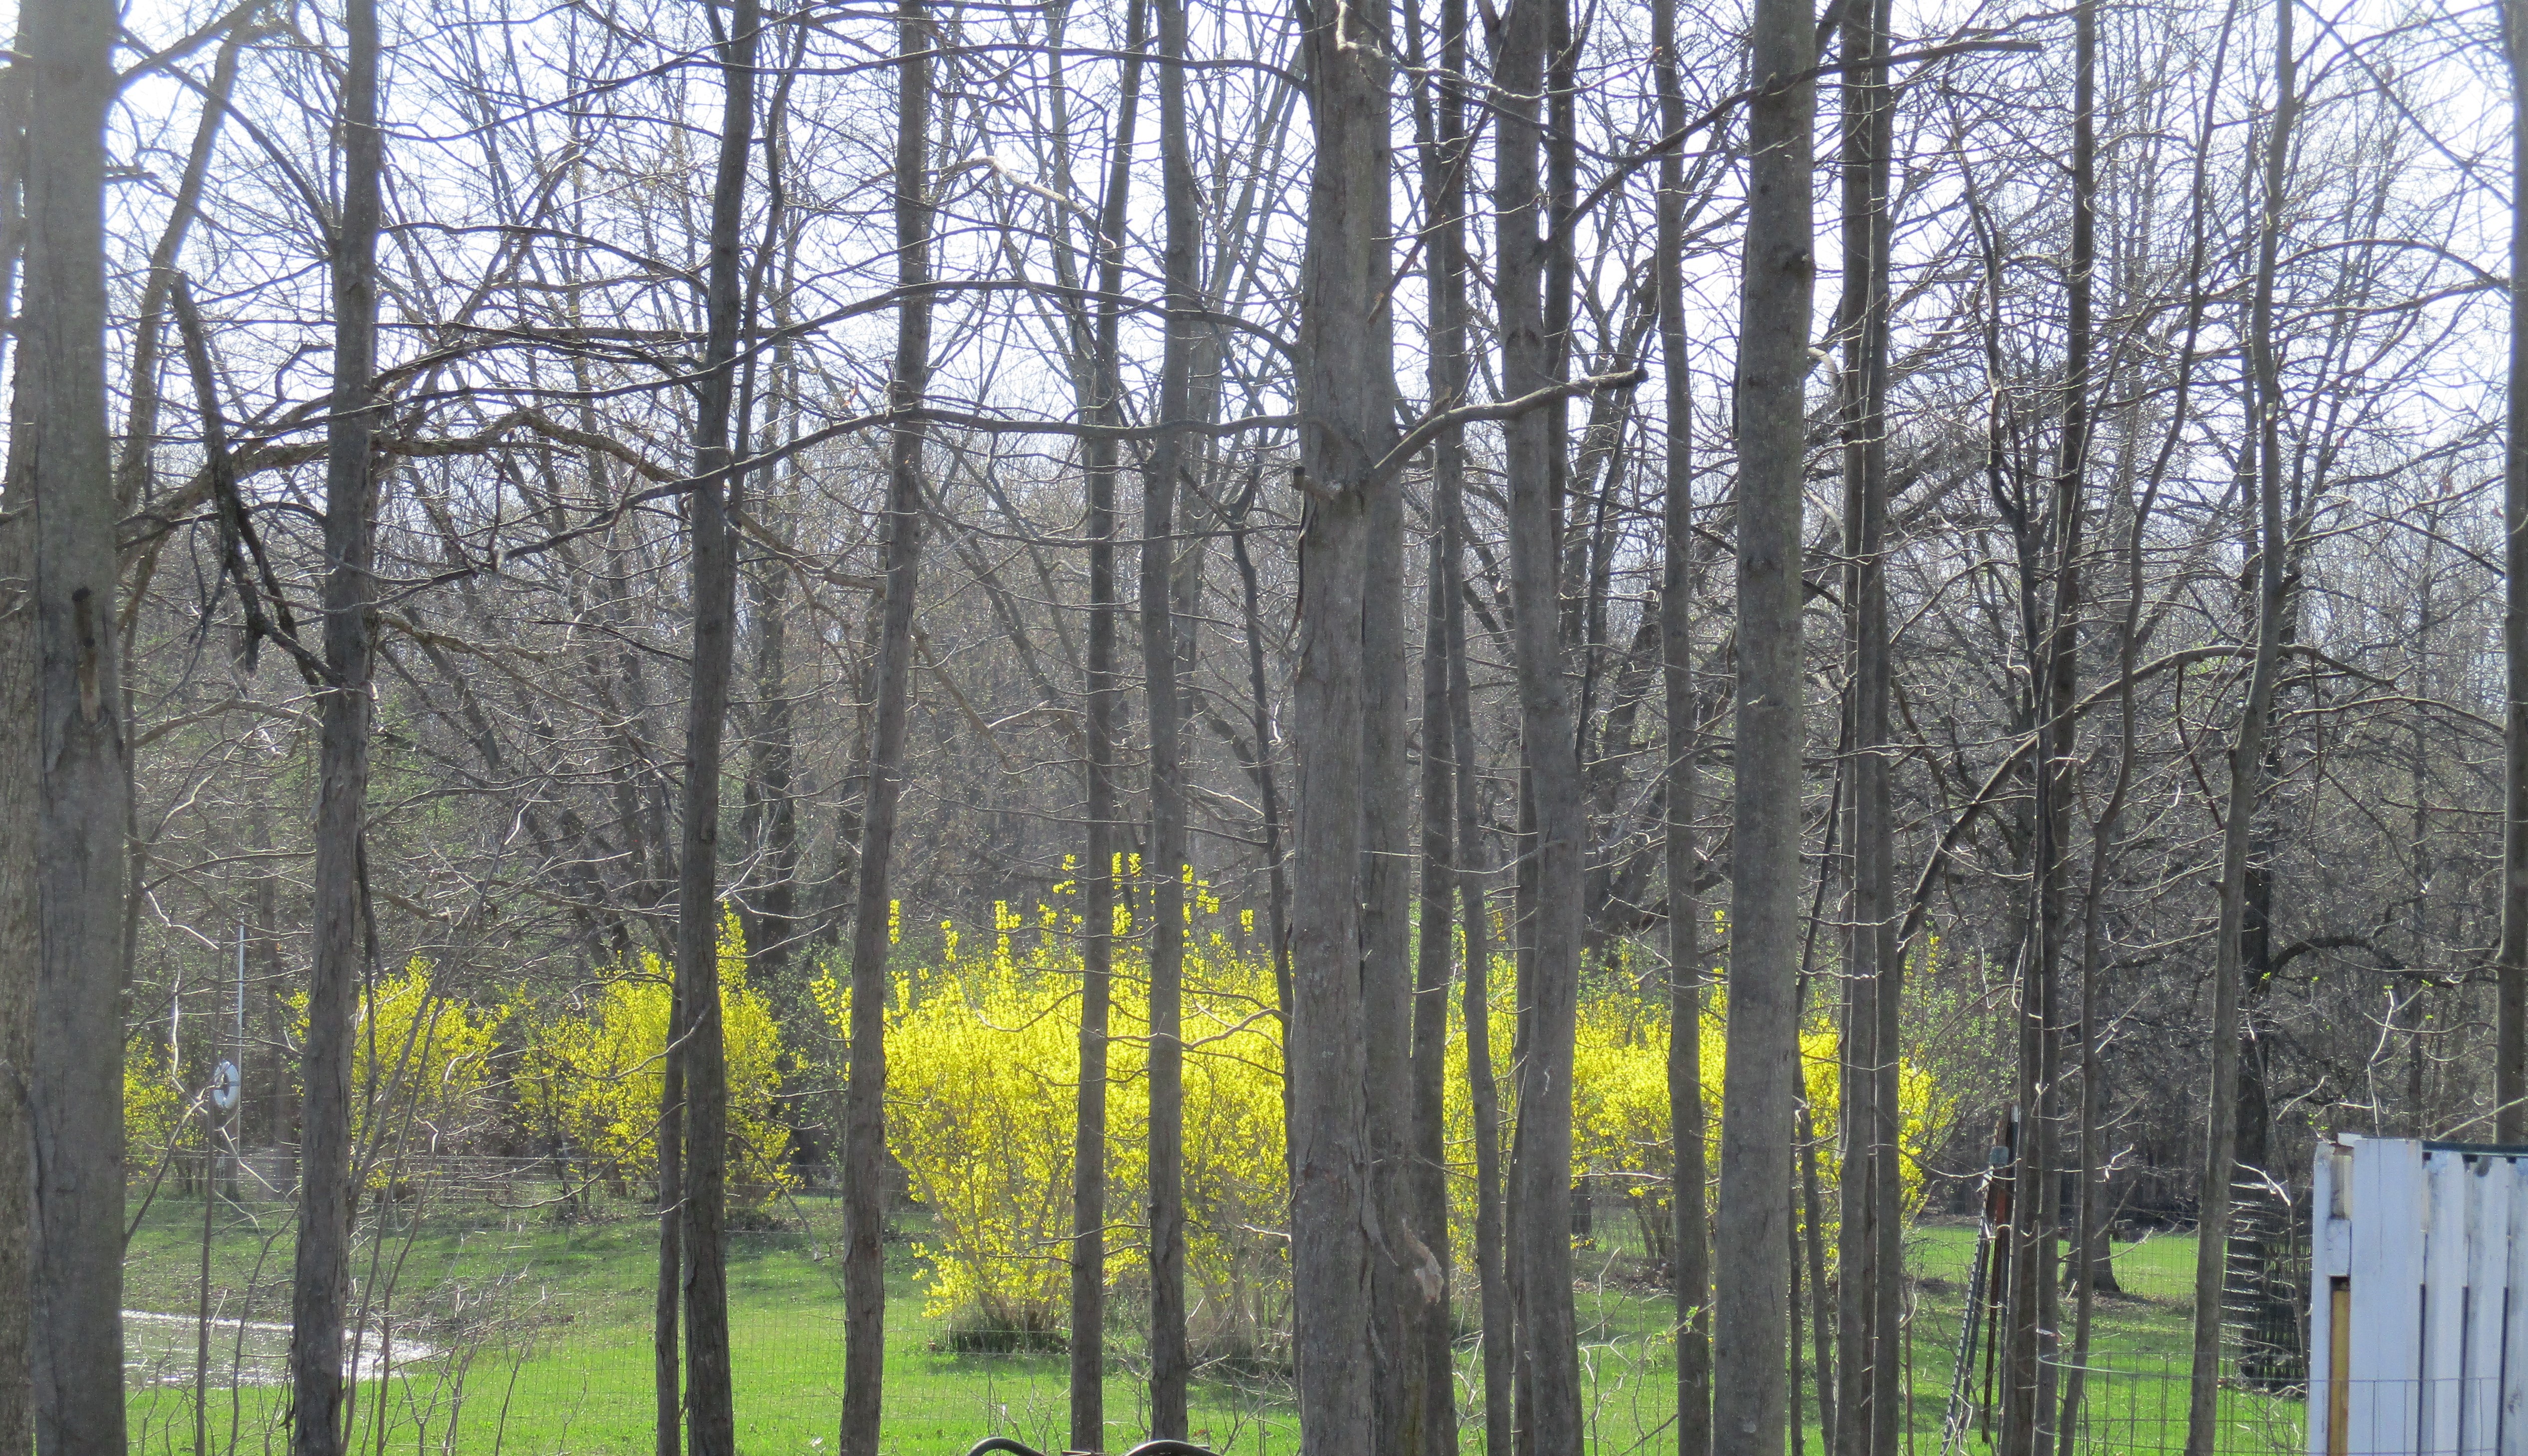
I always find them stunning – too beautiful not to share.

The next thing I noticed was some of the chicks wandering around outside their pen. My husband had warned me that some of them had gotten out, so rather than spend a lot of time trying to catch them and put them back in he decided to open up the pen and let them all roam.
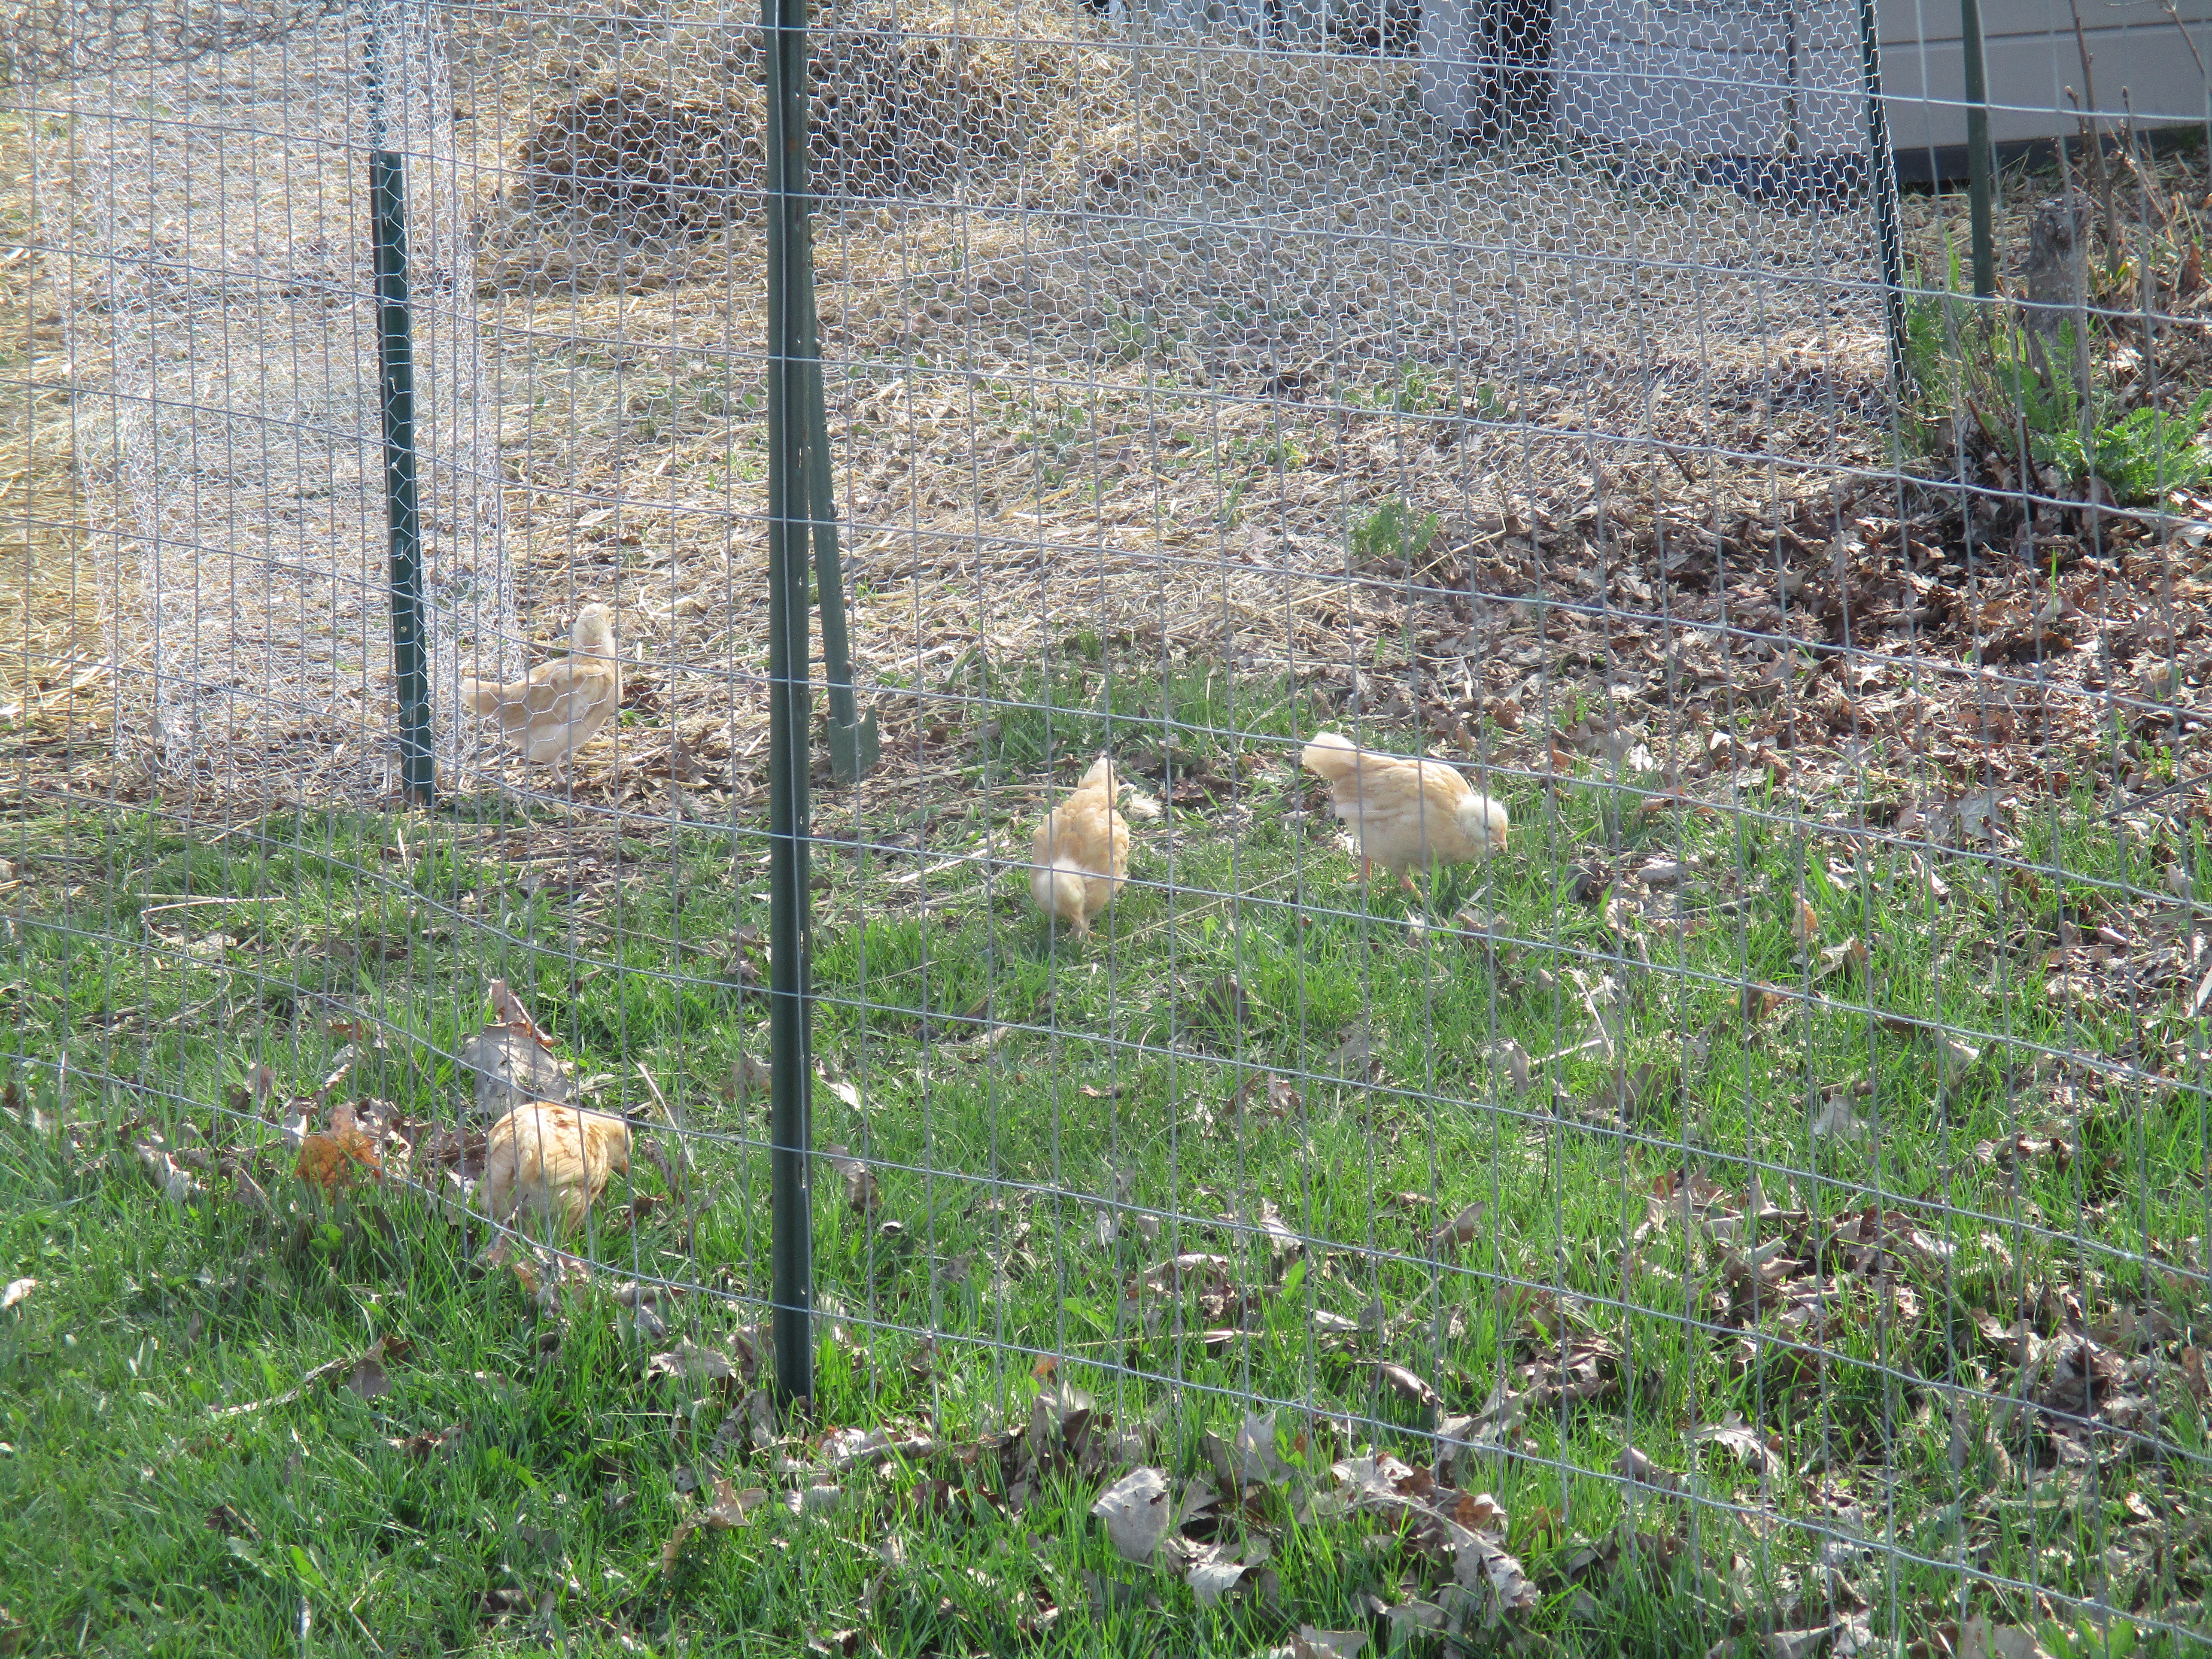
They have all stayed close to the coop throughout the day.

And seem to be having a great time exploring.
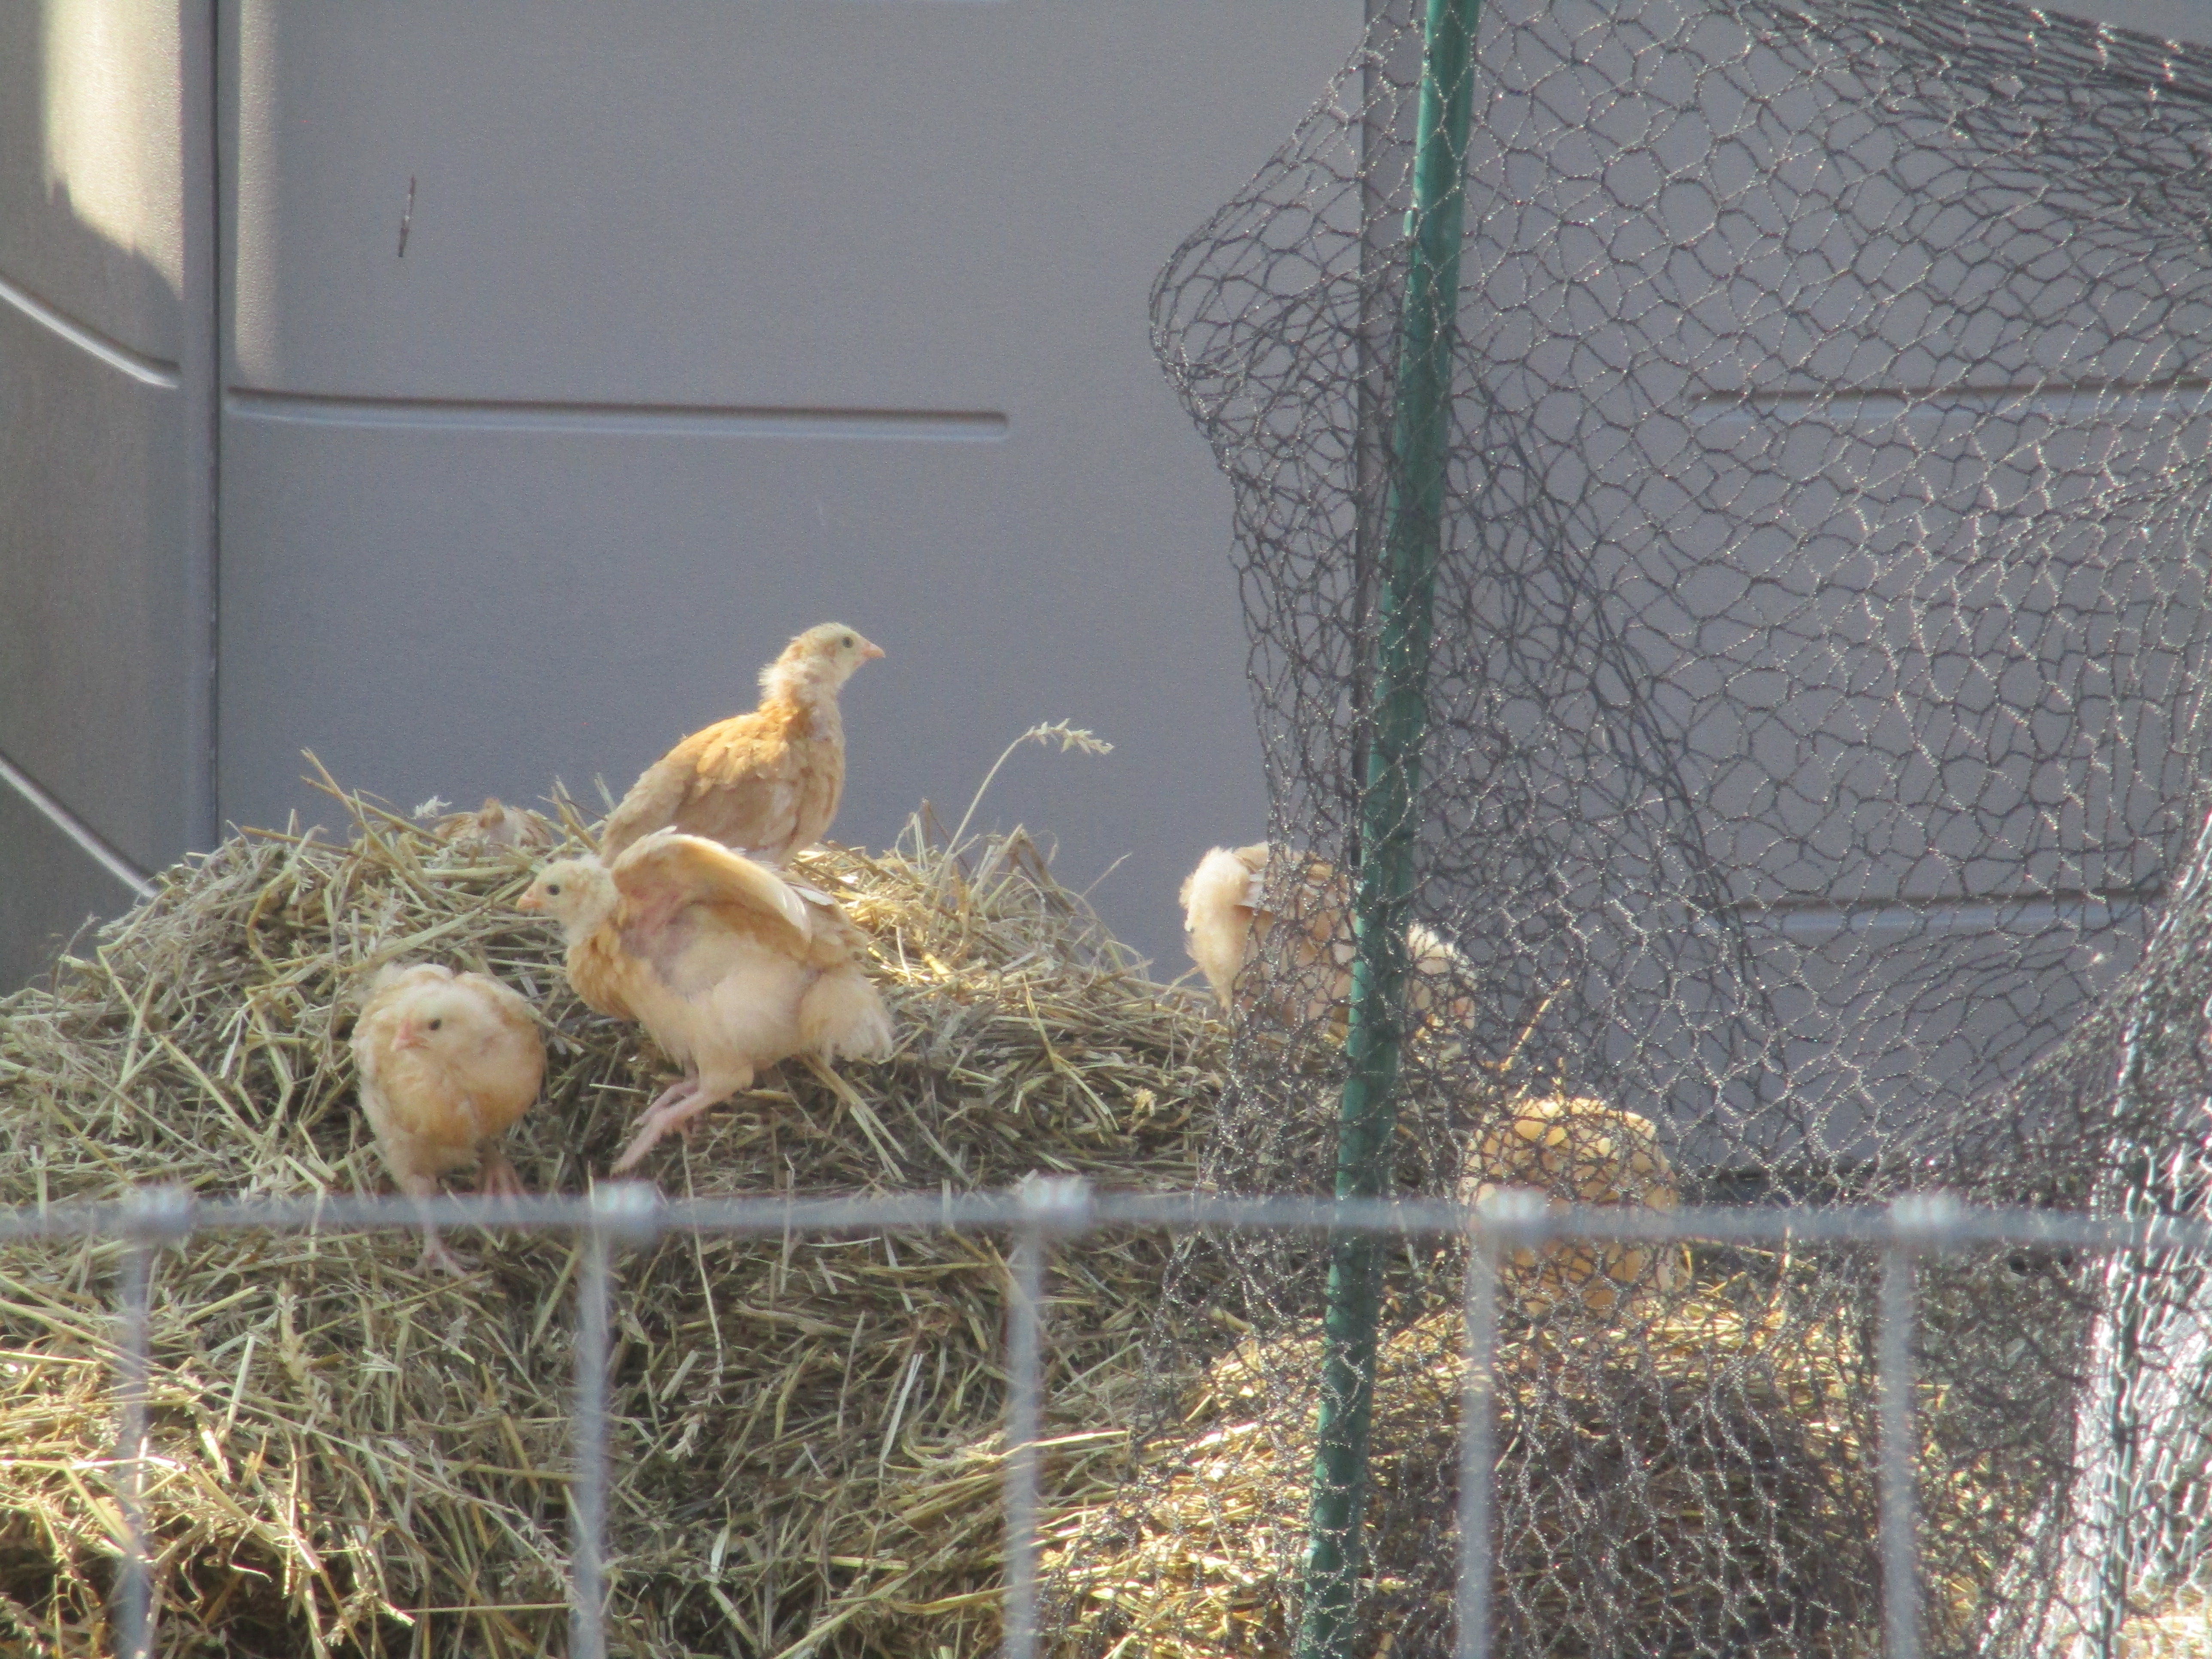
The chicks have not yet learned to get into the coop at night, but my husband used a trick we learned several years ago to round them up tonight. He placed a small (battery powered) light just inside the coop. As it got dark outside the chicks all migrated toward the light and went into the coop. He can use this method until the chicks figure out how to find their way in on their own.
As I stepped out of the van, I immediately heard the loud, high pitched, trill of the frogs, or was it toads? I remembered this sound from several years back when we witnessed hundreds of toads mating in our pond.

I eventually made my way to the pond and as I walked around the edge I was surprised to see only one toad sitting in the water near the edge.
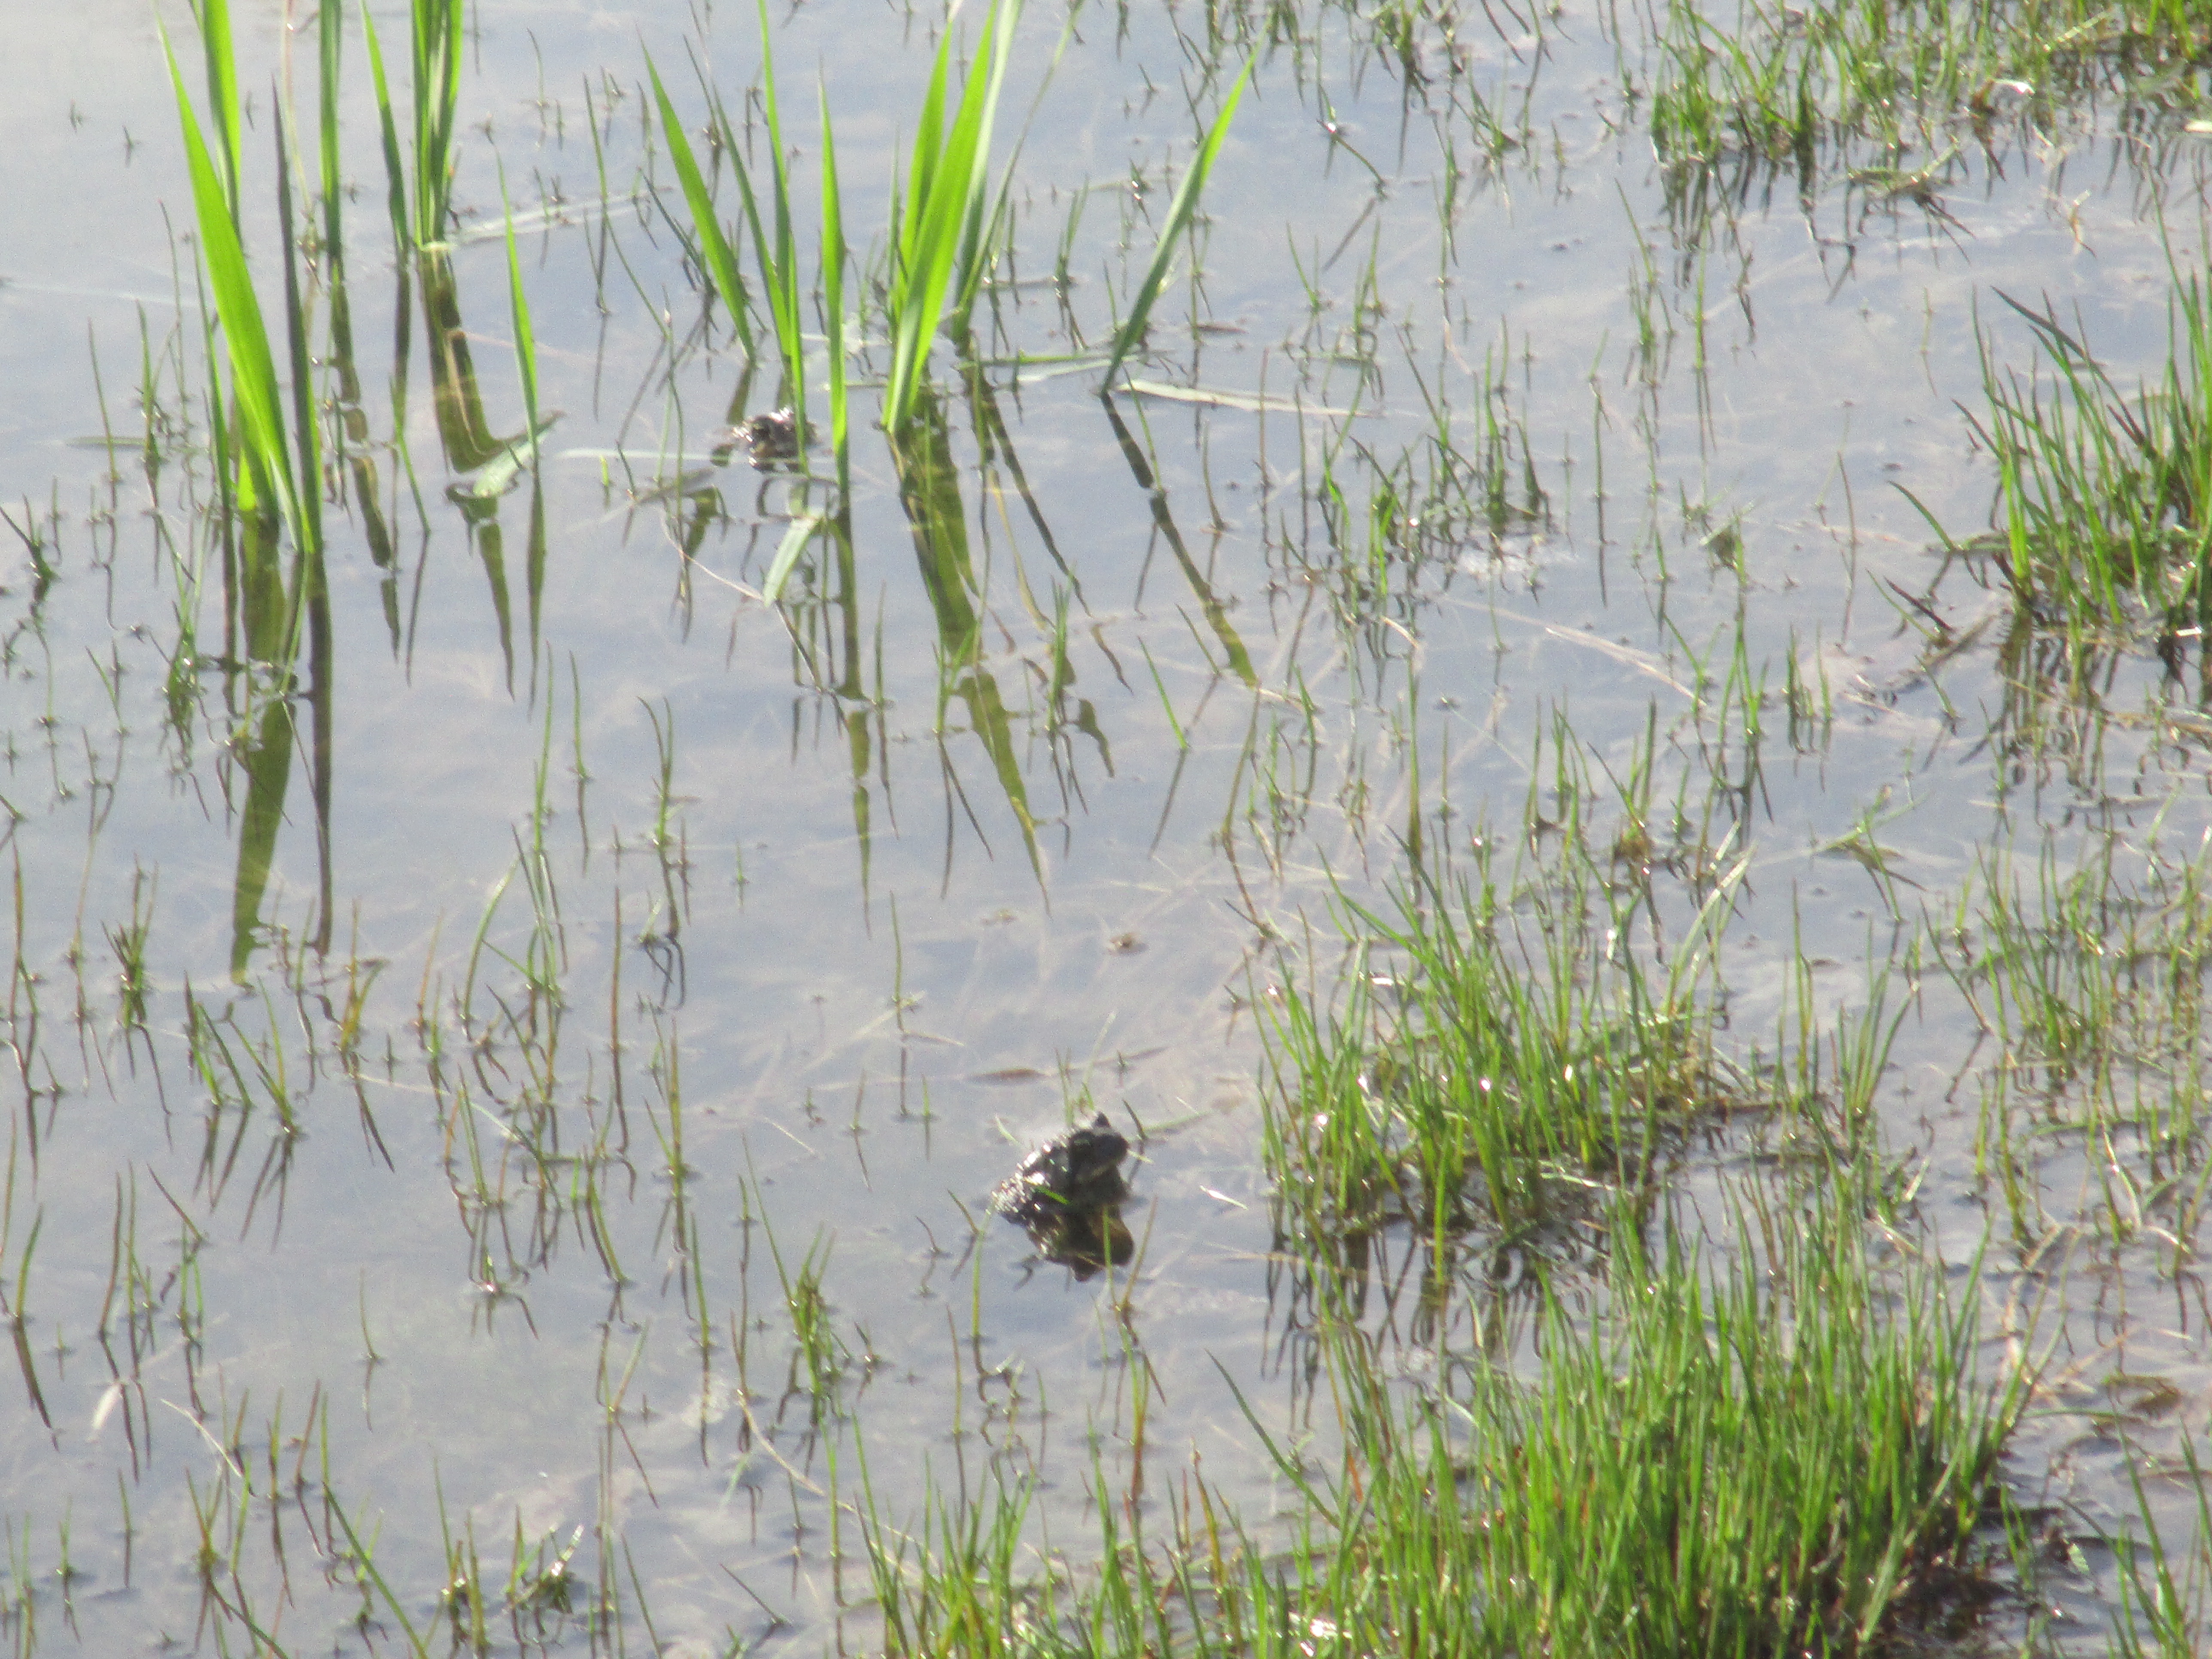
The mating call continued on and off and as I returned to the pond edge a while later I noticed more toads had arrived.

I am not sure how long this mating ritual will continue or how many more toads might show up,
but I am certain that in a few days we will see nests of toad eggs along the edges of the pond.
Thanks for visiting.
Over Easter weekend we had beautiful spring weather and throughout the week, that has followed, it seems that the weather has just gotten nicer each day.
On Easter Sunday, when we went out to the farm, I wore jeans and a jacket over my long-sleeved shirt, each day I have found it necessary to wear lighter clothing until yesterday, and again today, I have broken out my summer wardrobe and am wearing shorts with a tank top and enjoying soaking up that long-awaited sunshine.
Let’s take a look at what’s been happening at the farm this week.
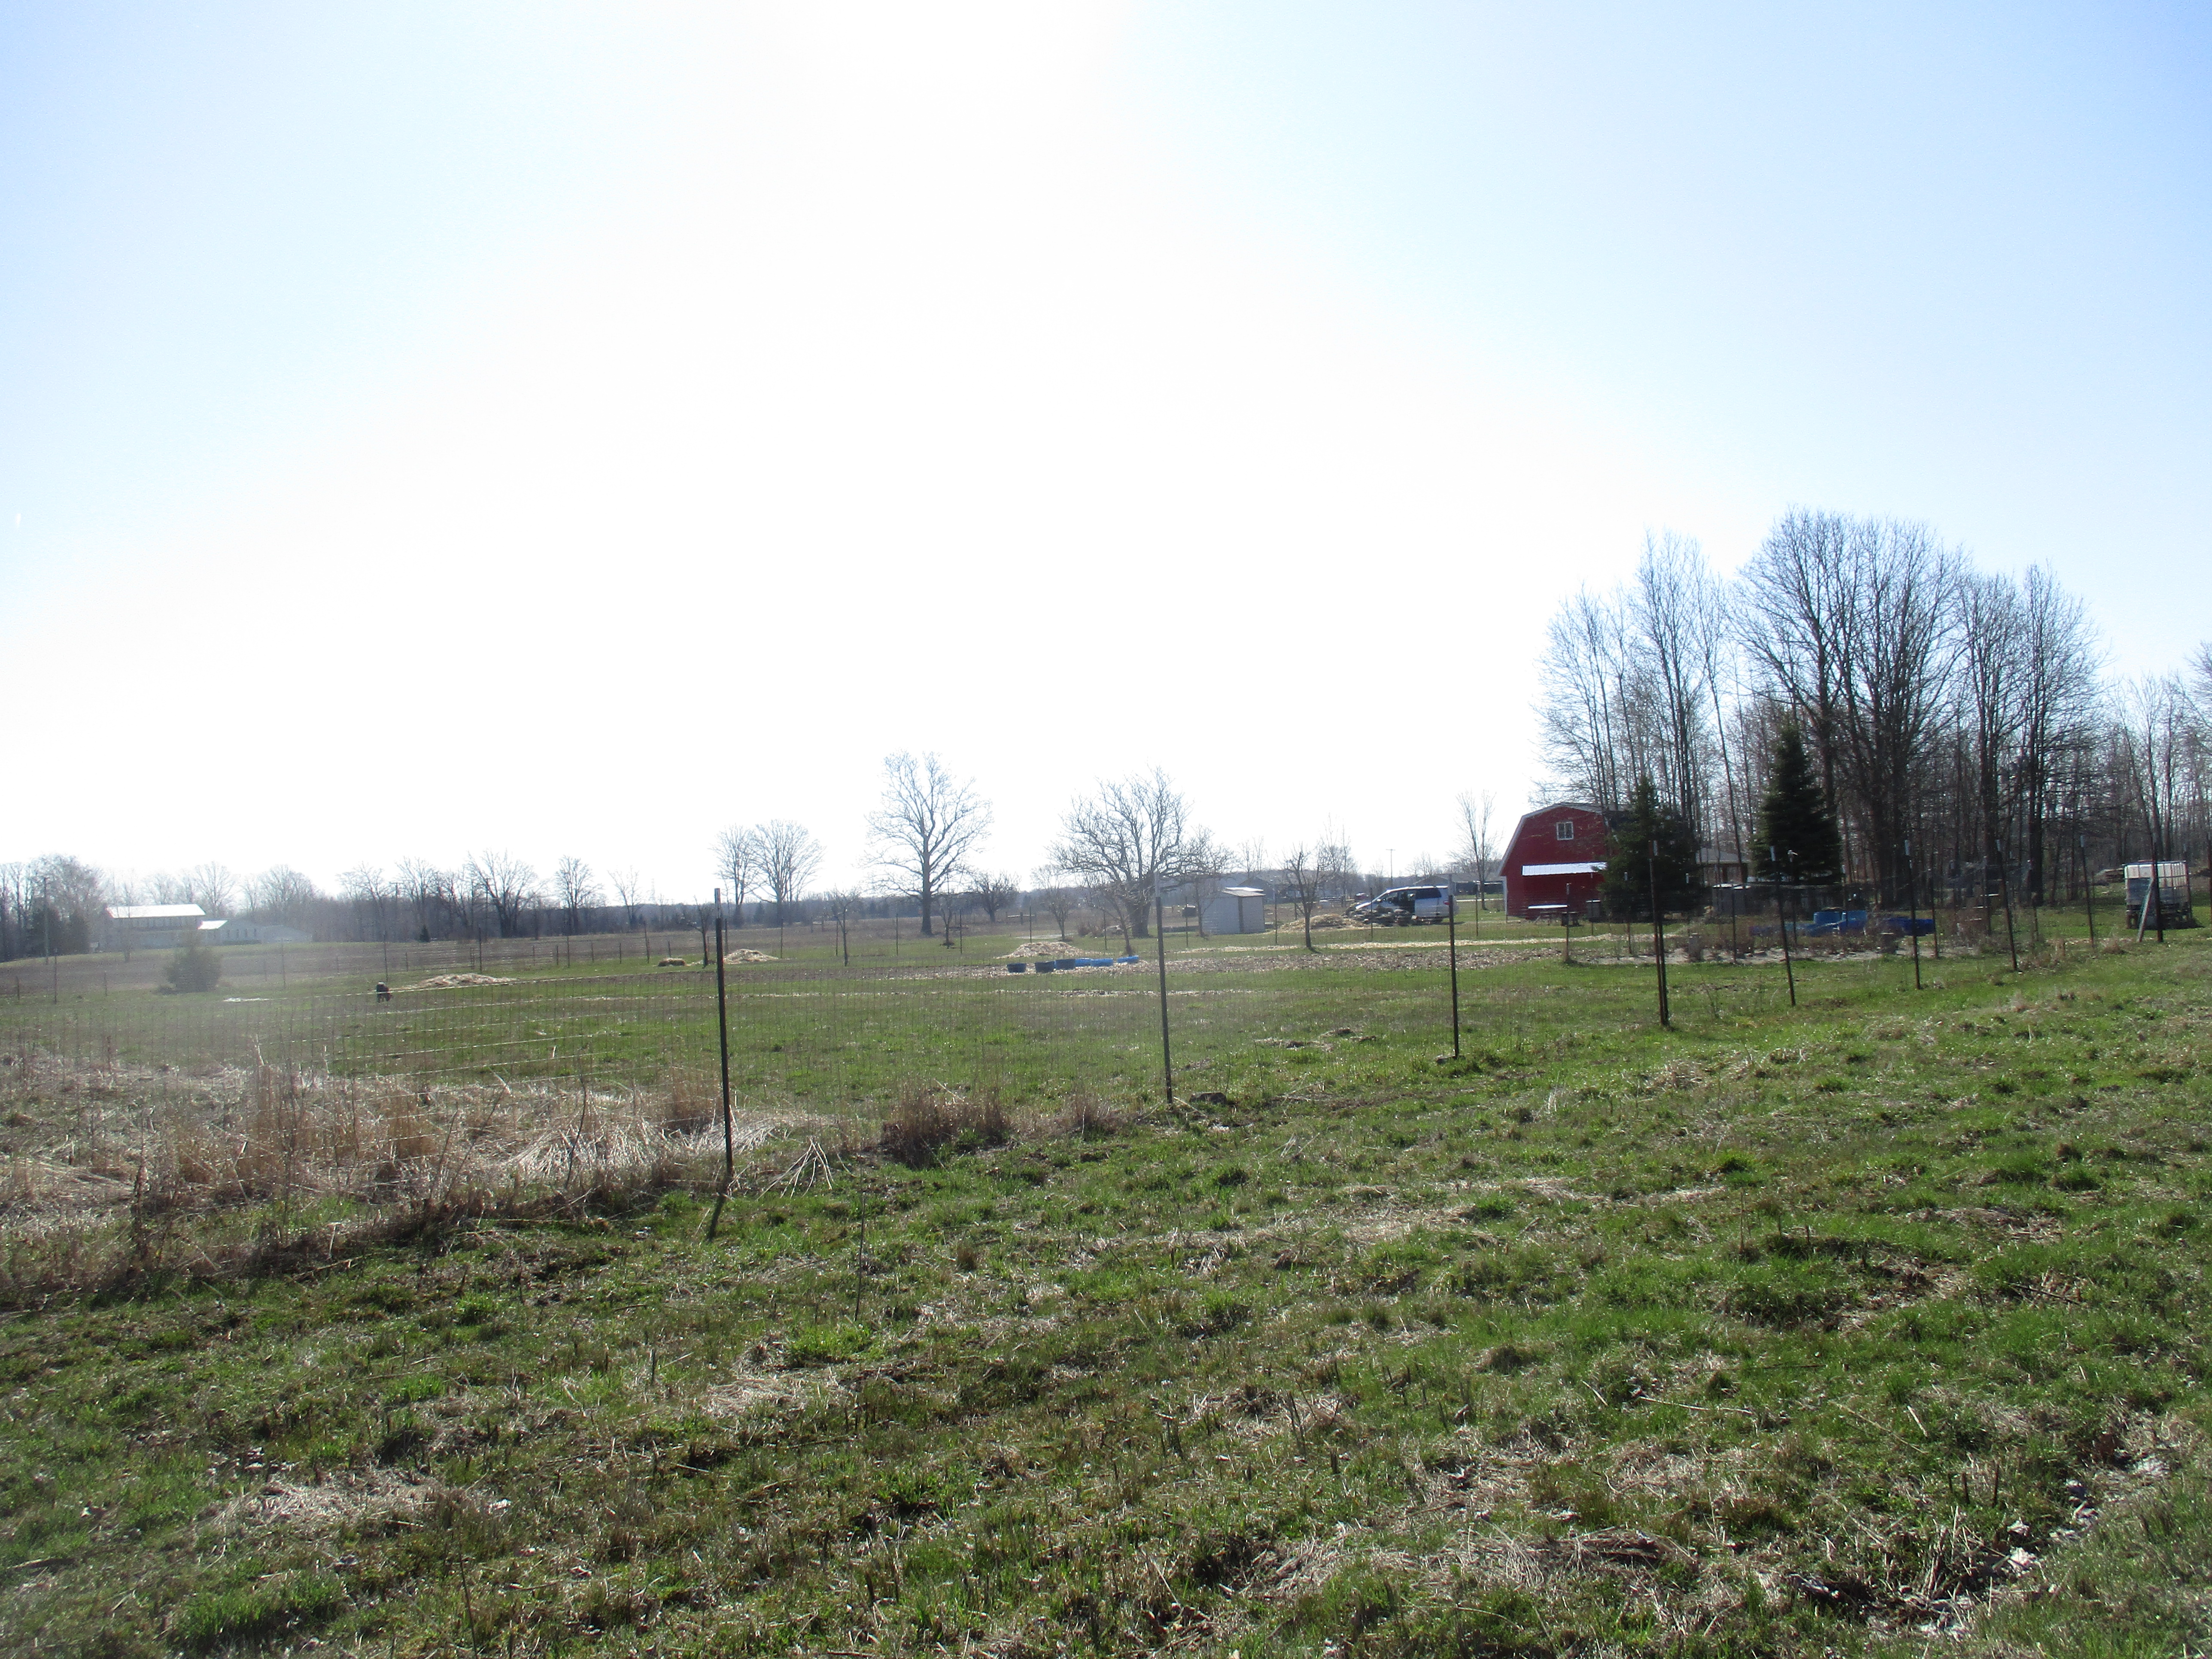
For about the past three weeks my husband has been working on fencing in the entire farm. It’s a huge undertaking as the 7.6-acre farm measures 1000 ft (304.8 m) by 330 ft (100.5 m). When it is all done he will have pounded in more than 260 fence posts and strung more than 2600 feet (792.48 m) of fence.
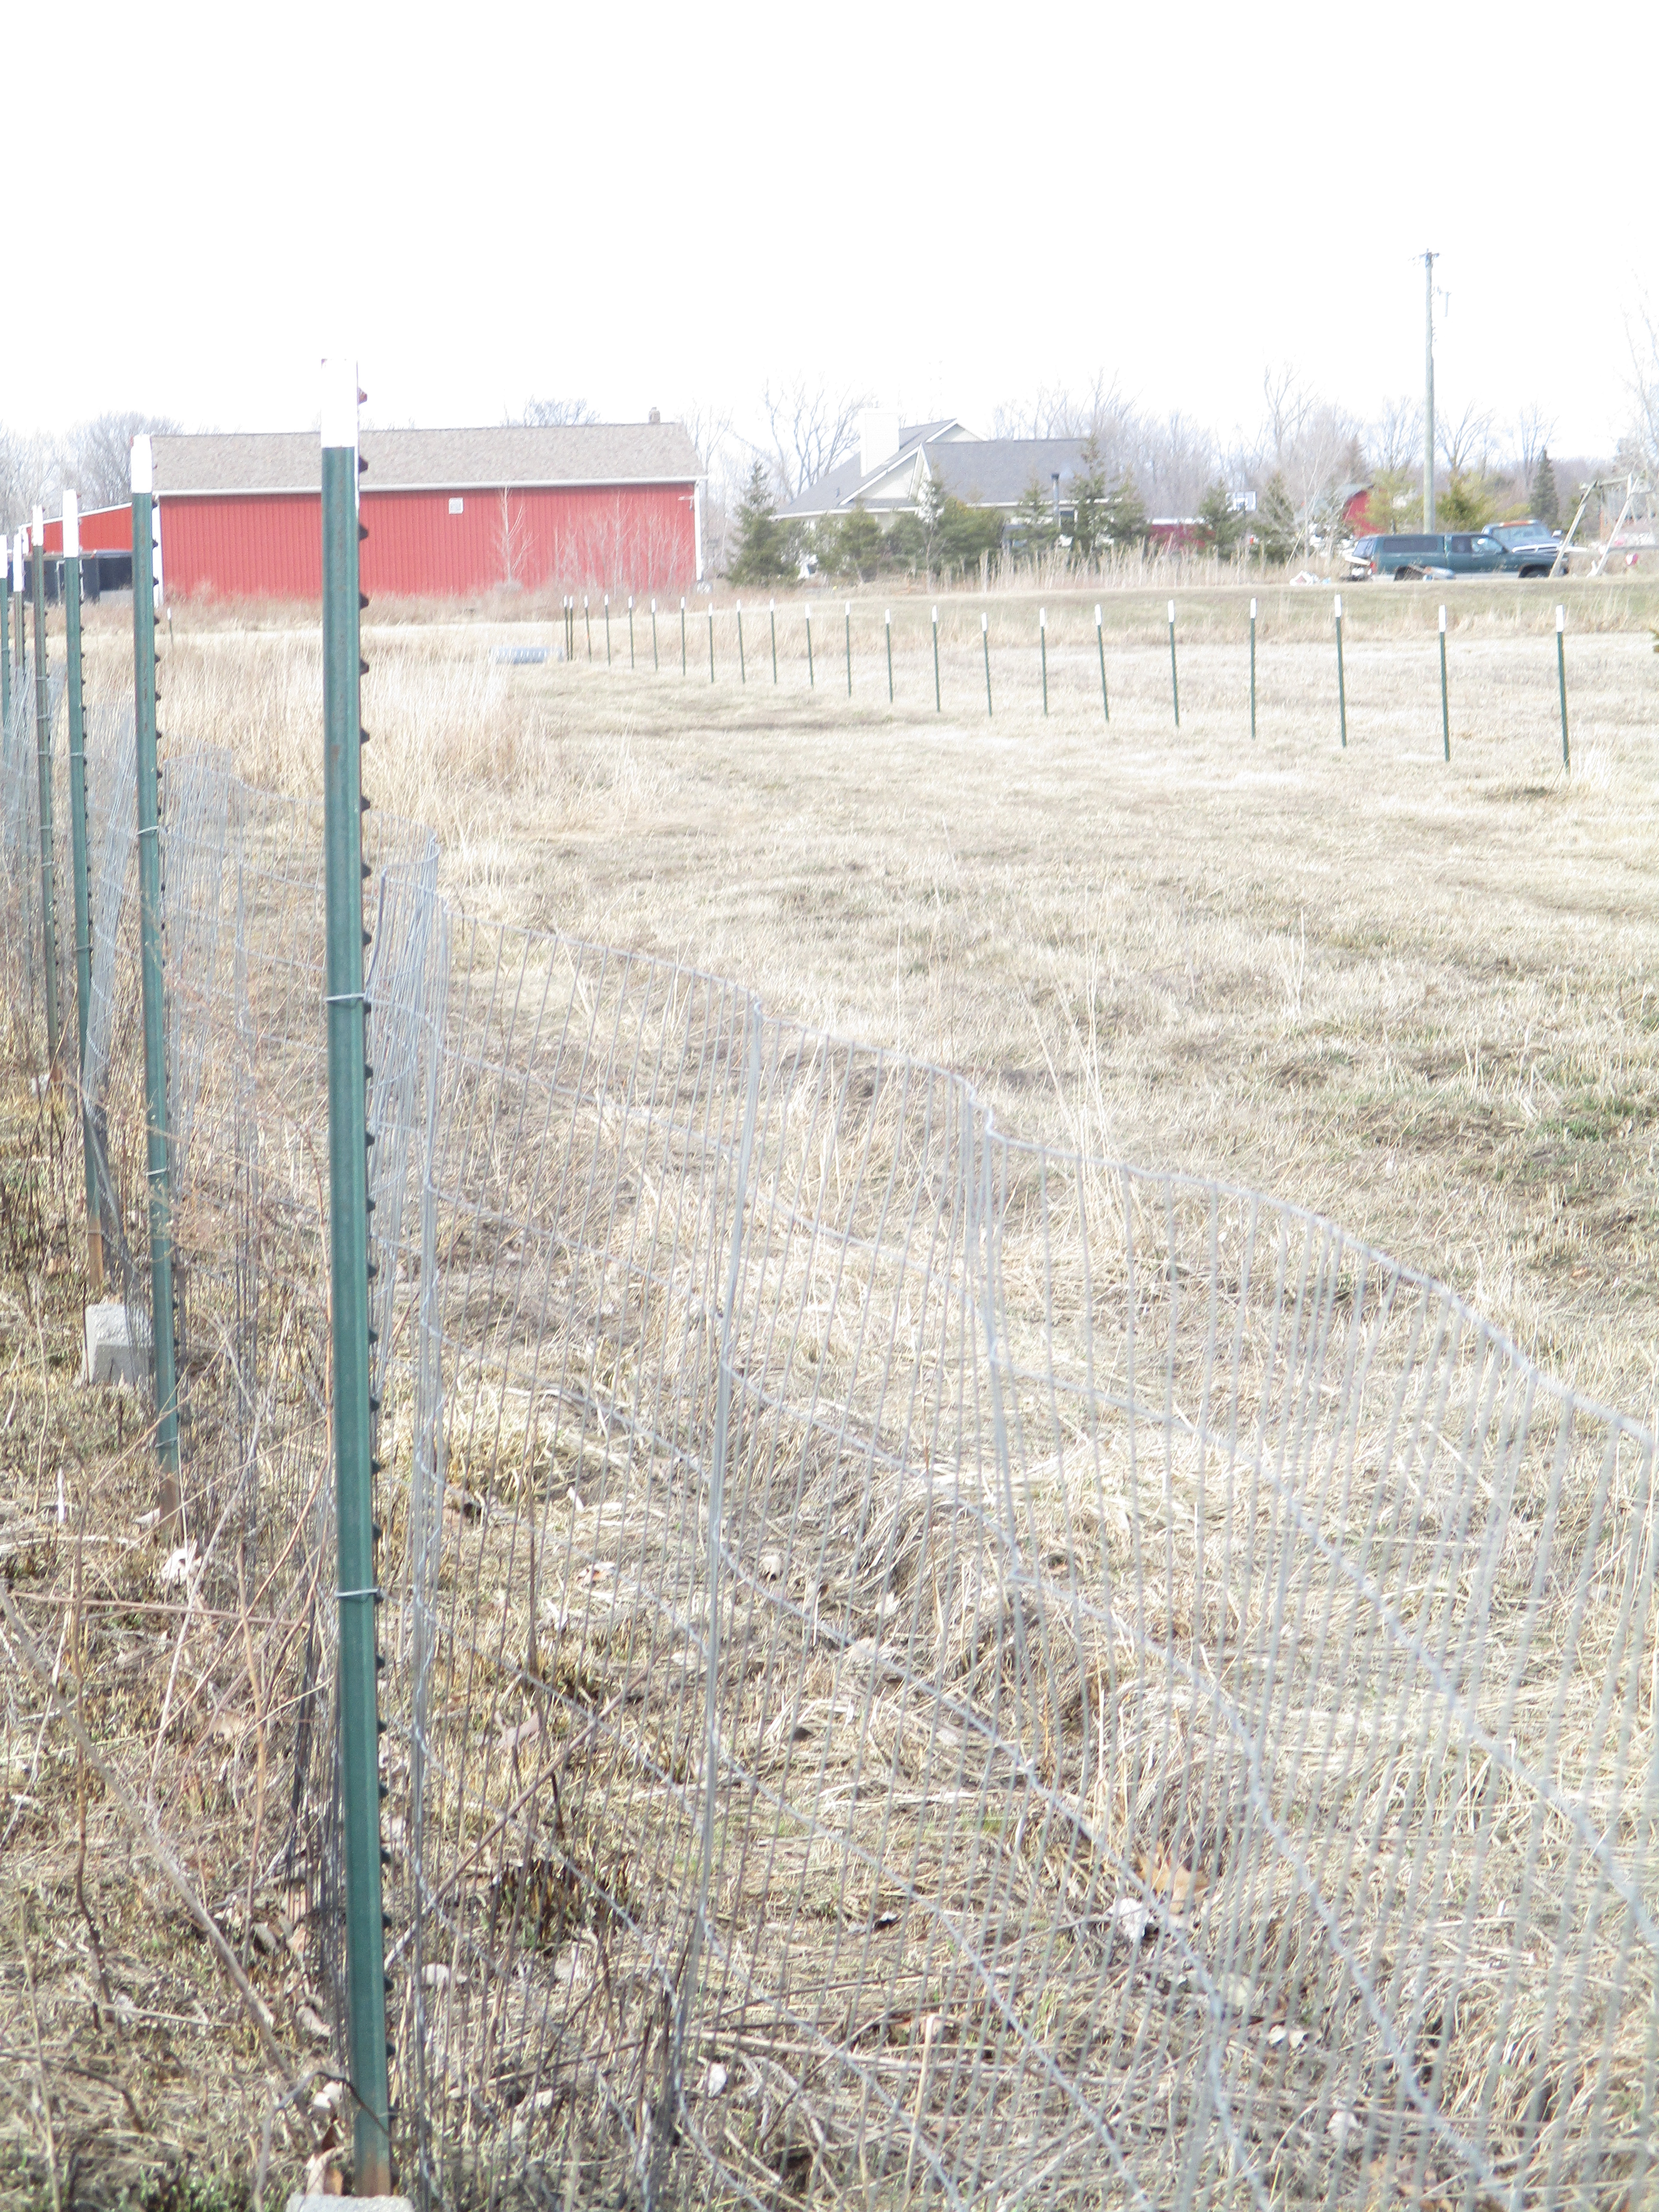
The small fence posts in the above picture line the east side of our back field. He has the entire back field fenced at this point and is working diligently on completing the front of the property.
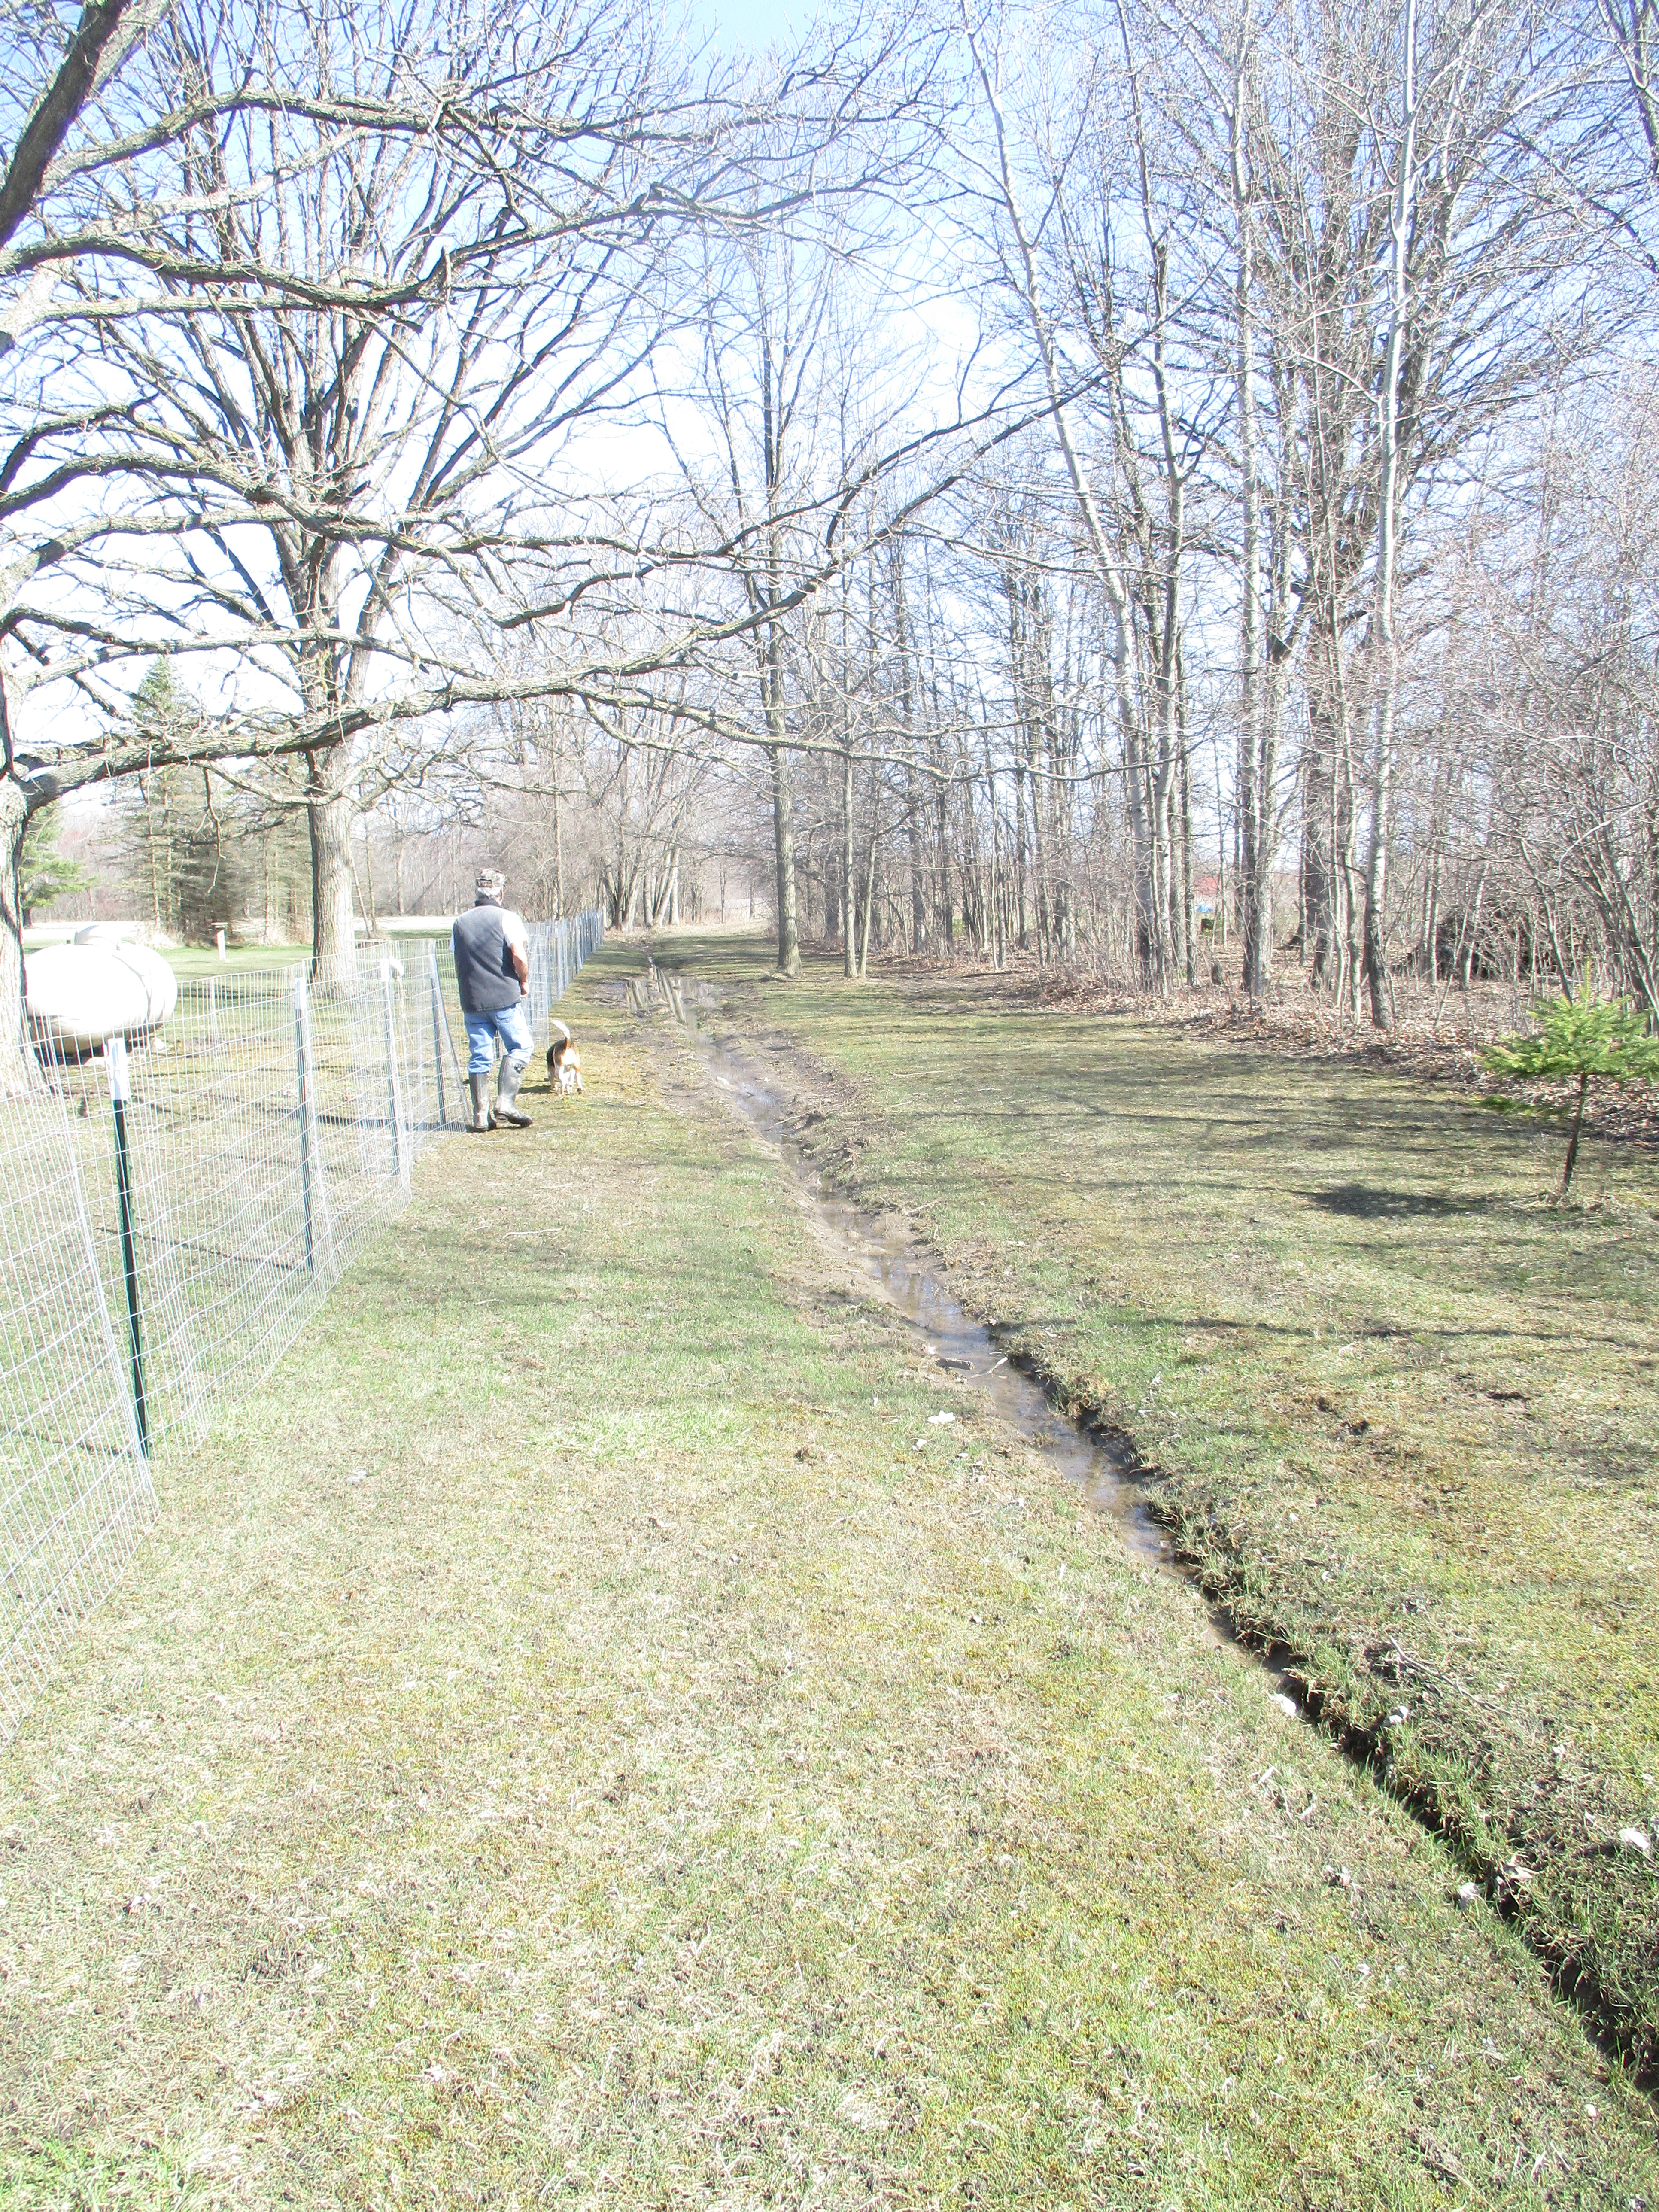
In the above picture the fence lines the front of our property on the west side. When this project is complete we will no longer have to worry about Ranger and Ruby and even the chickens wandering onto neighboring property or into the road. It will take a large load off our minds.

There seems to be an abundance of robins this spring. Some of them have even sat still for pictures.

The fence in the above picture which had enclosed the main garden area is also being removed.
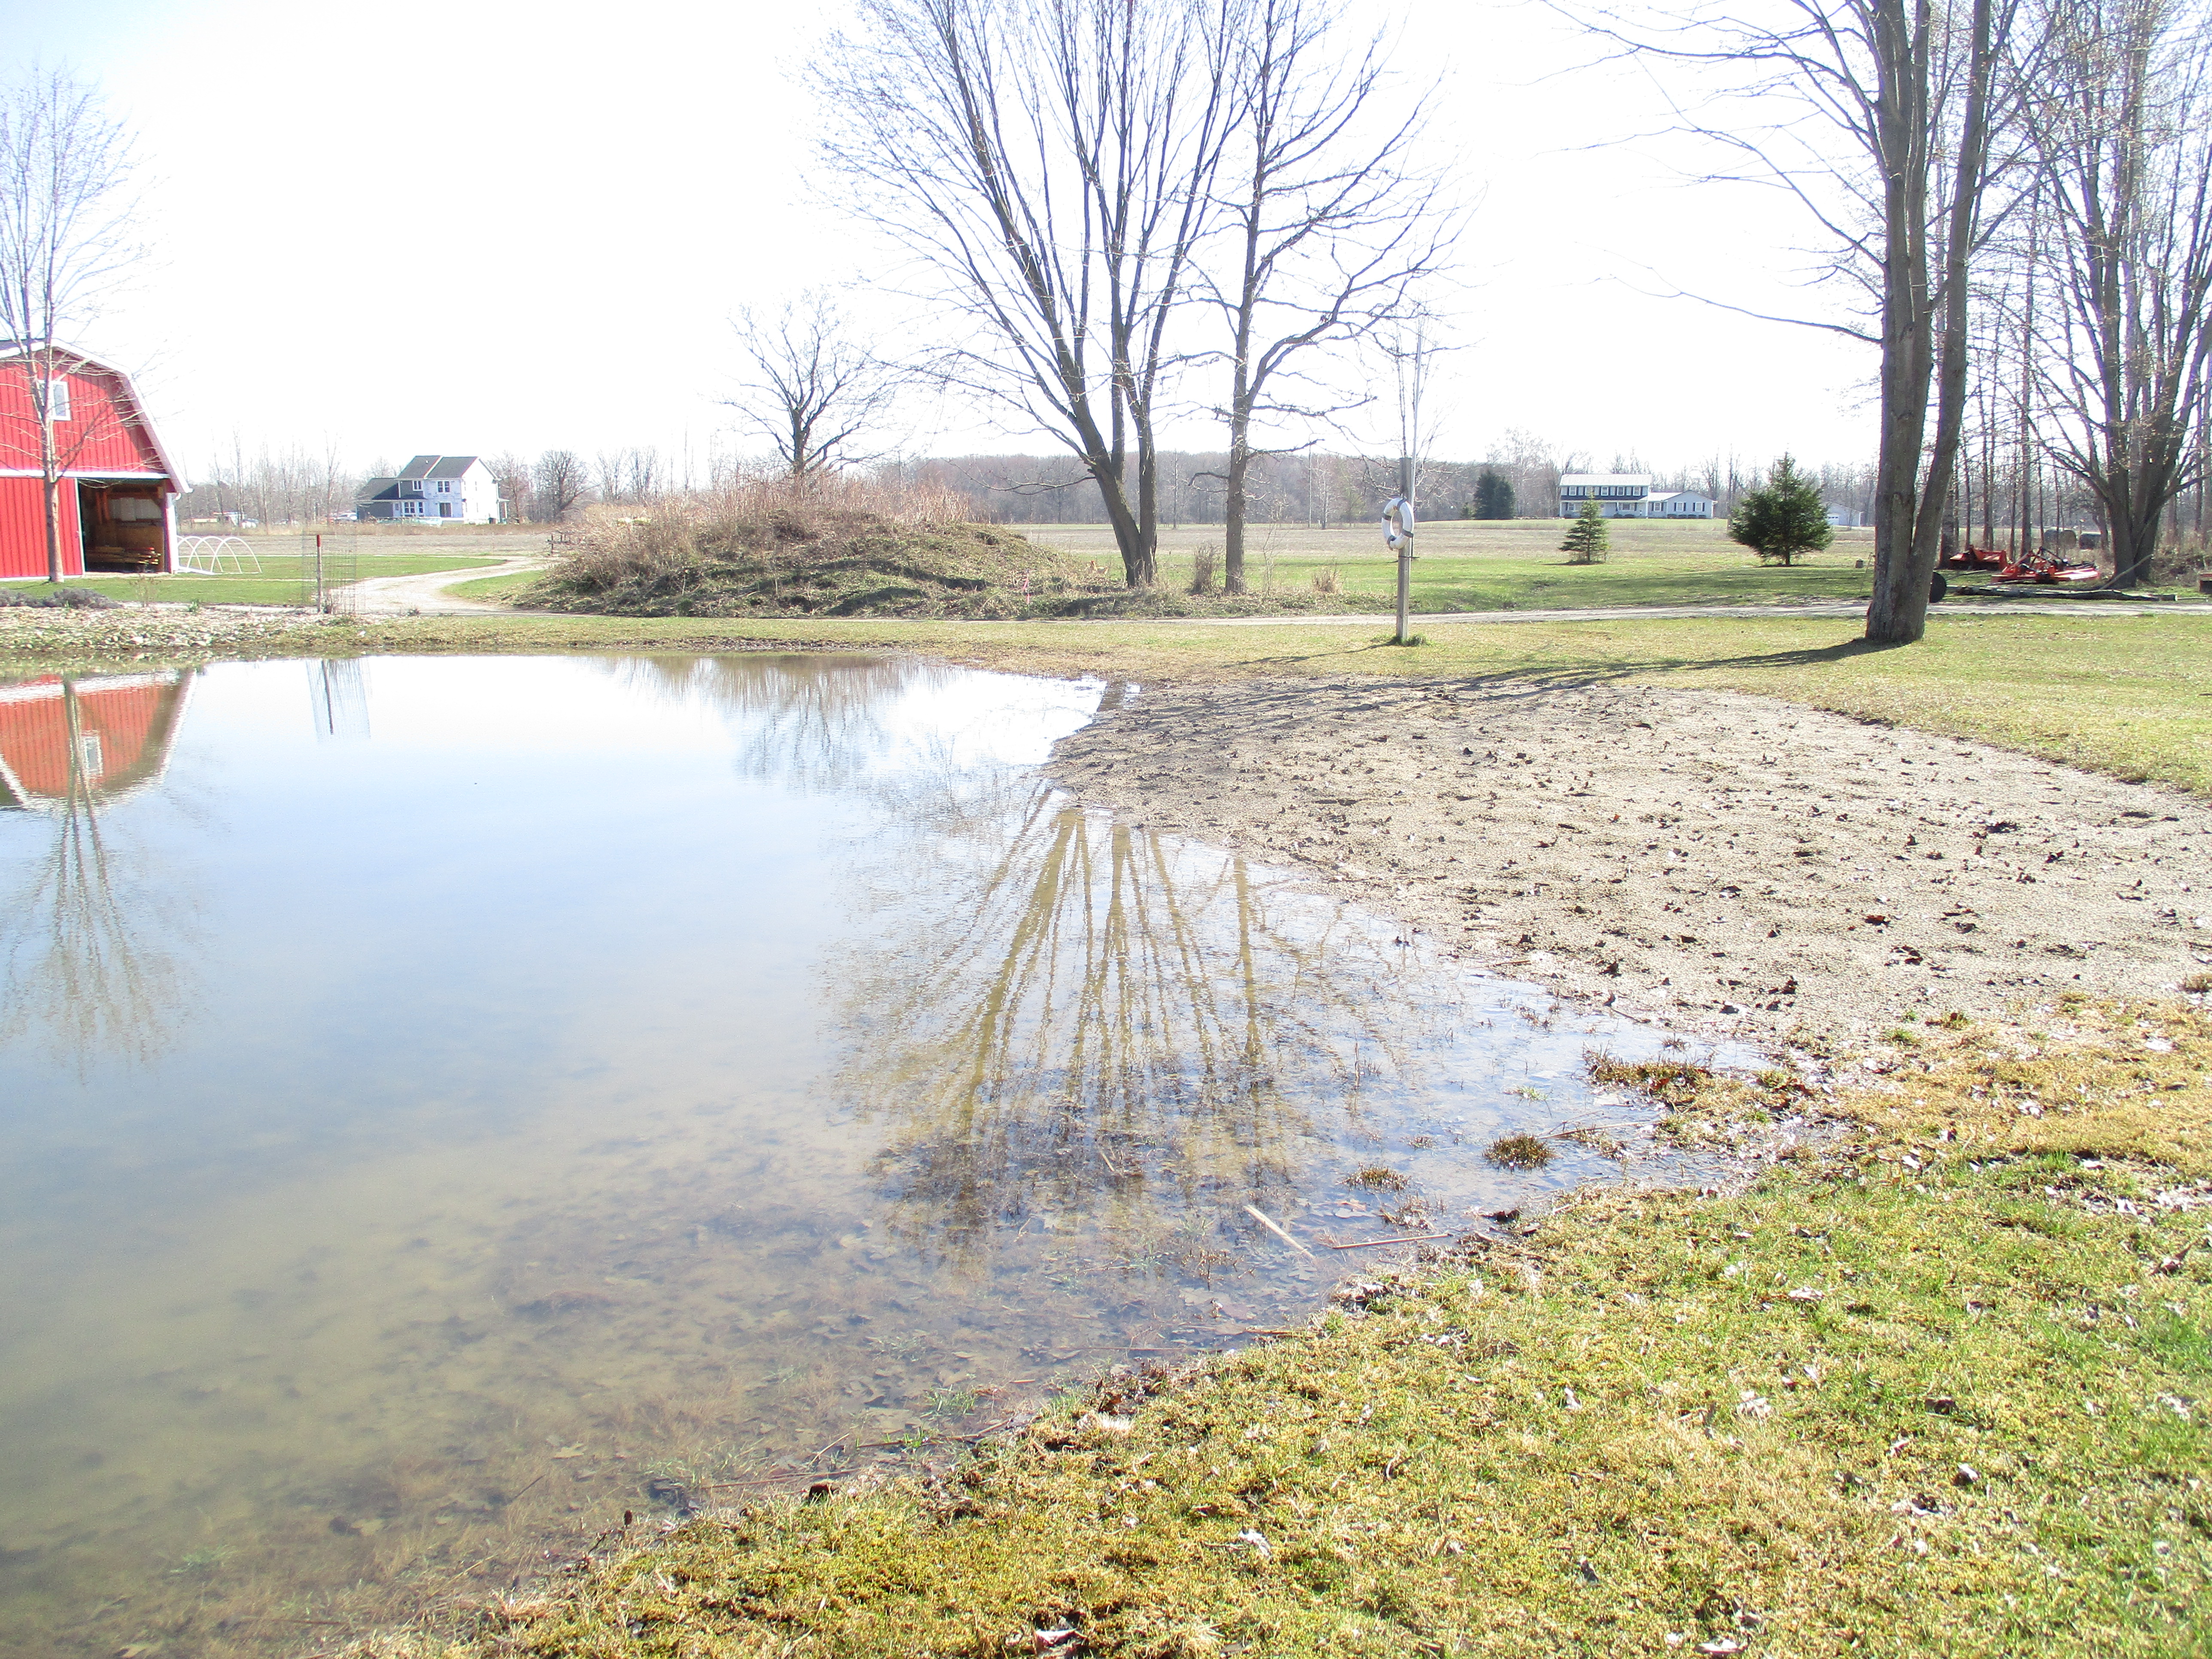
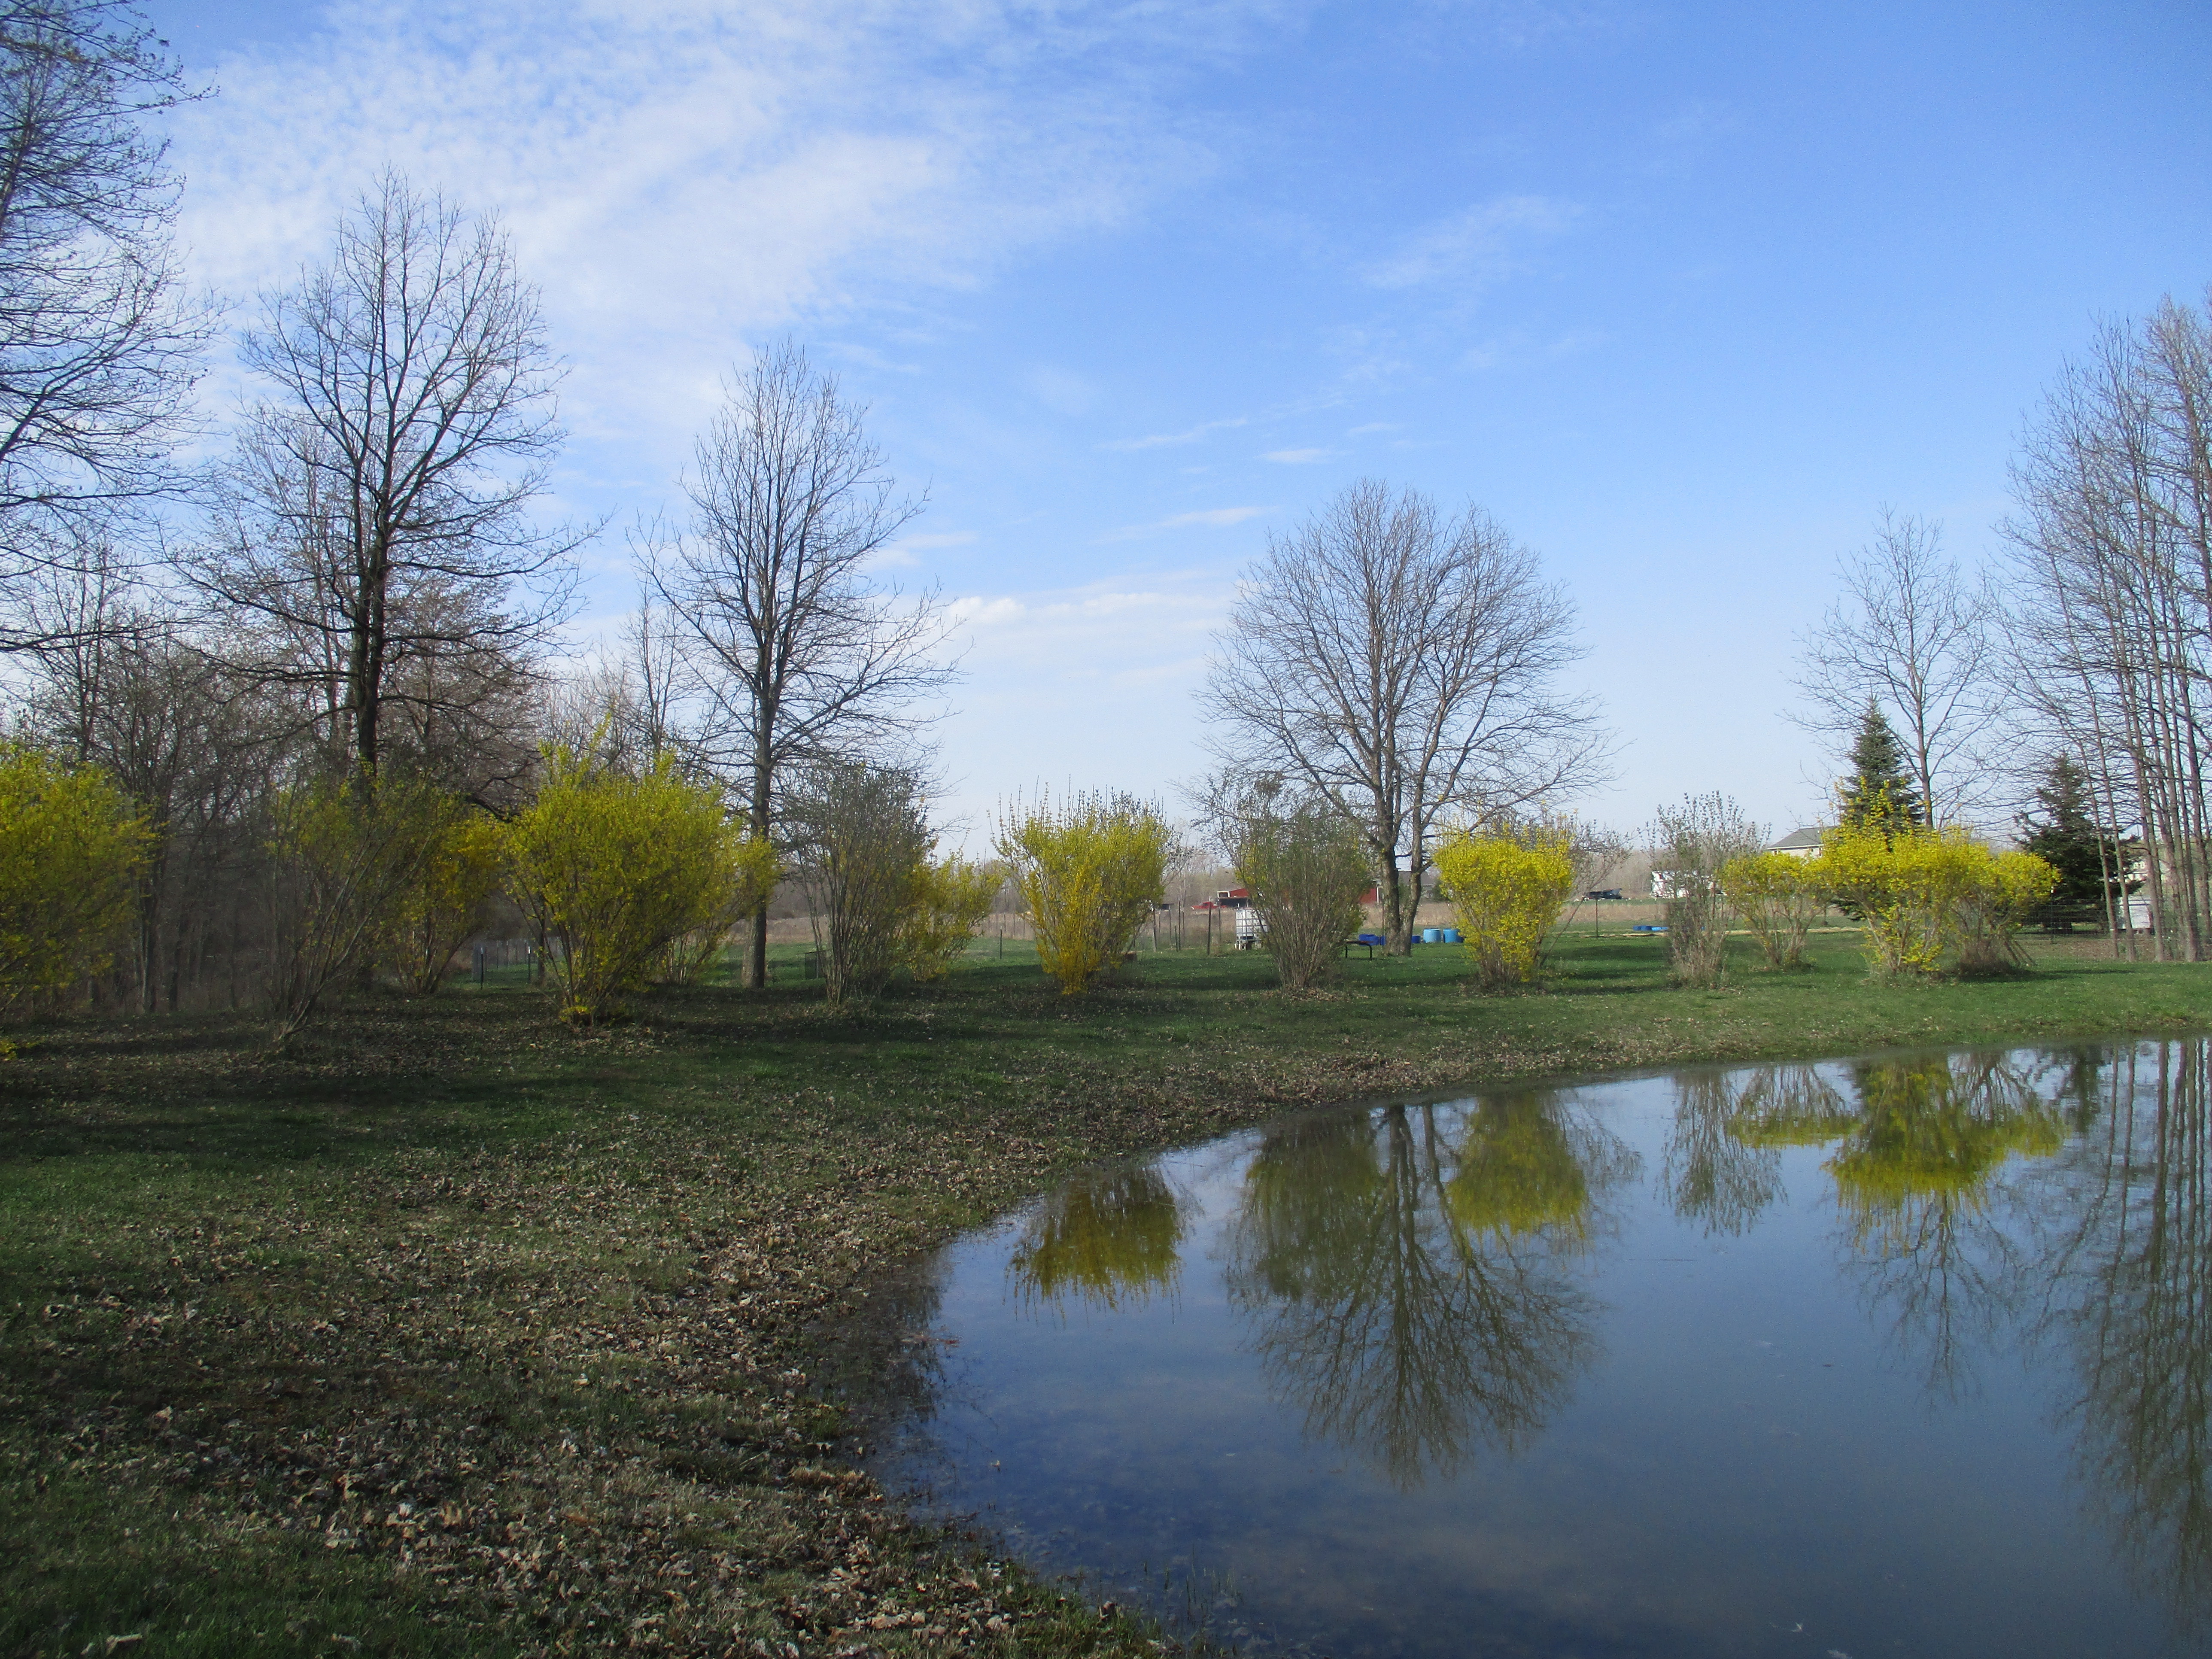
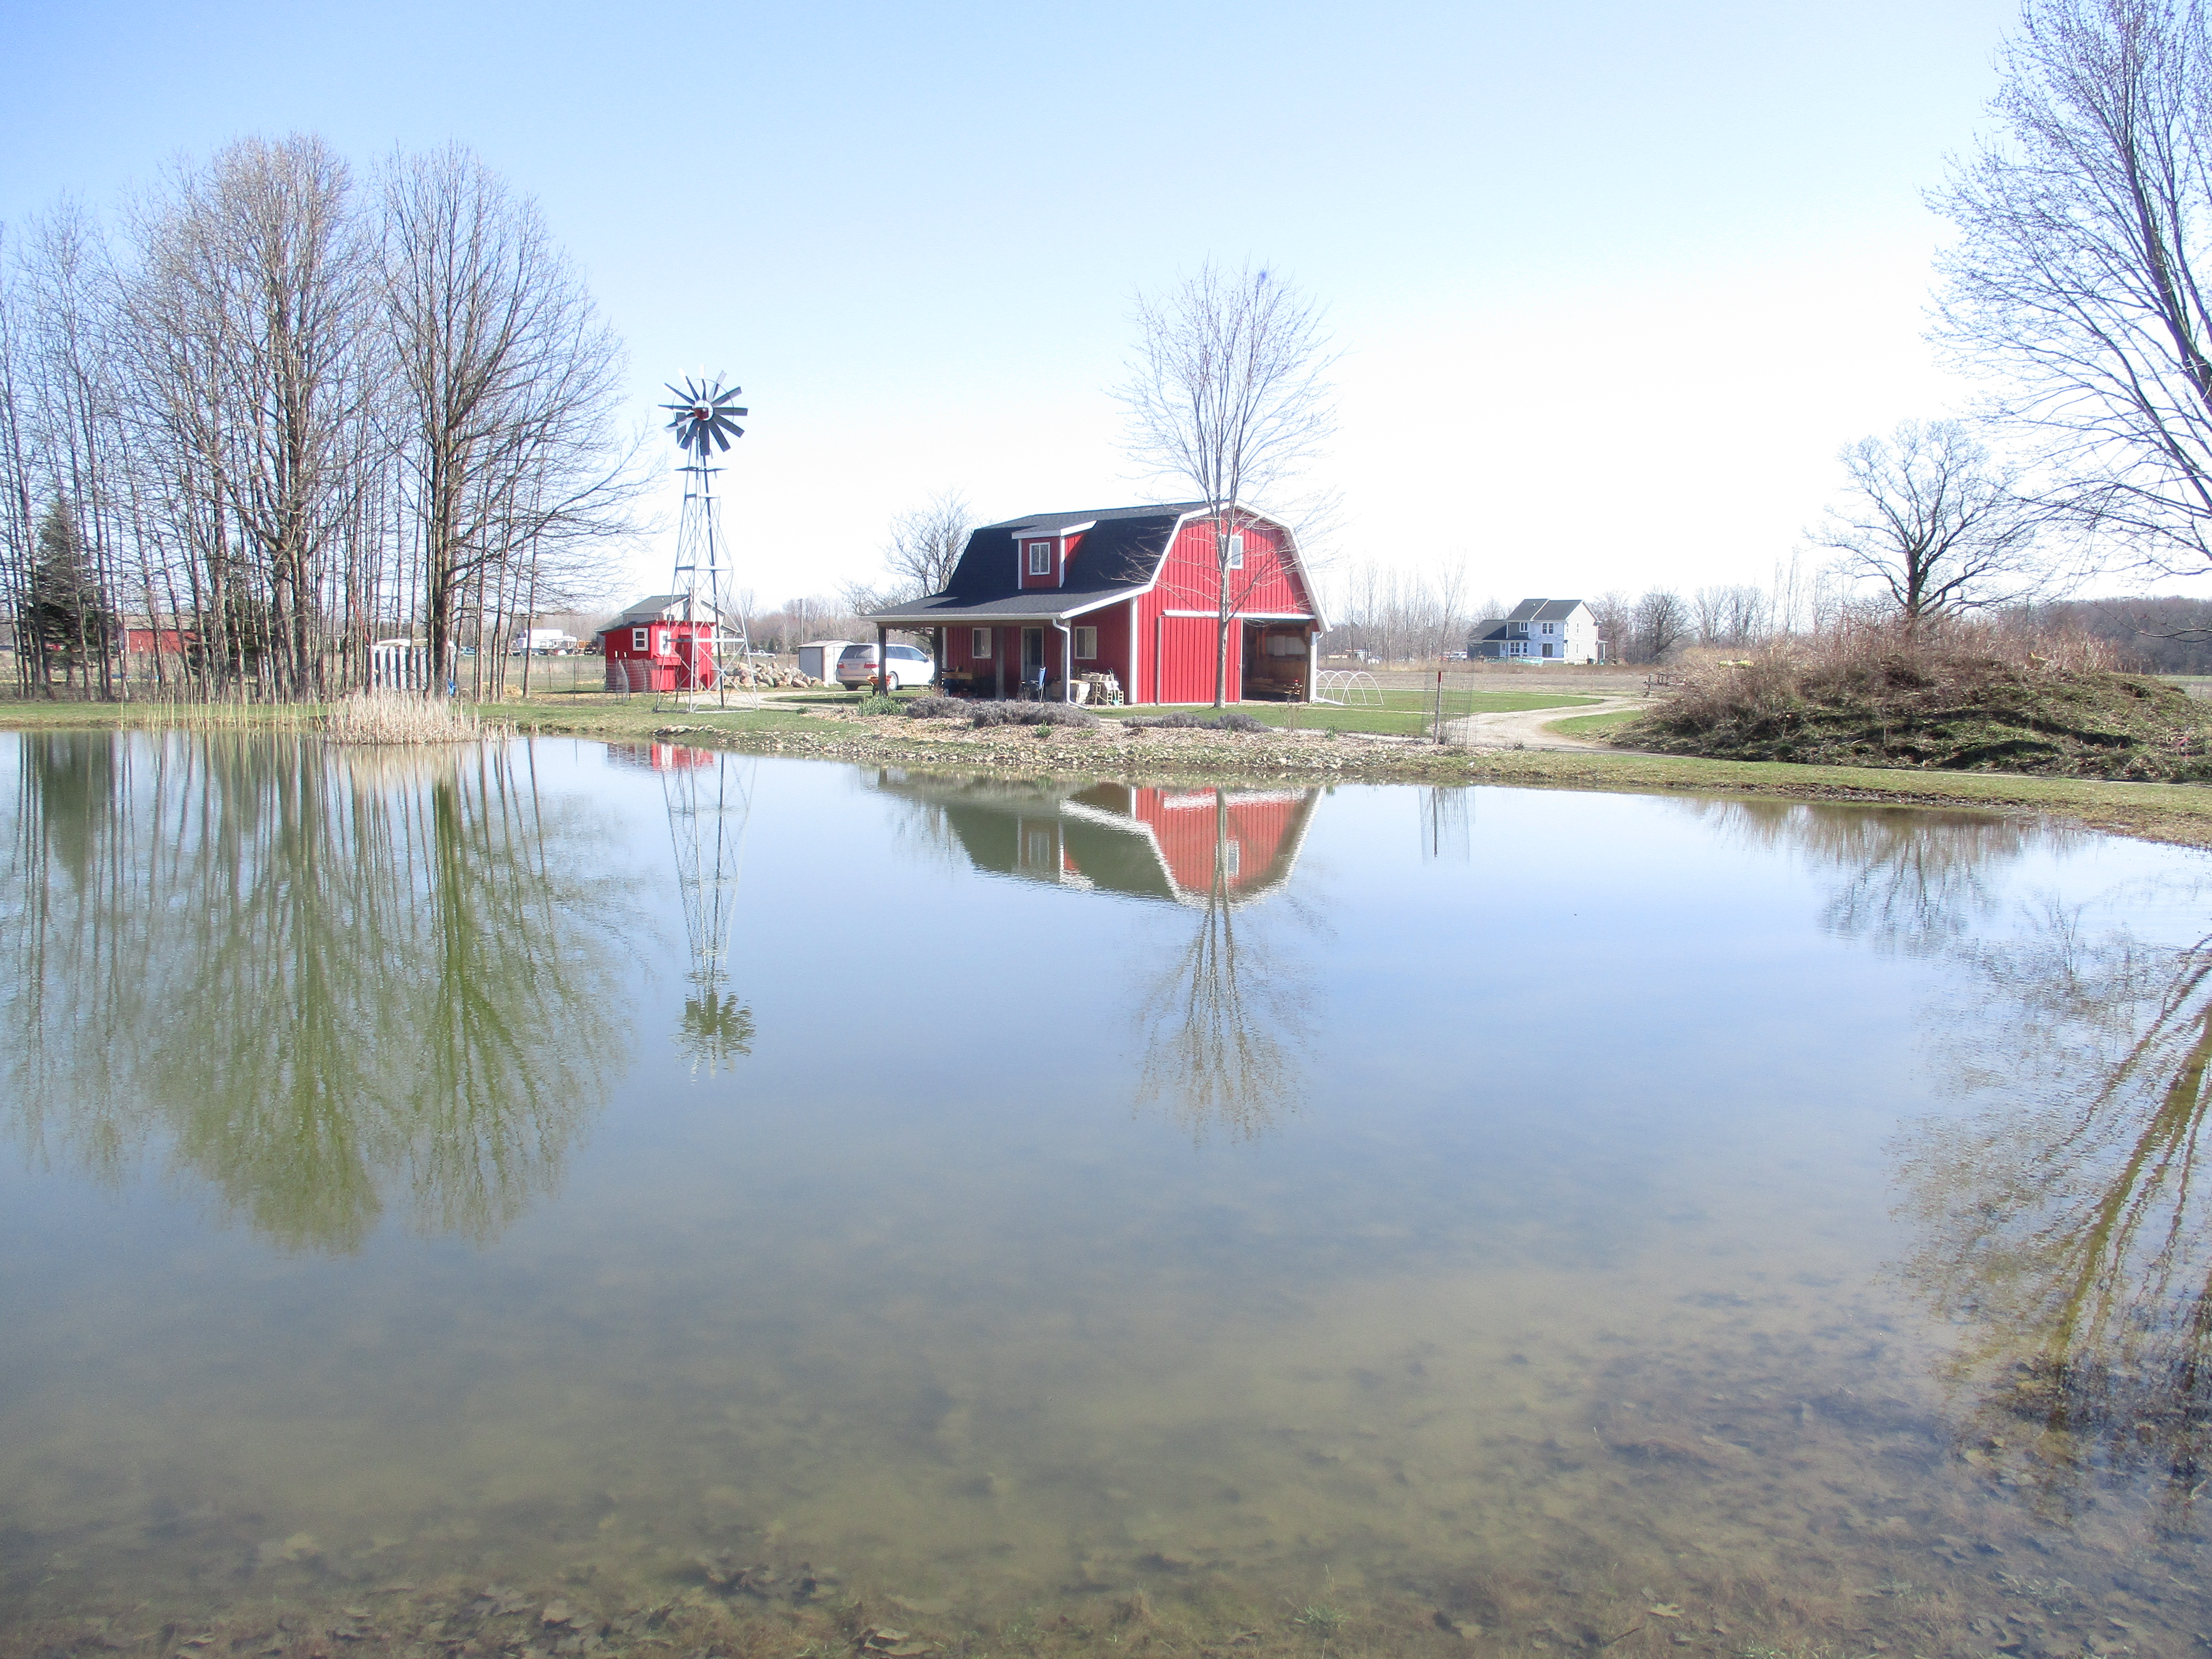
The pond level is up from last fall but it has yet to overflow like it does most years in the spring.
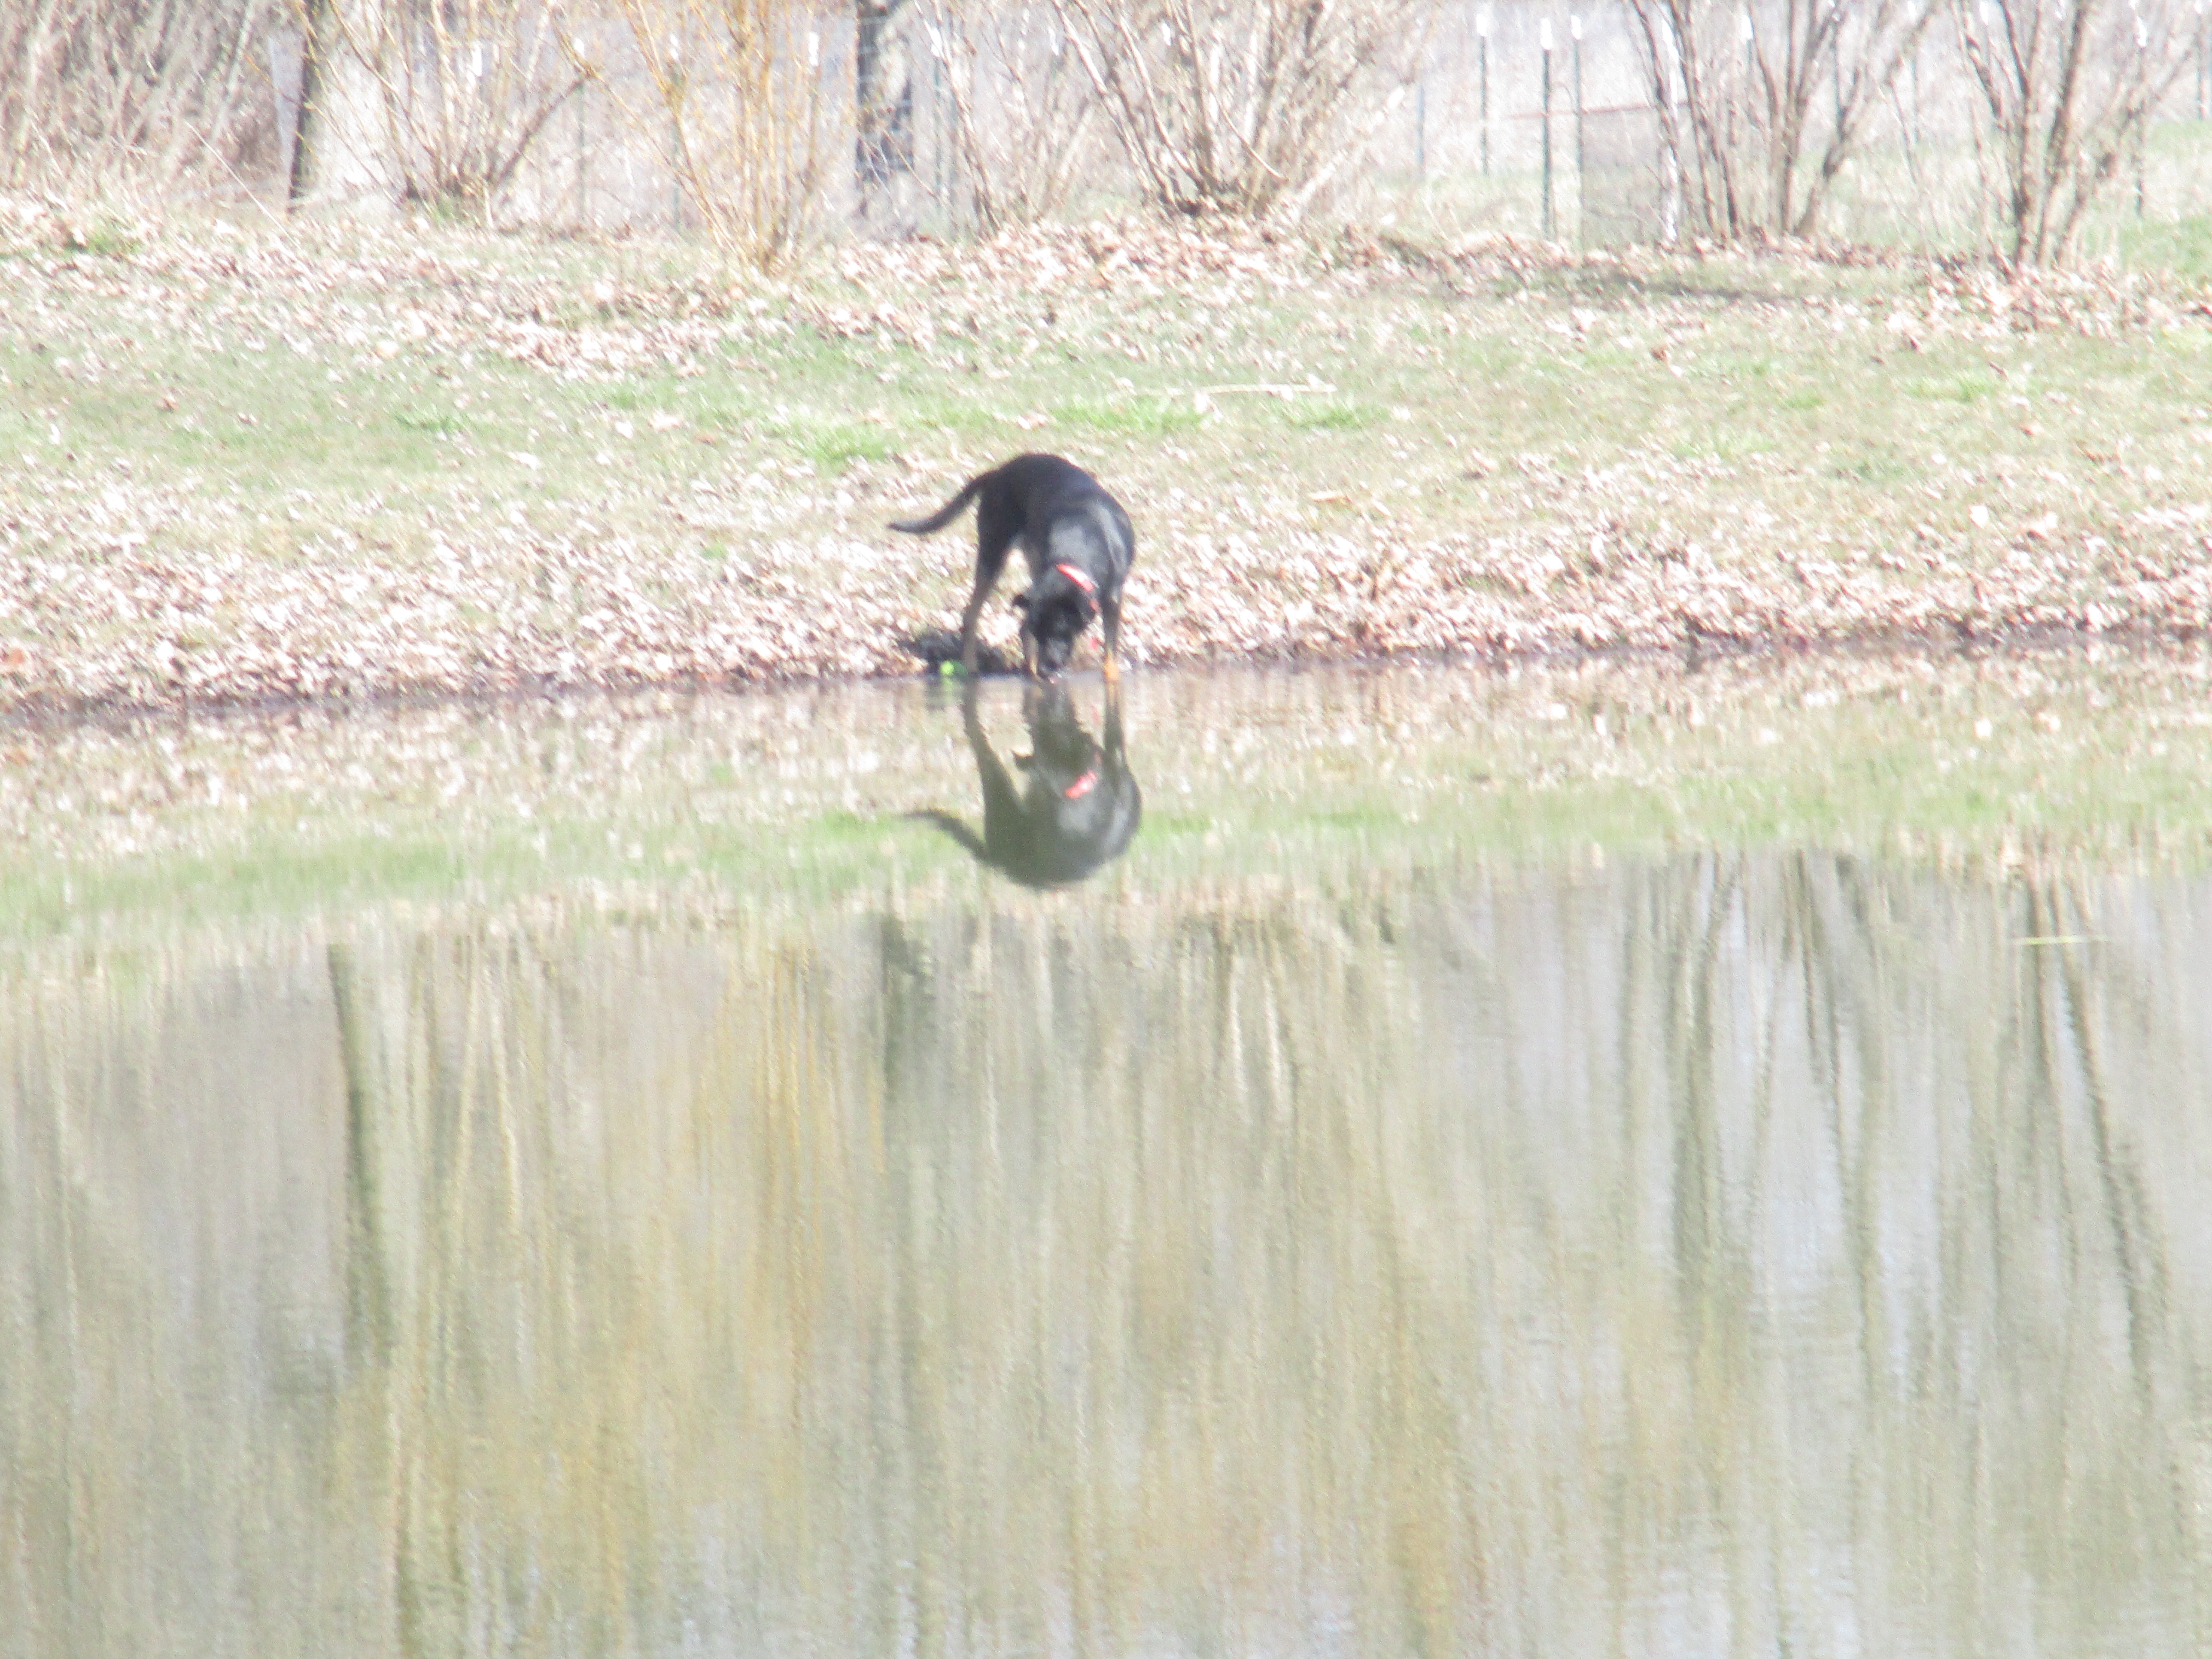
Ruby did not hesitate to get her feet wet as she enjoyed a cool drink from the pond.
Things are beginning to green up. I’m sure the thunderstorms we had last week helped.
Tuesday the weather really warmed up so we were able to move the chicks to the farm.
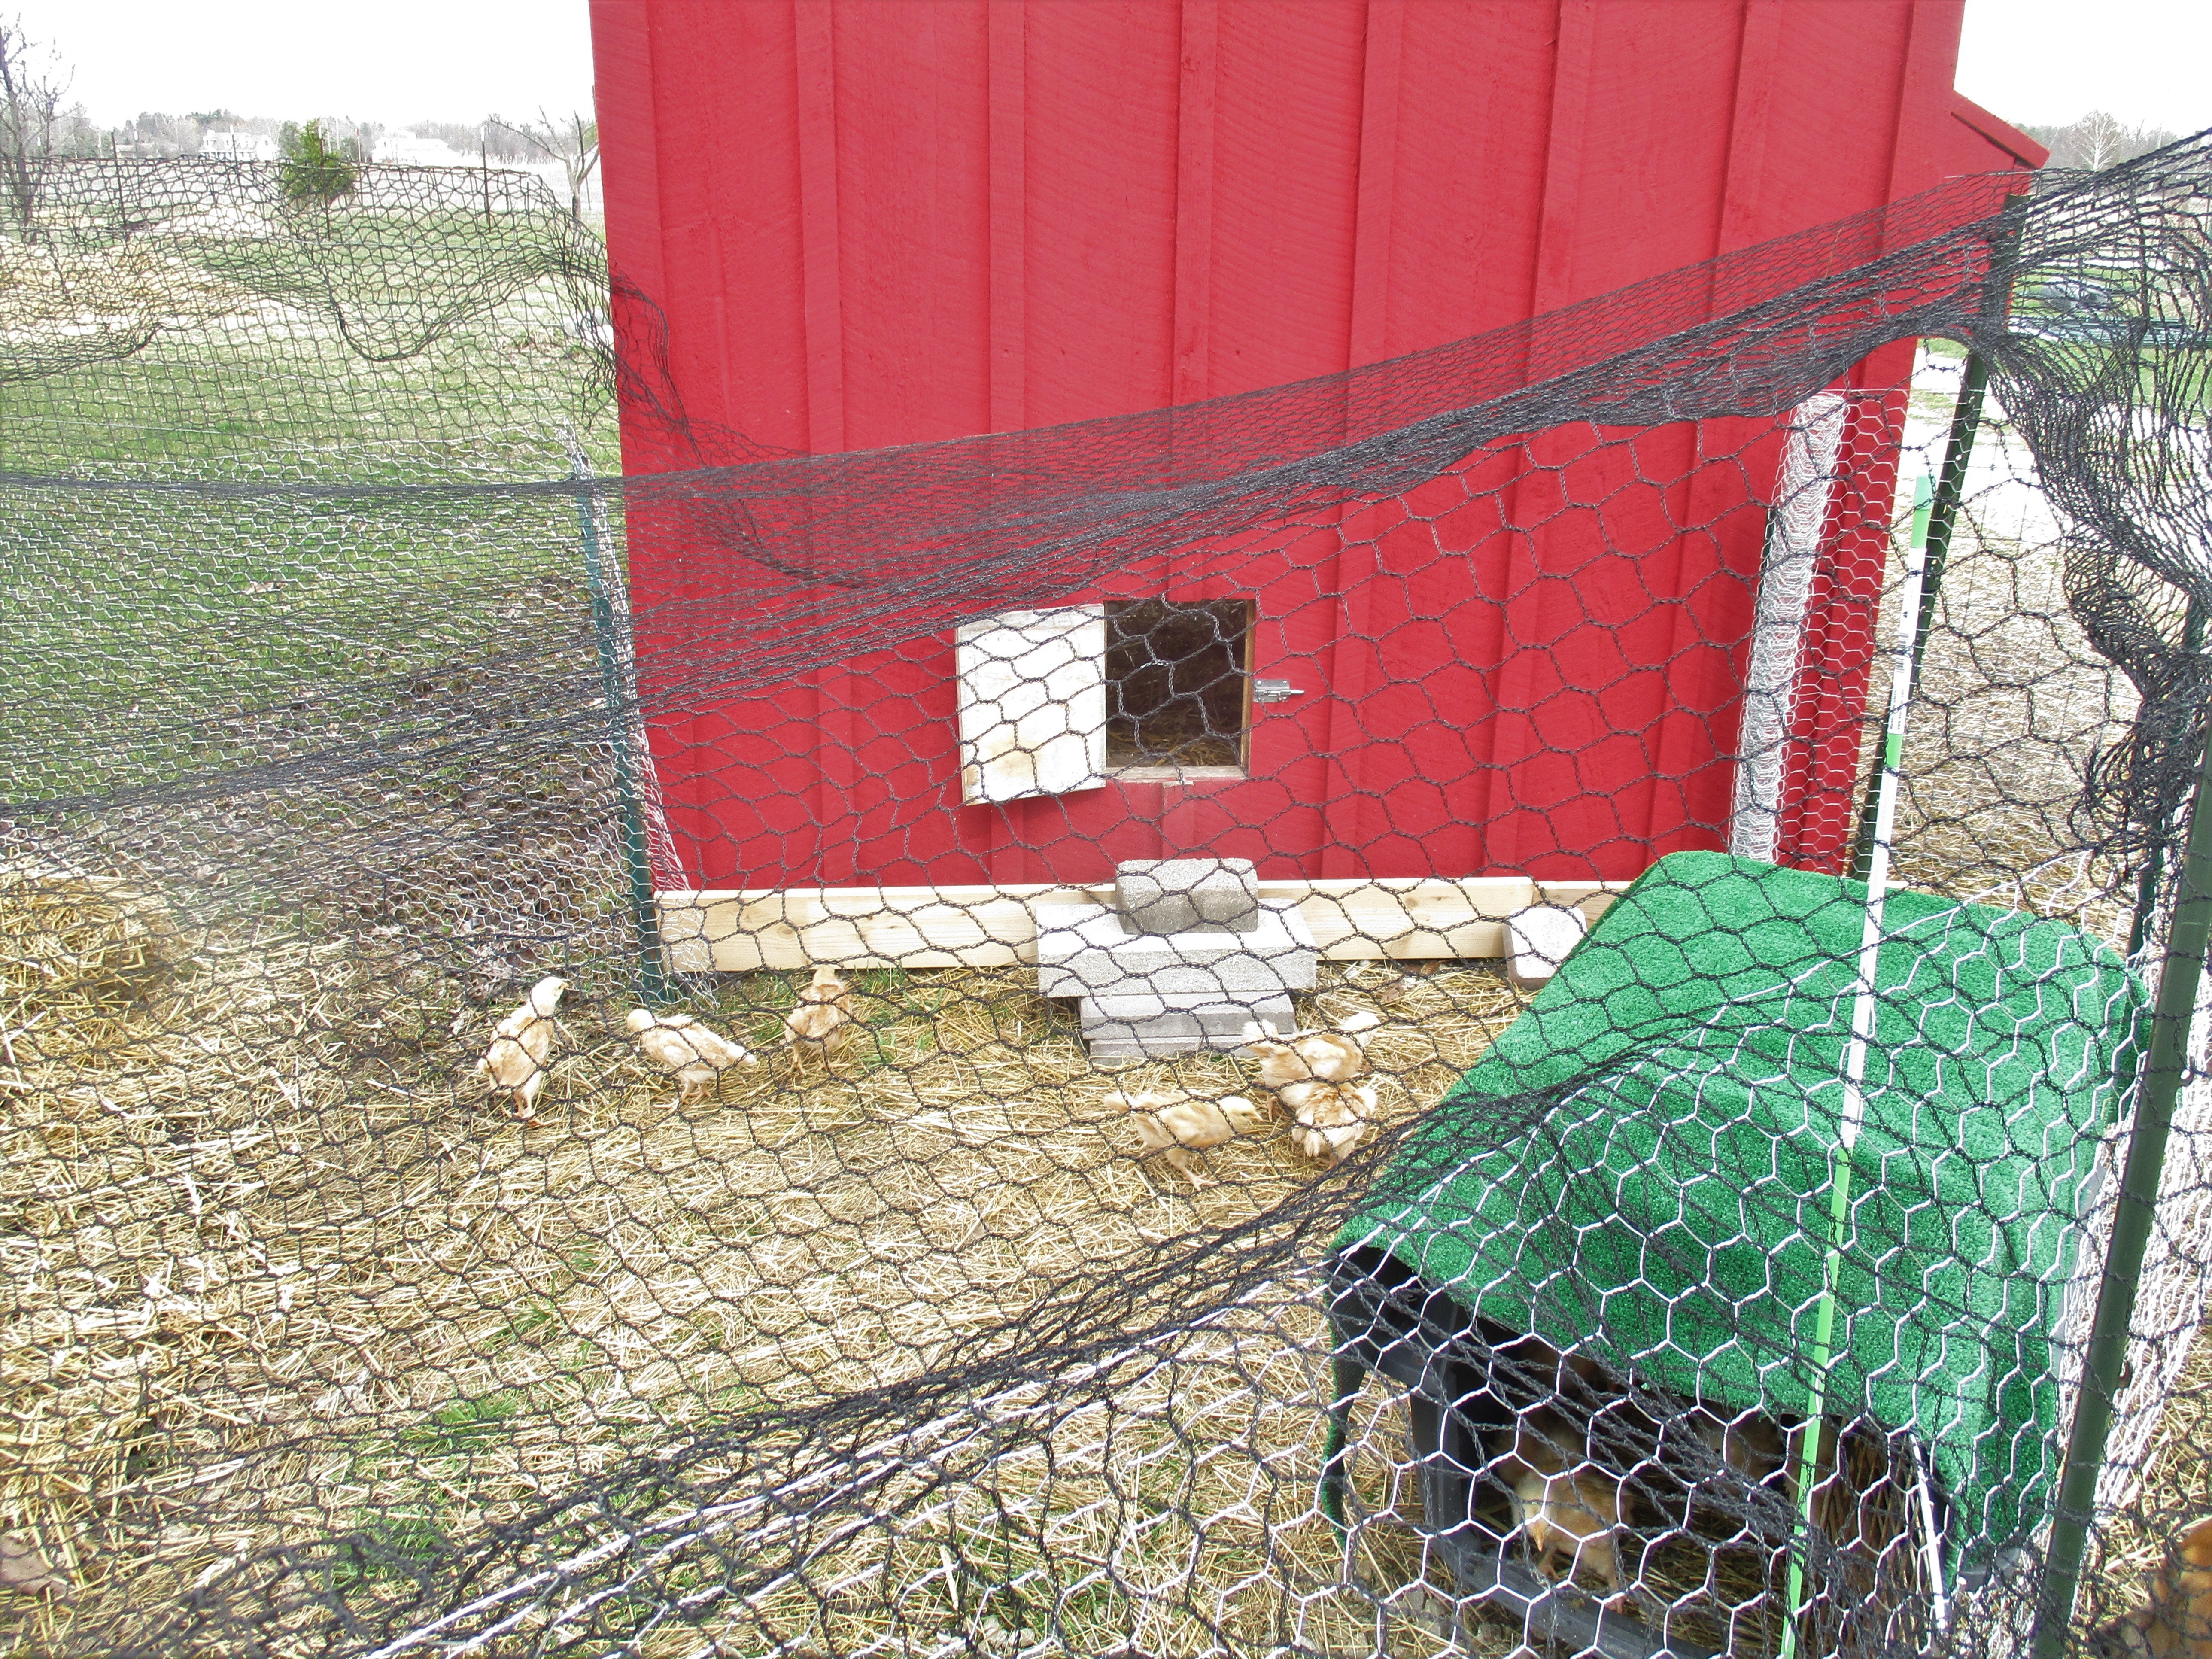
My husband set up their chicken wire enclosure. He designed it so they have access to the coop through the small door with hopes that they will learn to go in the coop at night.

He also put up a divider inside to coop so they do not have access to the big door.

I bet you’re not surprised to see Ranger watching the babies.

Like robins, we have an abundance of red winged blackbirds.
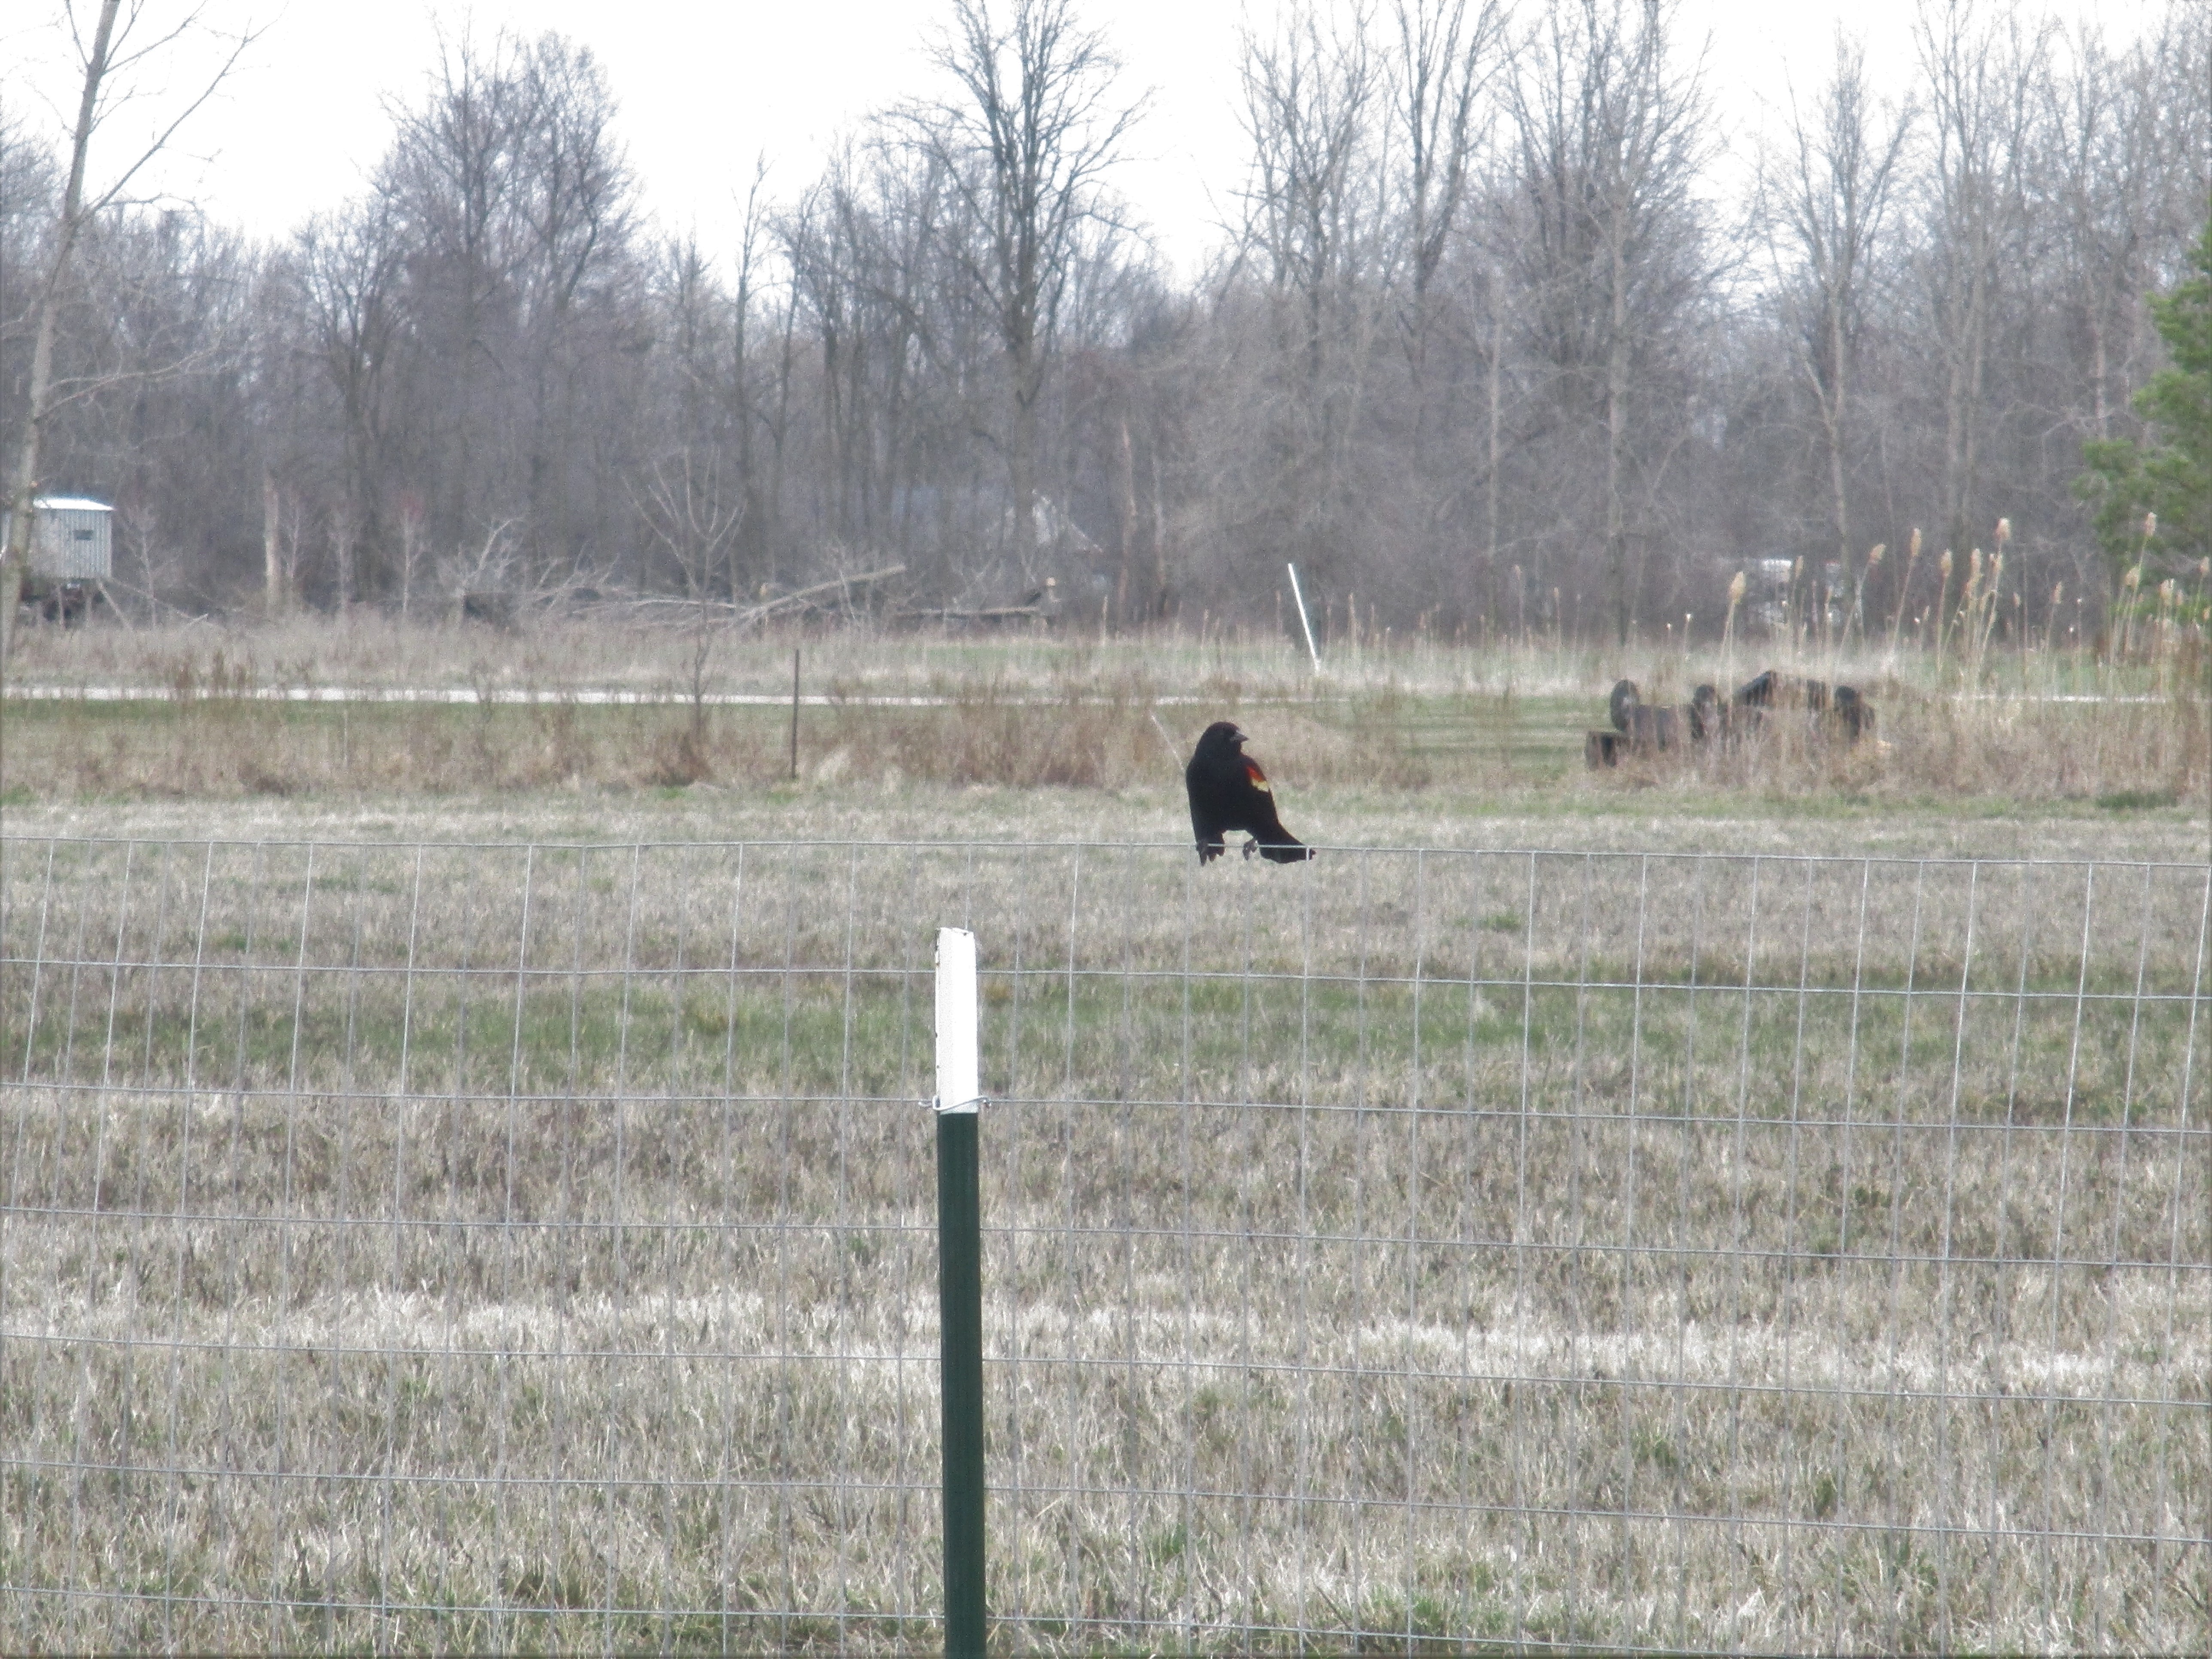
Some of them posed for pictures as well.

I also got a rare picture of a kildeer that was hanging around near the beach before Ruby chased it off.
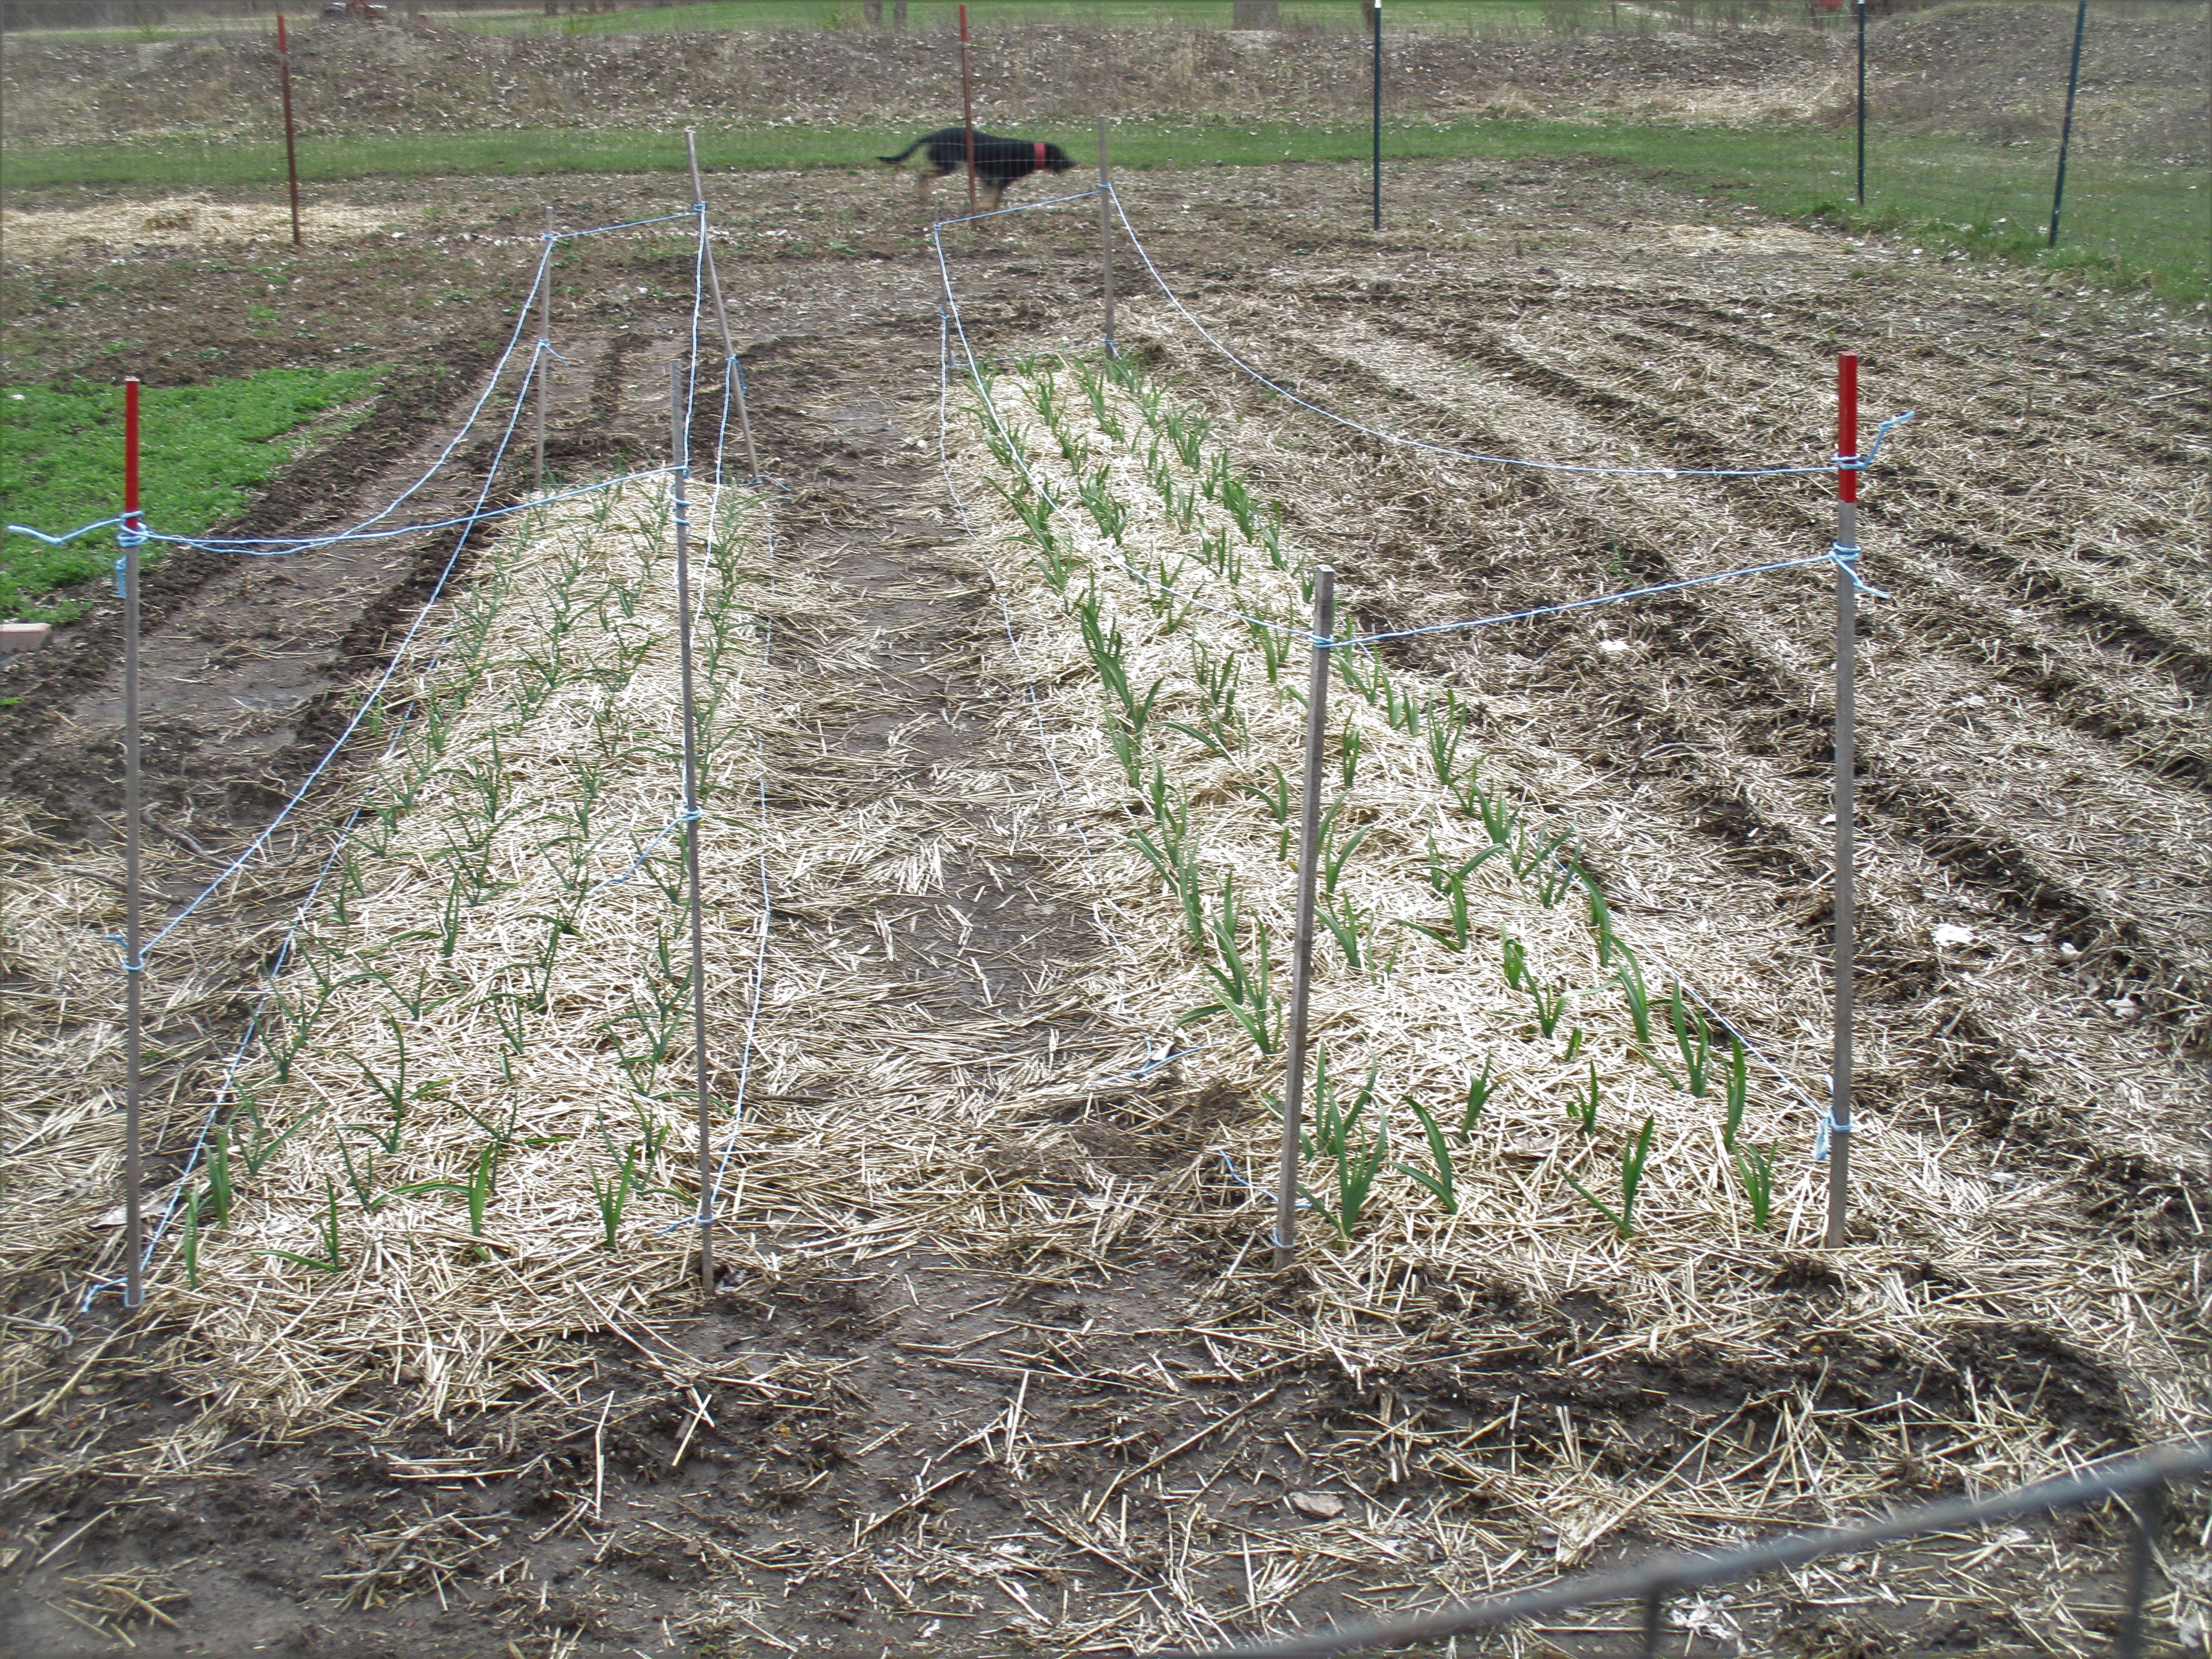
The garlic that we planted last fall is coming up nicely.

As I looked up to see if the maple trees were getting leaves yet I noticed what appears to be a Baltimore oriole nest. It seems too early to be a nest build this year, so I am assuming it was from last year or maybe even the year before.
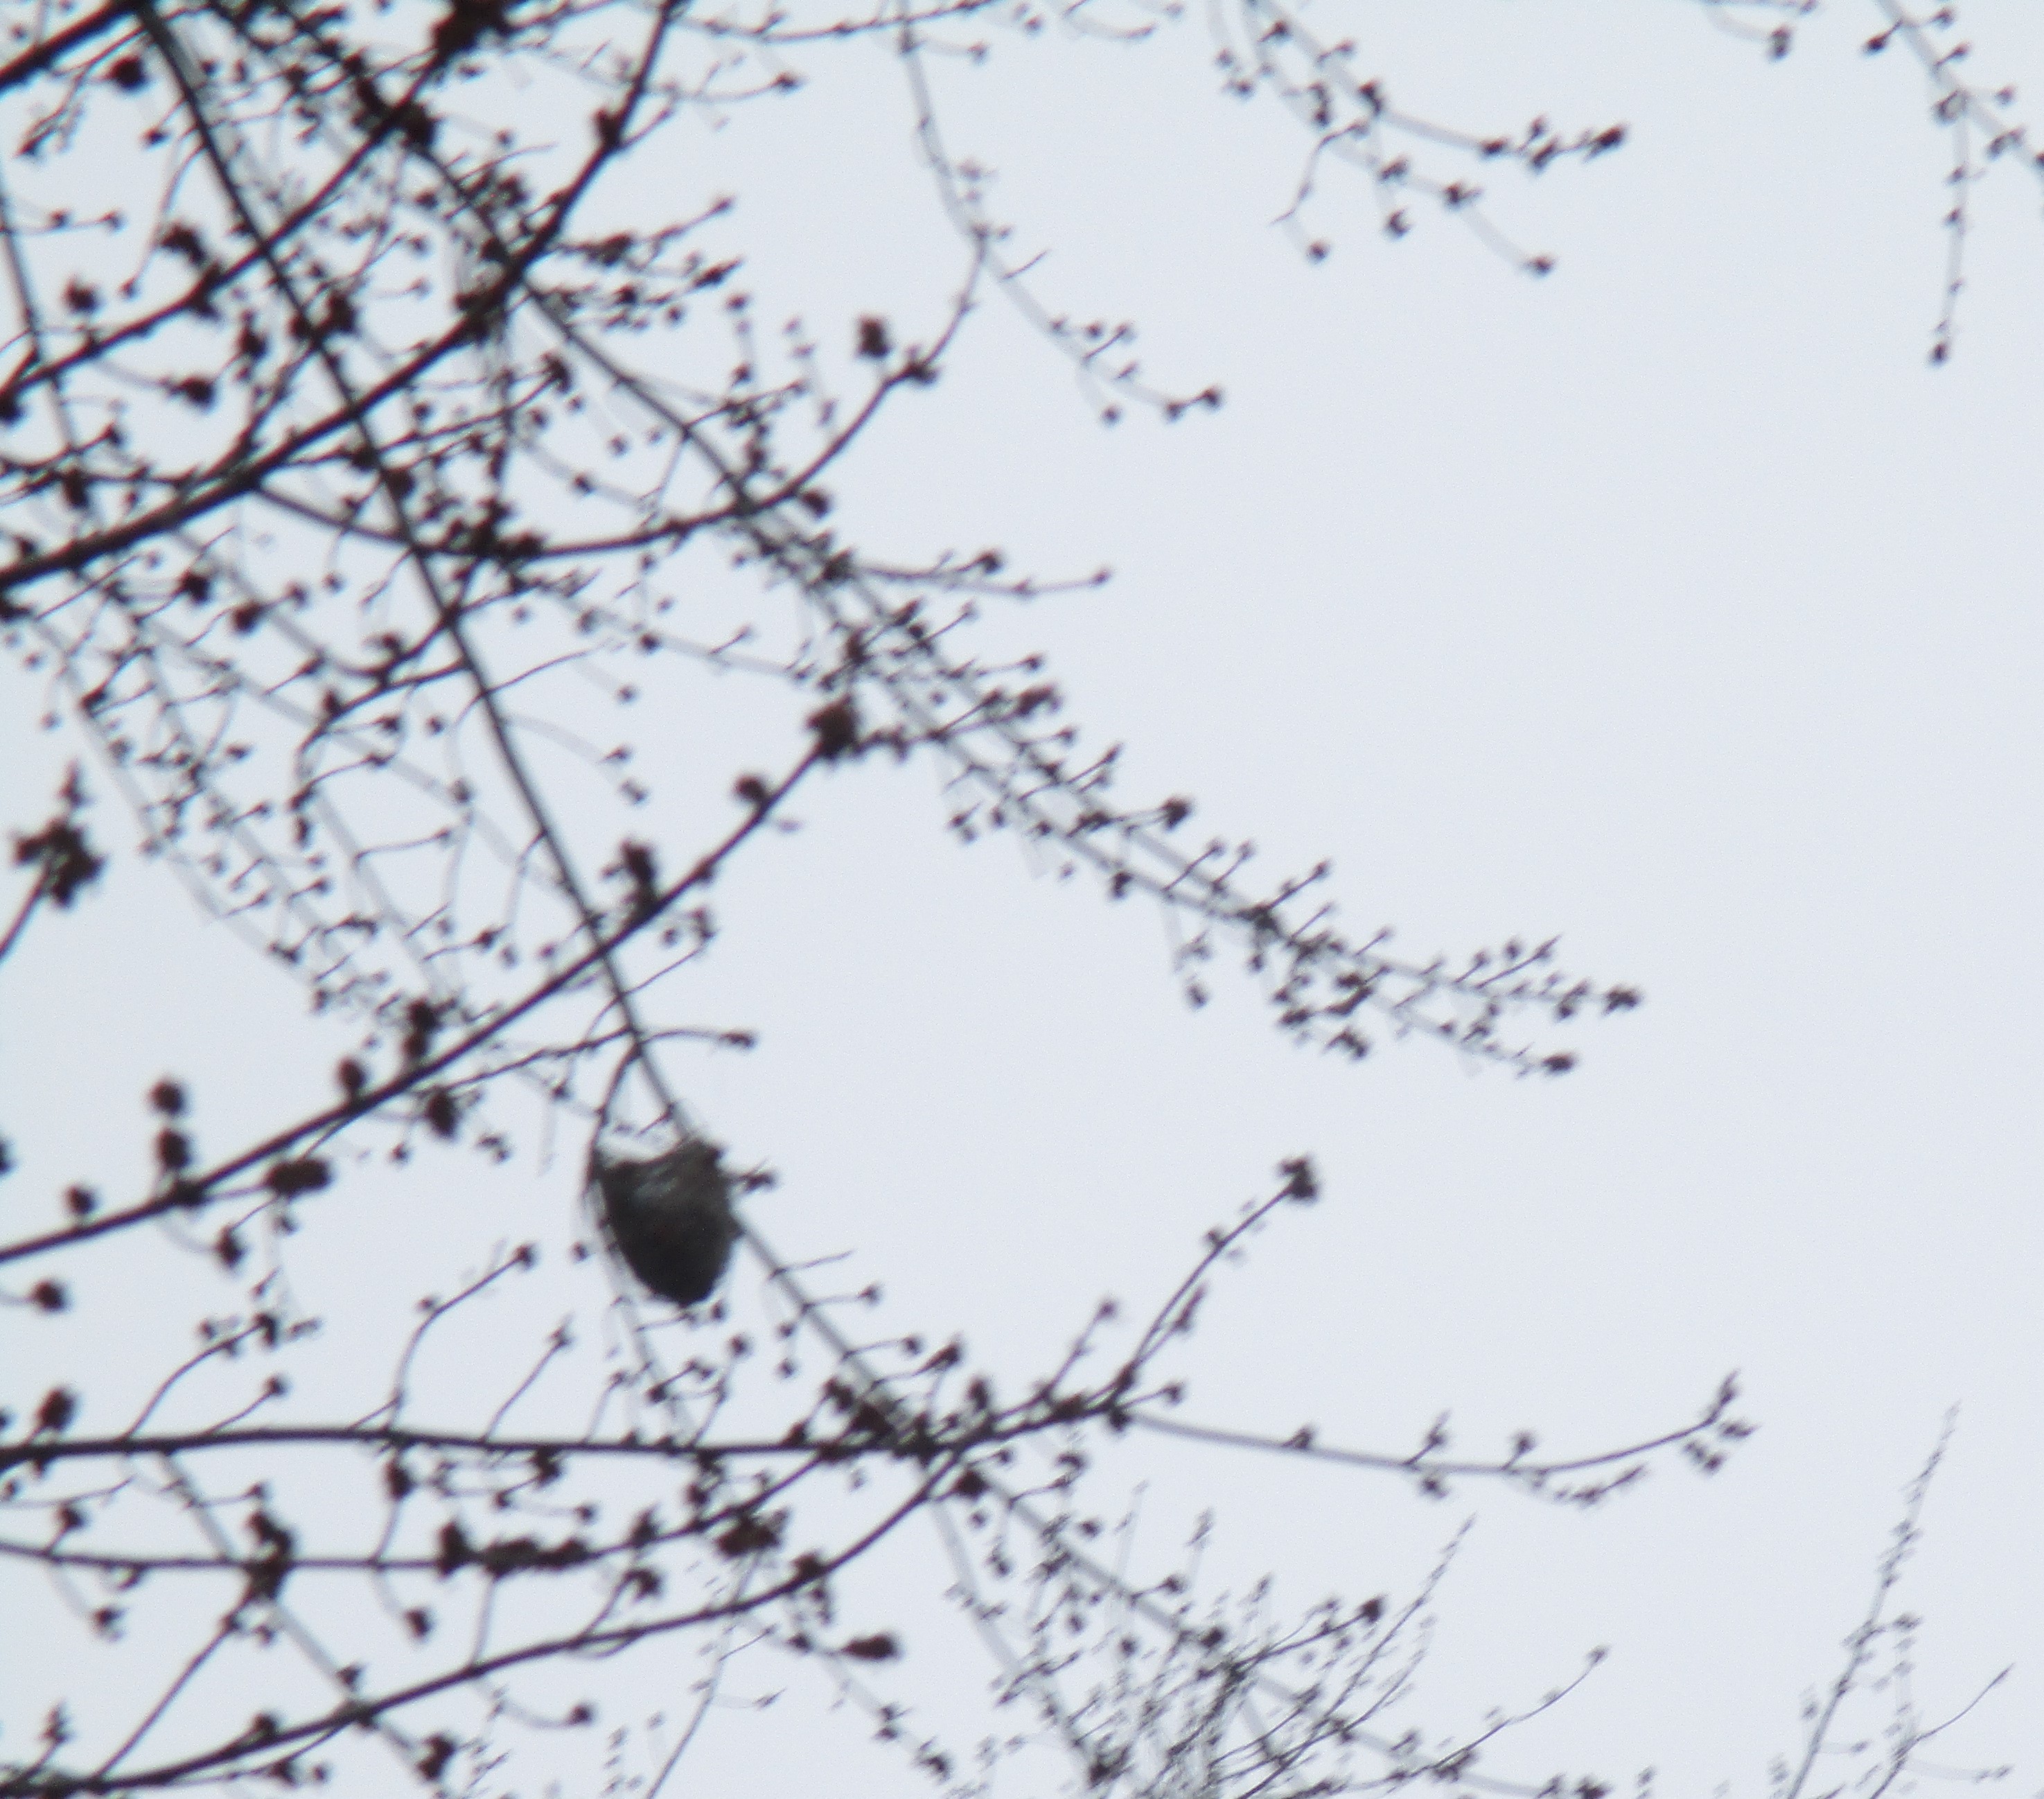
I only say “the year before” because I noticed a second one in the same tree. I don’t know how likely it is that two pair of orioles would nest in the same tree.
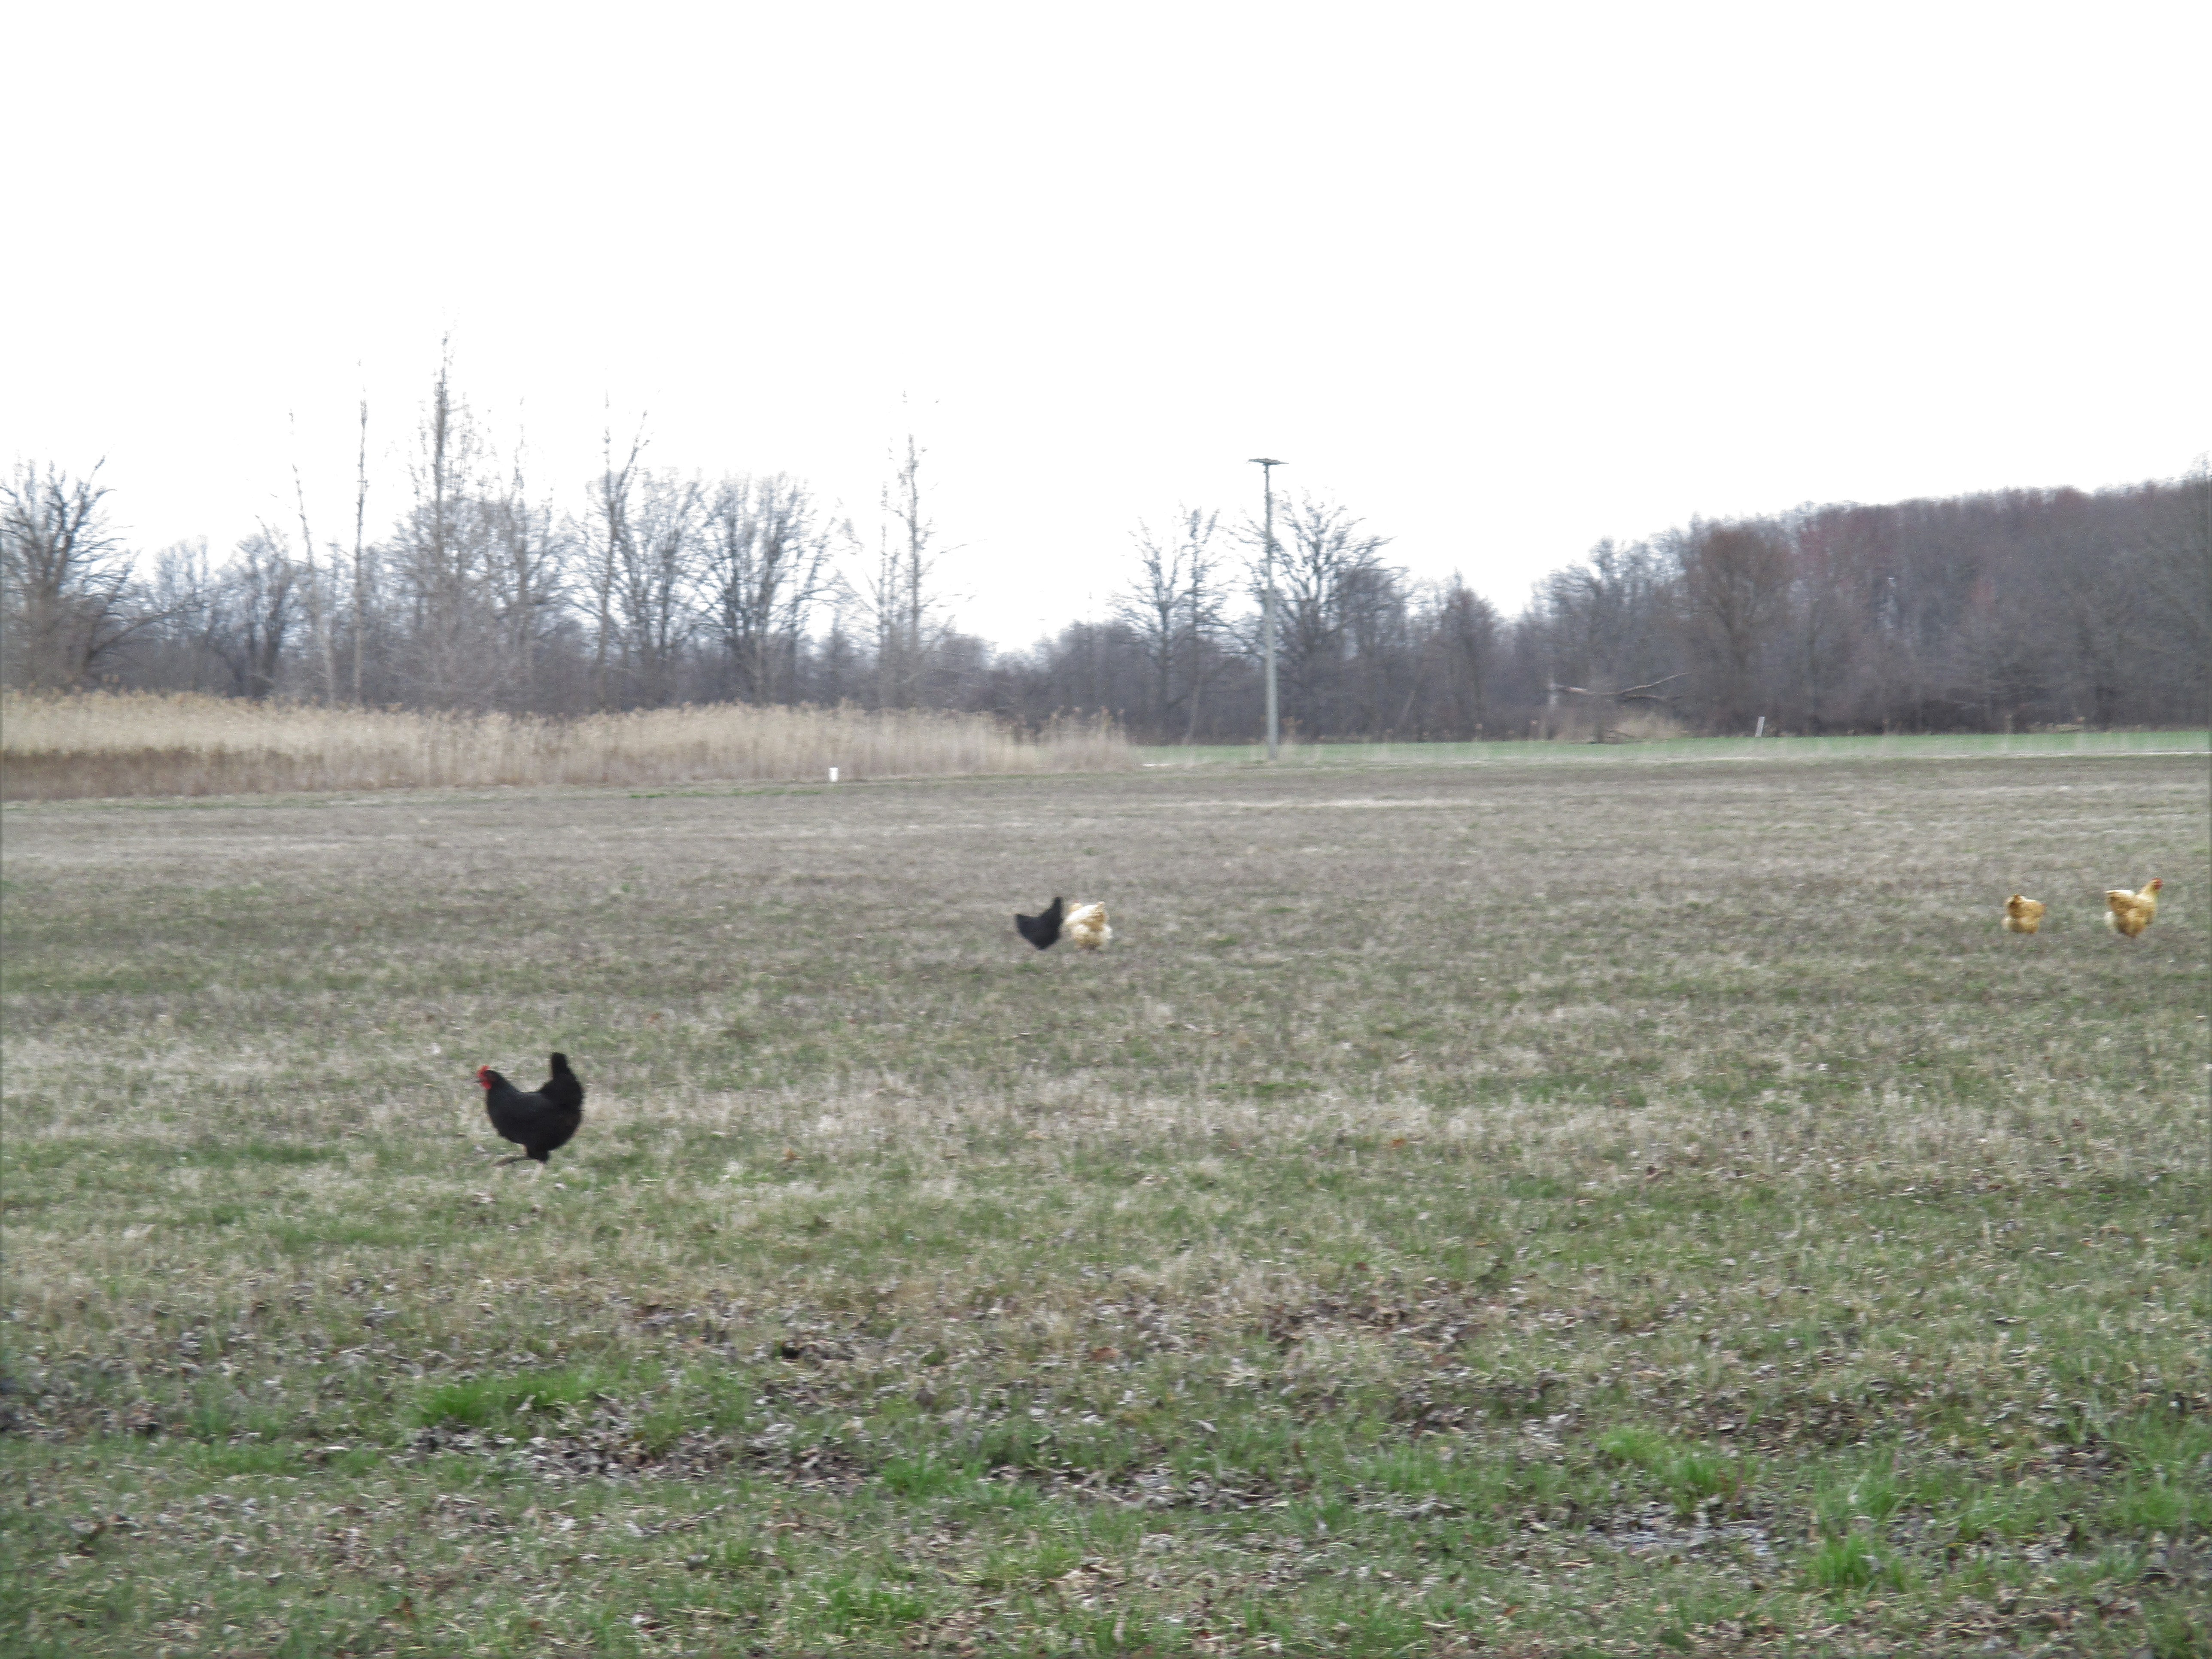
Some of the chickens had wandered into the field next door. This won’t be a problem once the fence is complete and it really isn’t a problem now because that neighbor doesn’t mind.
But Ruby thought it was a problem

and took it upon herself to bring them all back home.

She really does have amazing herding instincts and skills. If you have ever tried herding chickens you understand how difficult it can be. It took her less than two minutes to round up eight hens and bring them back over to our farm.
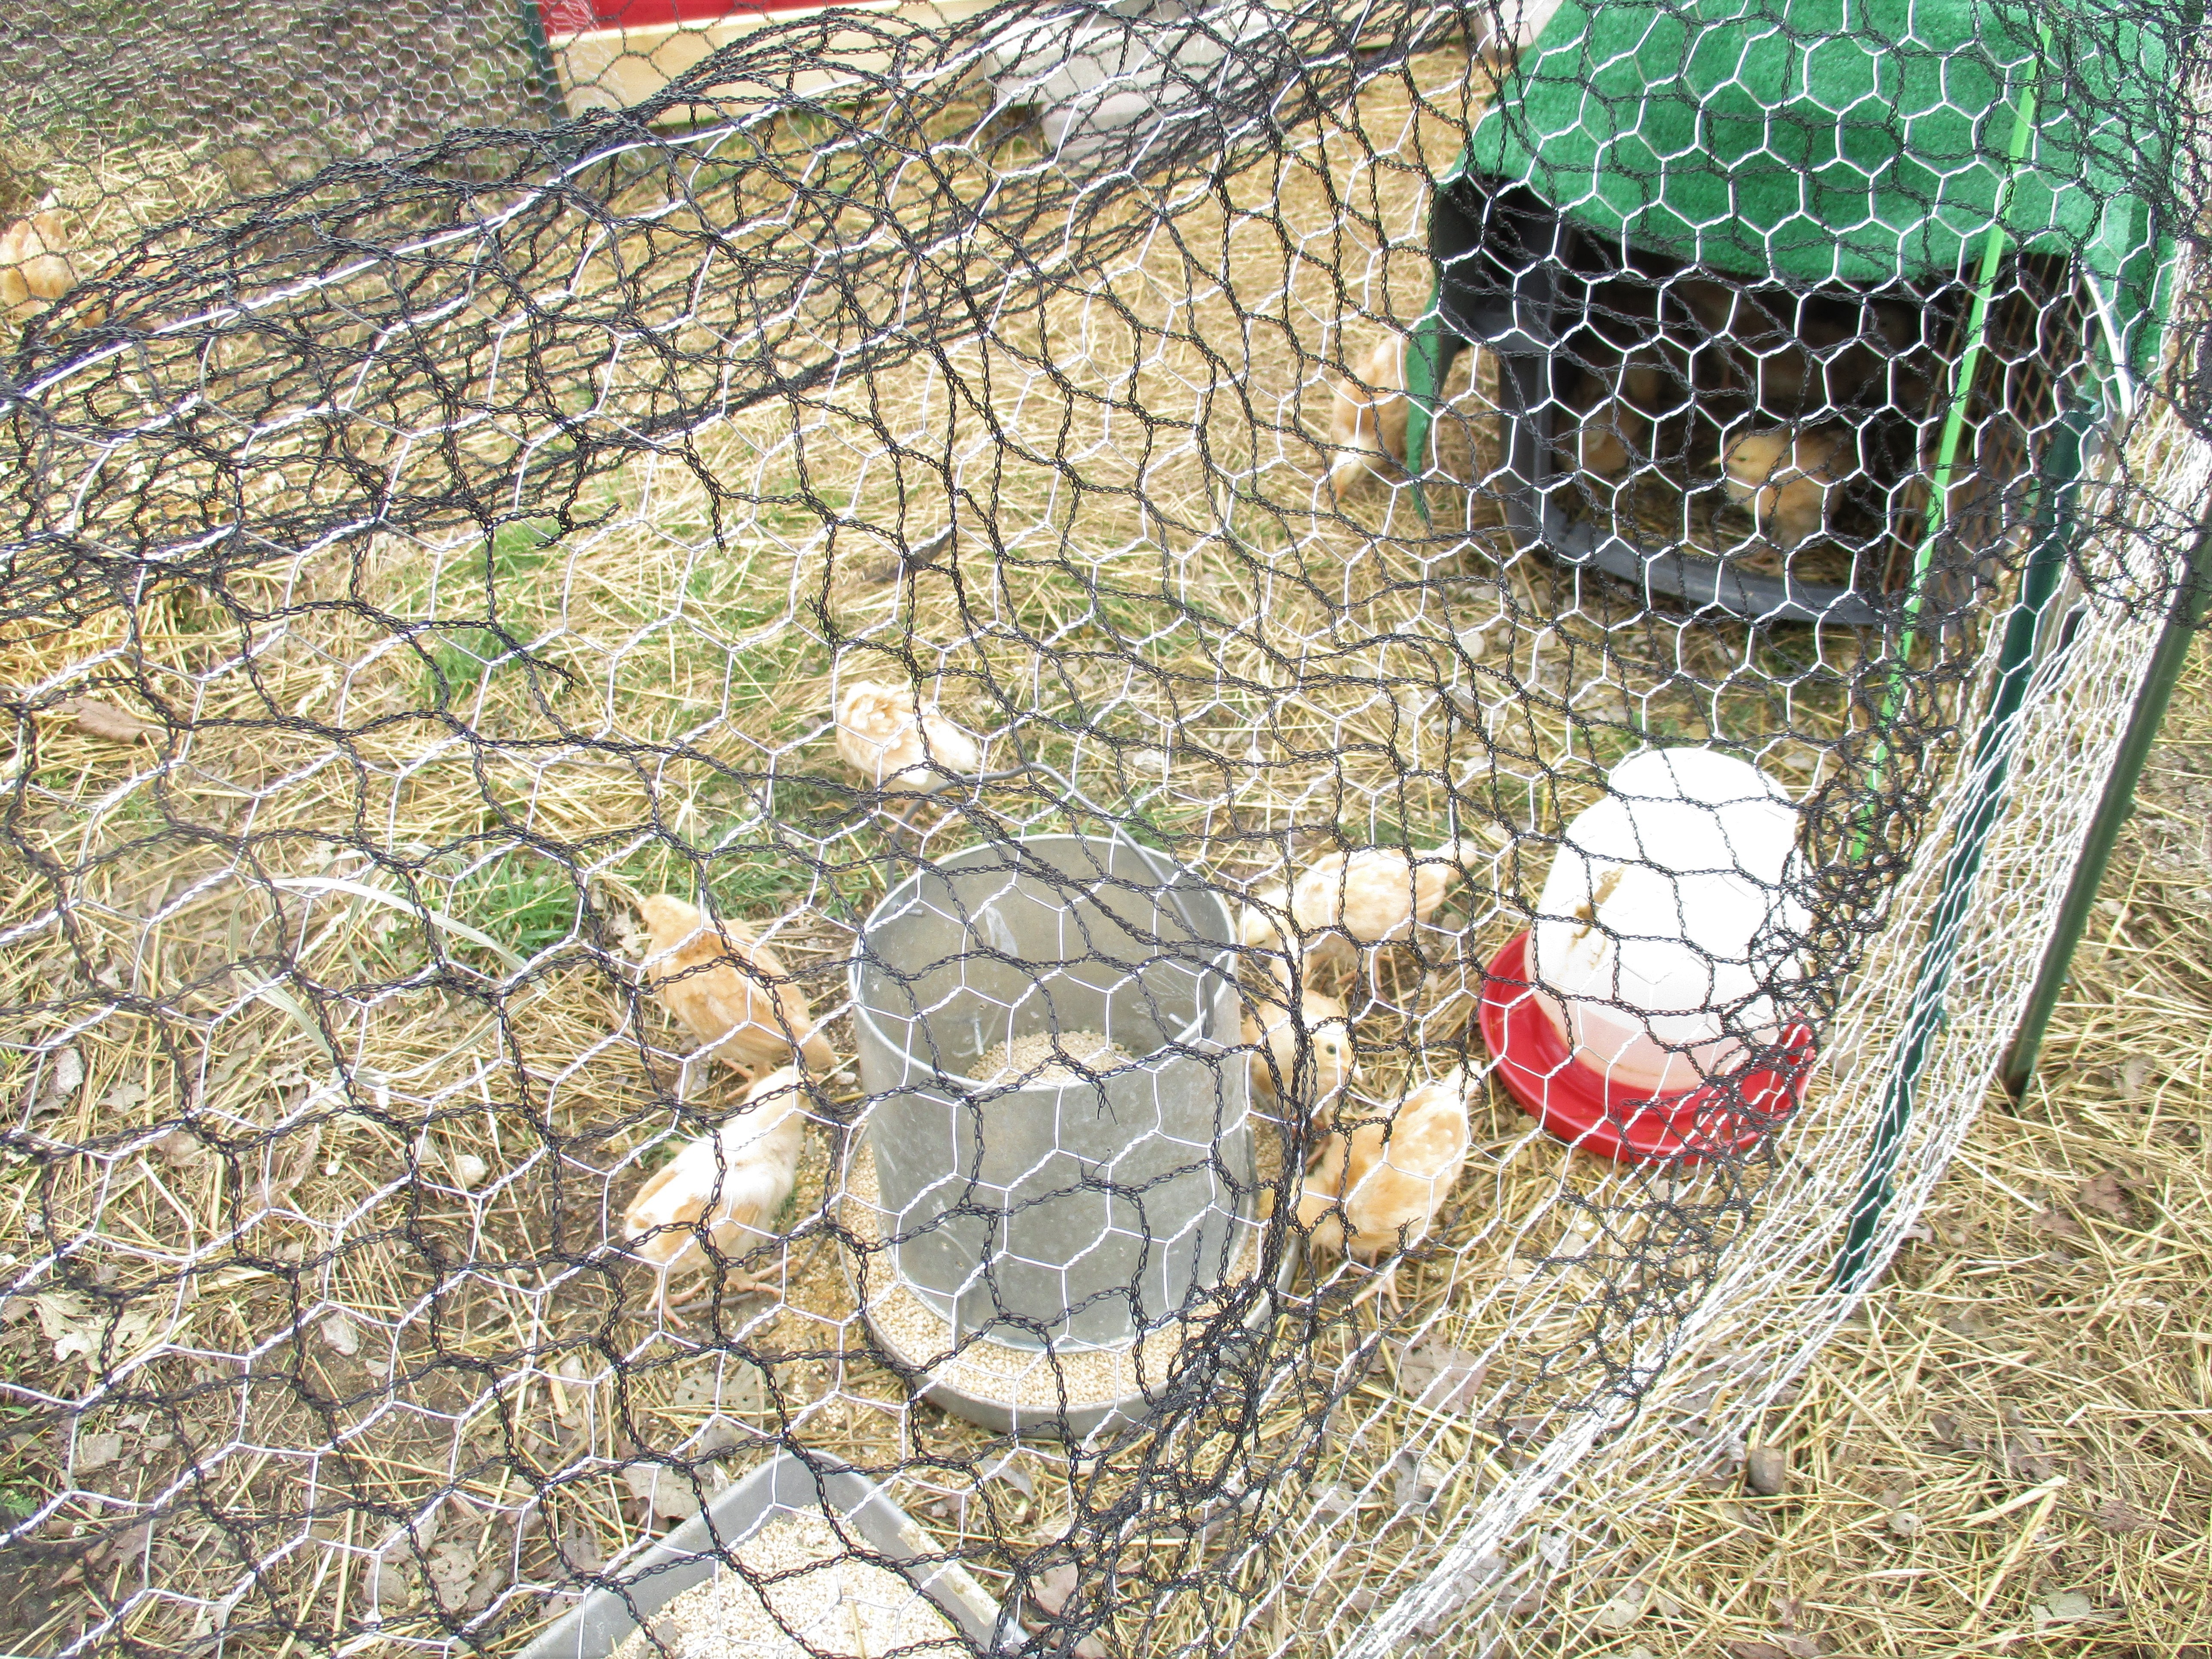
The chicks are doing well at the farm, feathering out nicely, learning to forage

and maybe even learning to get back into the coop.

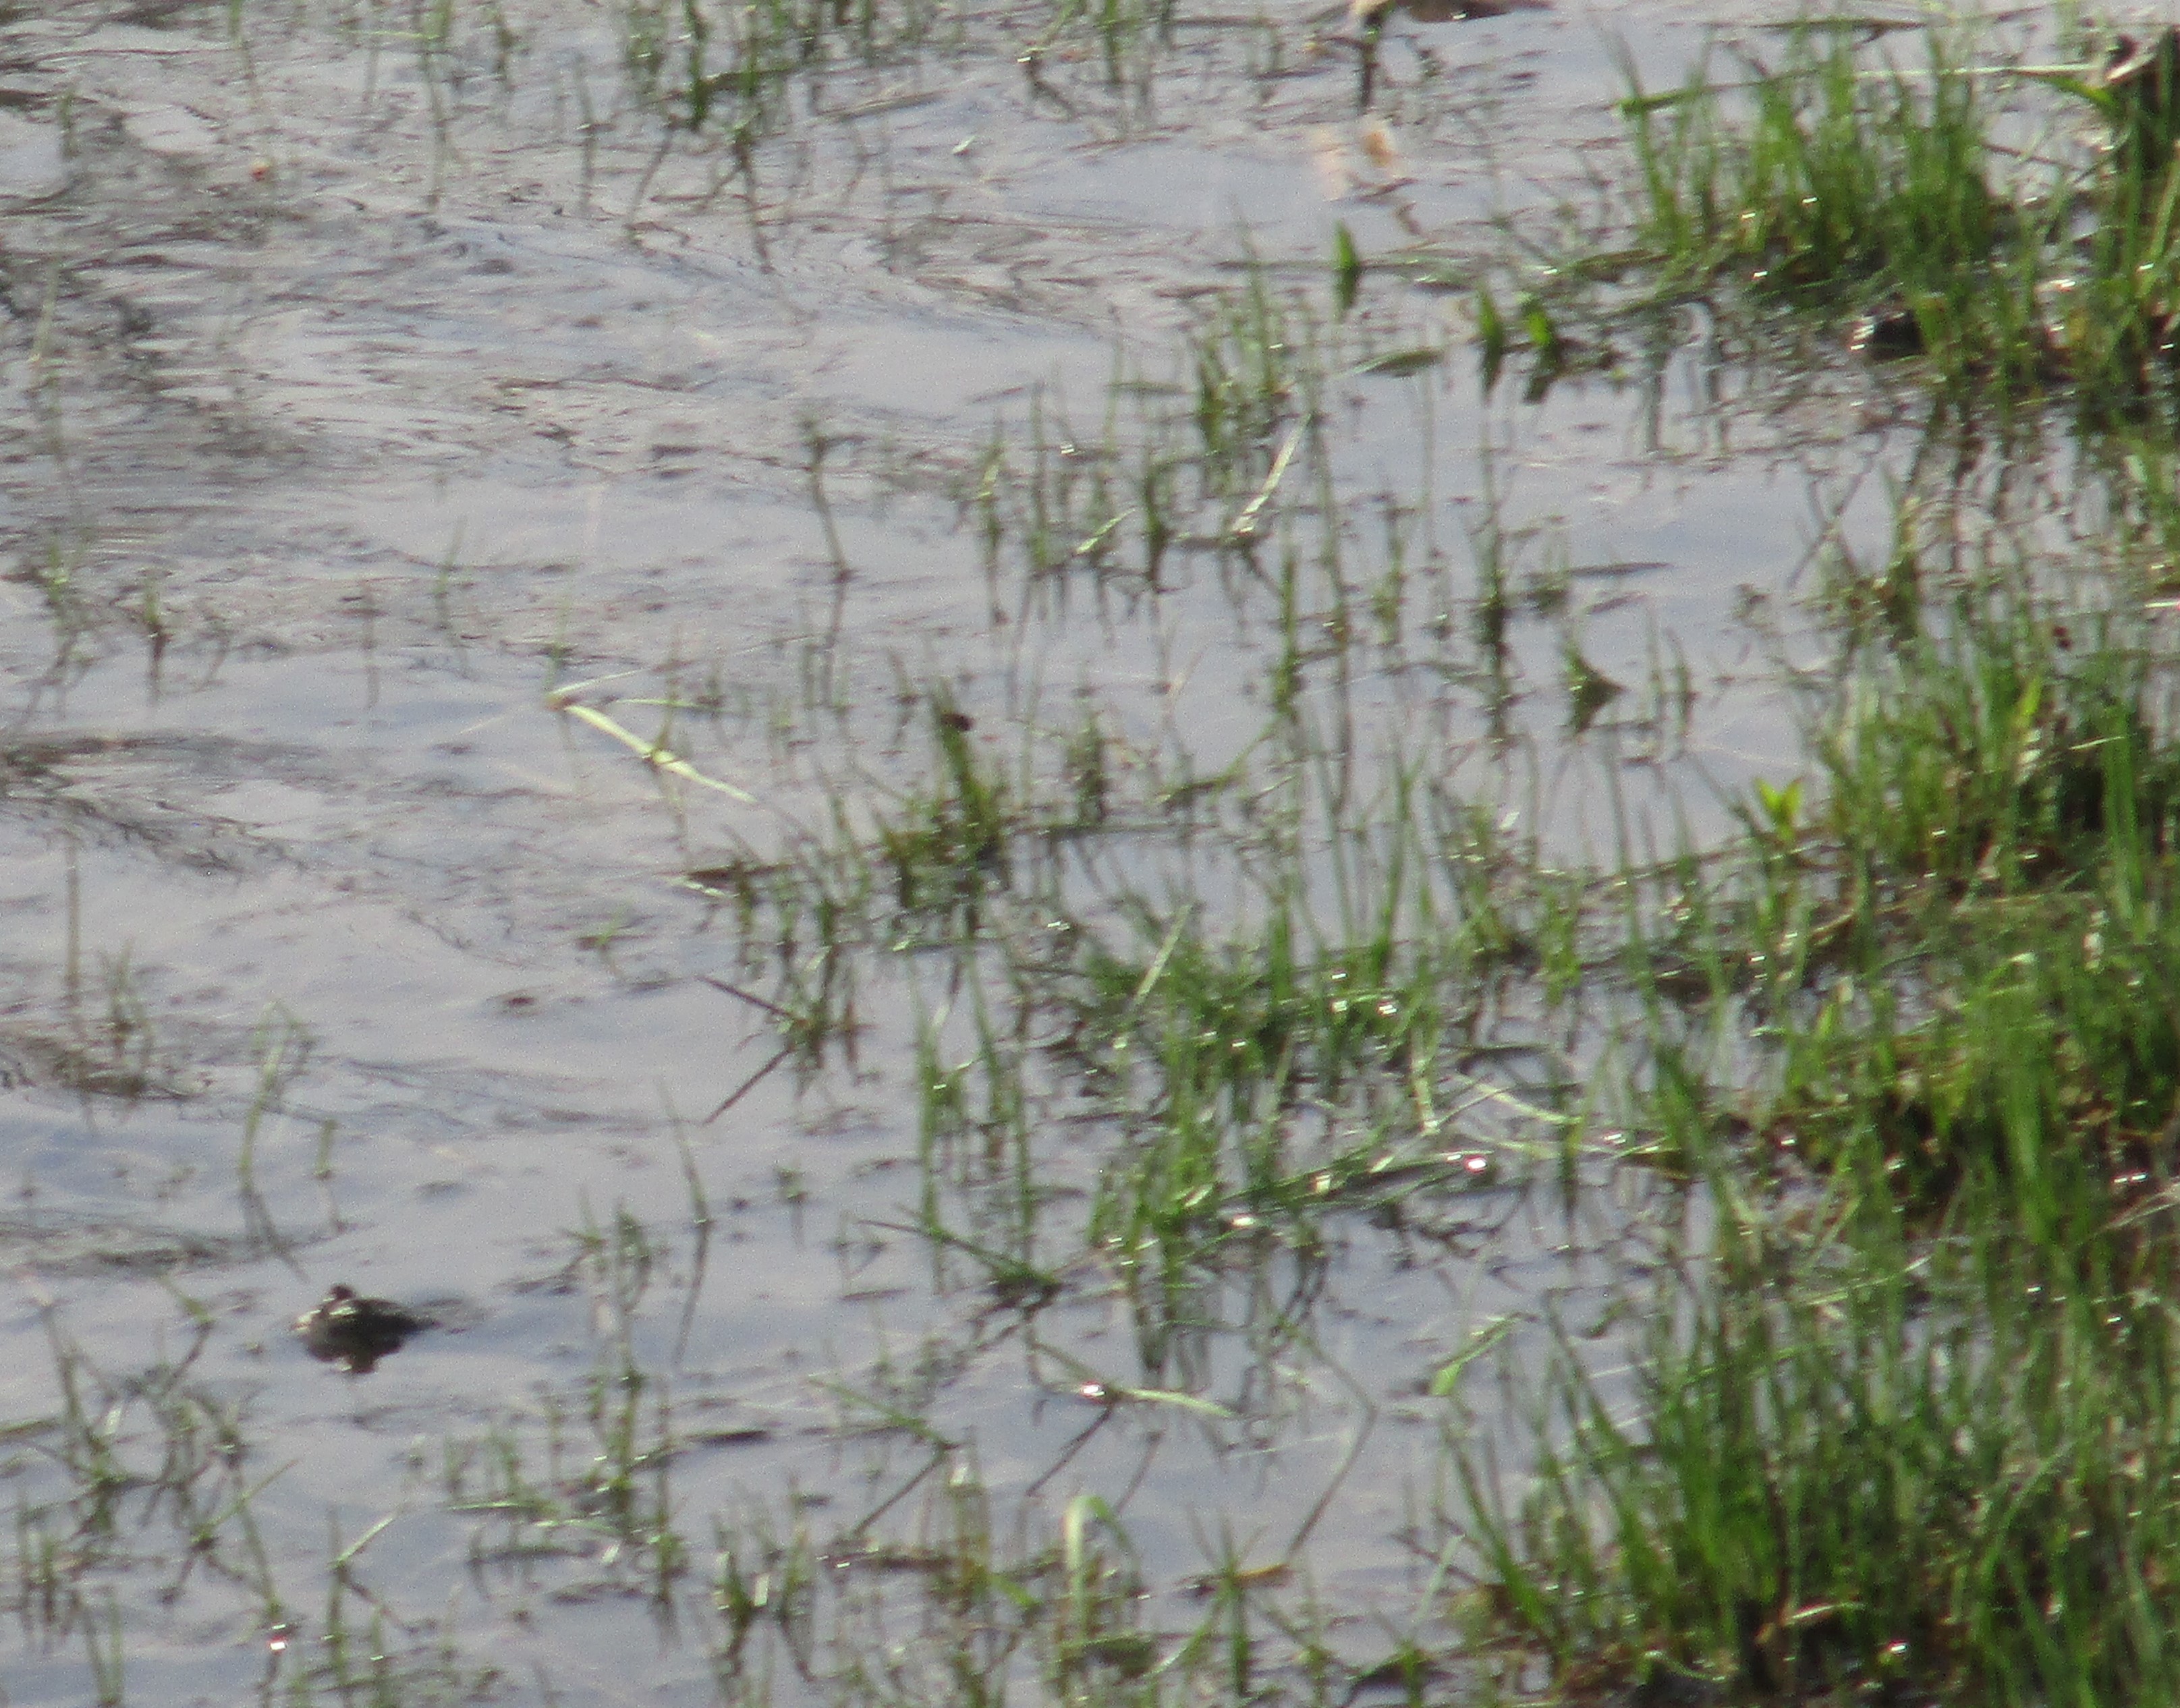
It was a great day to be in the pond, at least the dogs thought so.

Ruby discovered the (bullfrog) tadpoles and has now become obsessed with watching for them and trying to catch them. I suspect she will spend a lot of time there this summer.
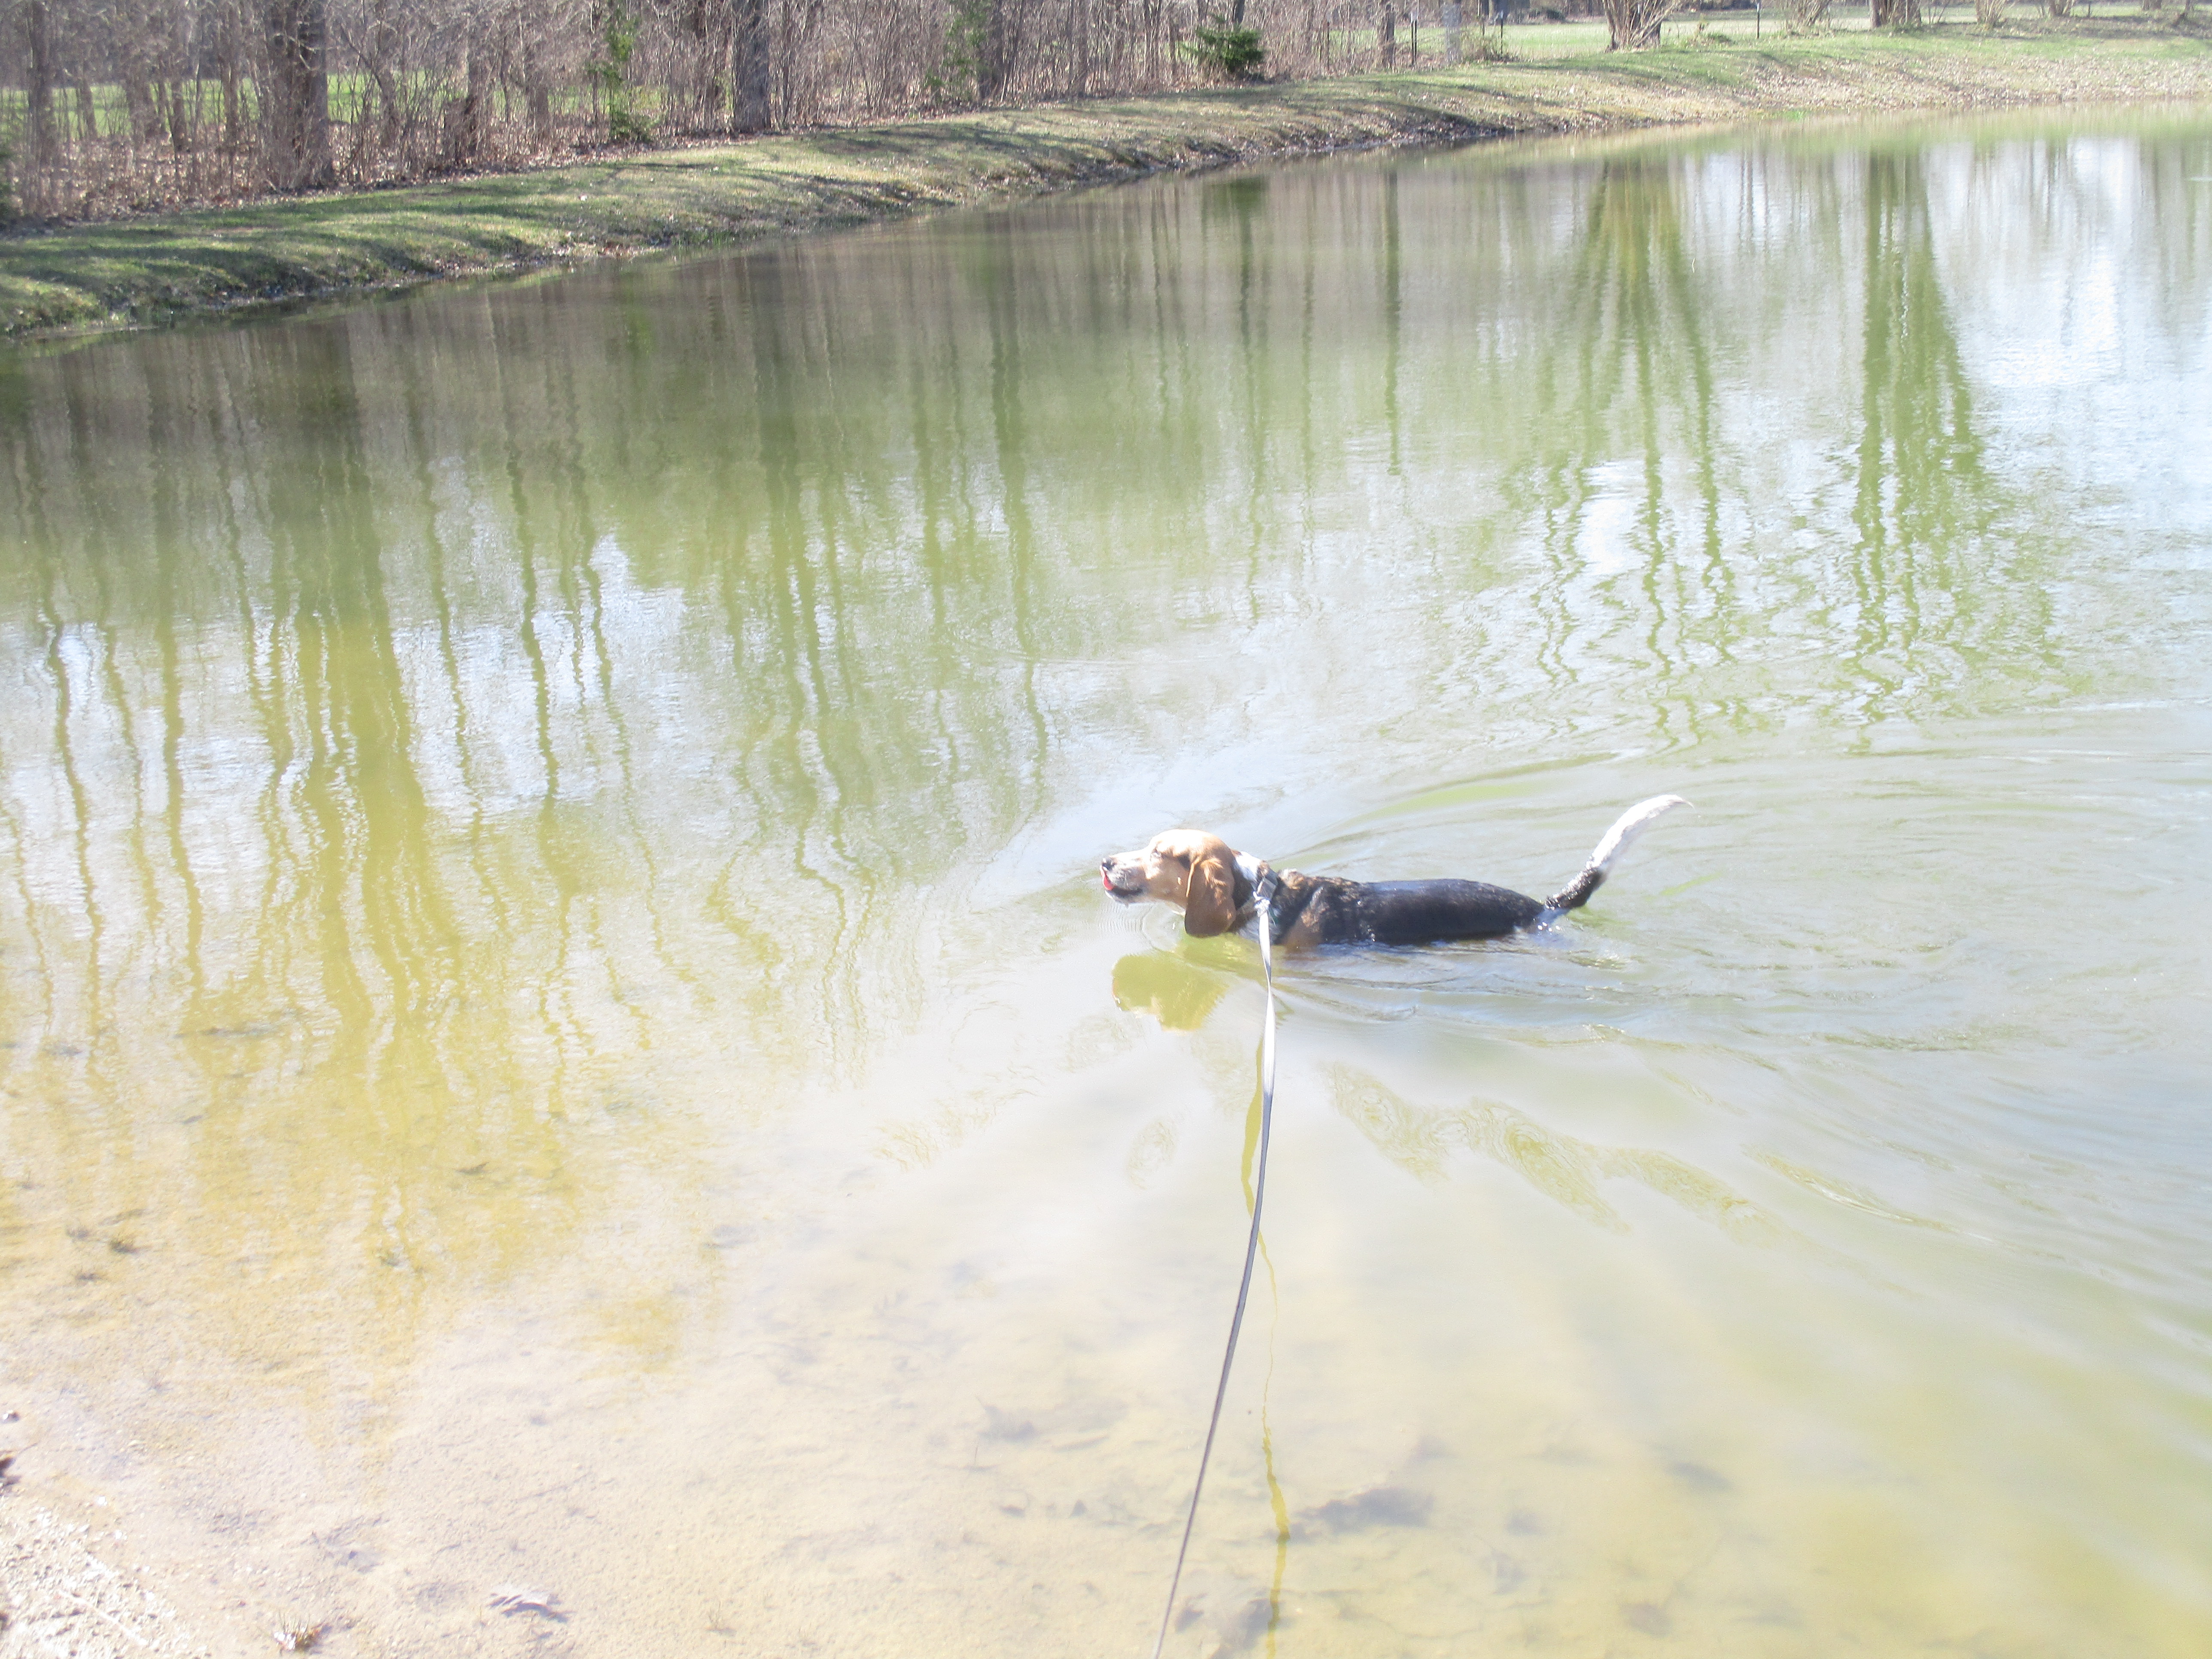
Ranger just wanted to go for a swim to cool off.
When deciding to put up the fence my husband and I discussed the likelihood that the wildlife presence on our farm would be altered. Not necessarily a bad thing. While deer, fox, racoons and other animals can get over the fence it’s hard to say whether they will or not. I suppose it depends on what there is to motivate them to do so.
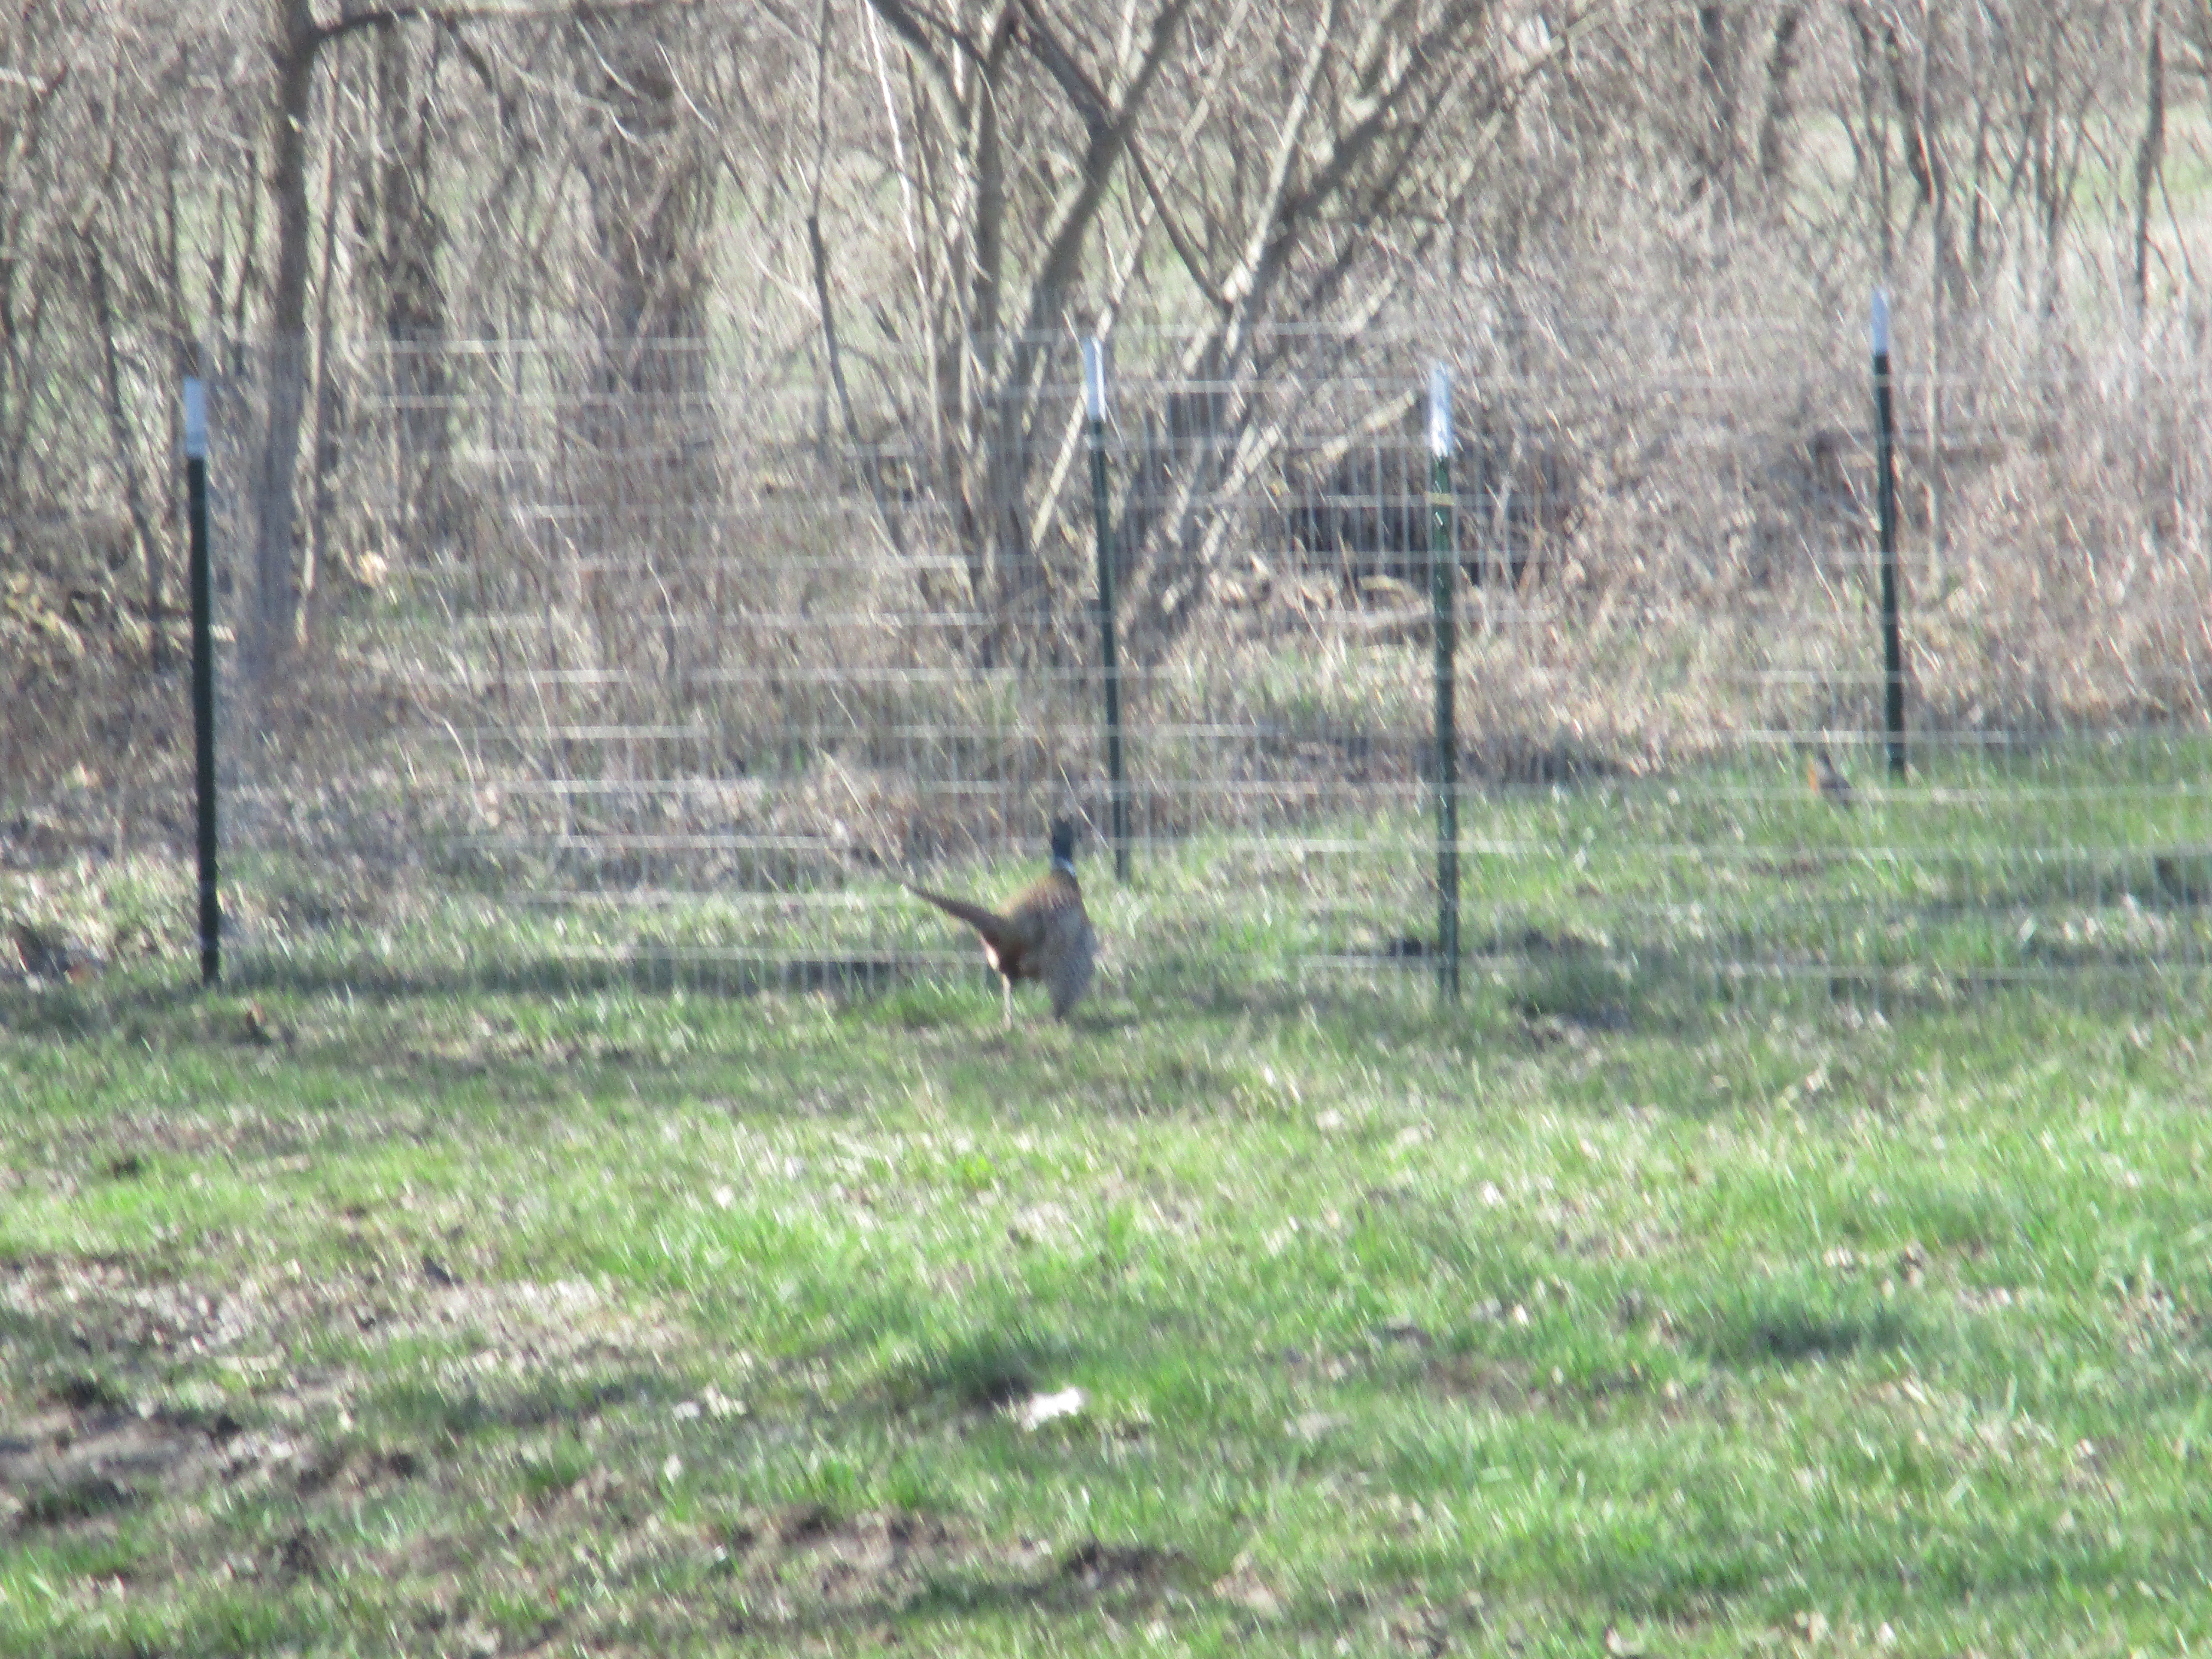
However, I never considered that the fence might be a problem for a pheasant. Pheasants can fly and could easily sail right over the fence.

This male ringed-neck pheasant was very confused and spent several hours trying to find an opening in the fence.

Eventually Ruby spotted him. I’m not sure if he flew or ran when she chased him but I think she did him a favor as he did clear out of the area. Hopefully he found a different route home.
I’ll leave you with a slide show of flowers that are blossoming at the farm. Among them are daffodils, forsythia (beginning to open), and primrose.
Thanks for visiting.
A couple of readers commented on my last post about the fun of watching our chicks grow. Those comments reminded me and my husband of the fun flock we had in 2017 so I thought you might enjoy seeing some pictures of them.
That year we had 10 buff orpington chicks, the same breed we have this year. We have found this breed to be the friendliest and most social of any of the chickens we have had.
In the pictures below I think they are about 10 weeks old. My husband was ready with the camera because he knew what I was in for. He had the same experience the previous evening.
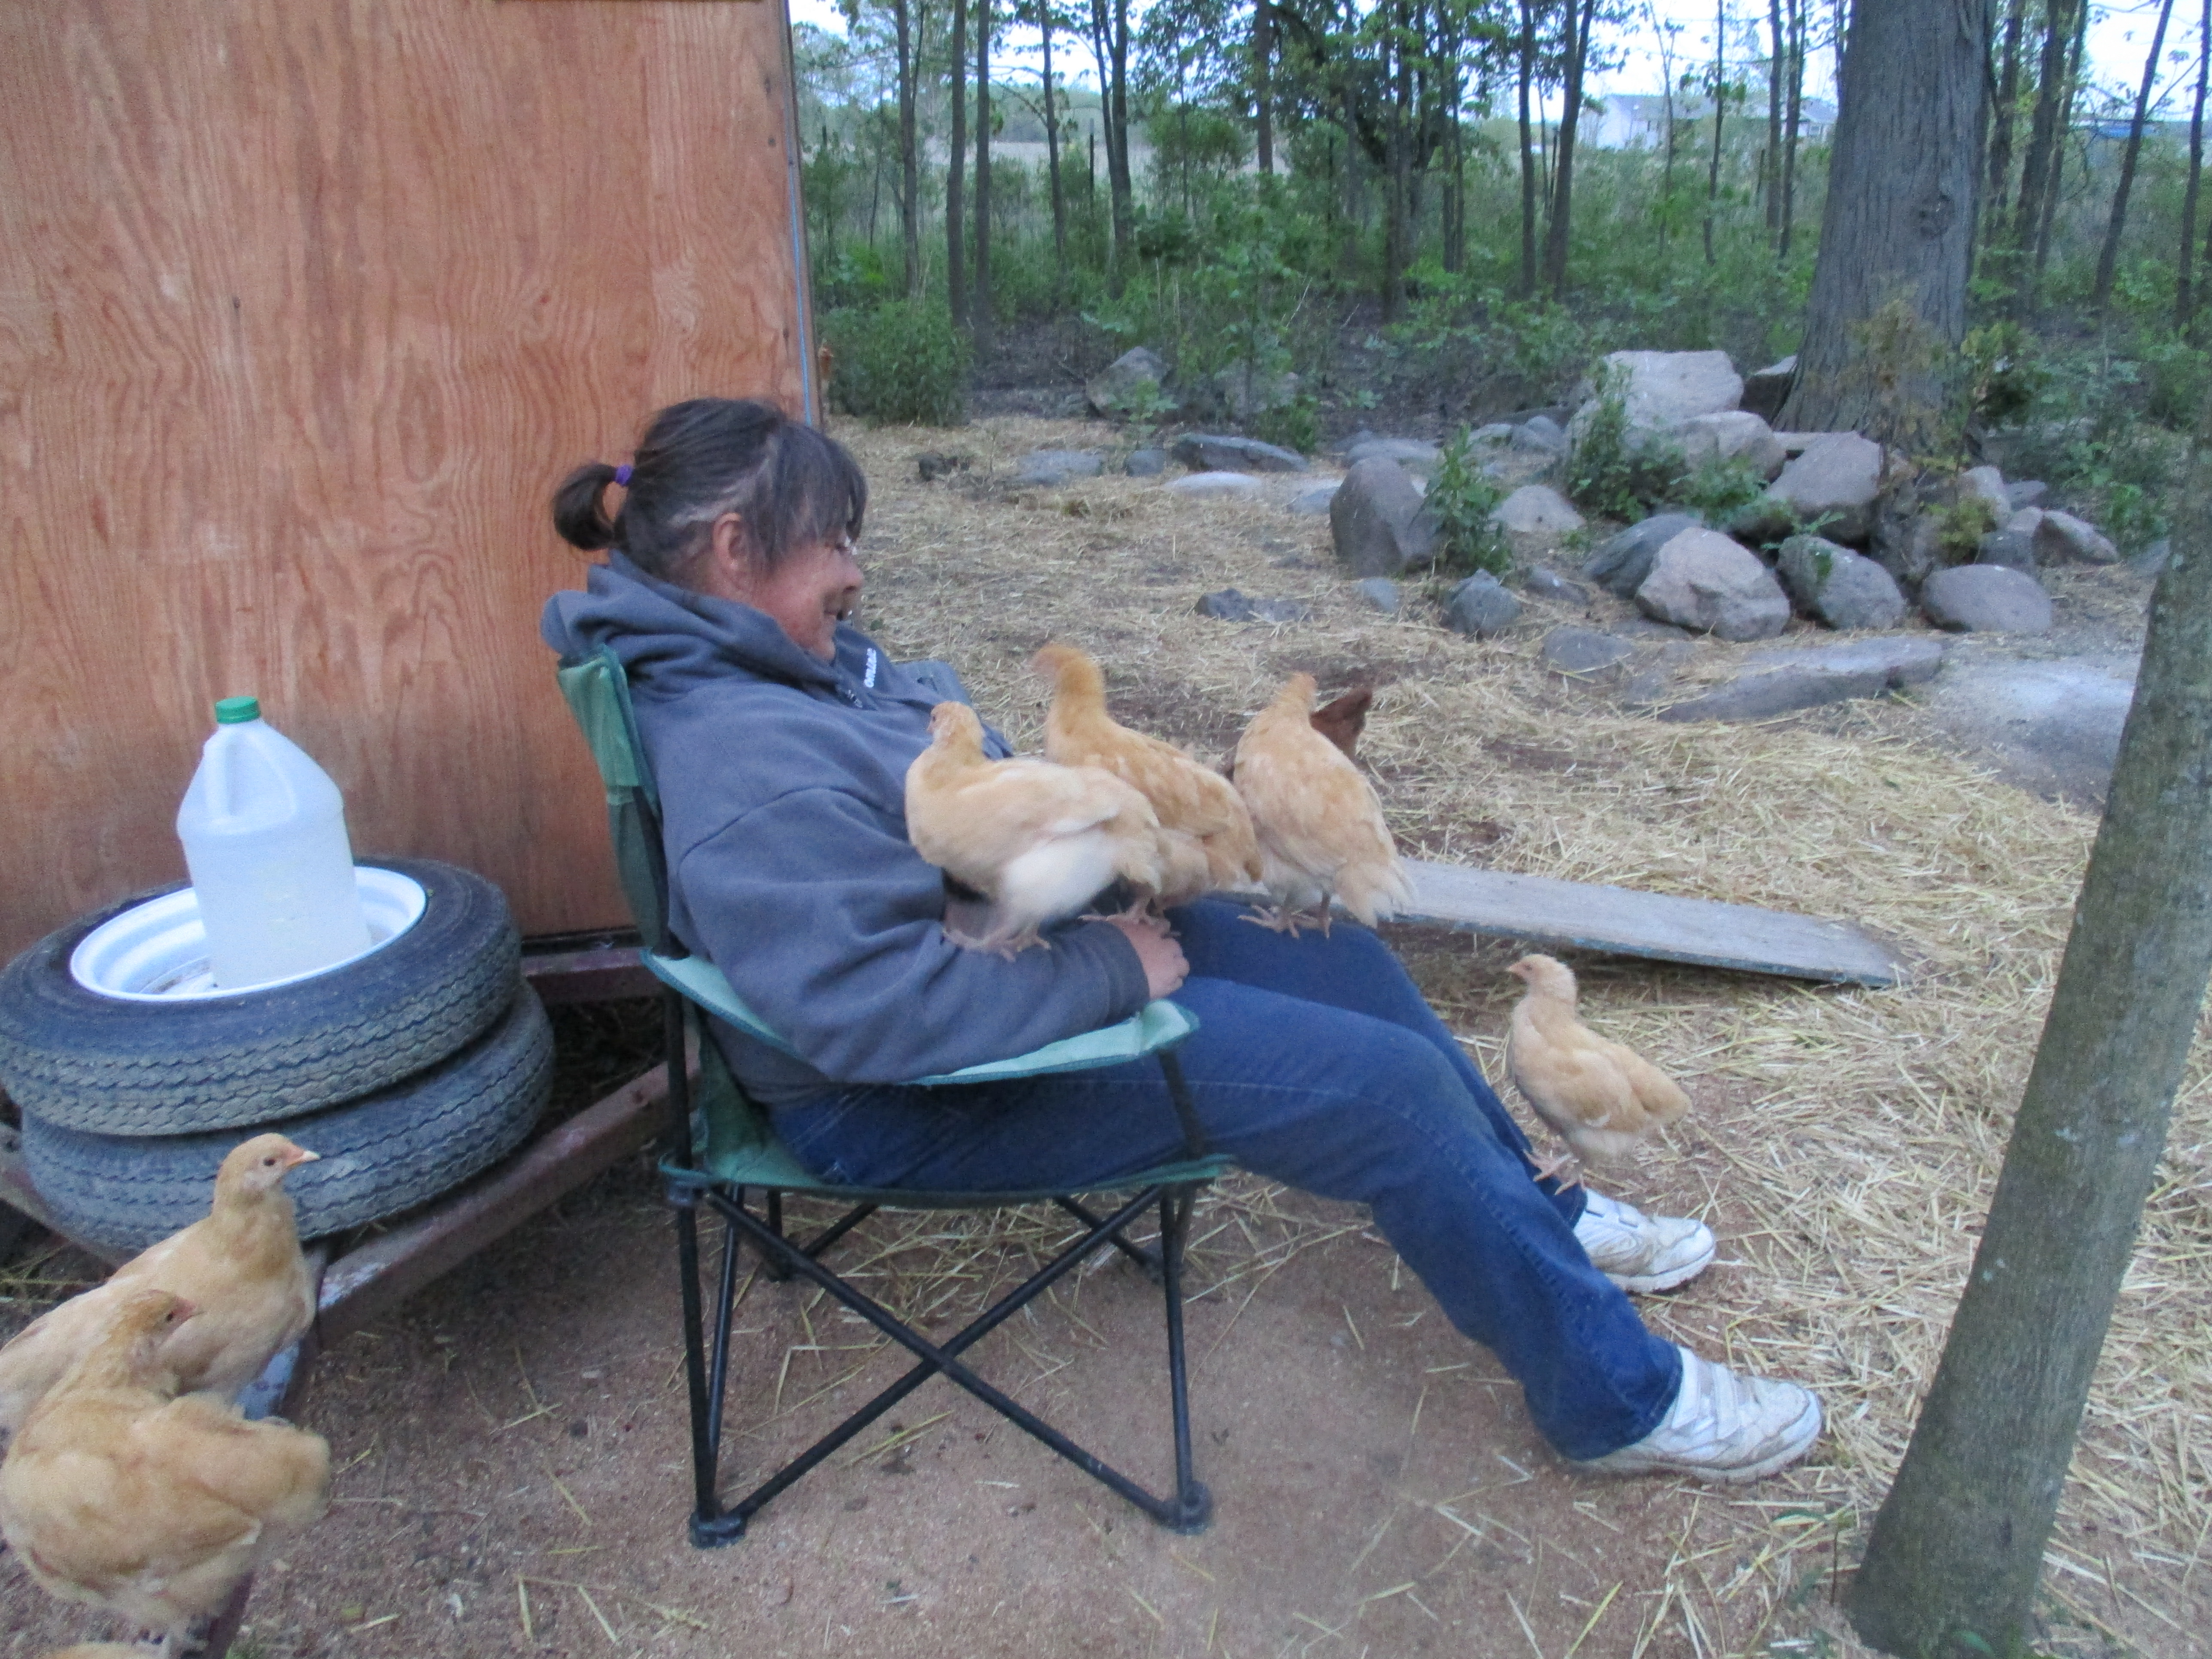
As I sat outside the coop watching the flock (an activity otherwise known as chicken TV) and waiting for them to go in for the night, a couple of the young ones decided to join me.

Then a couple more. I didn’t mind them sitting on me, but I knew I needed to protect my eyes.
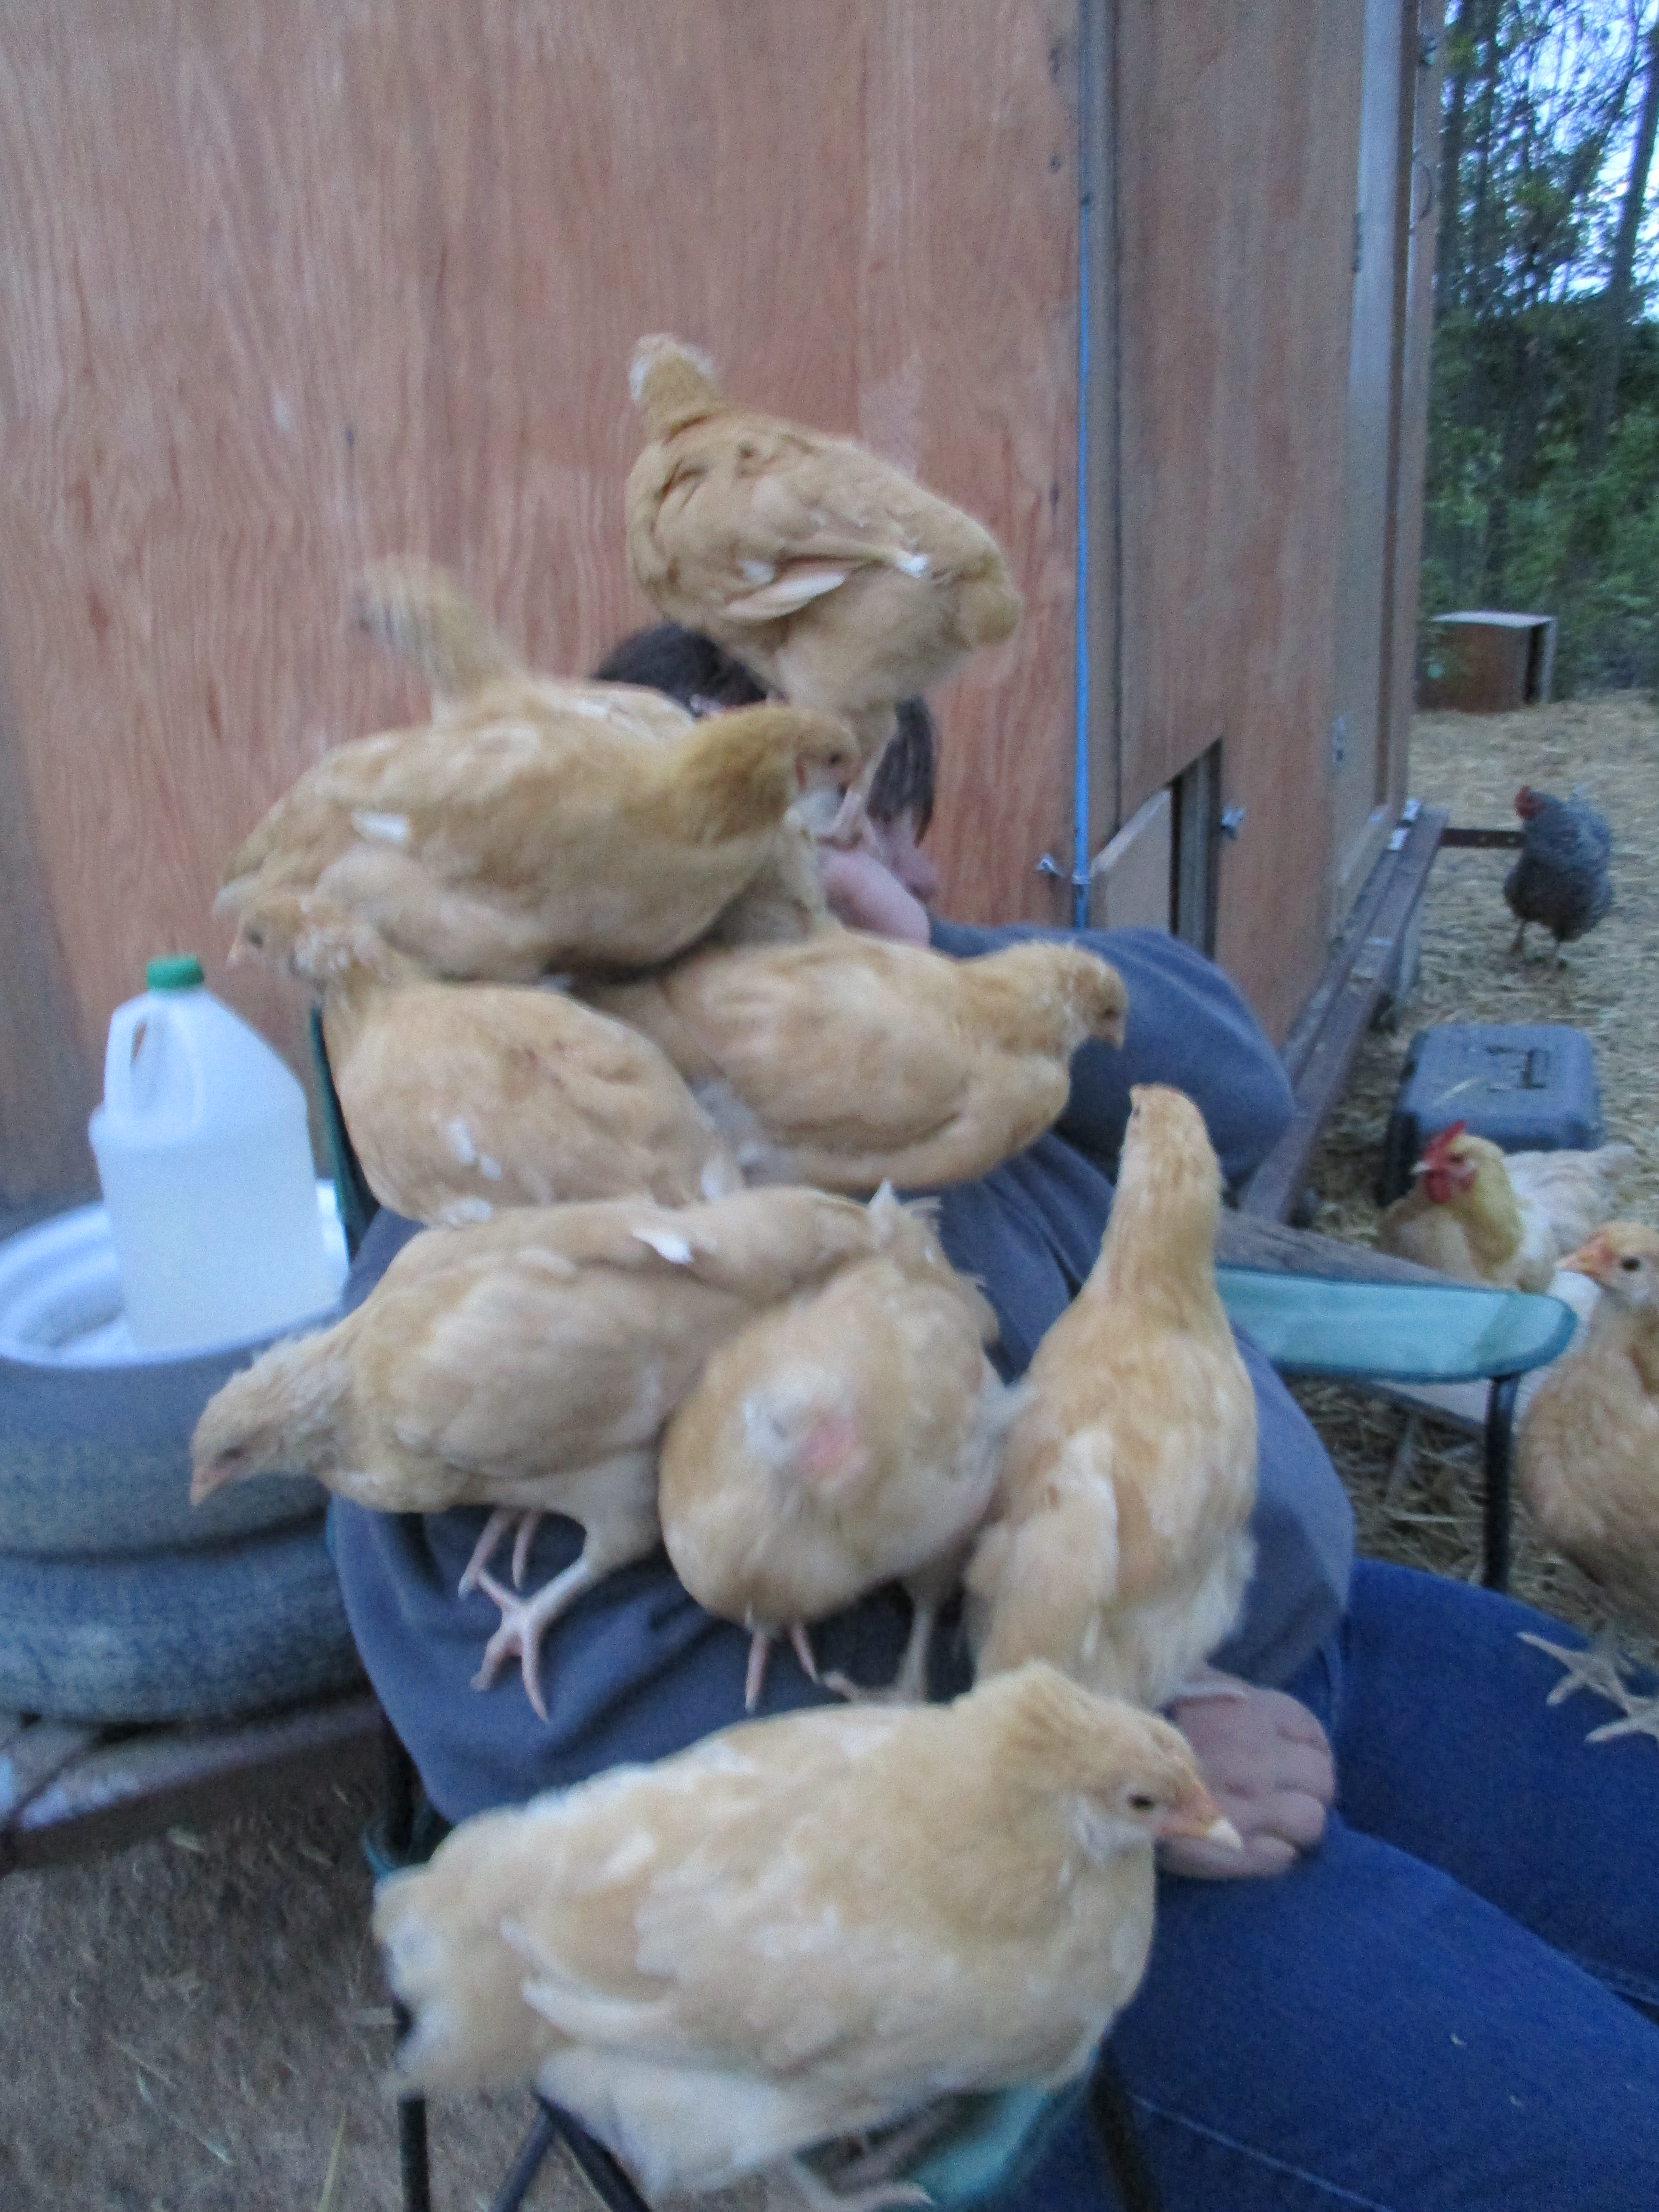
I suddenly became the star of the show and before it was all done, I had all 10 young hens sitting on me while my husband took pictures and I laughed hysterically.
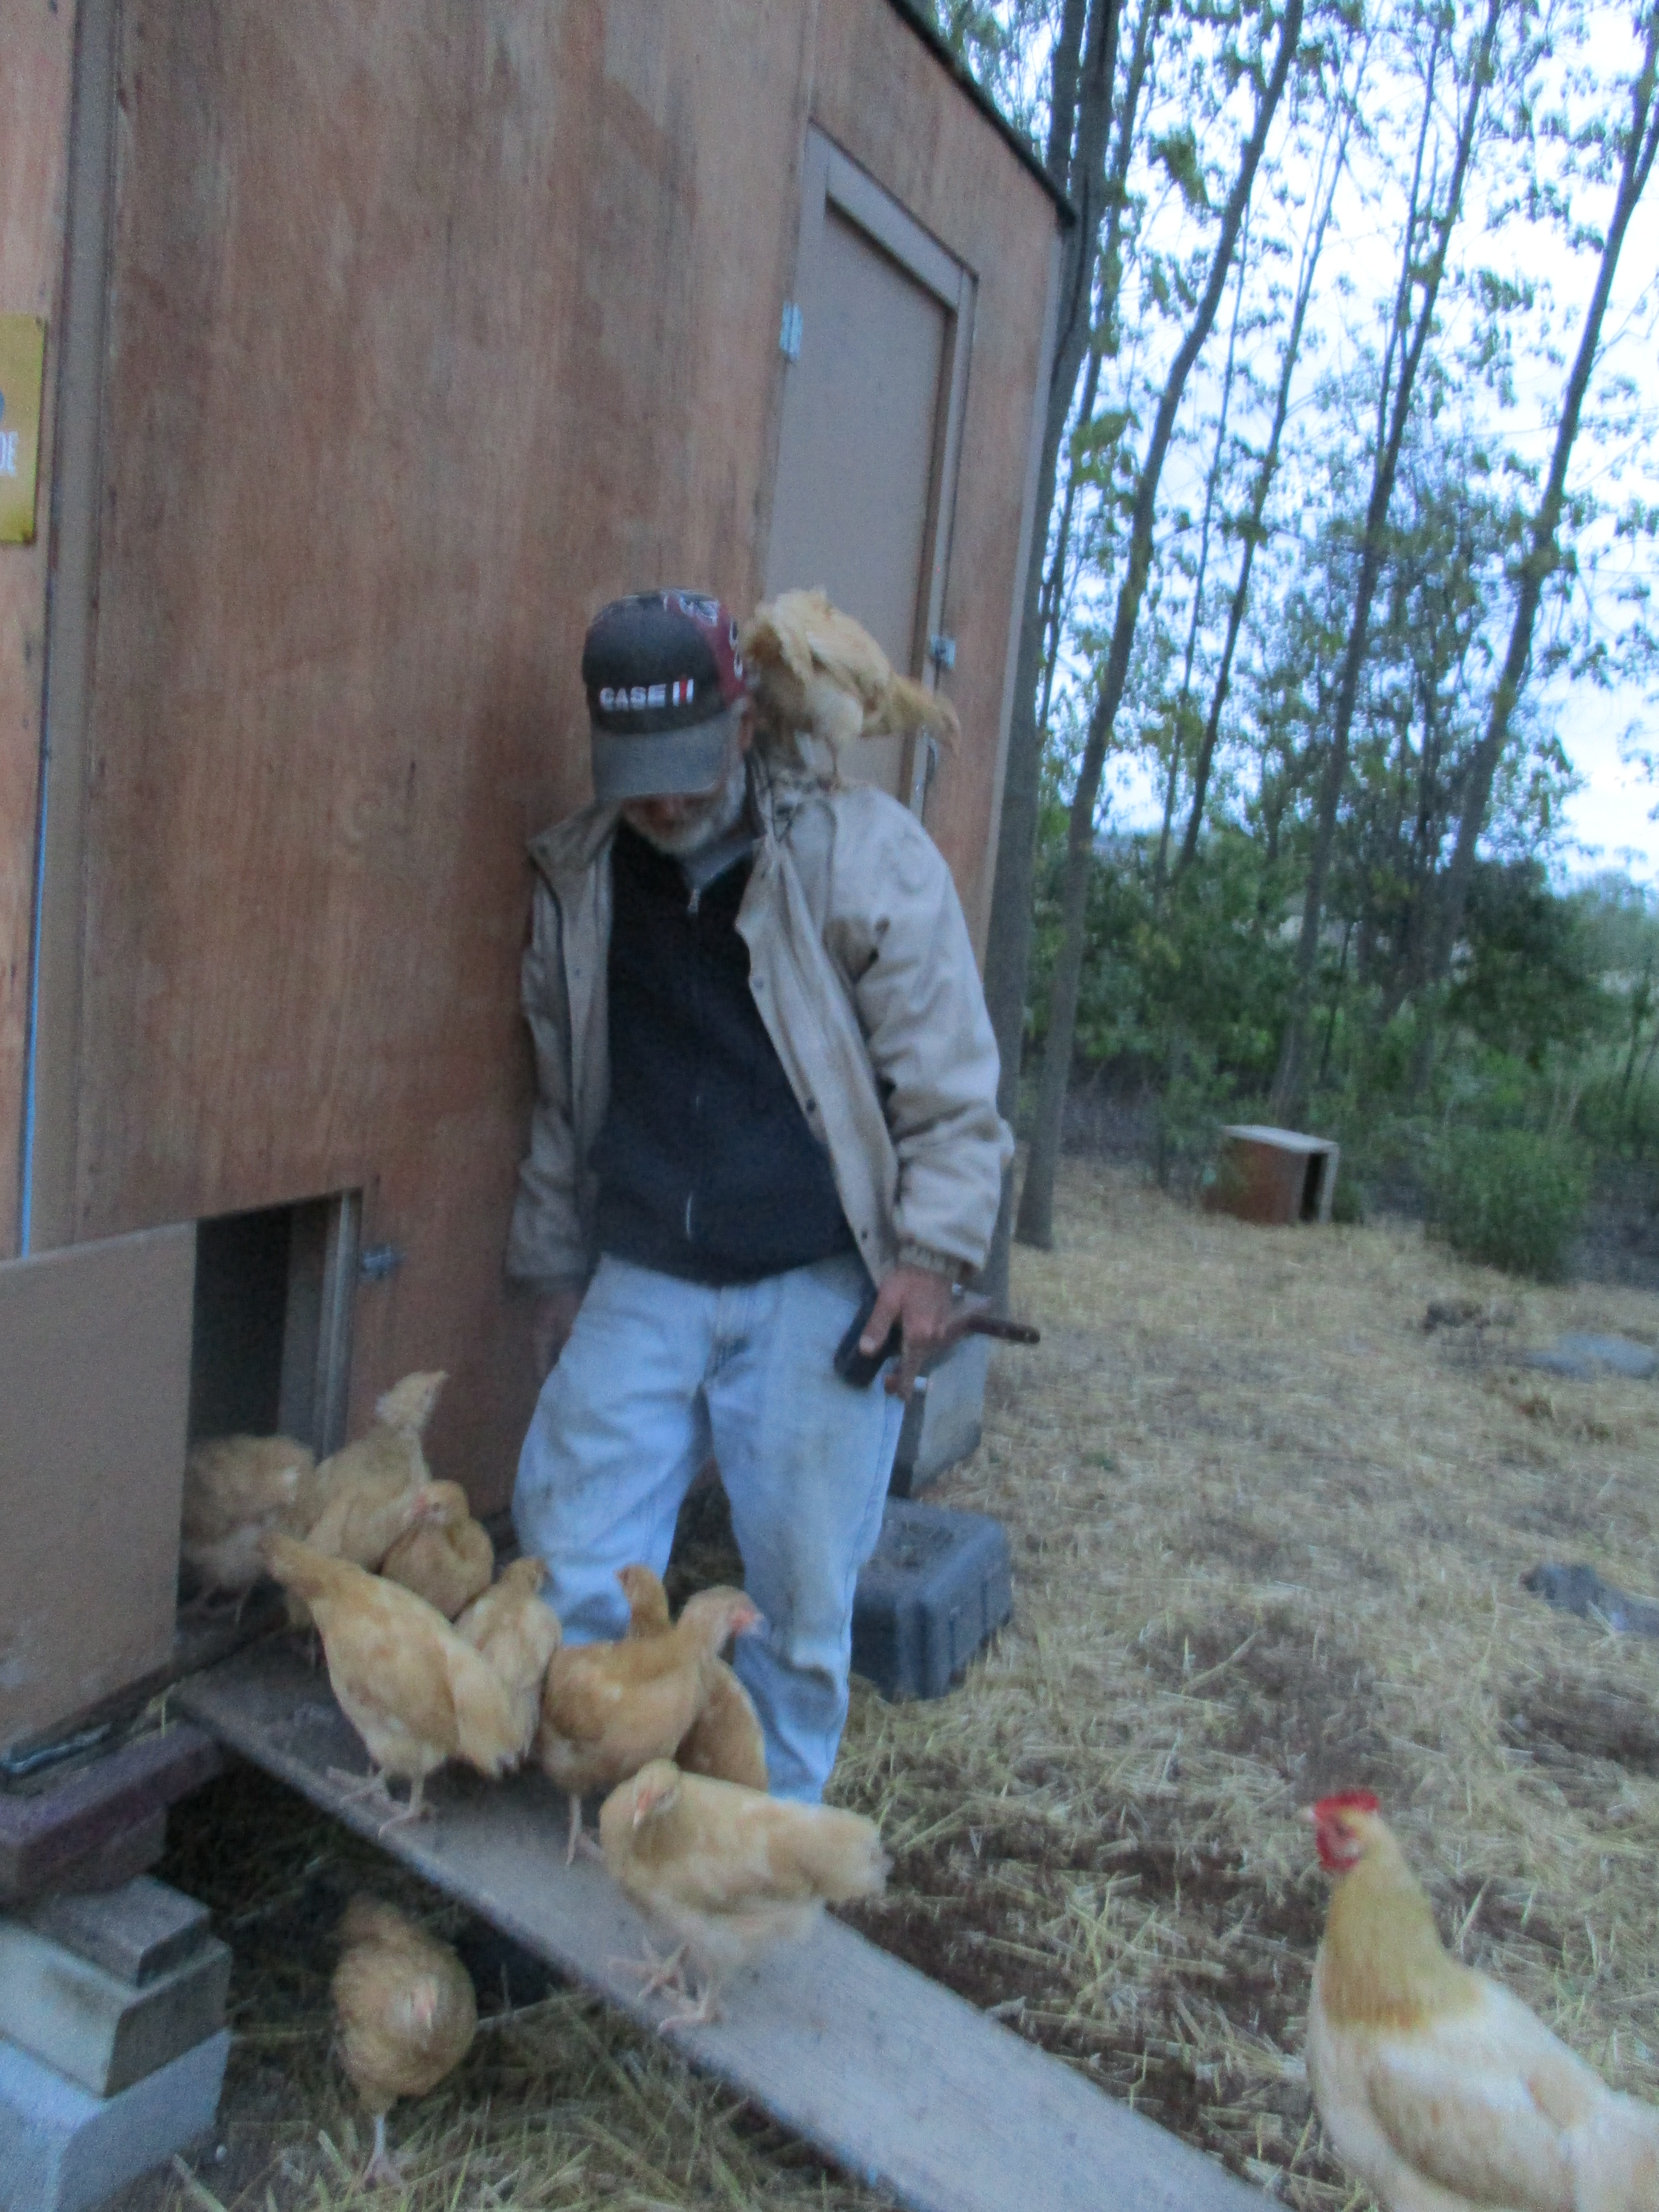
Then one of the hens decided that my husband’s shoulder was the place to be as he was trying to teach them to use the ramp to get into the coop.
Throughout the summer, when we would sit near the coop in the evenings three or four of these hens would come and sit on our laps, and on the nights that we did not “watch chicken TV” one of these hens would wait outside until we showed up to pick her up and put her in the coop at night.
Thinking about that group makes me wonder what fun we will have with this next group. I think it’s gonna be a fun summer. 🙂