Hello and welcome. Despite having very dry weather, and doing our best to keep things watered, our gardens have flourished.
Blooming Beauties
Right now our hibiscus bushes are the star of the show.

Their large, showy flowers are stunning.

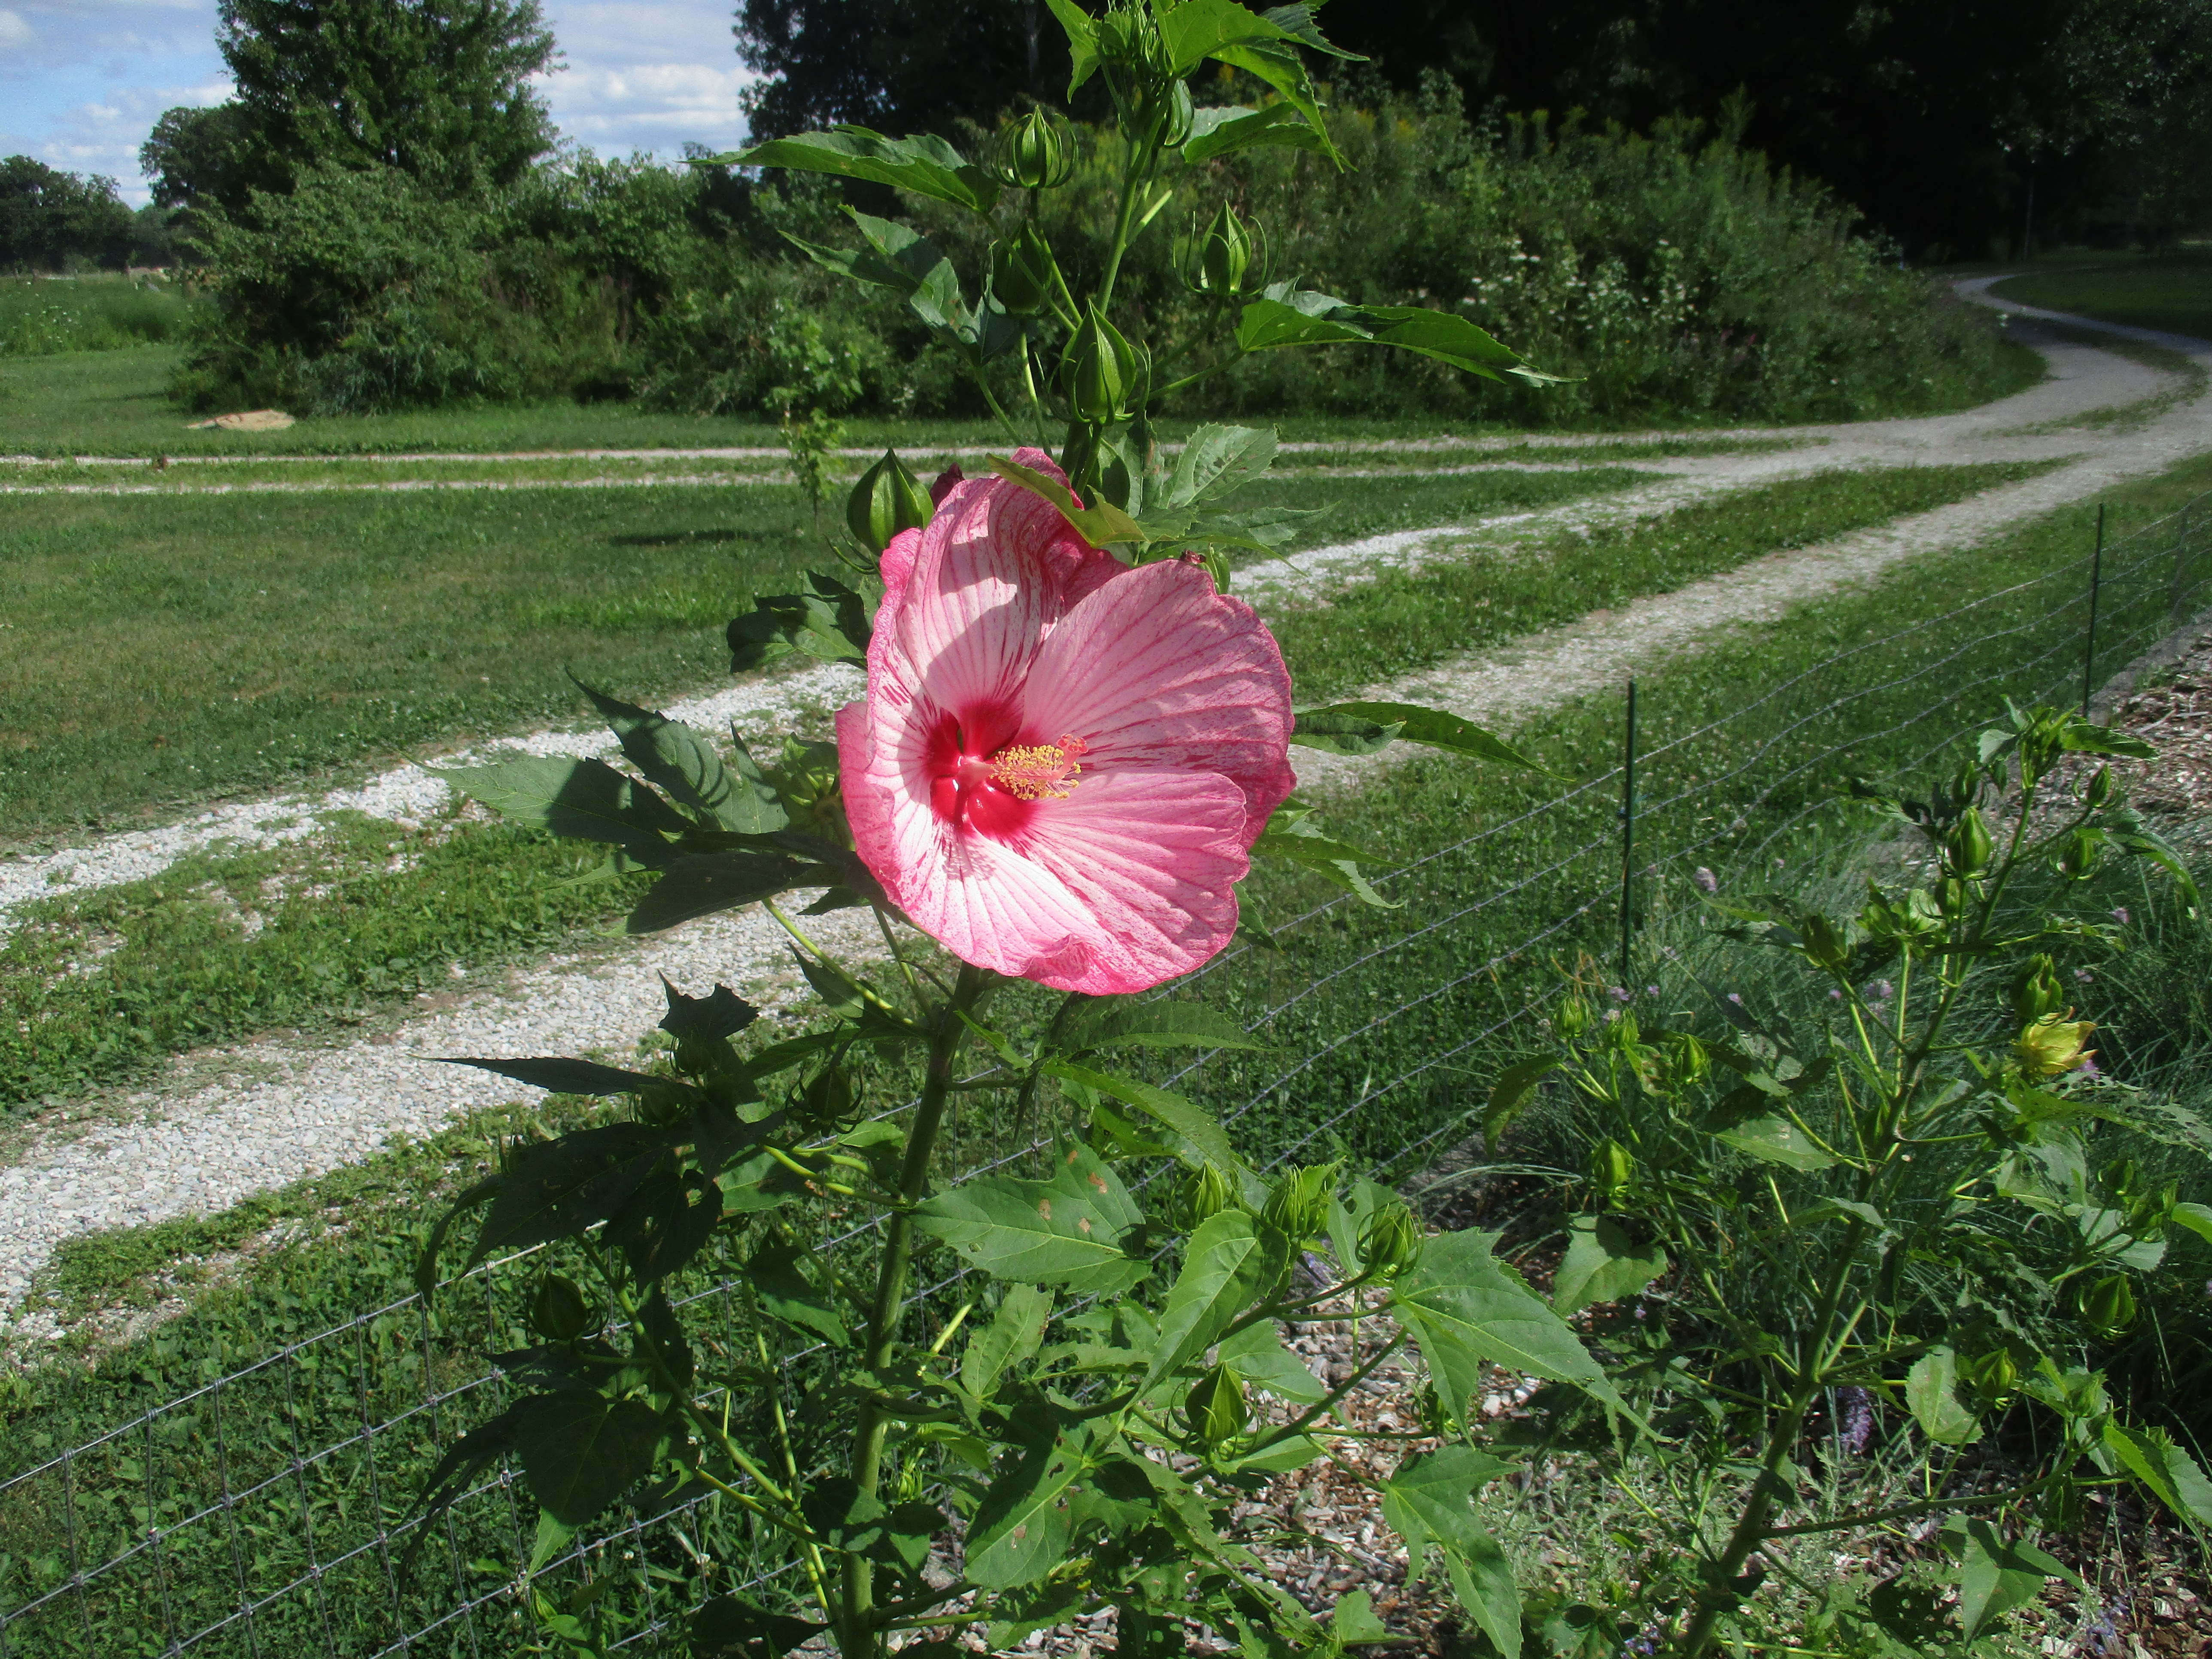
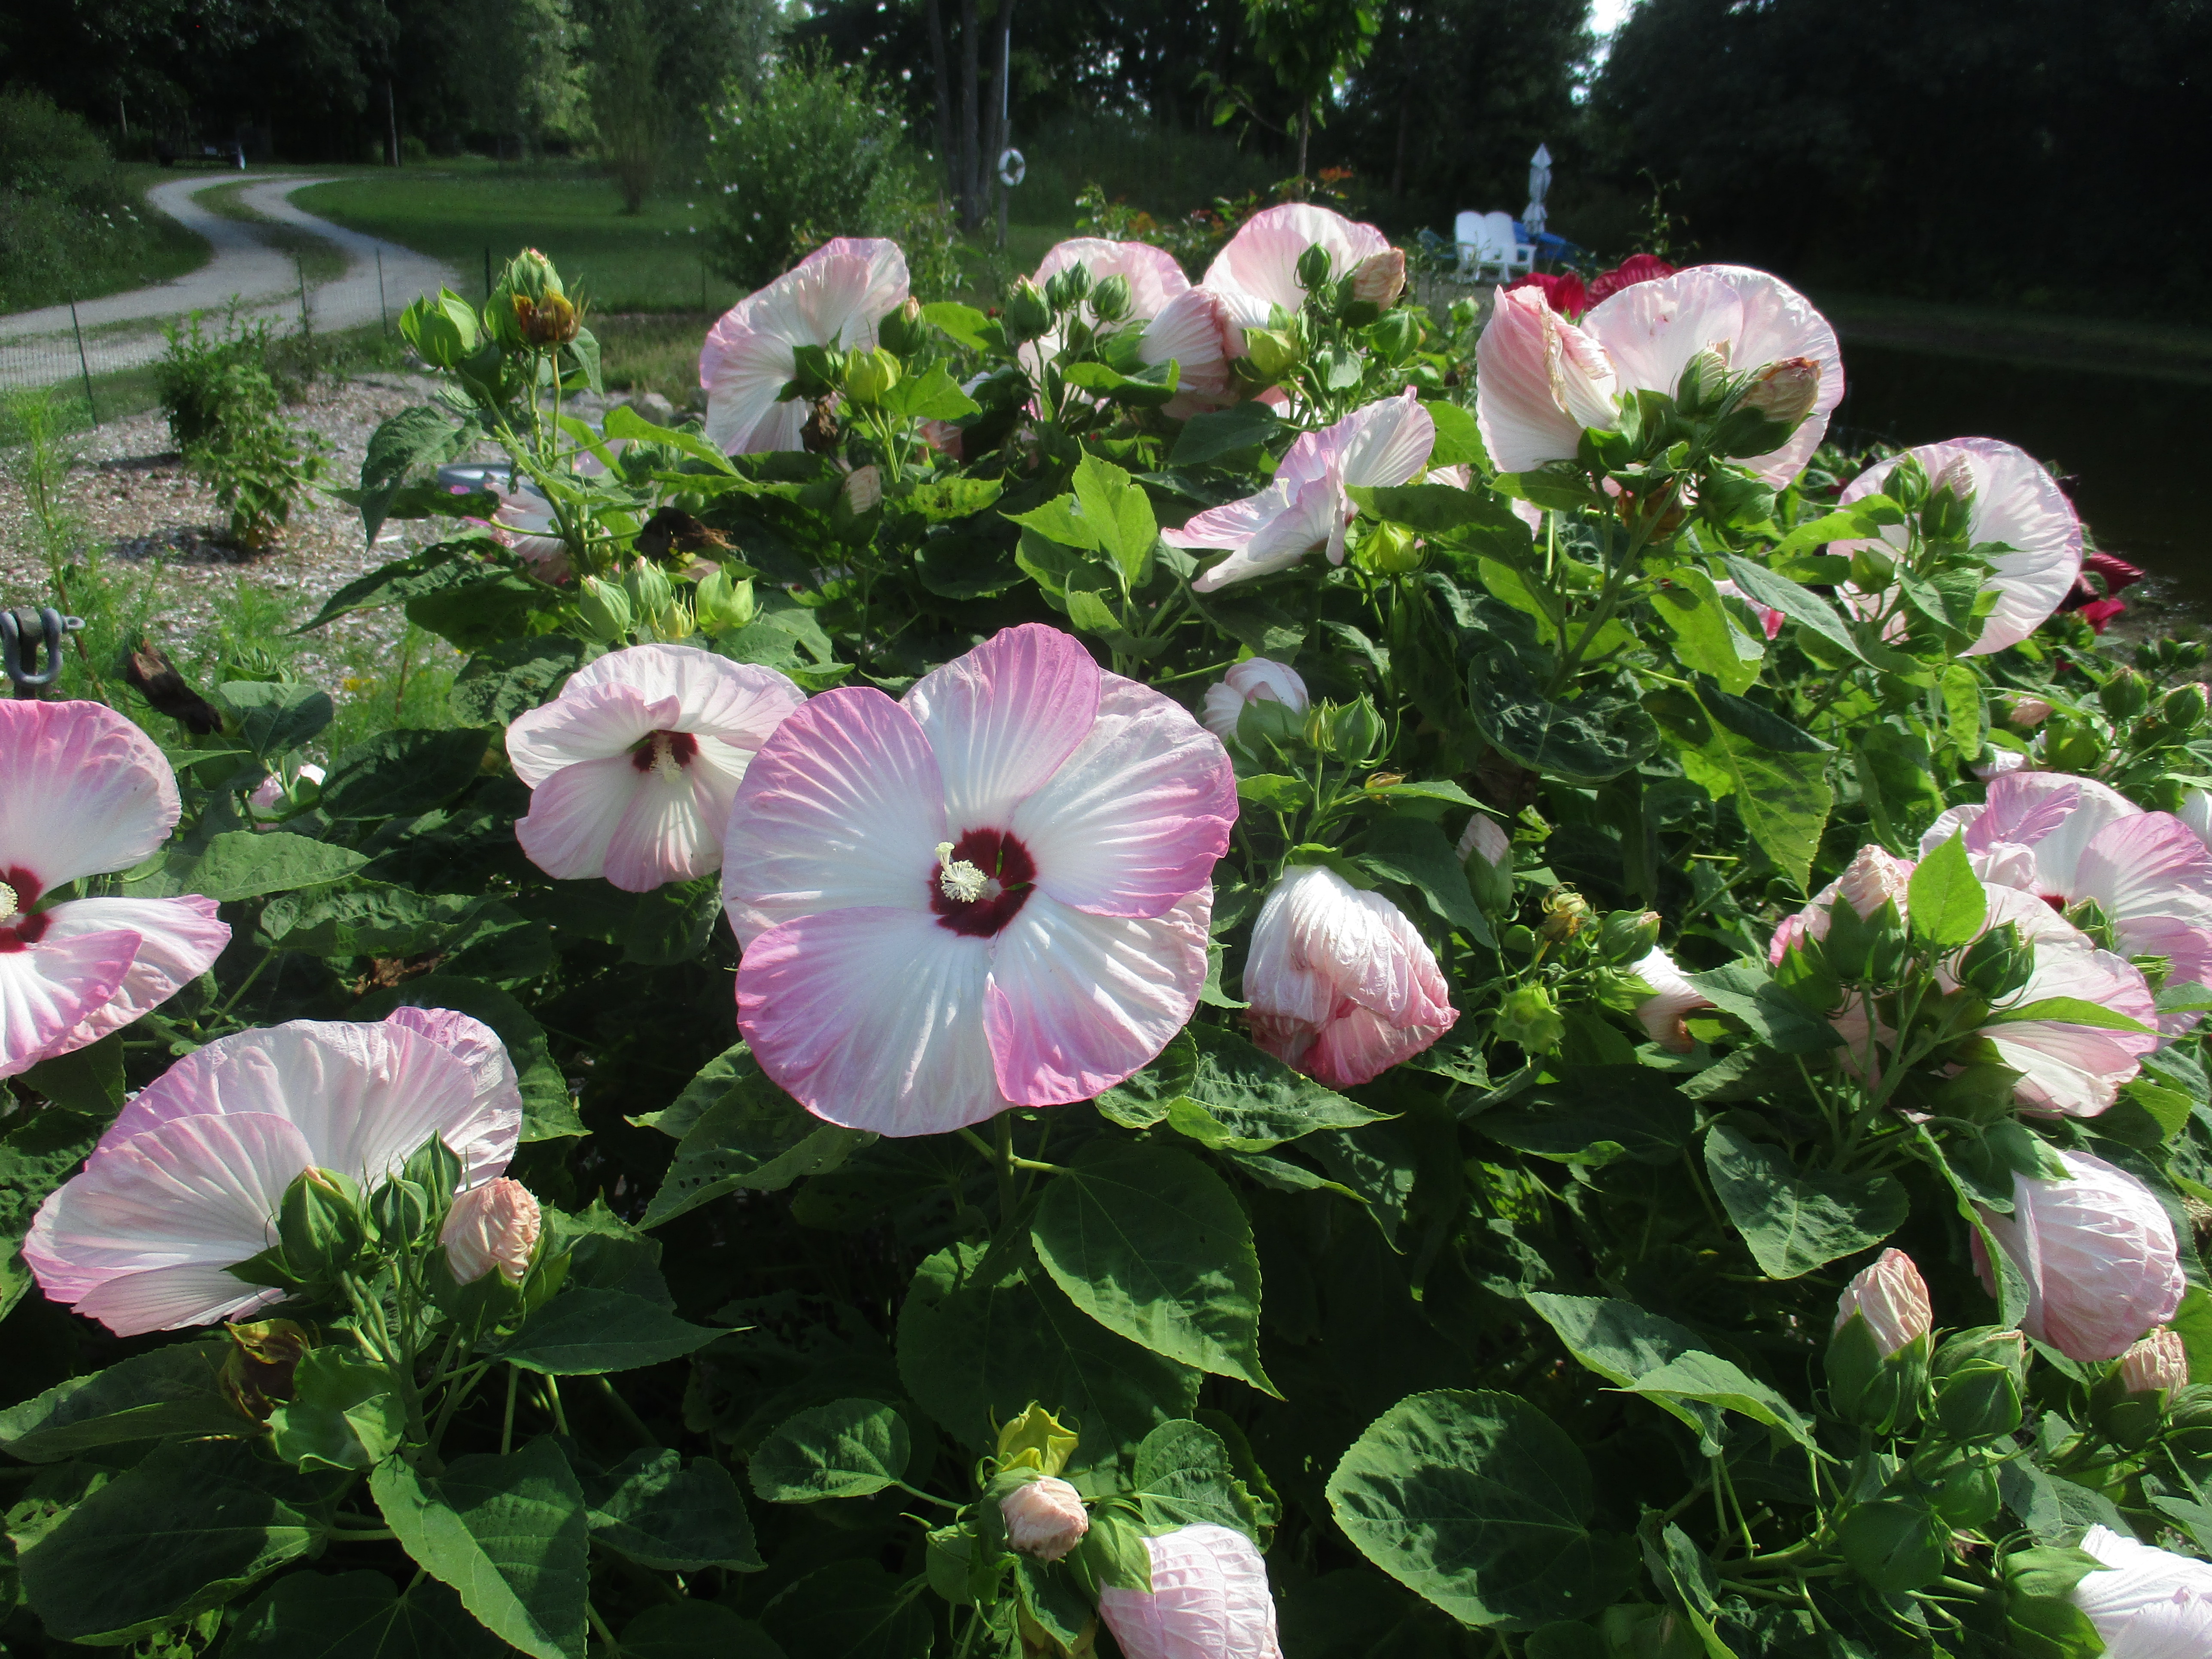

I don’t like to play favorites, but if I had to pick a favorite flower, it would probably be the hibiscus.

This hibiscus that I planted three years ago on my mom’s birthday was just beginning to open on Sunday, August 10, which would have been my mom’s 80th birthday.
Today it was in full bloom. 🙂

Several weeks ago we decided that we needed to rework the memorial garden the we planted this spring. This garden memorializes our parents who have all passed away. The beautiful lupine plants that were planted on either side of the rock were struggling, apparently not getting enough sun. My husband dug them up and planted them in the very sunny prayer garden and they have since developed new growth.
On Saturday, August 9, I visited my sister who wanted to thin her flower beds. My husband and I decided the shade loving hostas would do well in the memorial garden. My sister had just what we were looking for. She was very generous, selecting the large beautiful plants, instead of the ones the deer had eaten. The two light green hostas were one that my husband split before planting. I also brought home a lungwort plant that my husband split and planted (the dark green wilted plants). It looks sad after being transplanted but I read that it will develop new growth and should be fine.
Veggies
Our garden situation is changing daily and some of these photos are about two weeks old. I’ve just fallen behind in my blogging.
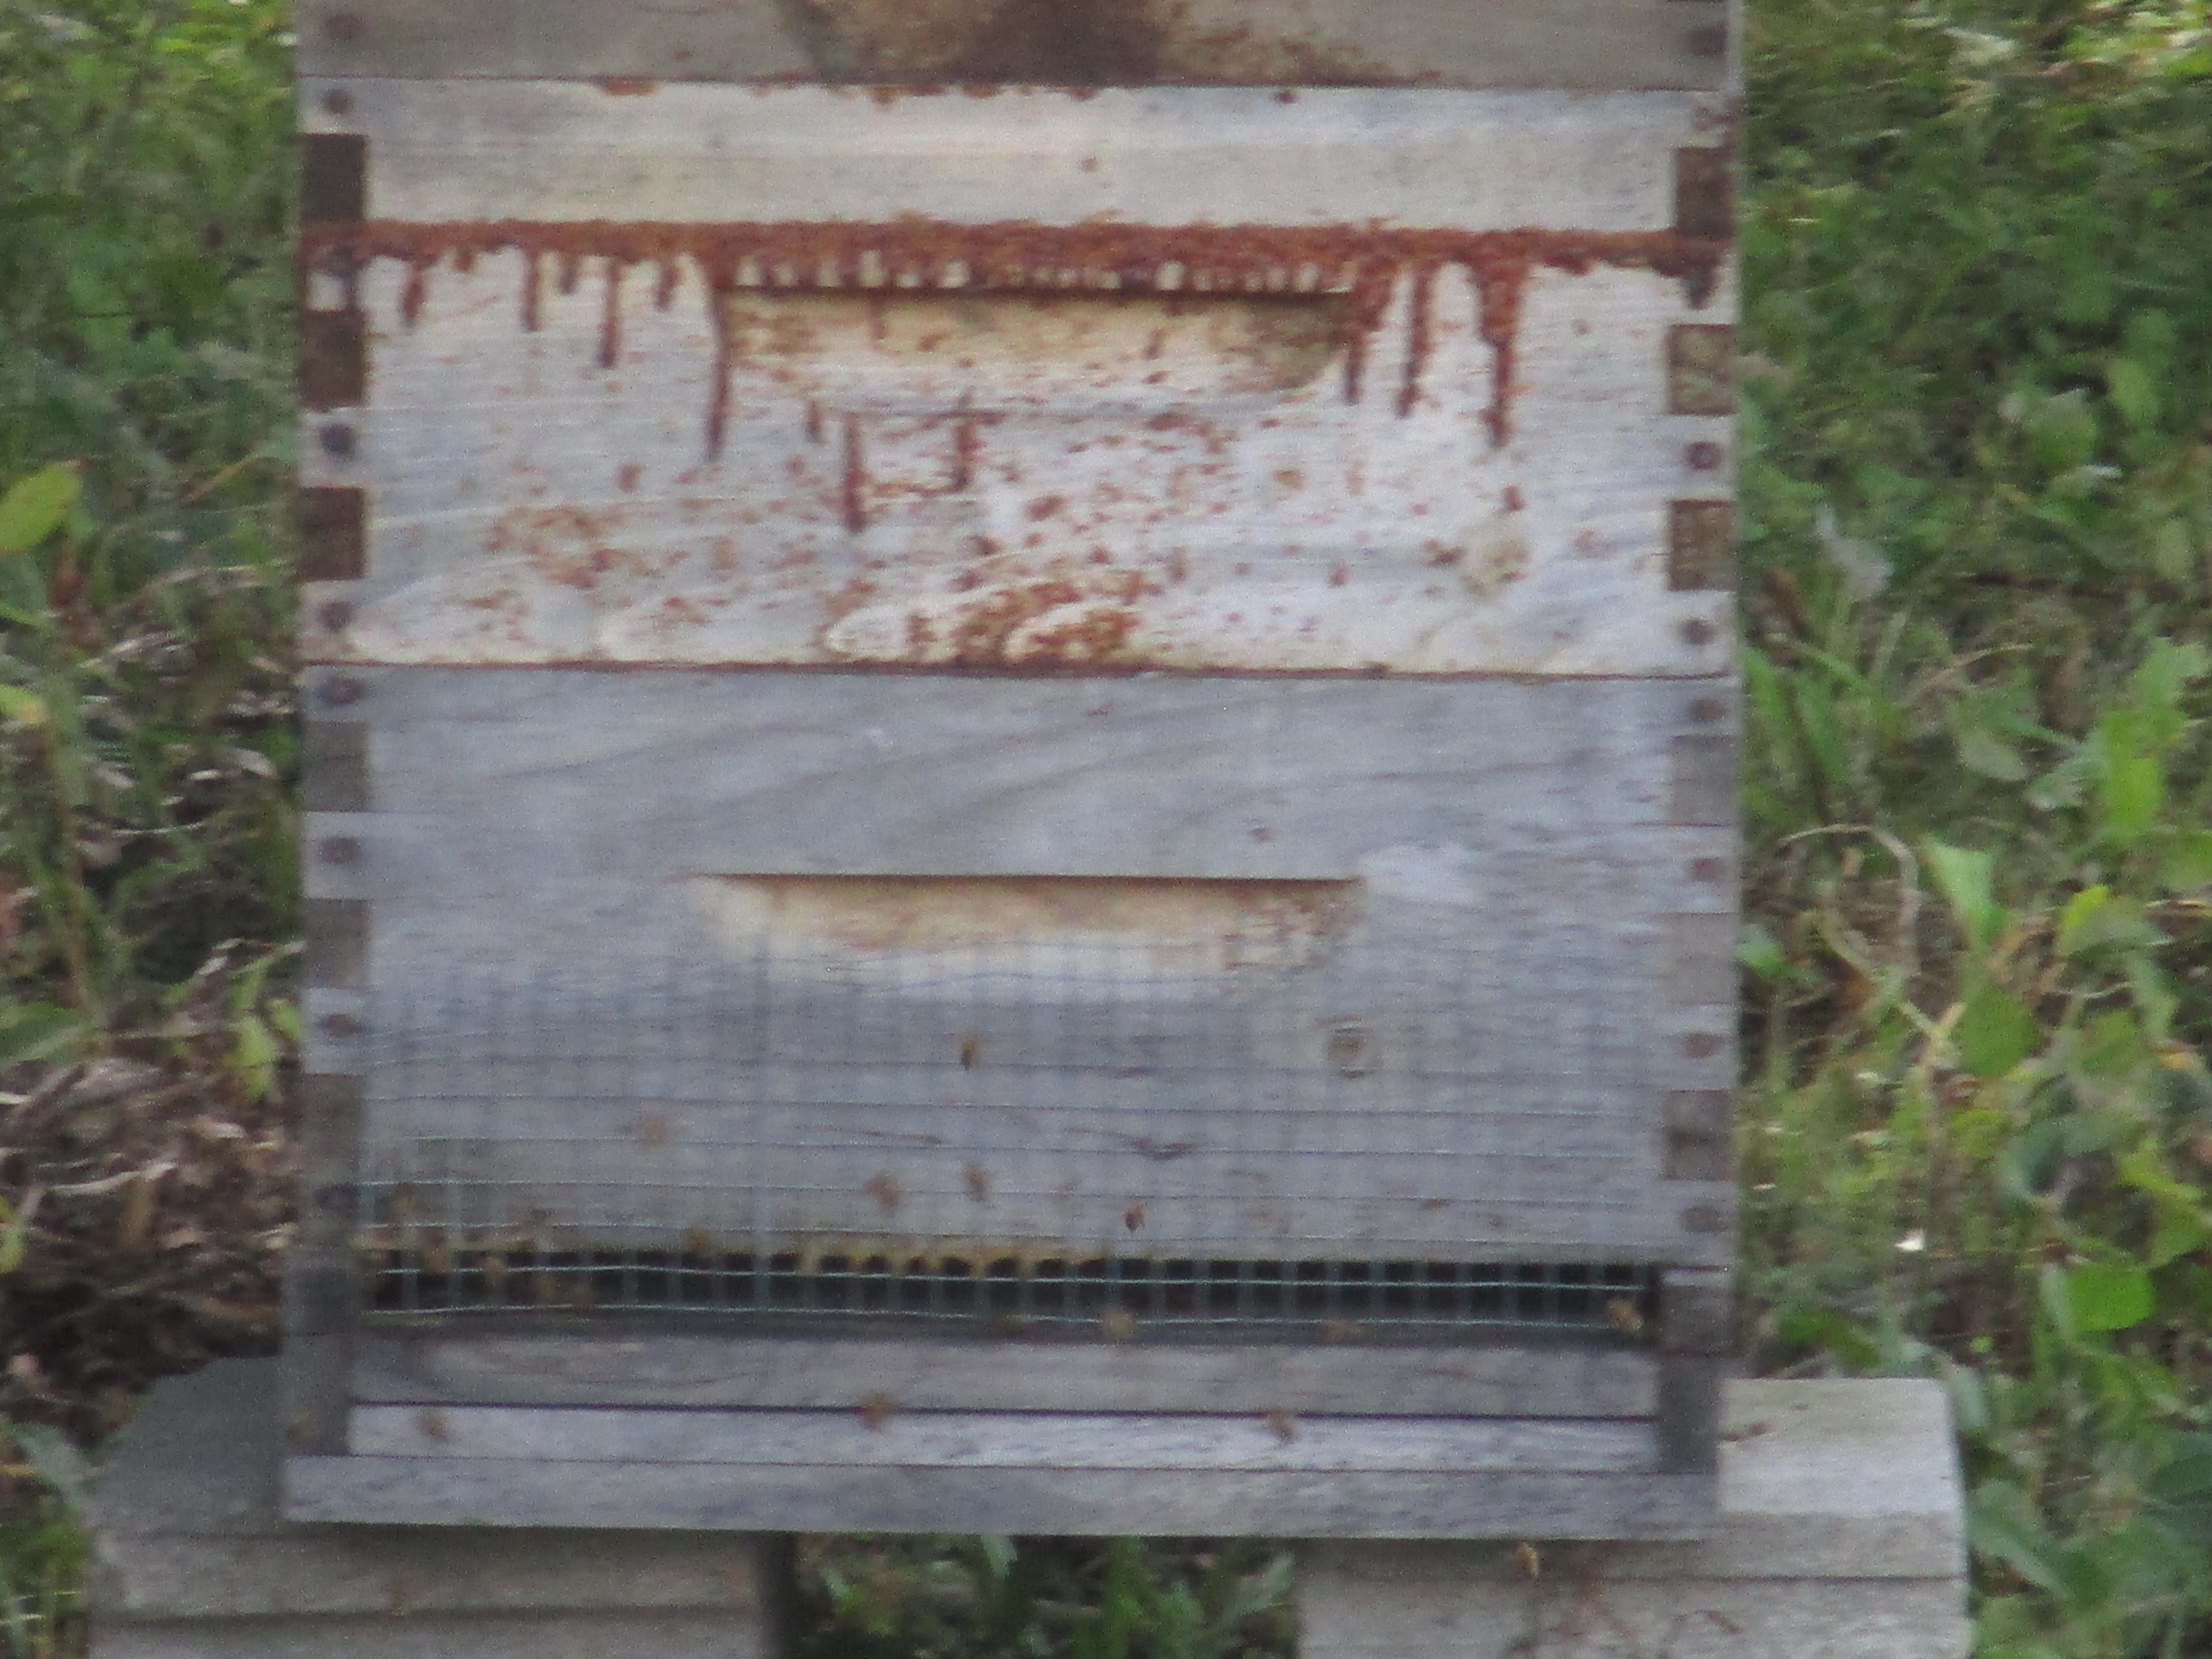
The honeybees that moved into our empty hive seem to be doing well.
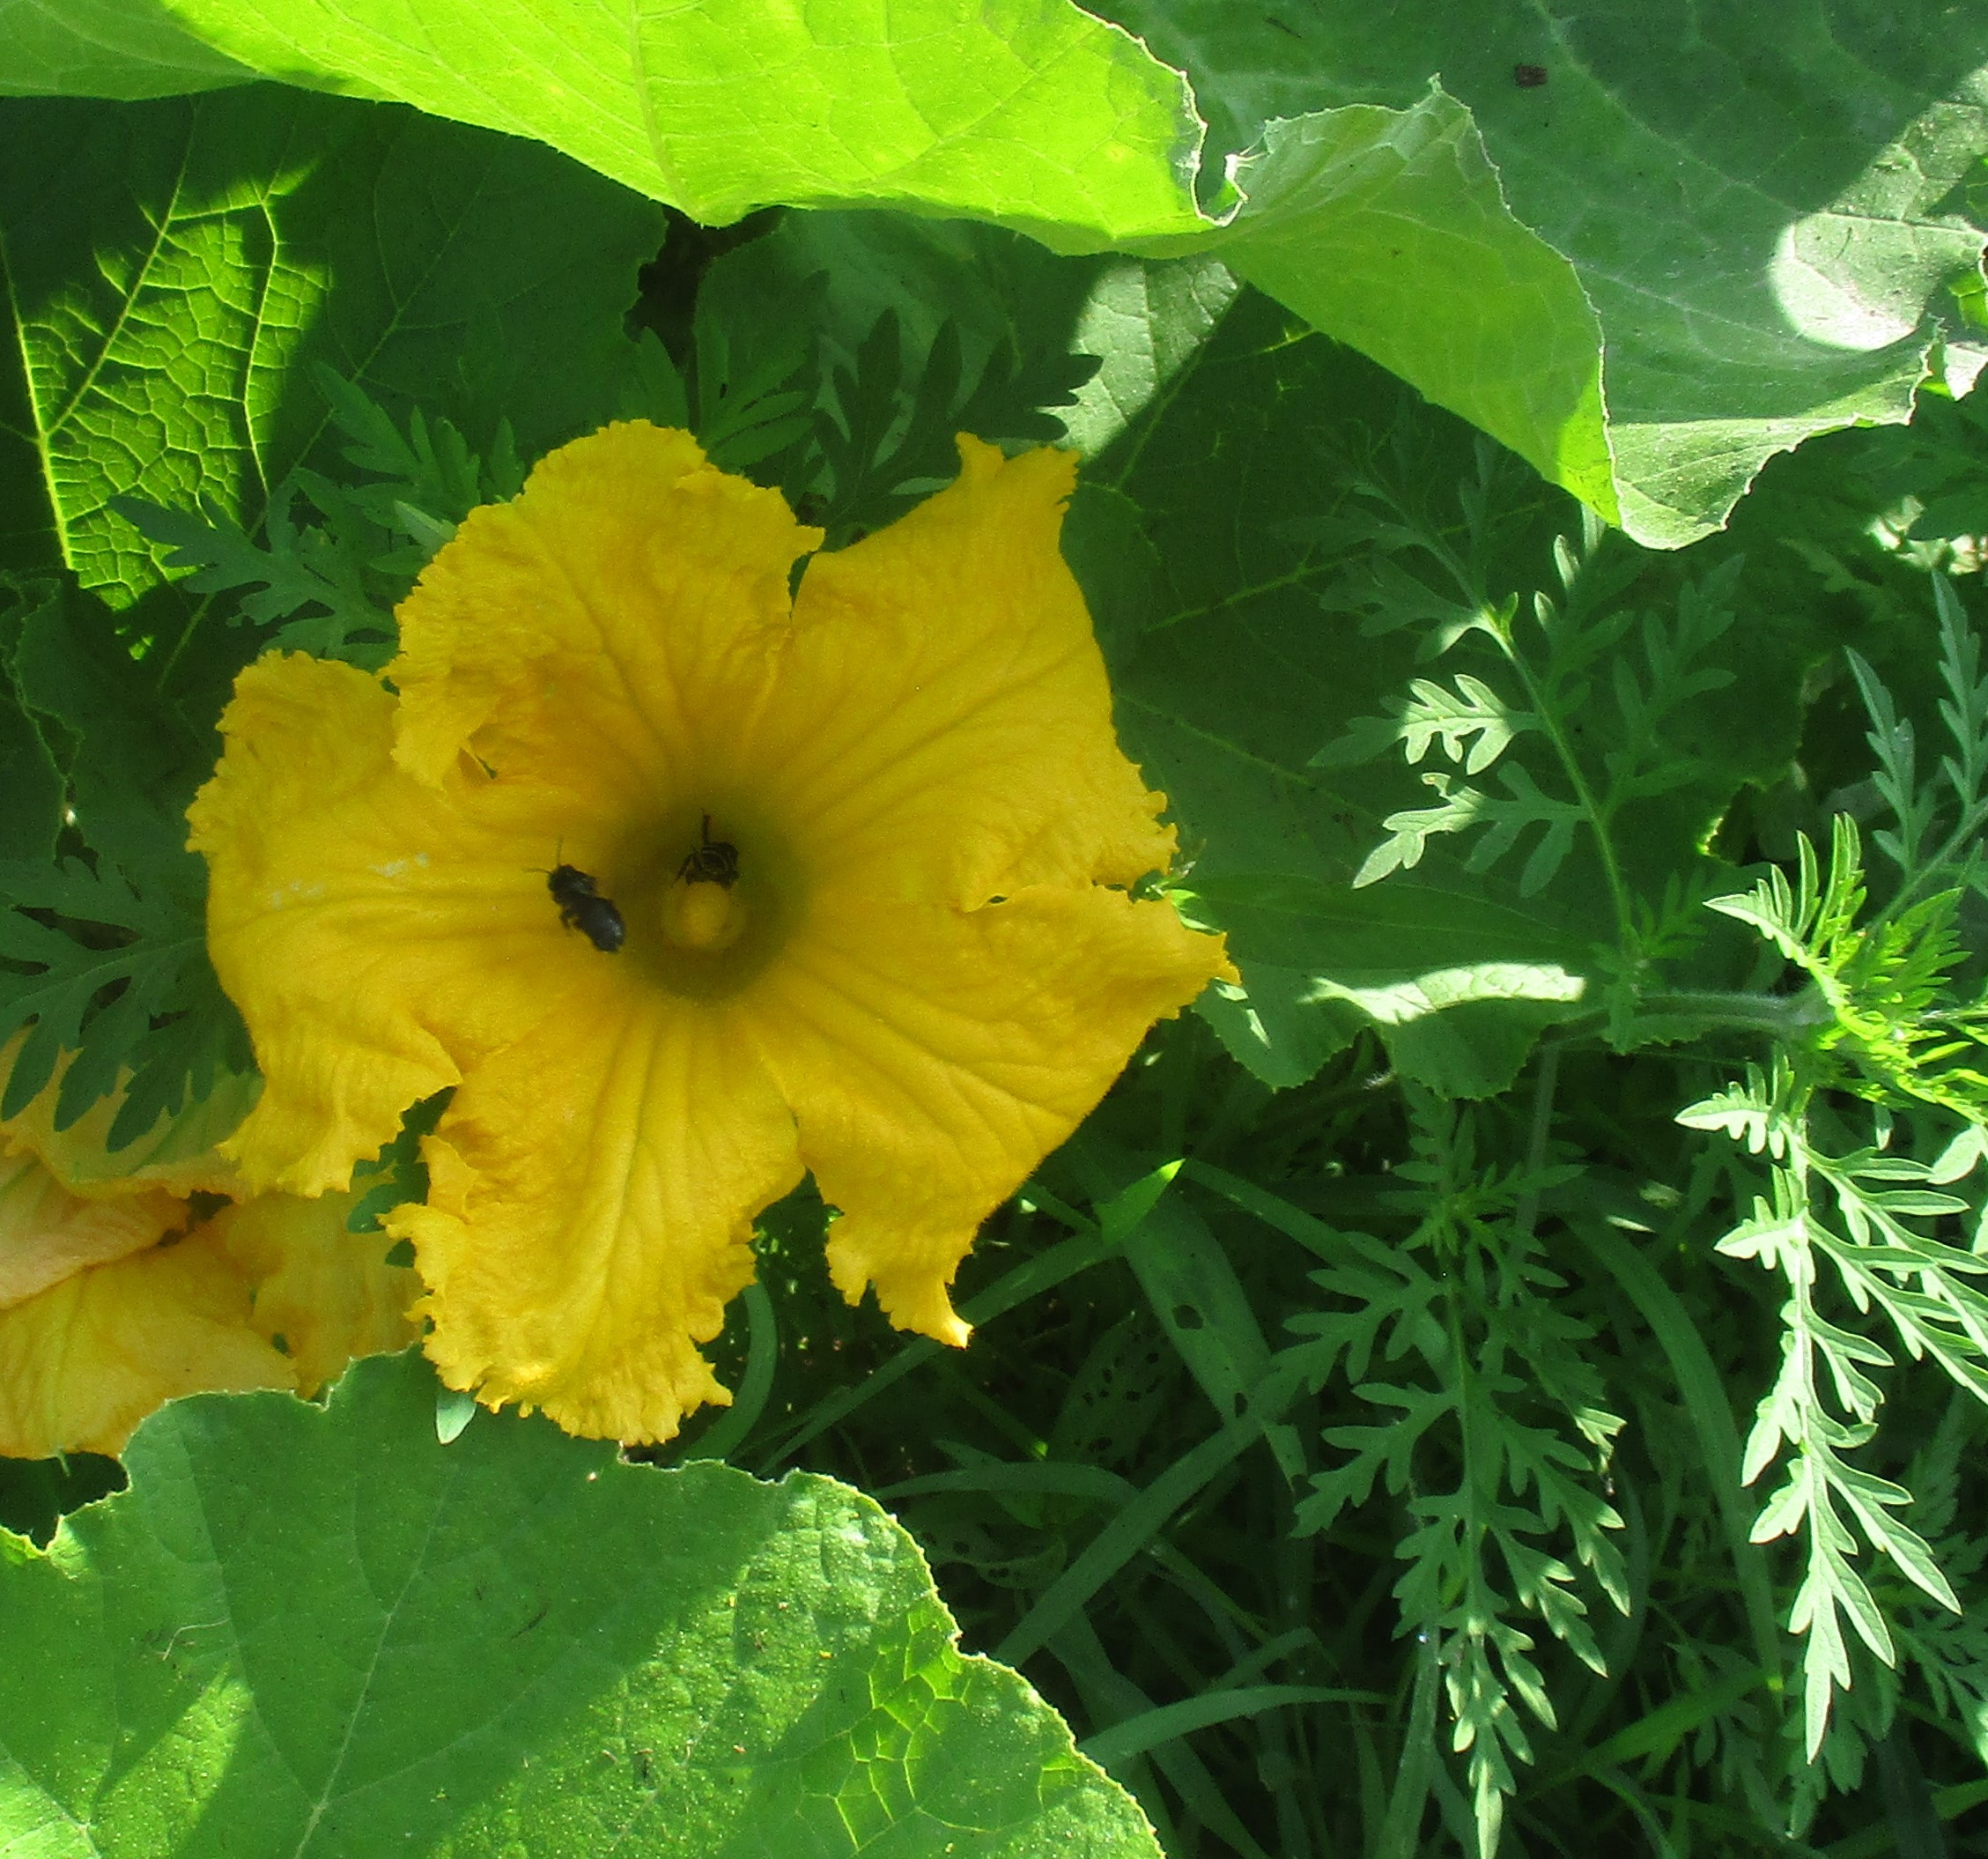
Bees love squash and pumpkin blossoms.

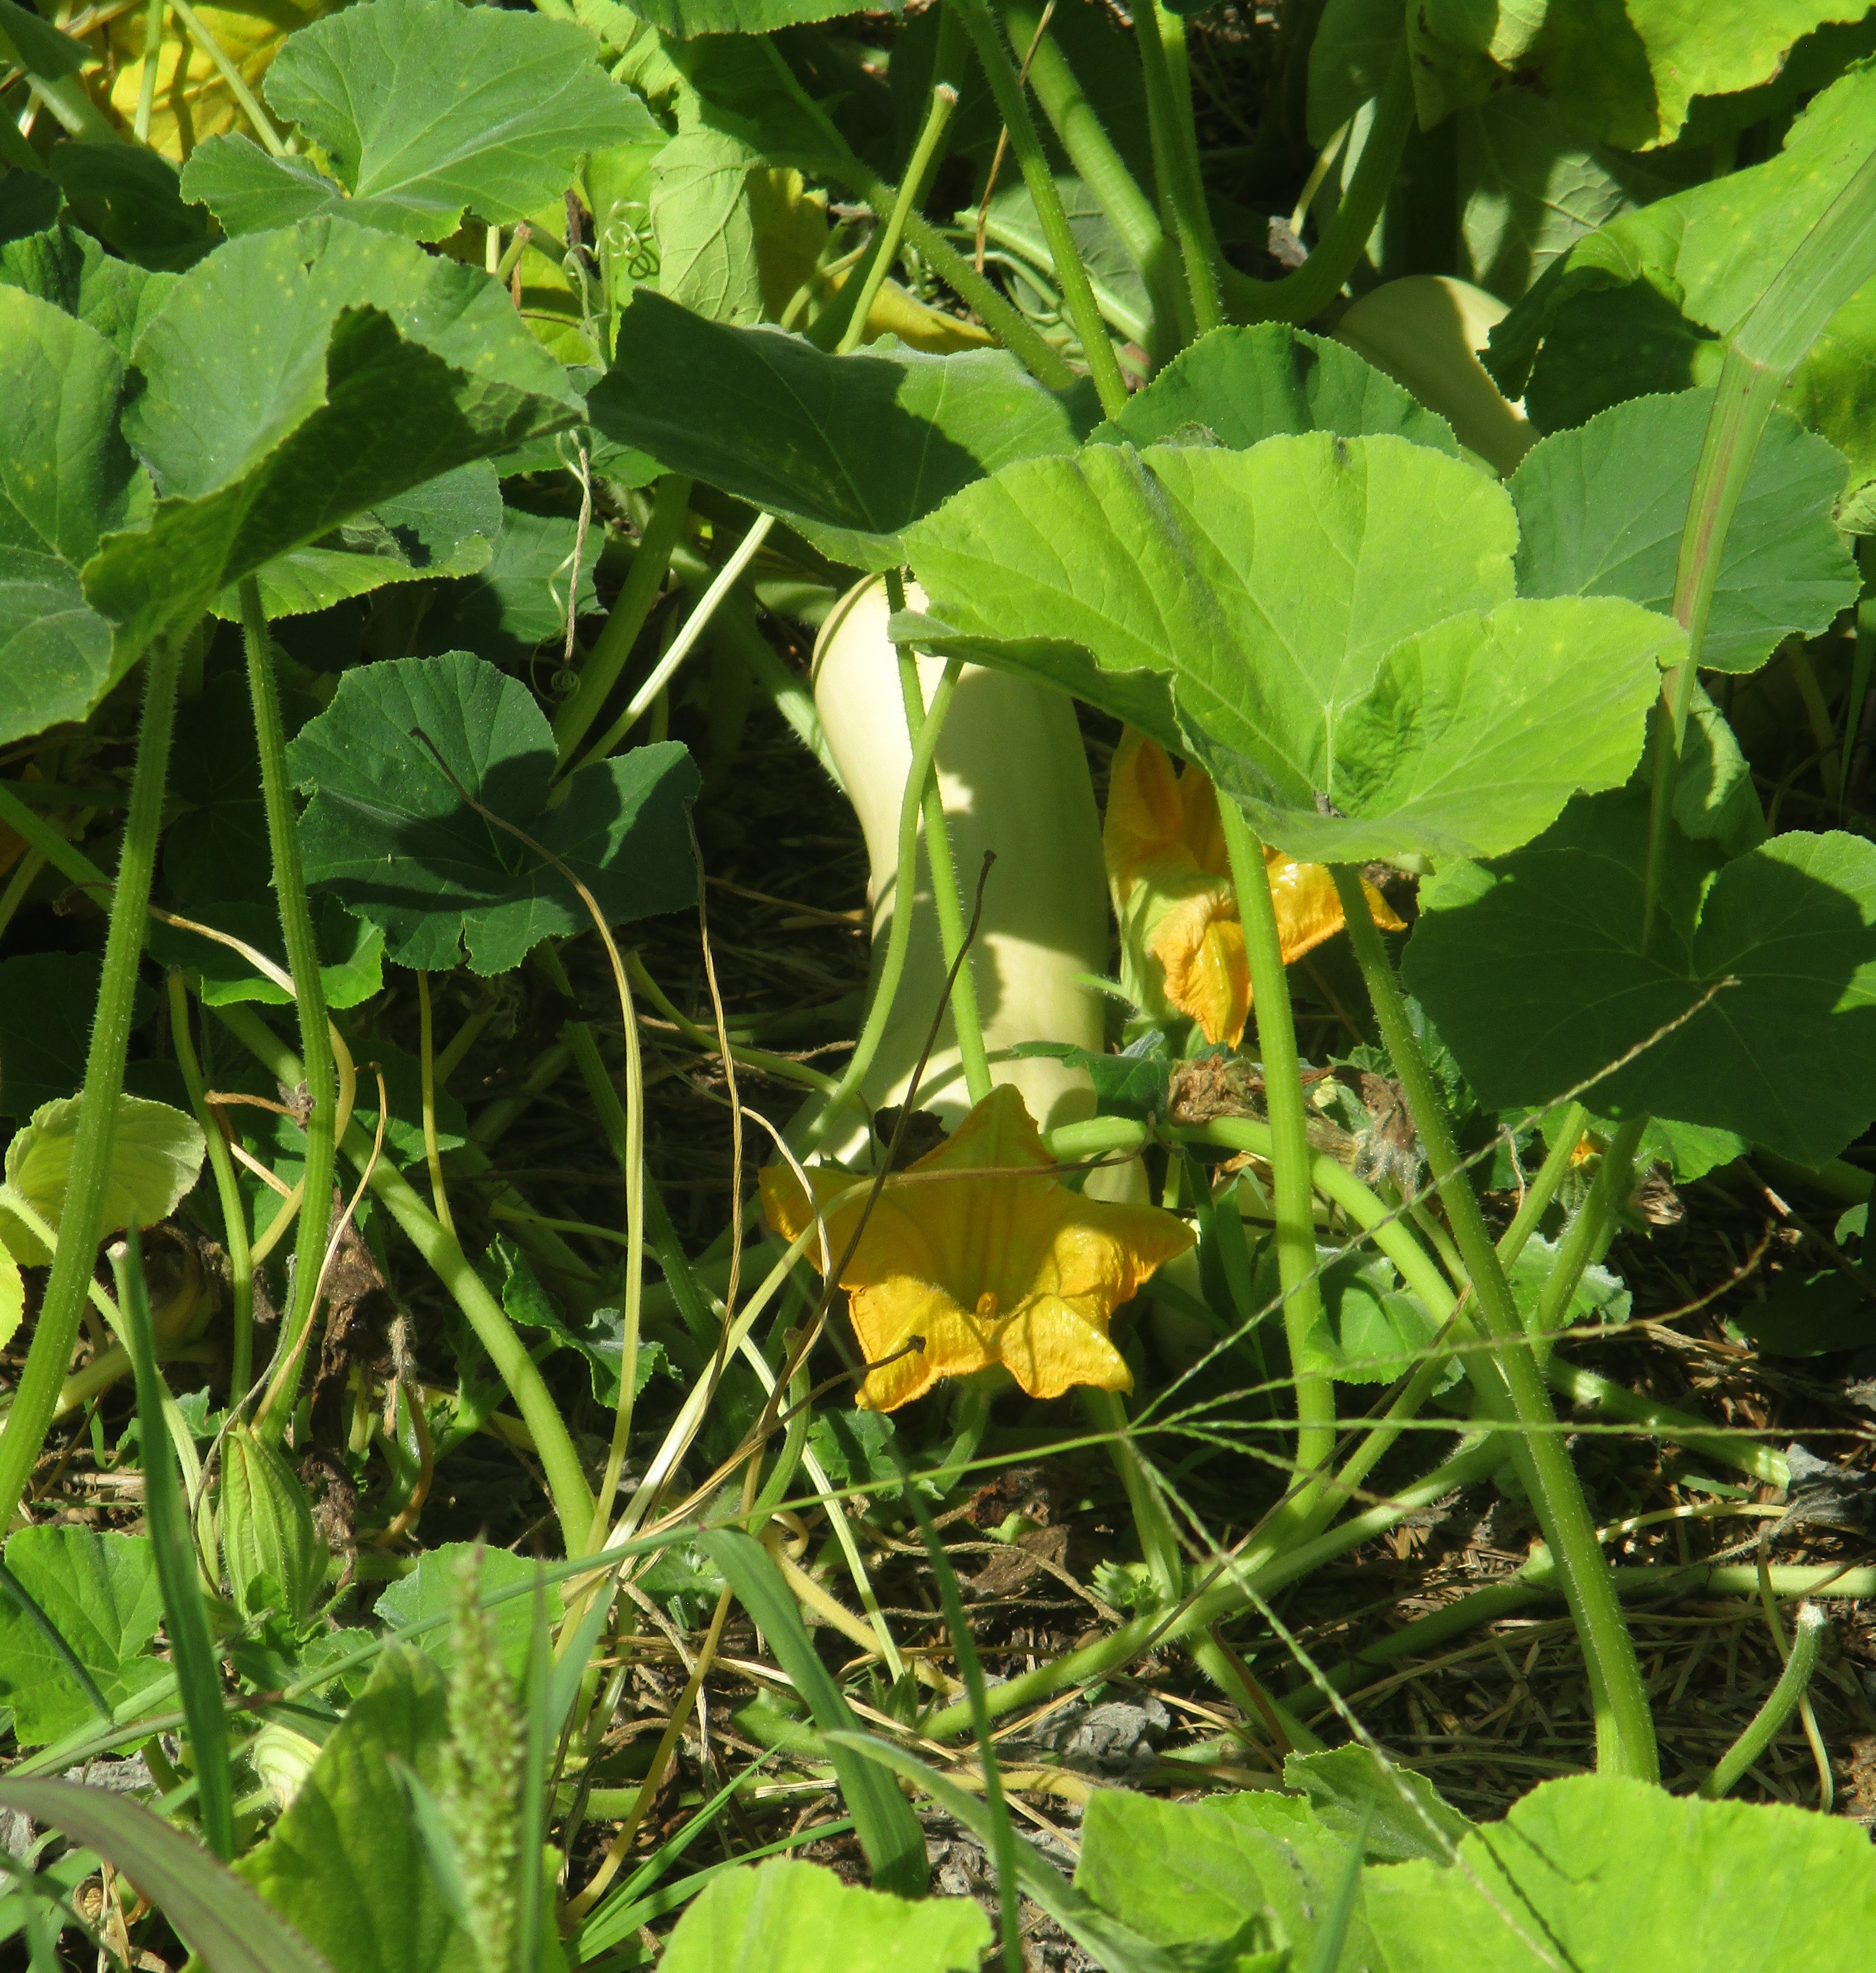
And this is what can happen when a pumpkin or squash blossom is pollinated. 🙂

A basket of fresh garden goodness. My husband has been bringing home this basket full of veggies every day.

Eggplant, sweet corn, beets, green beans, tomatoes, banana peppers and cucumber were the haul on that day. Many of these vegetables are being eaten fresh. Others are being canned or frozen.
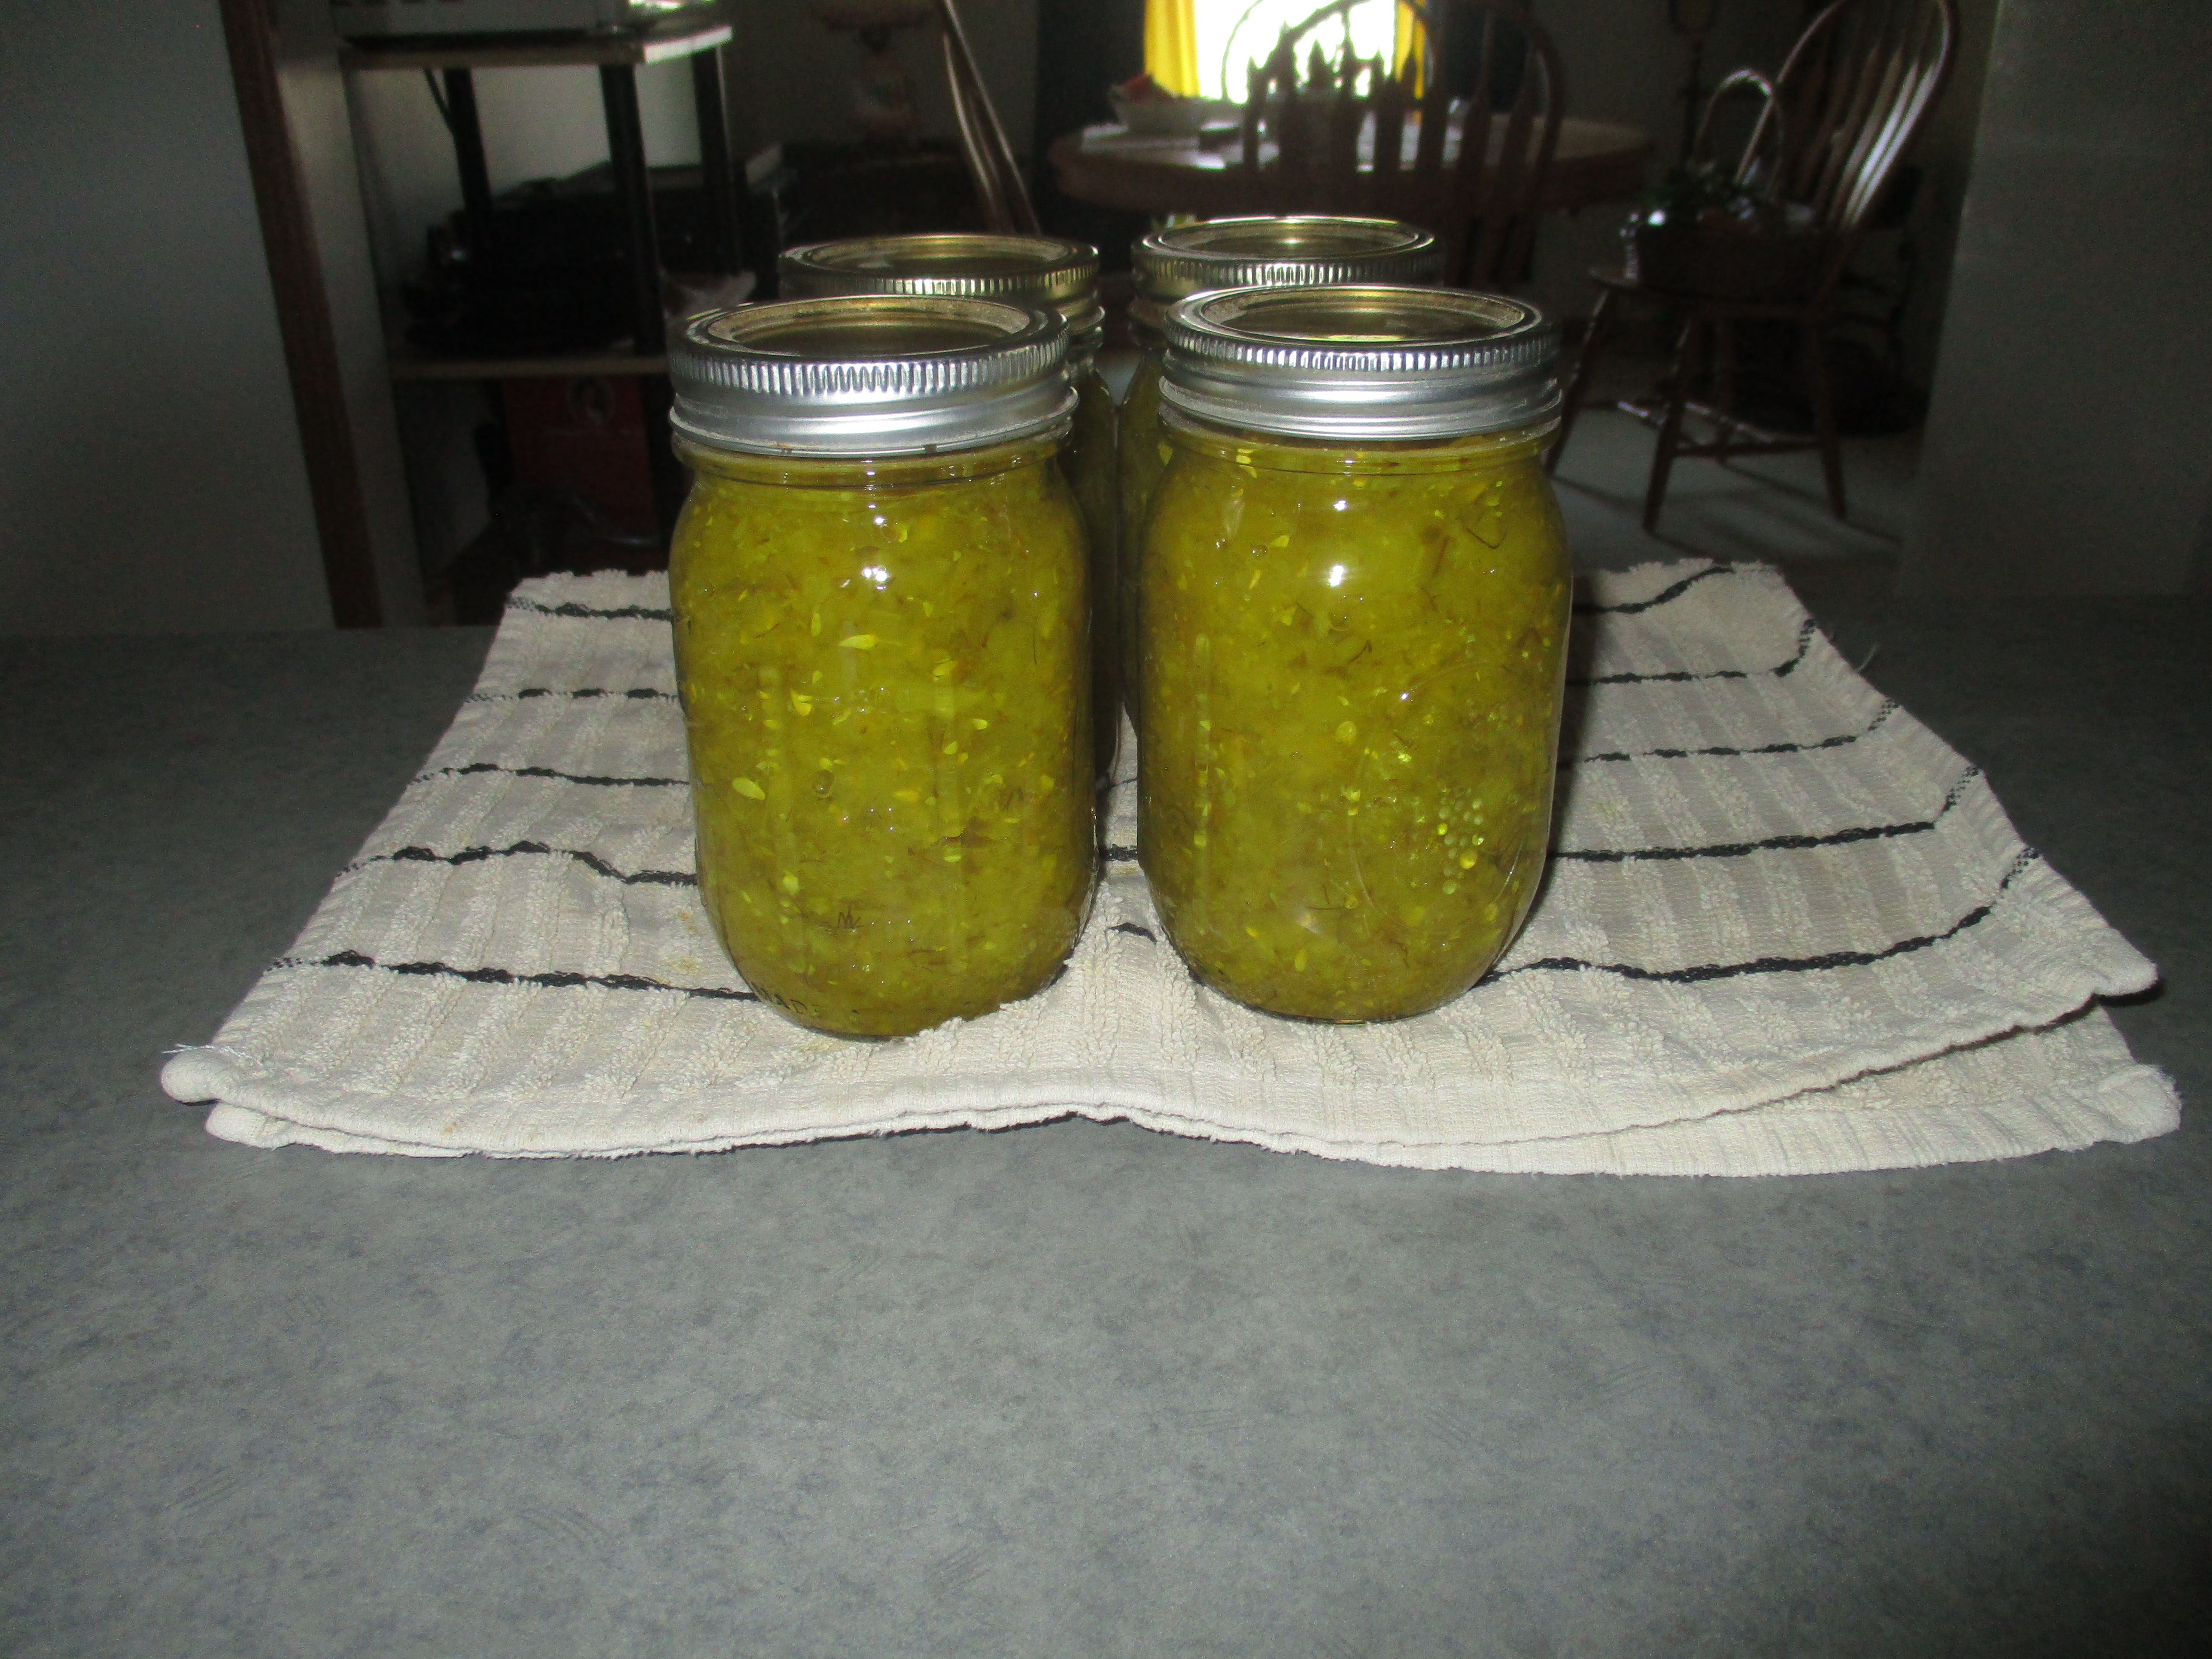
I made four pints of dill relish last week.
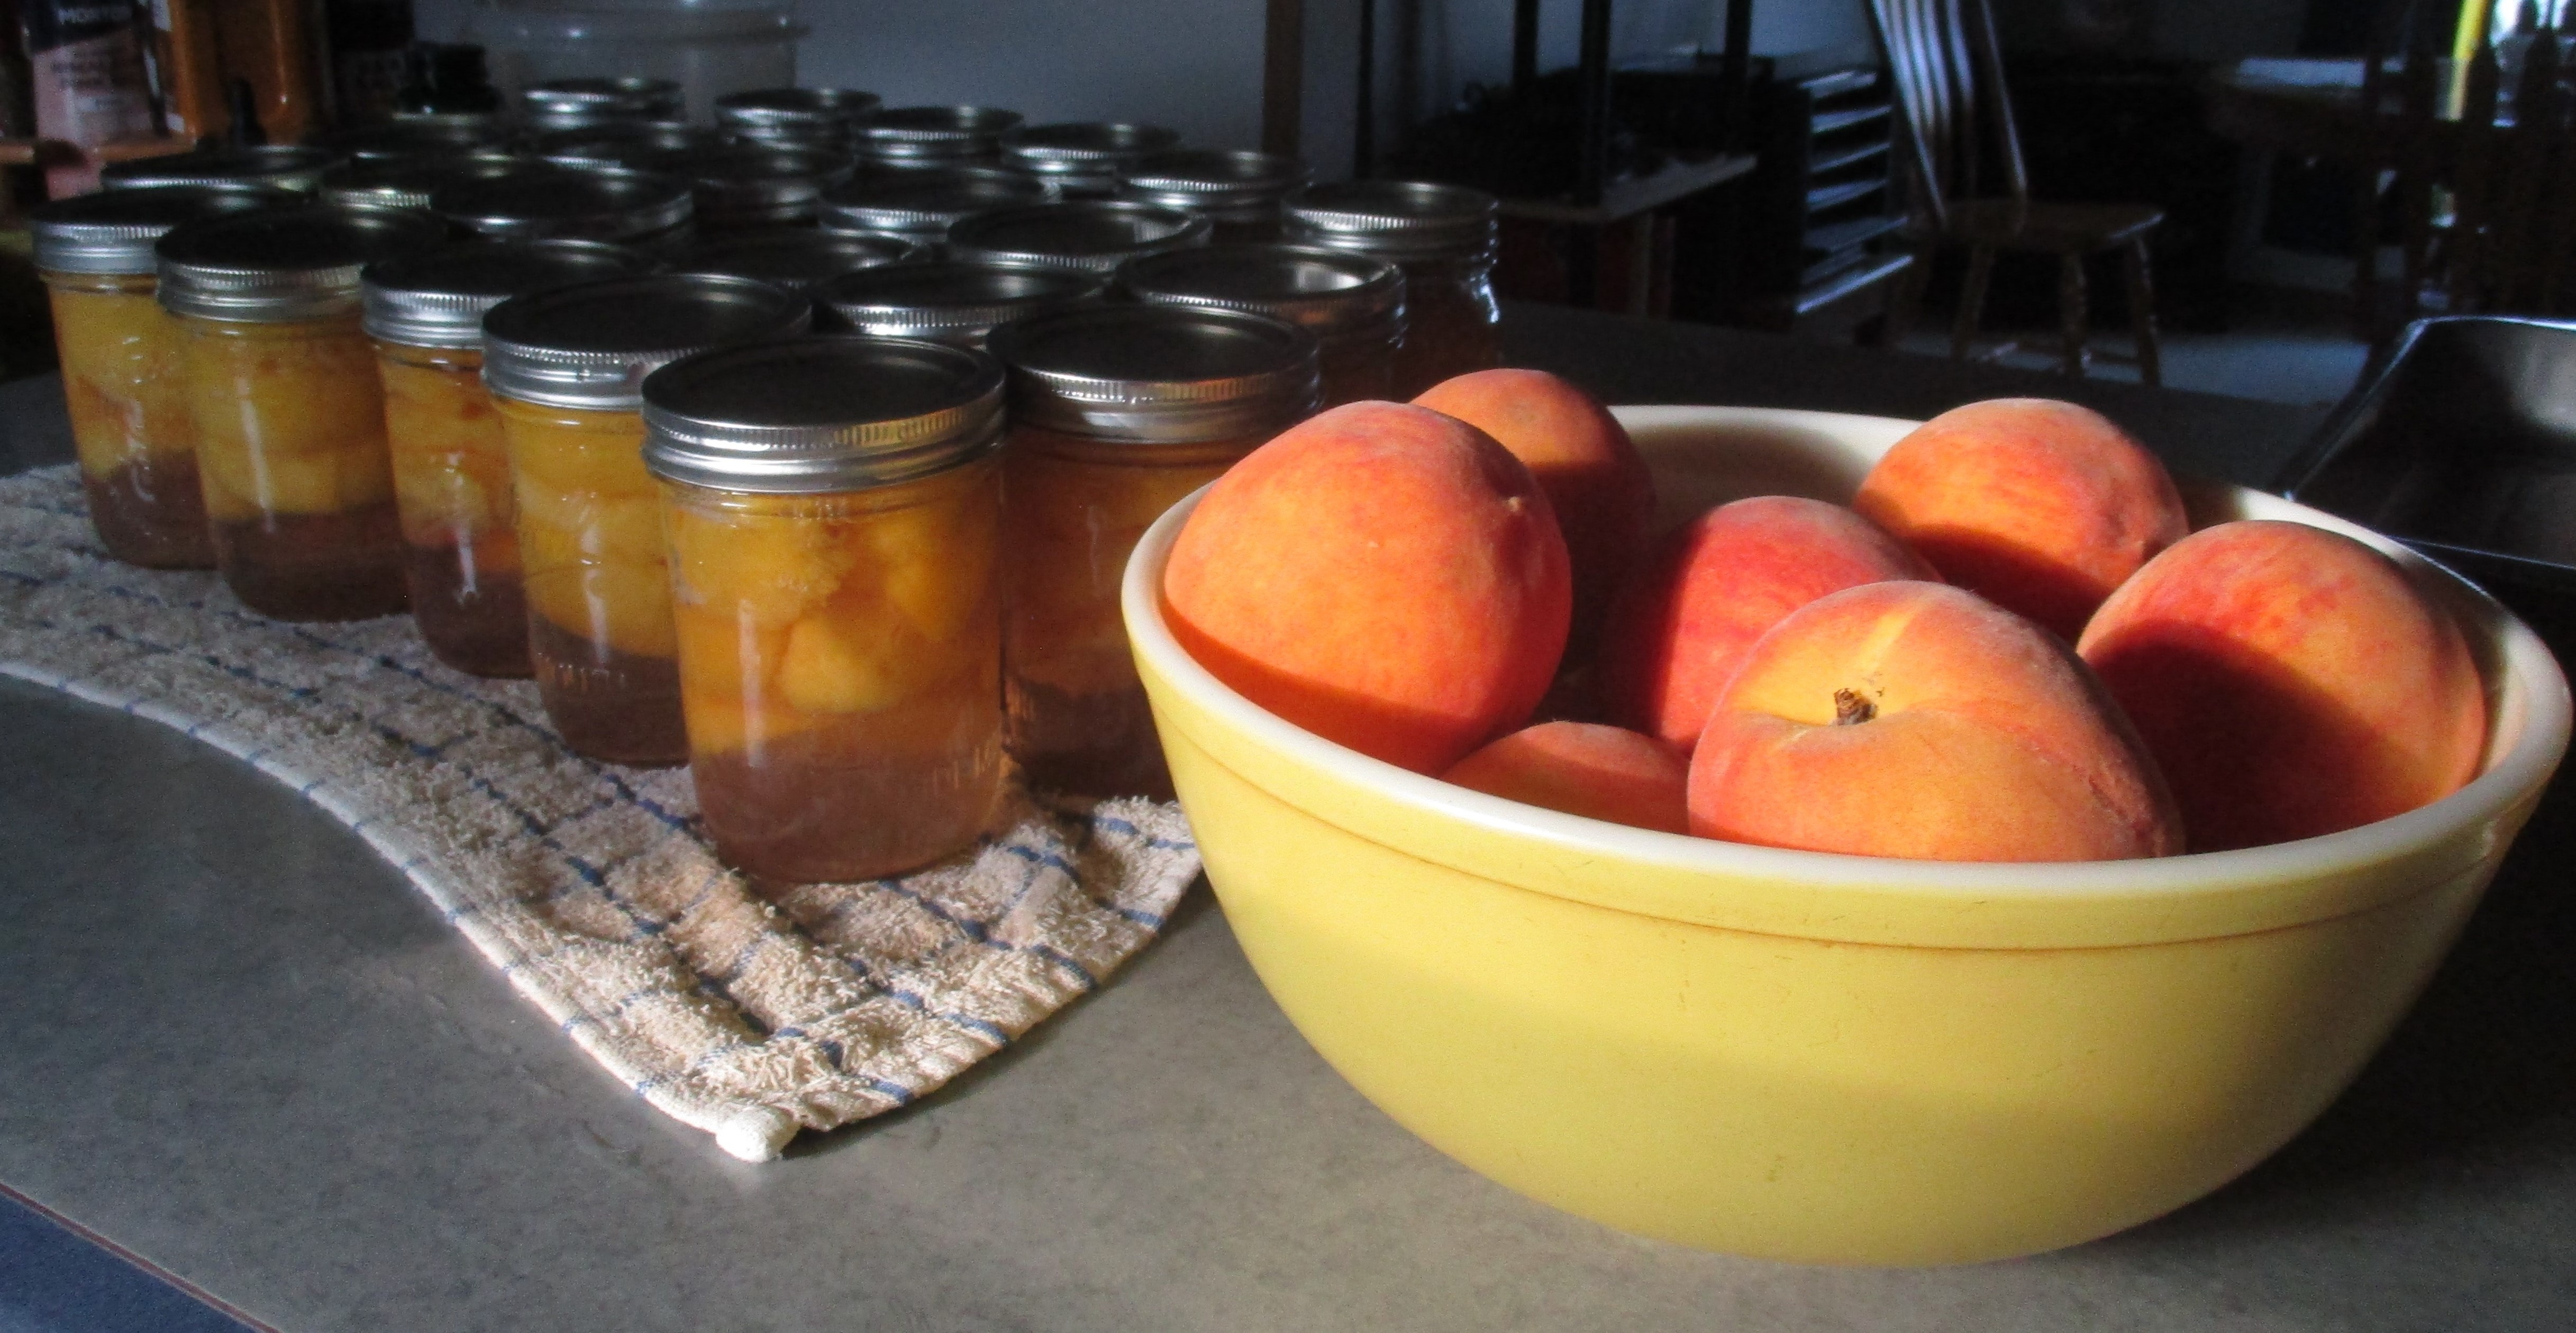
On Wednesday my husband and I made a trip to the orchard so I could can some peaches. On Thursday I canned 23 pints of peaches and had a dozen left over for eating fresh. Sunday, I made peach cobbler with five of the fresh ones.

One of our peach trees produced two peaches.
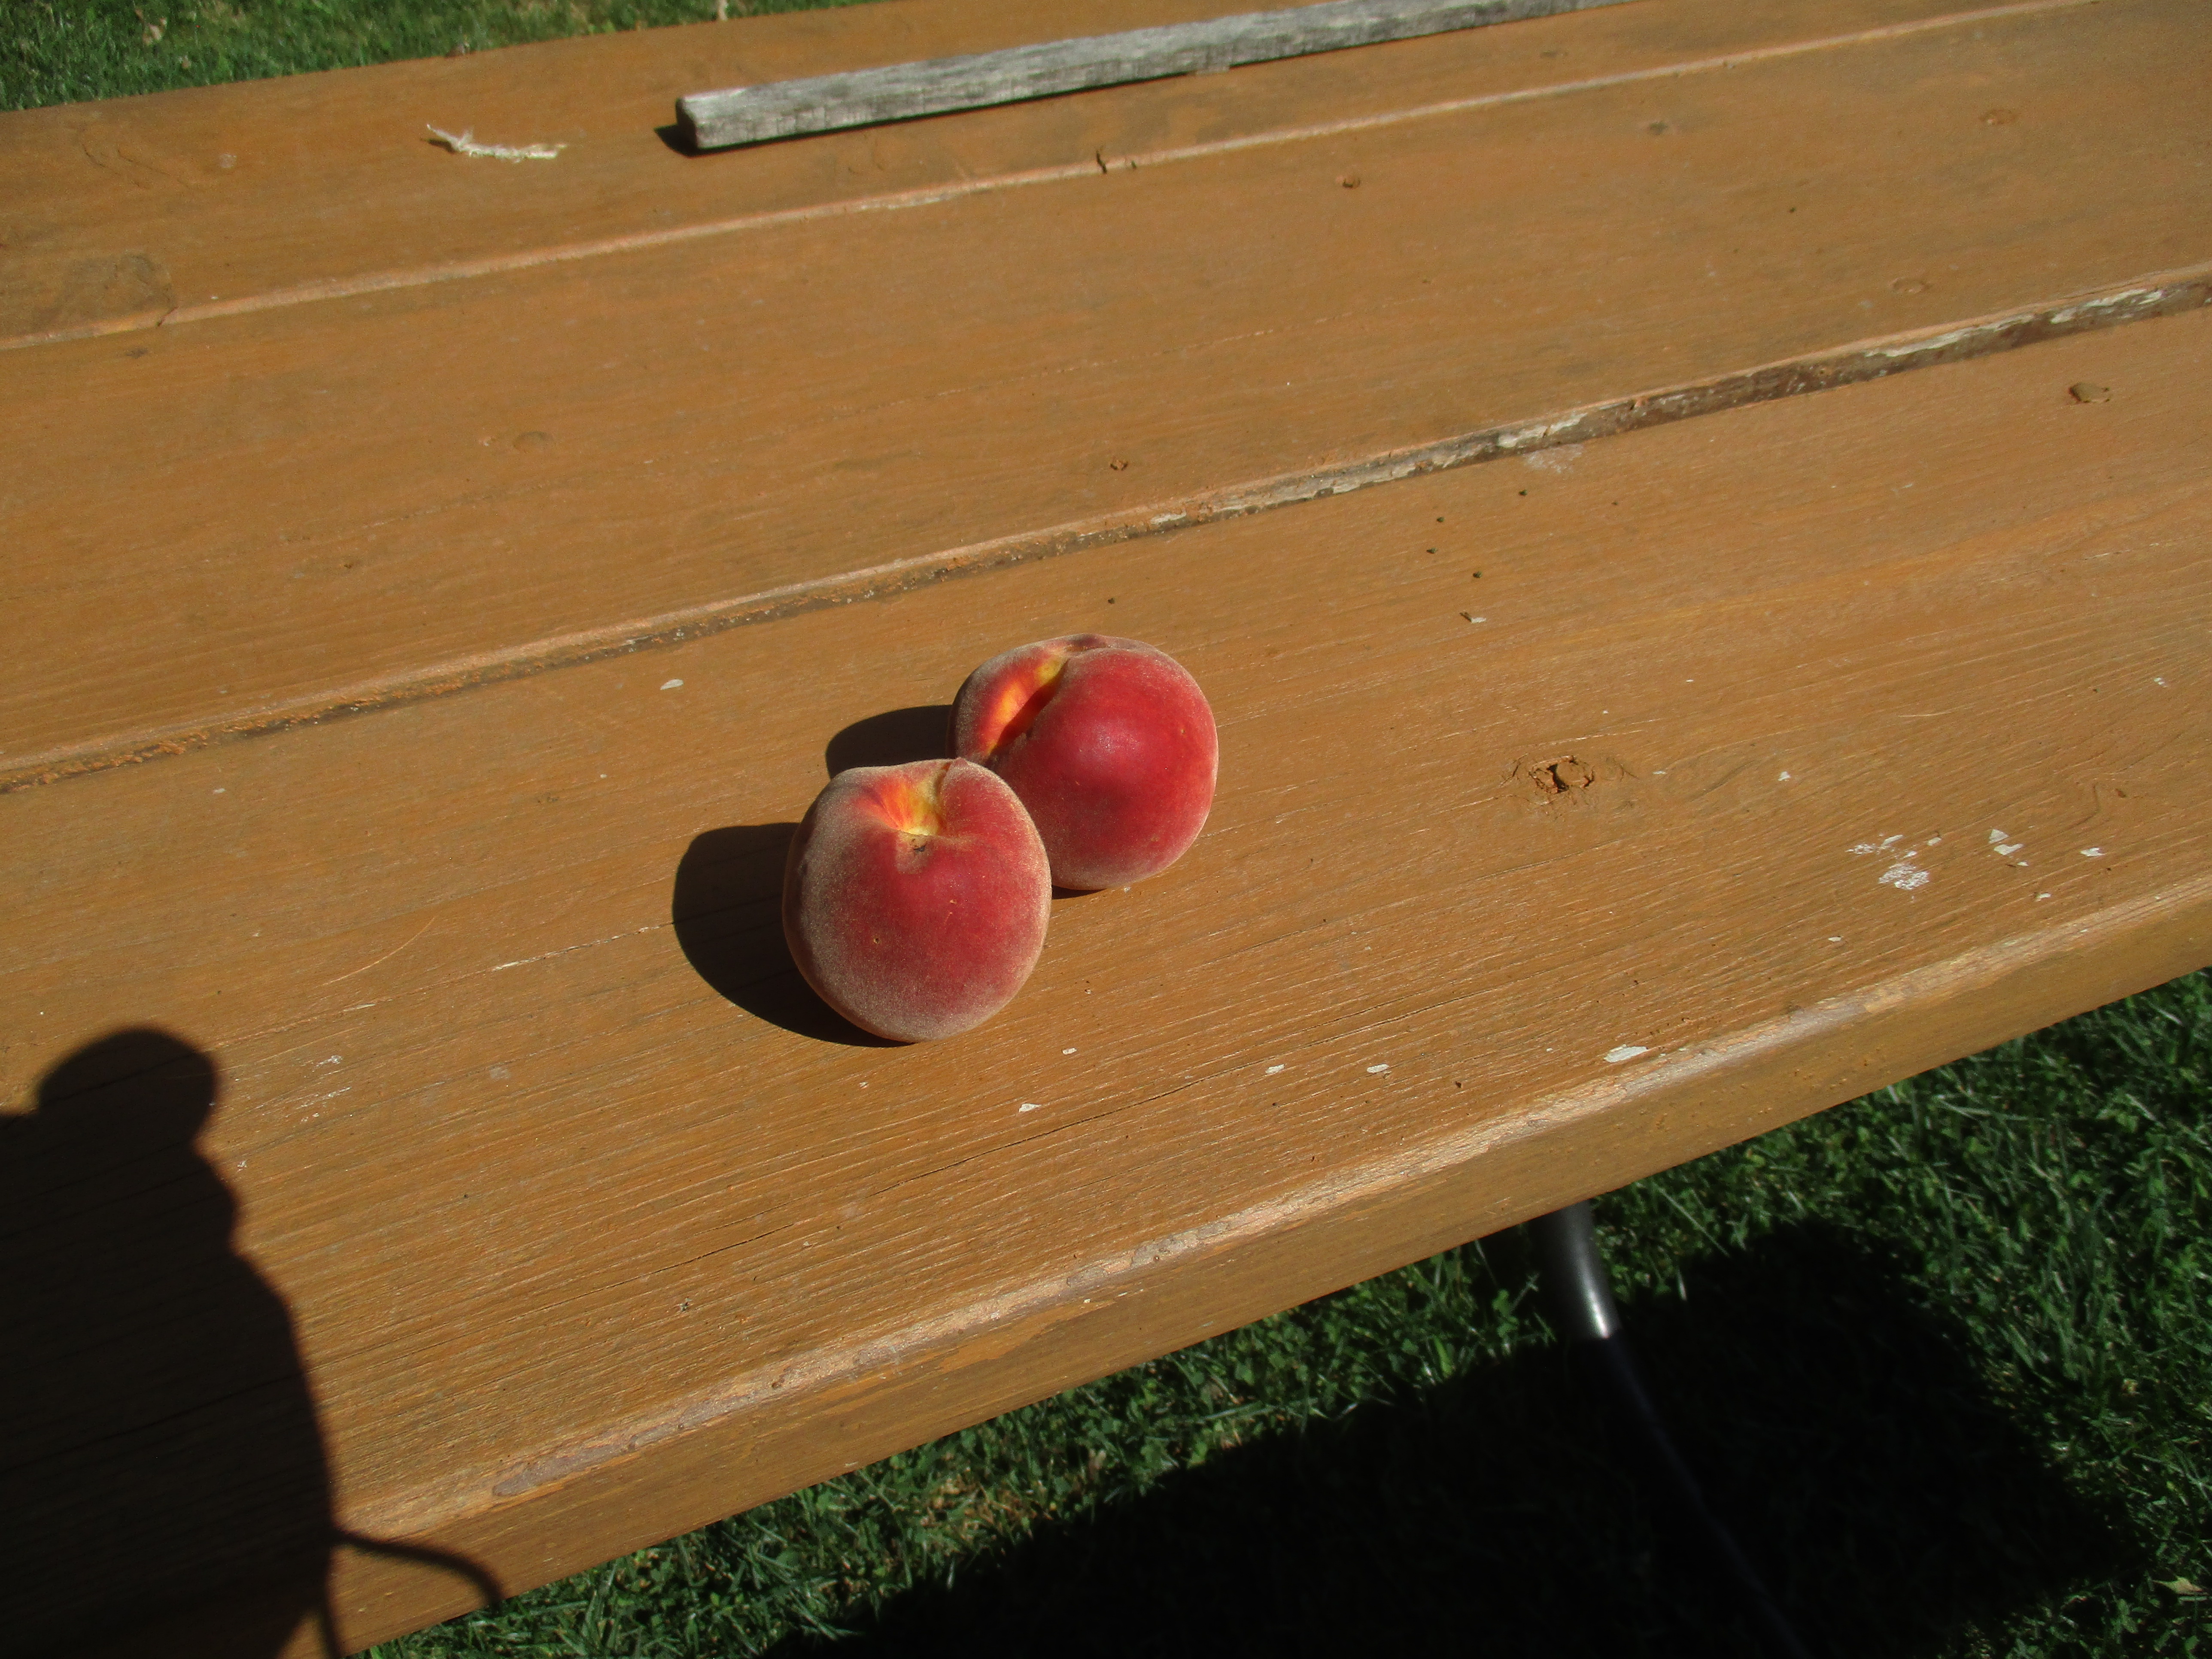
One for my husband and one for me. They were perfectly ripe when I picked them yesterday and so delicious. The orchard peaches, that were picked before they were ripe, were not as sweet as these.

They are not ready yet, but it looks like we will have a great apple crop.

The other thing the bees are enjoying right now are the sunflowers.


But who doesn’t love sunflowers.
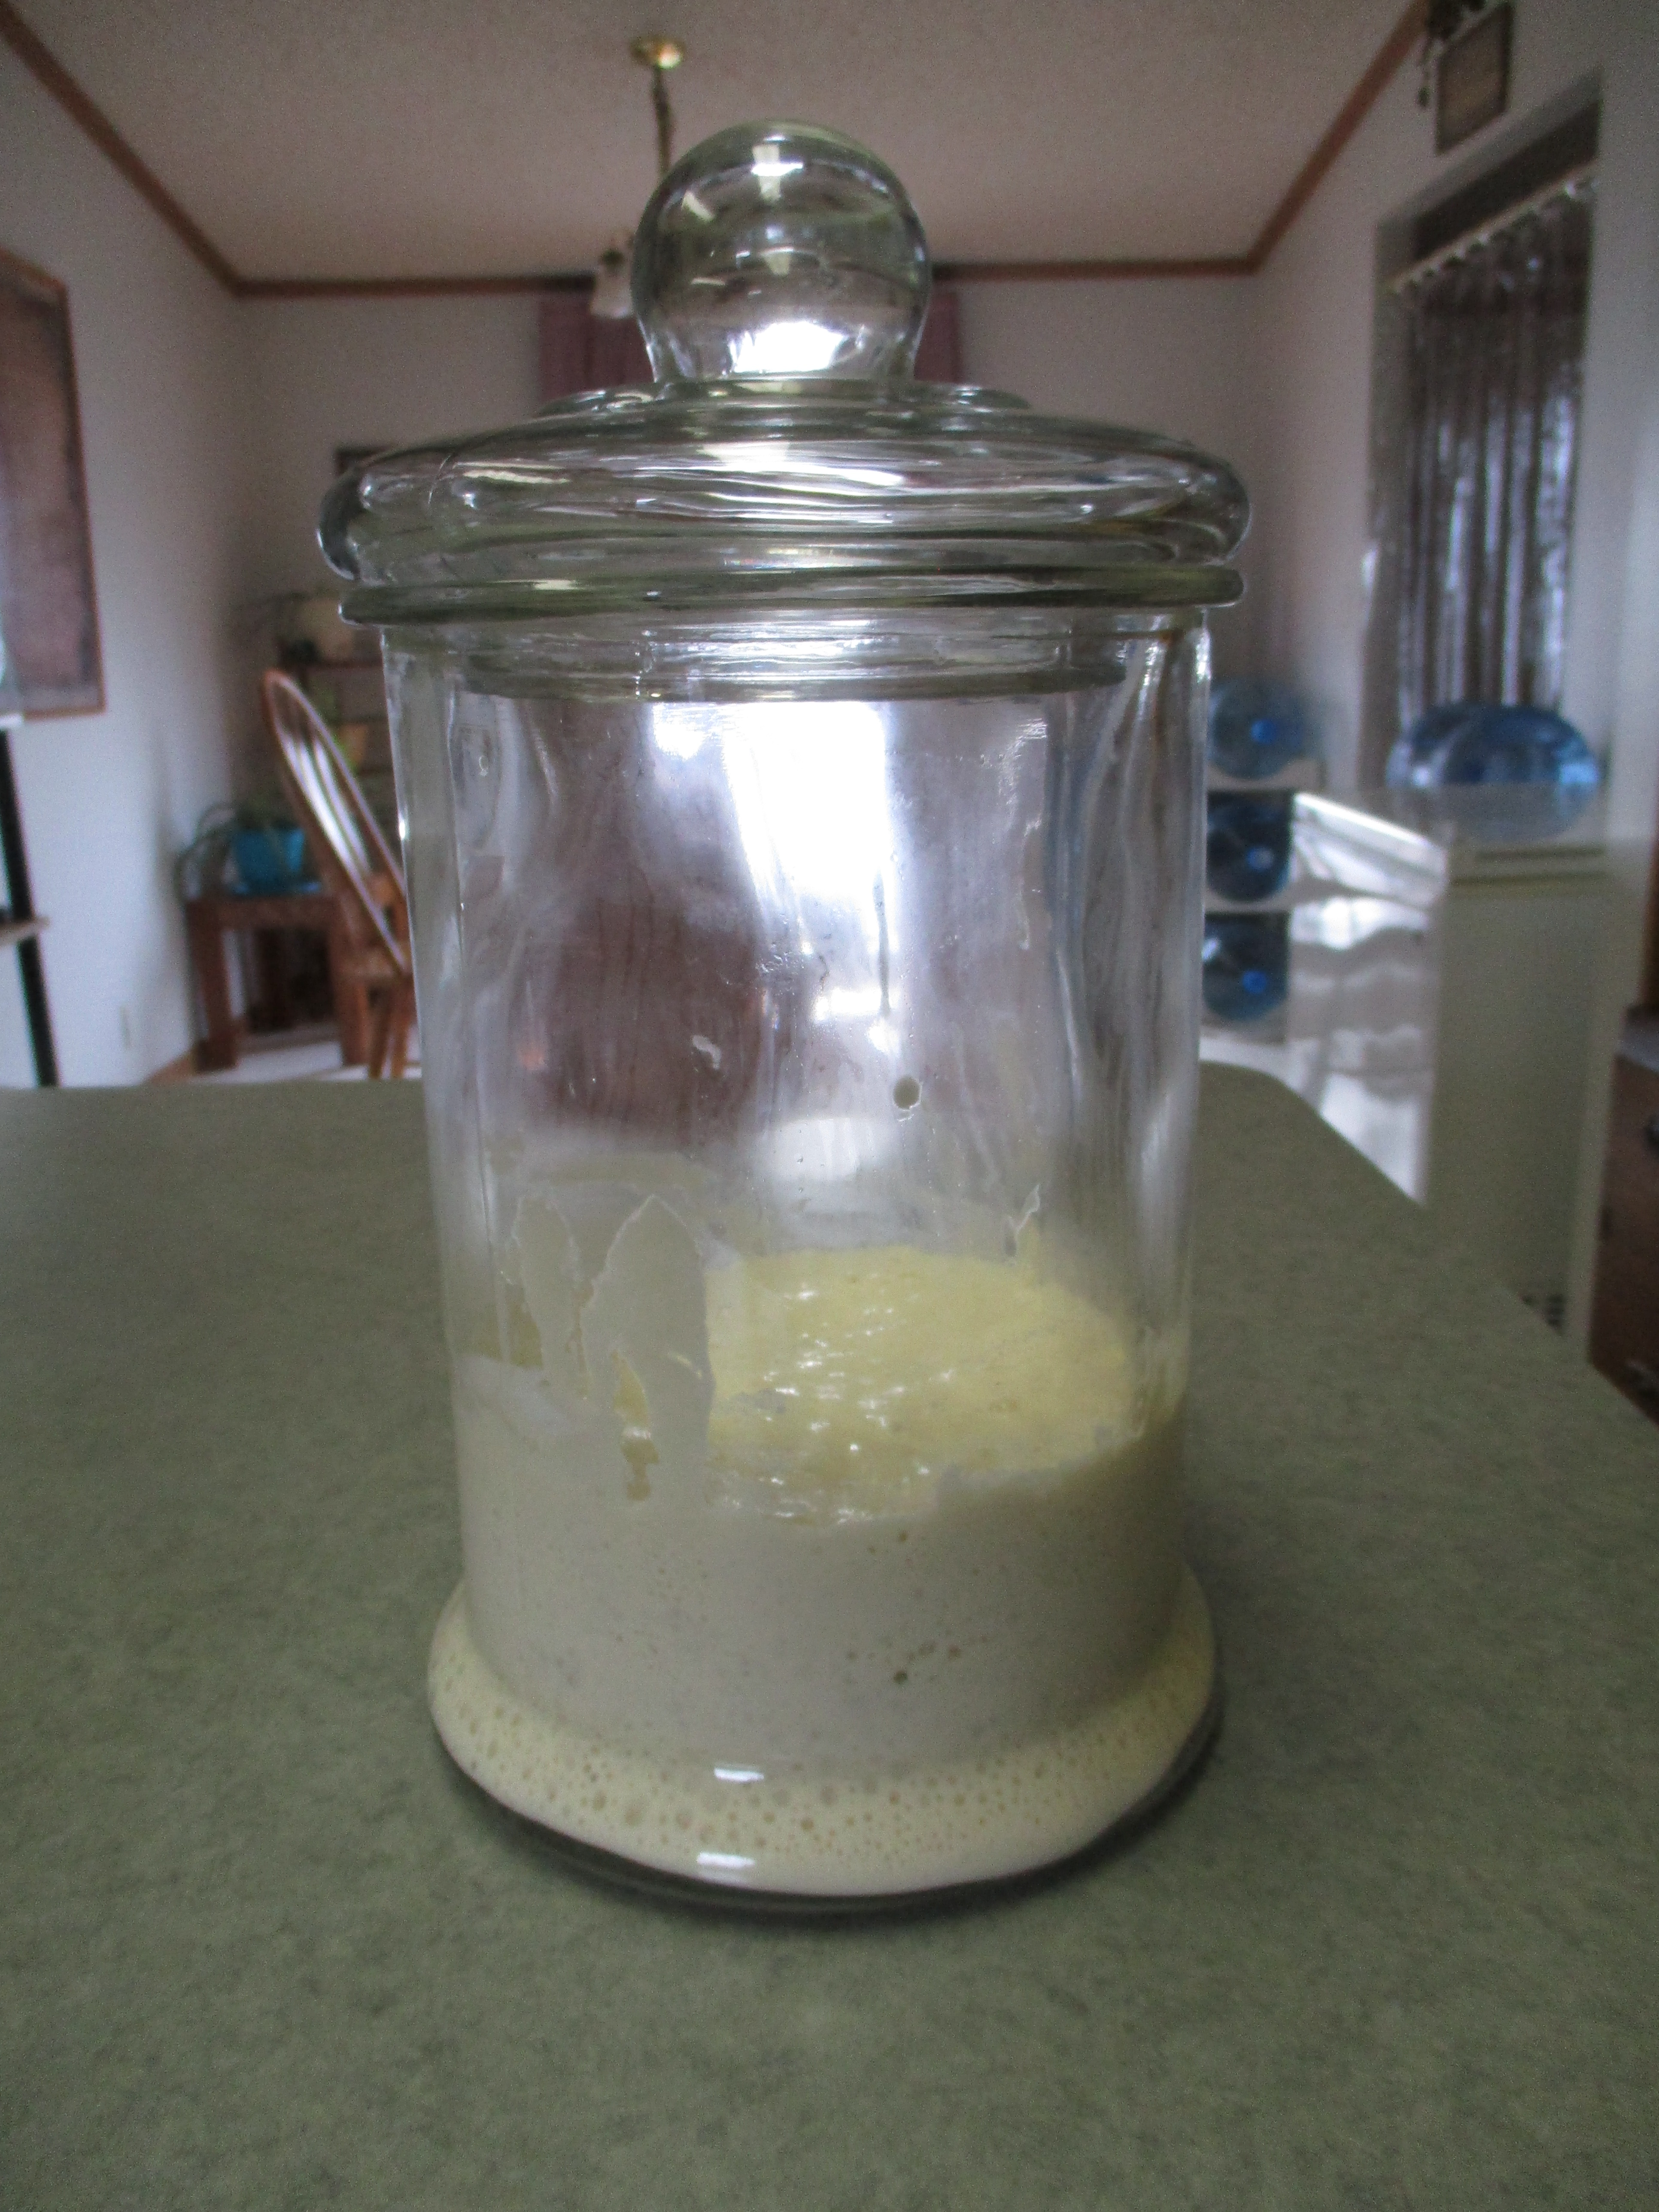
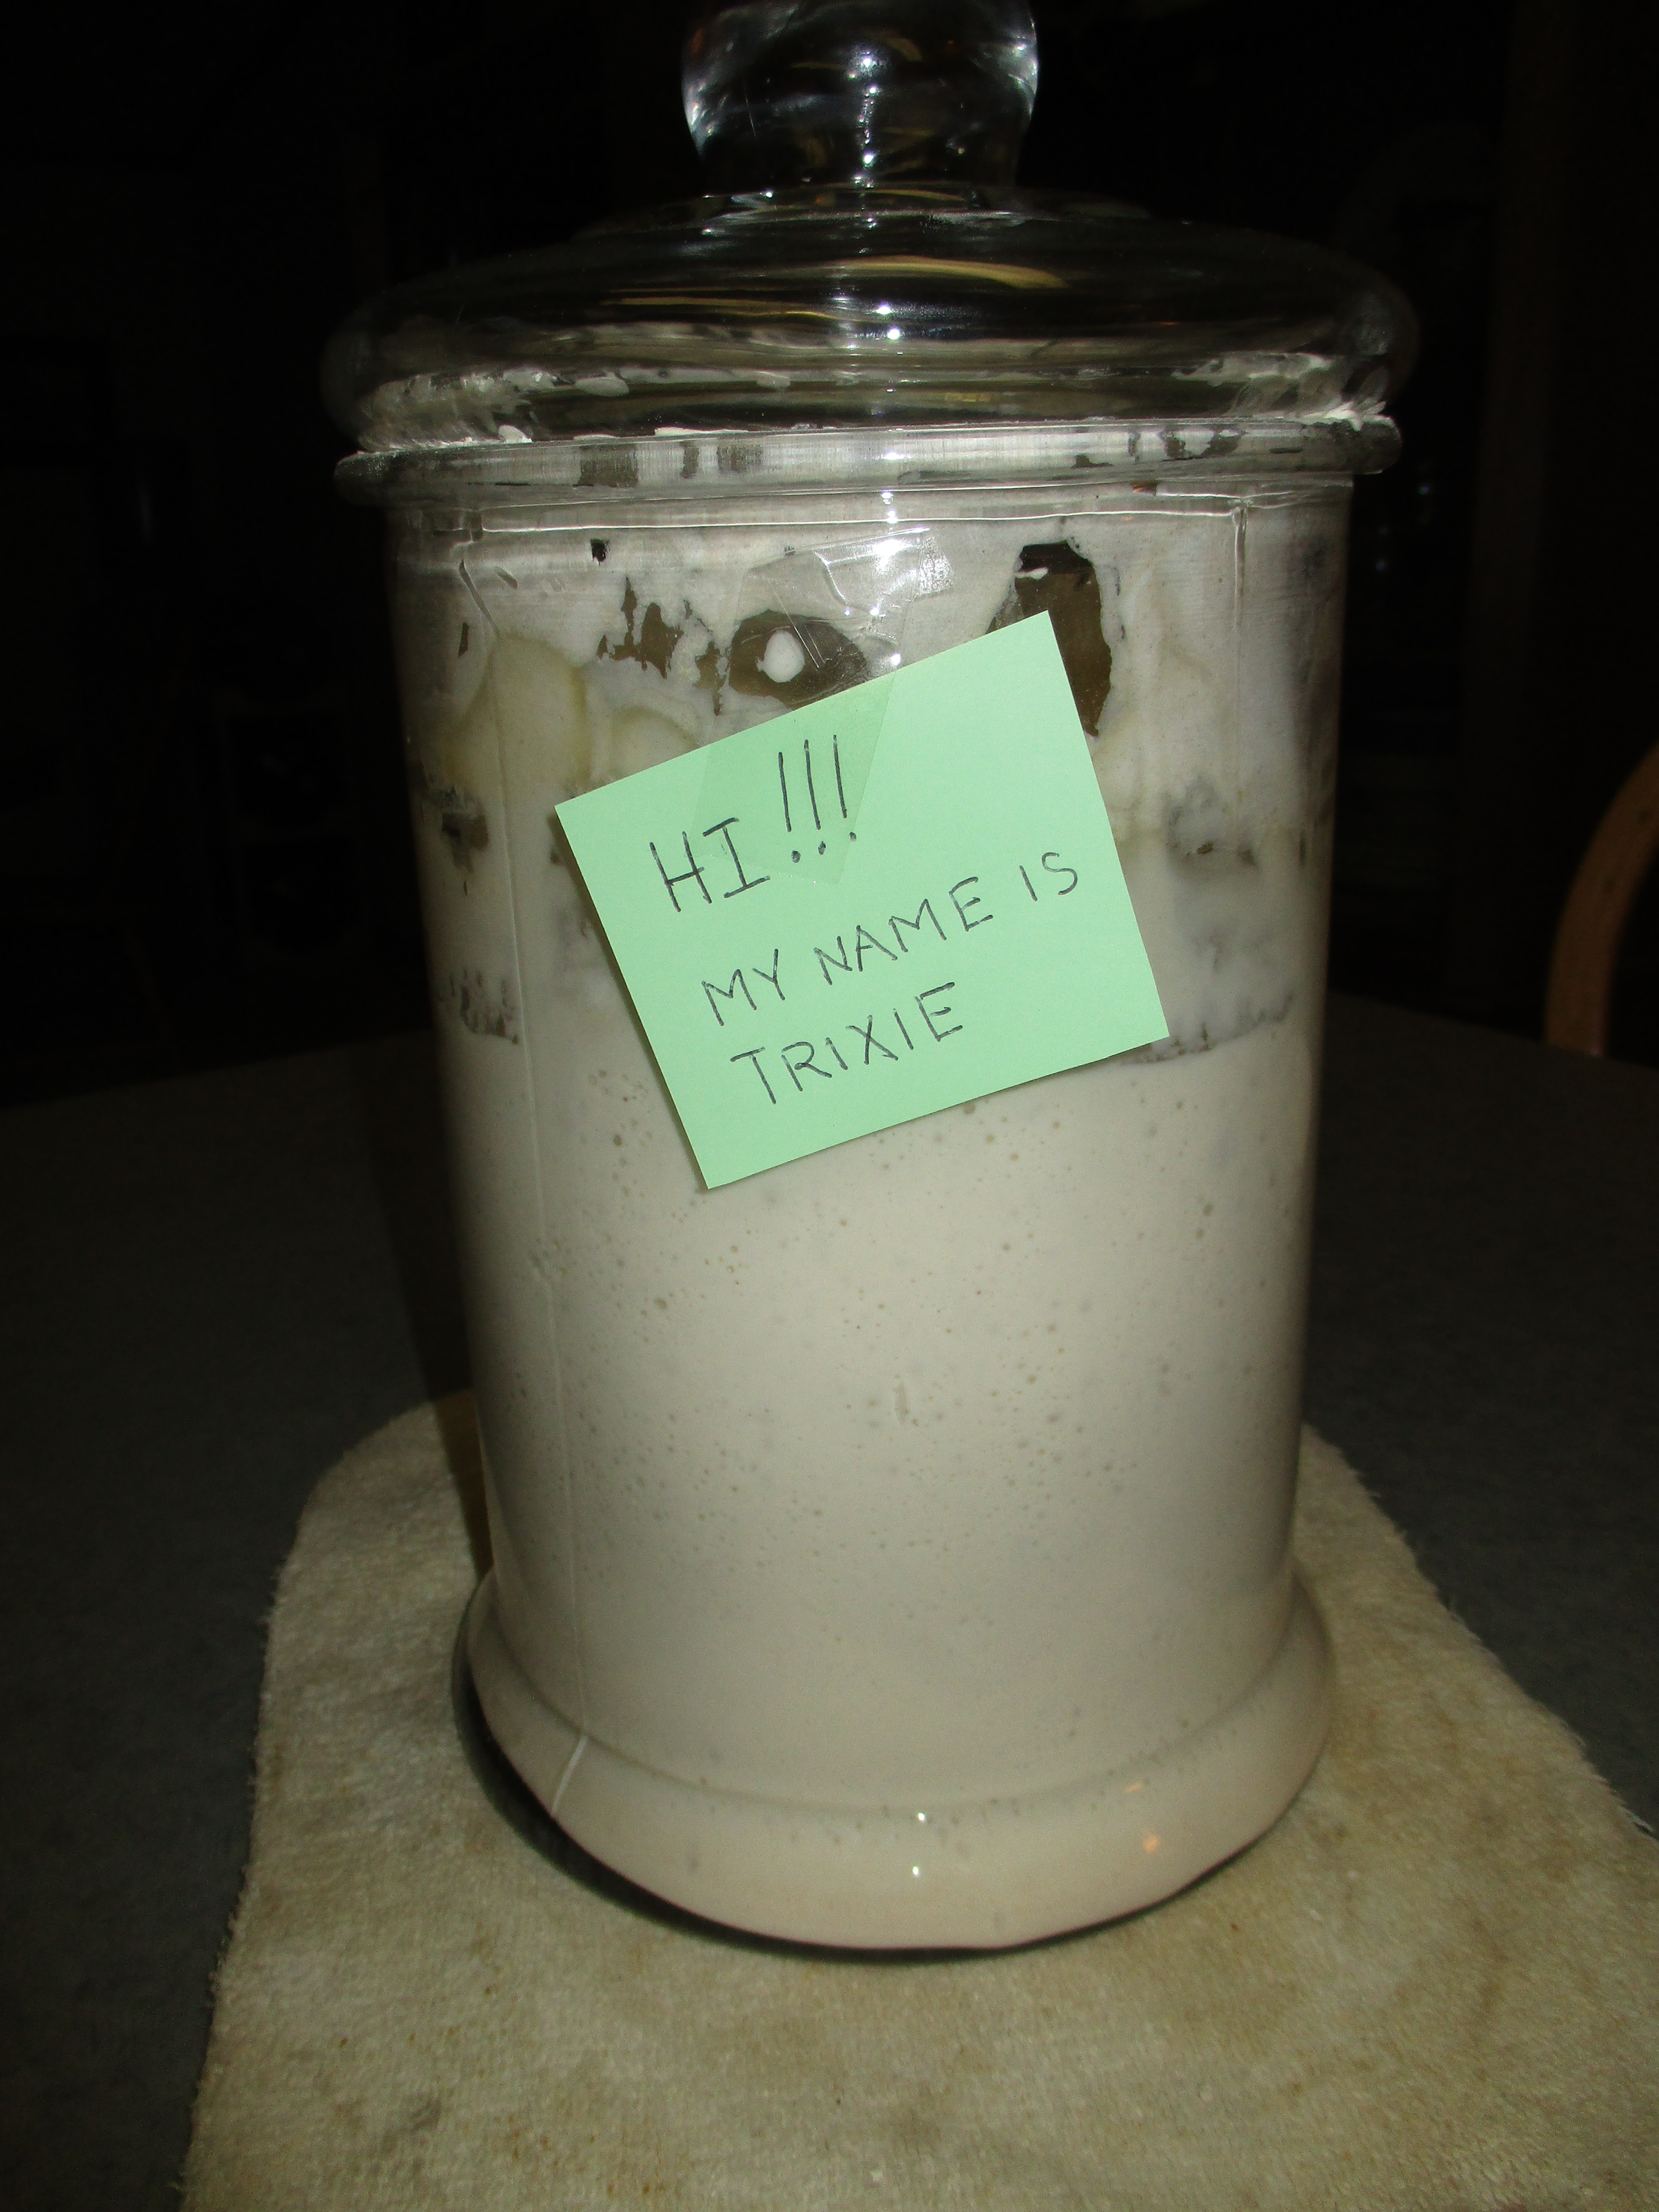
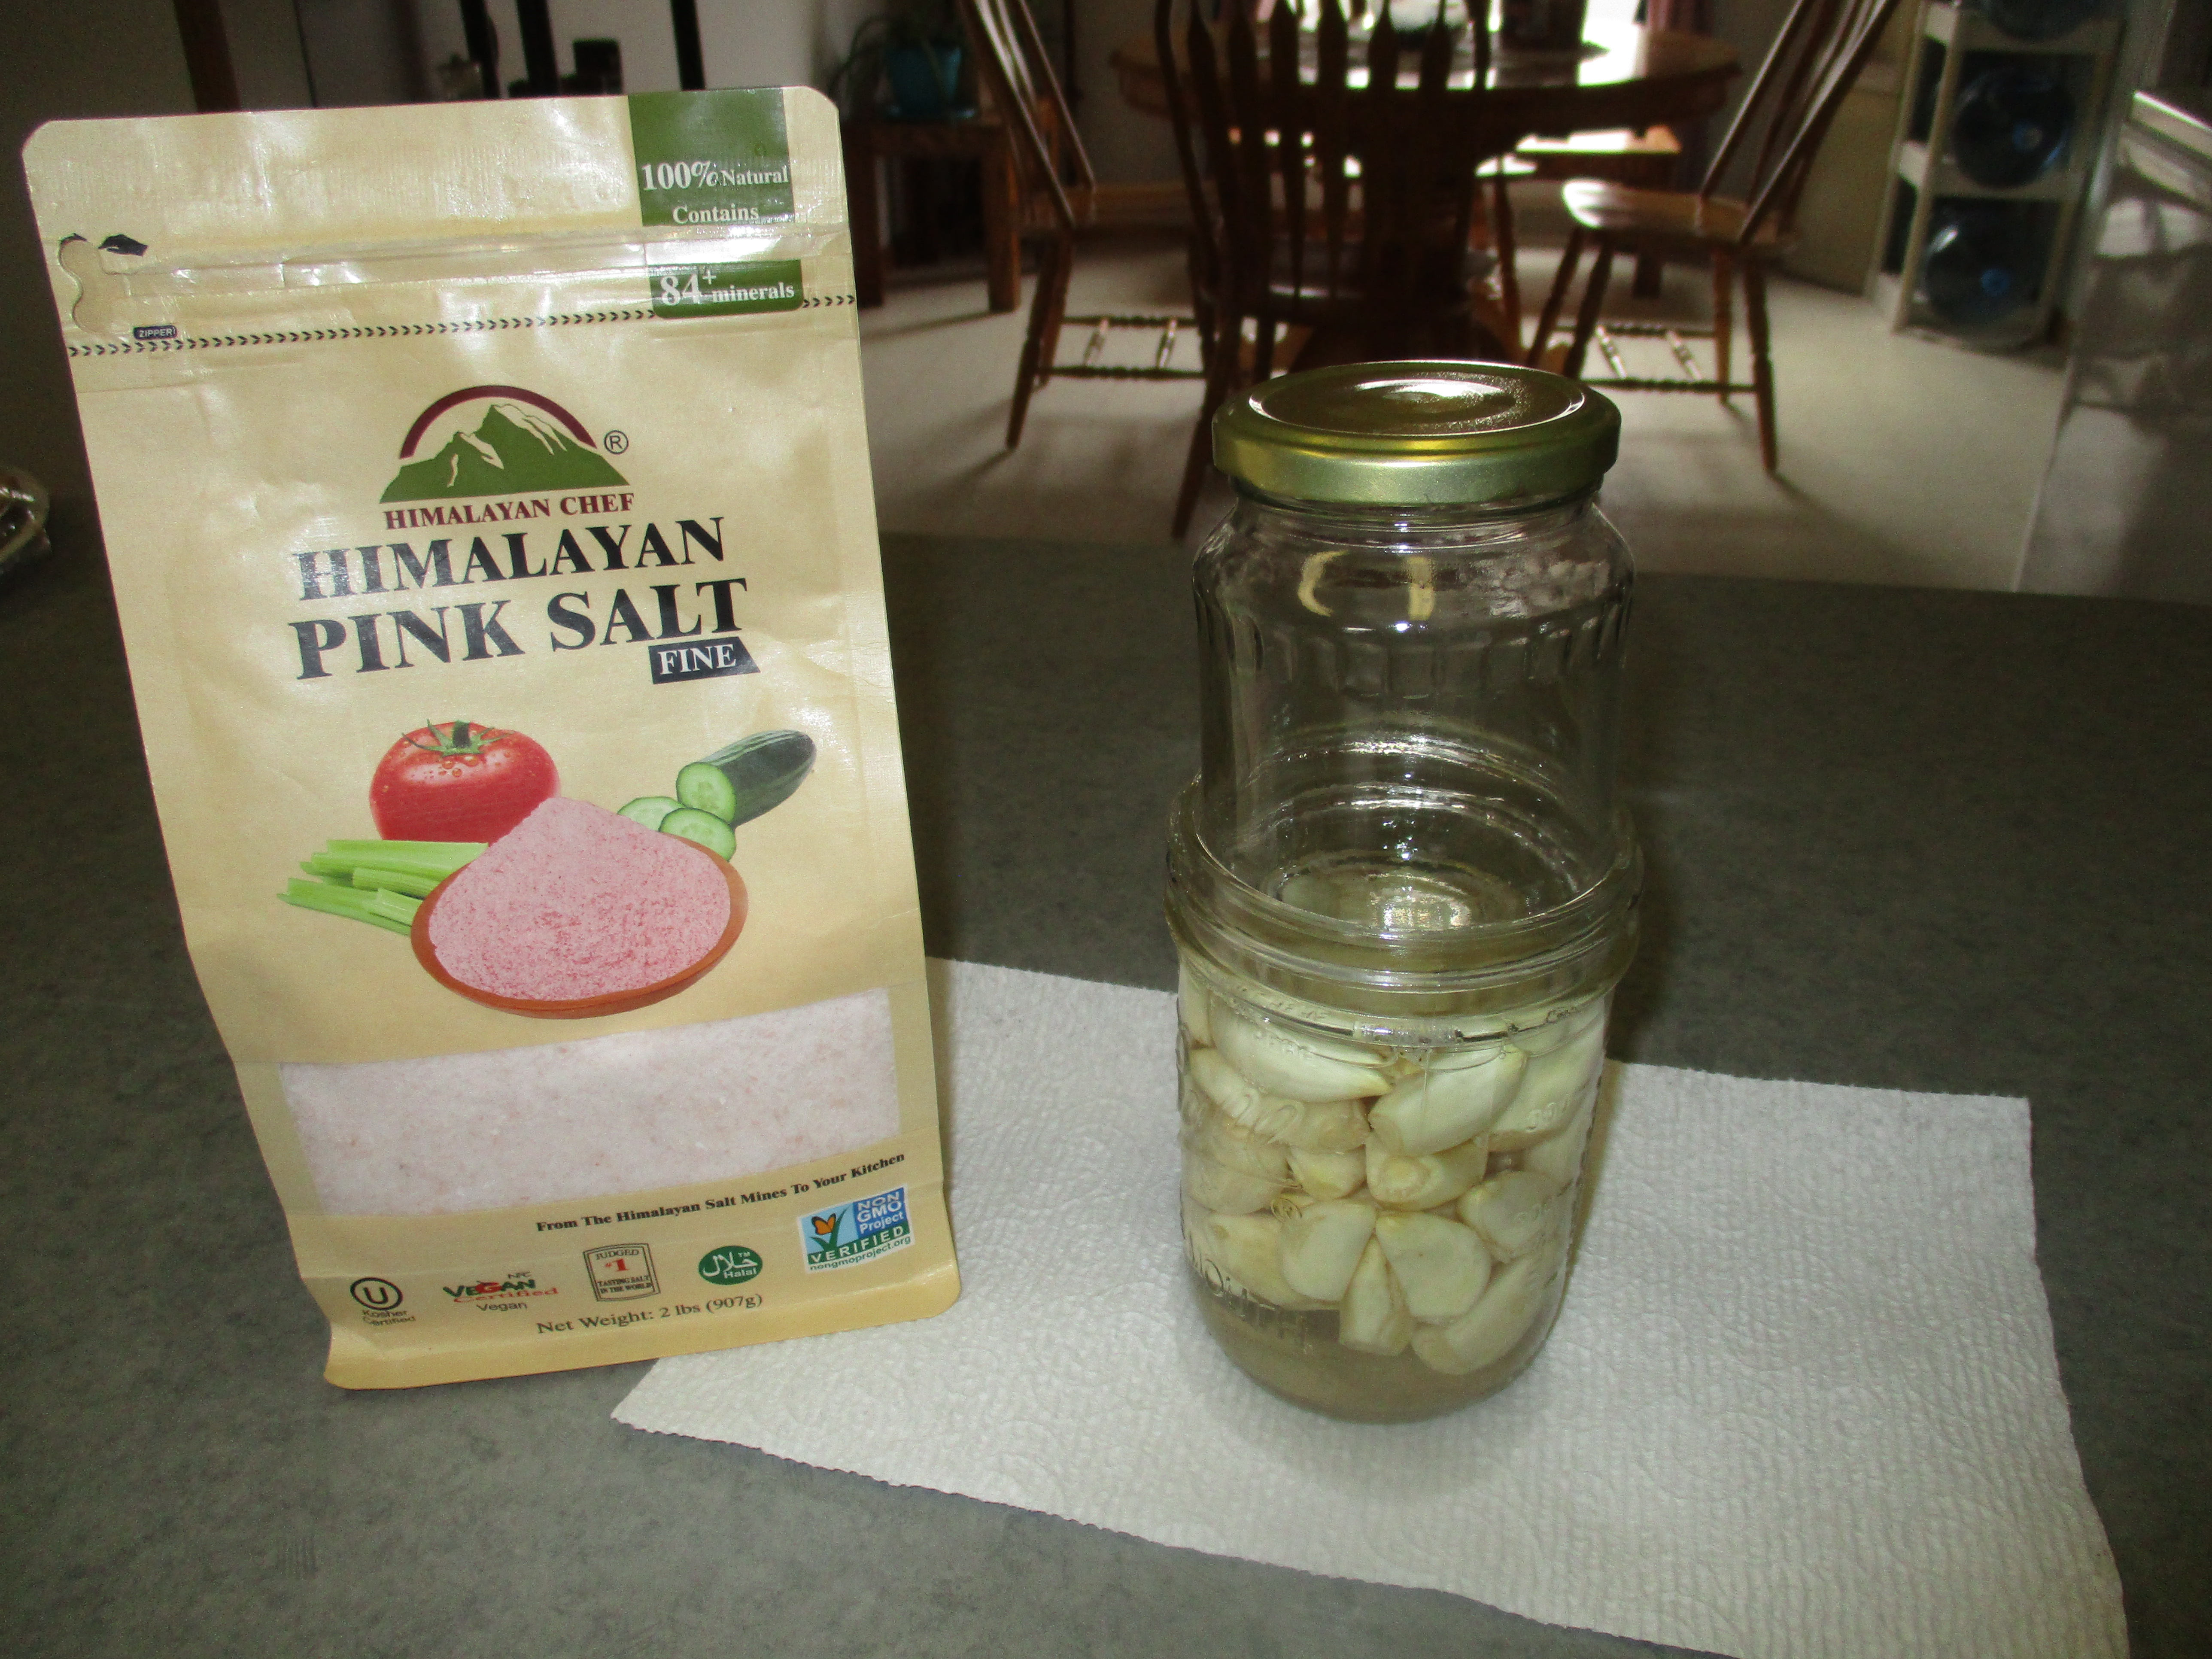
This week’s projects include canning tomato juice (I did 6 quarts yesterday), making sauerkraut (I started it fermenting today), and cleaning garlic (tomorrow or Thursday).
Thanks for visiting.