Graden Update
When my husband and I arrived at the farm yesterday morning we decided a garden tour was in order before we began working on our to-do list. It had only been a couple days since I had checked the progress in the gardens (my husband visits and/or works in them daily) but it seems they have grown in leaps and bounds since I last saw them.

The summer heat and intermittent rain has done wonders.
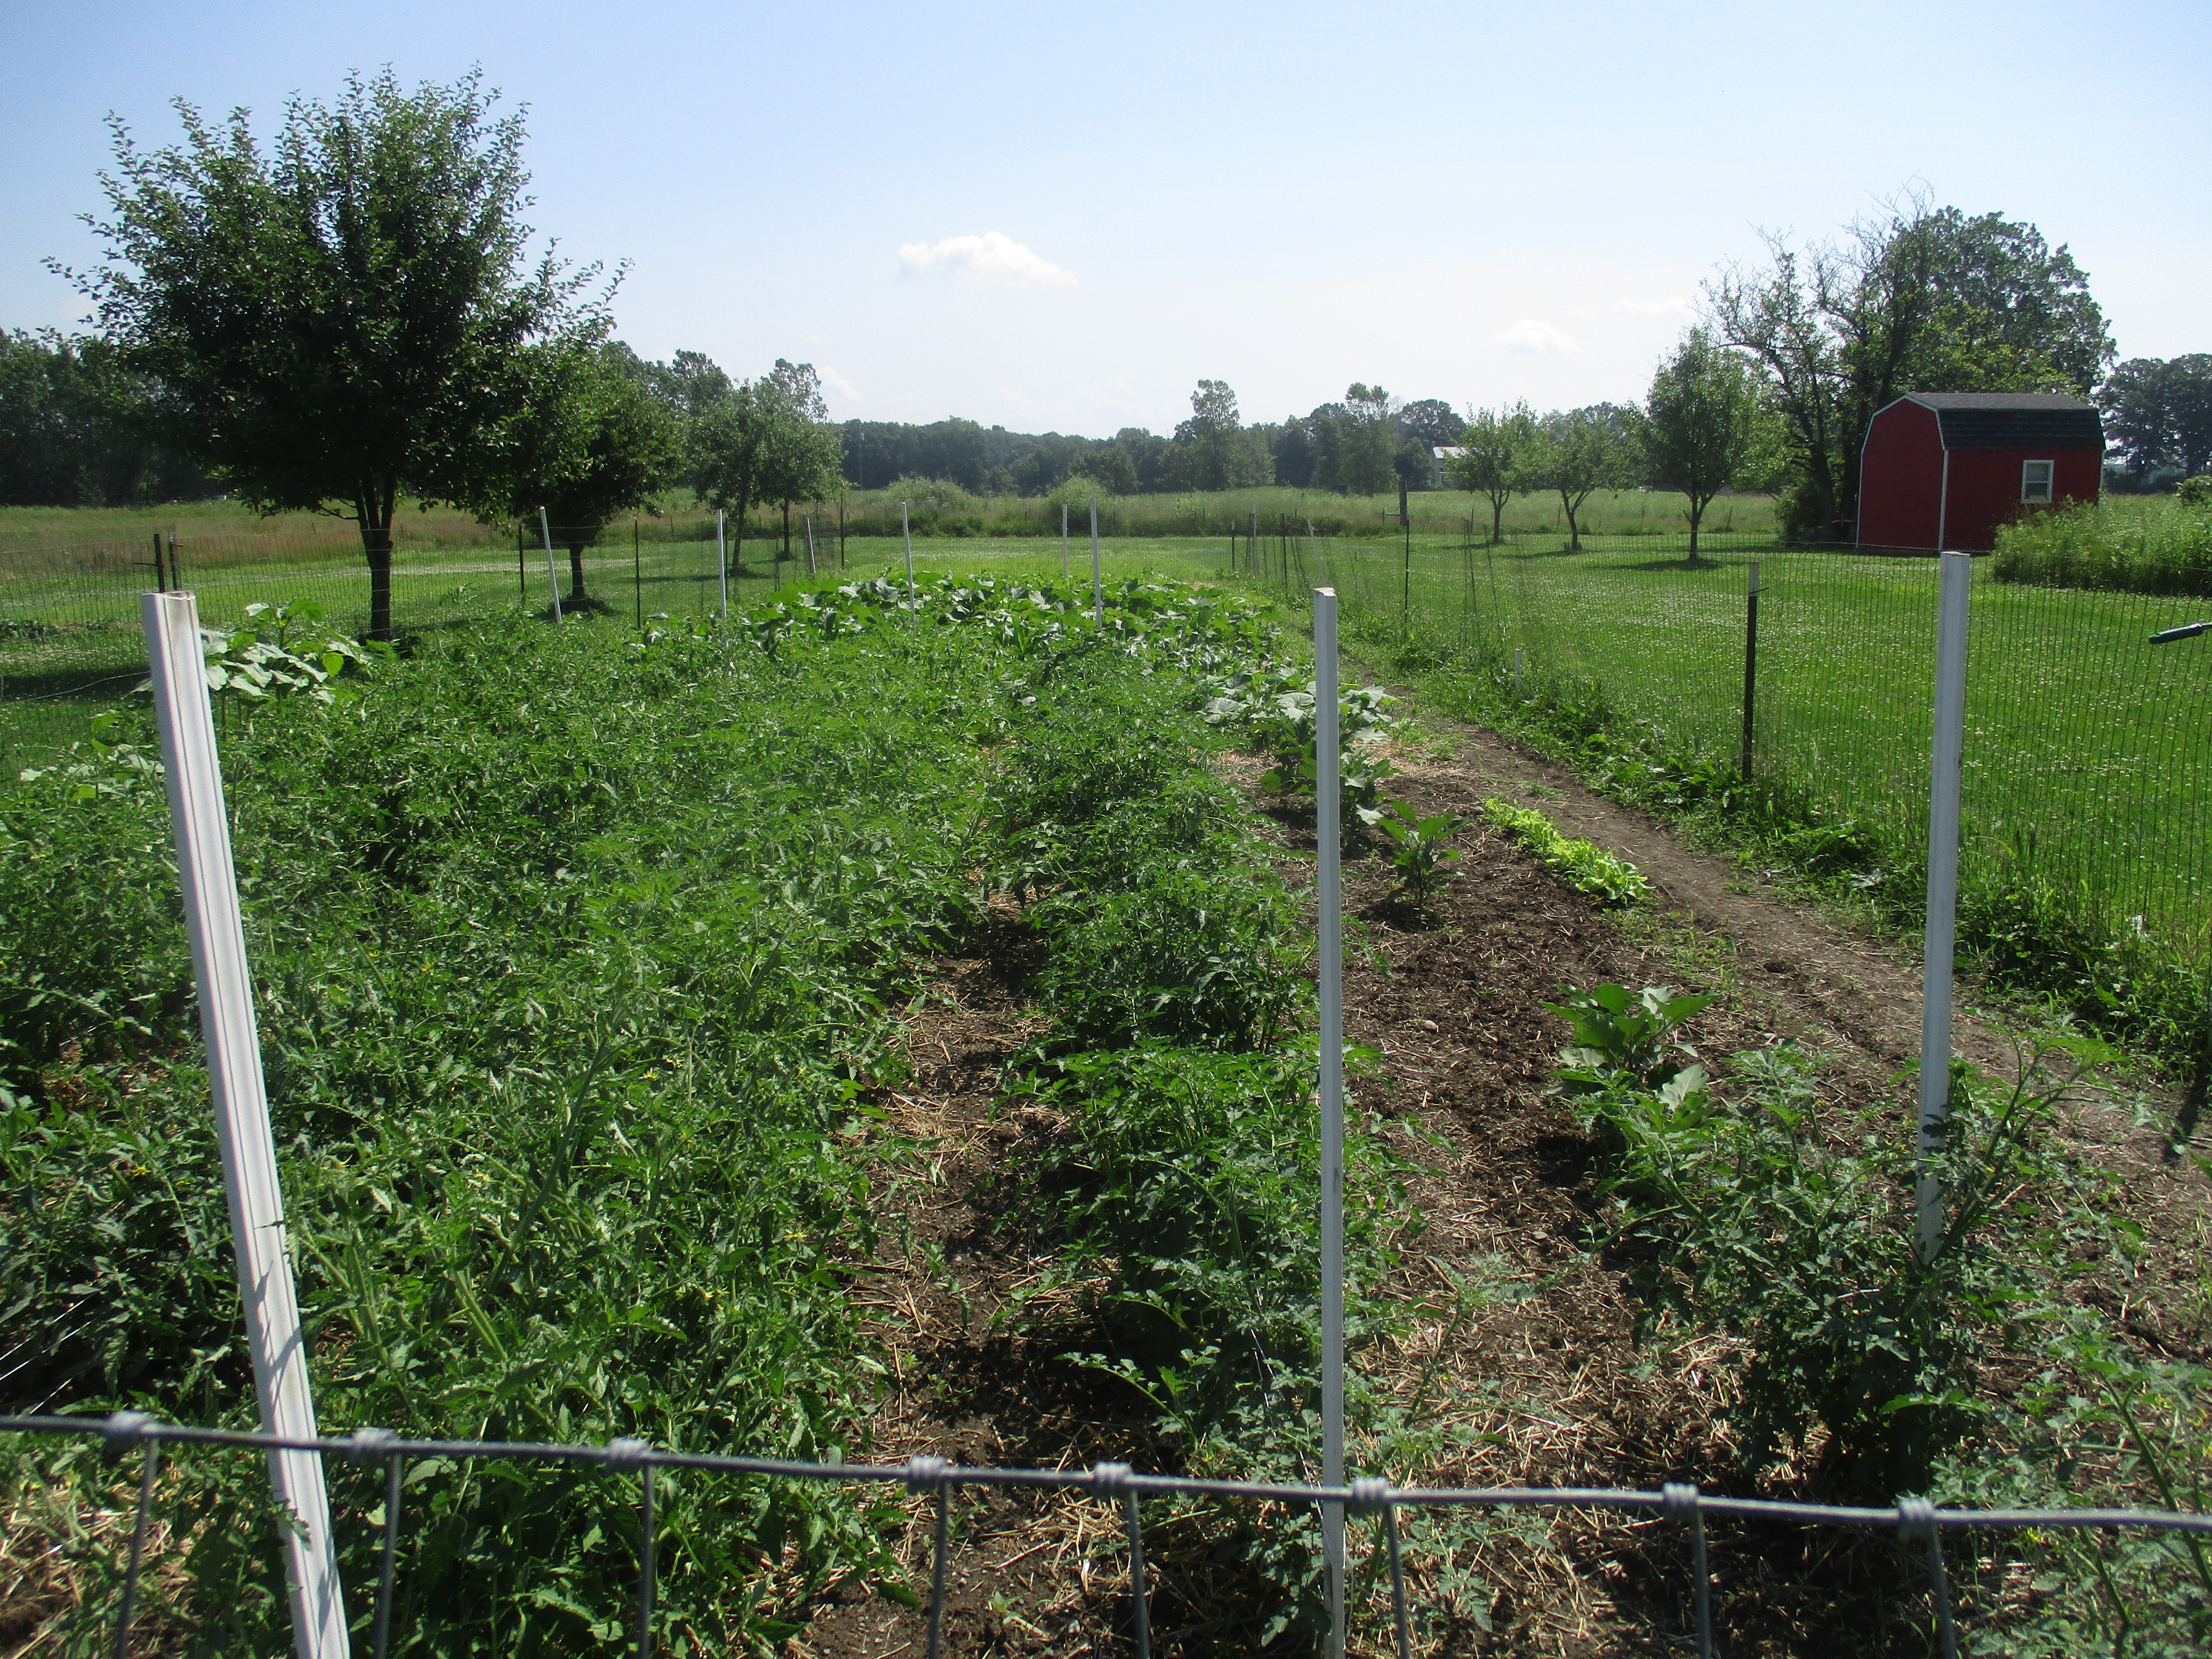
Everything is lush and green and many things are either flowering or fruiting.

So far we have harvested small amounts of Swiss chard a couple times to have with our dinner.
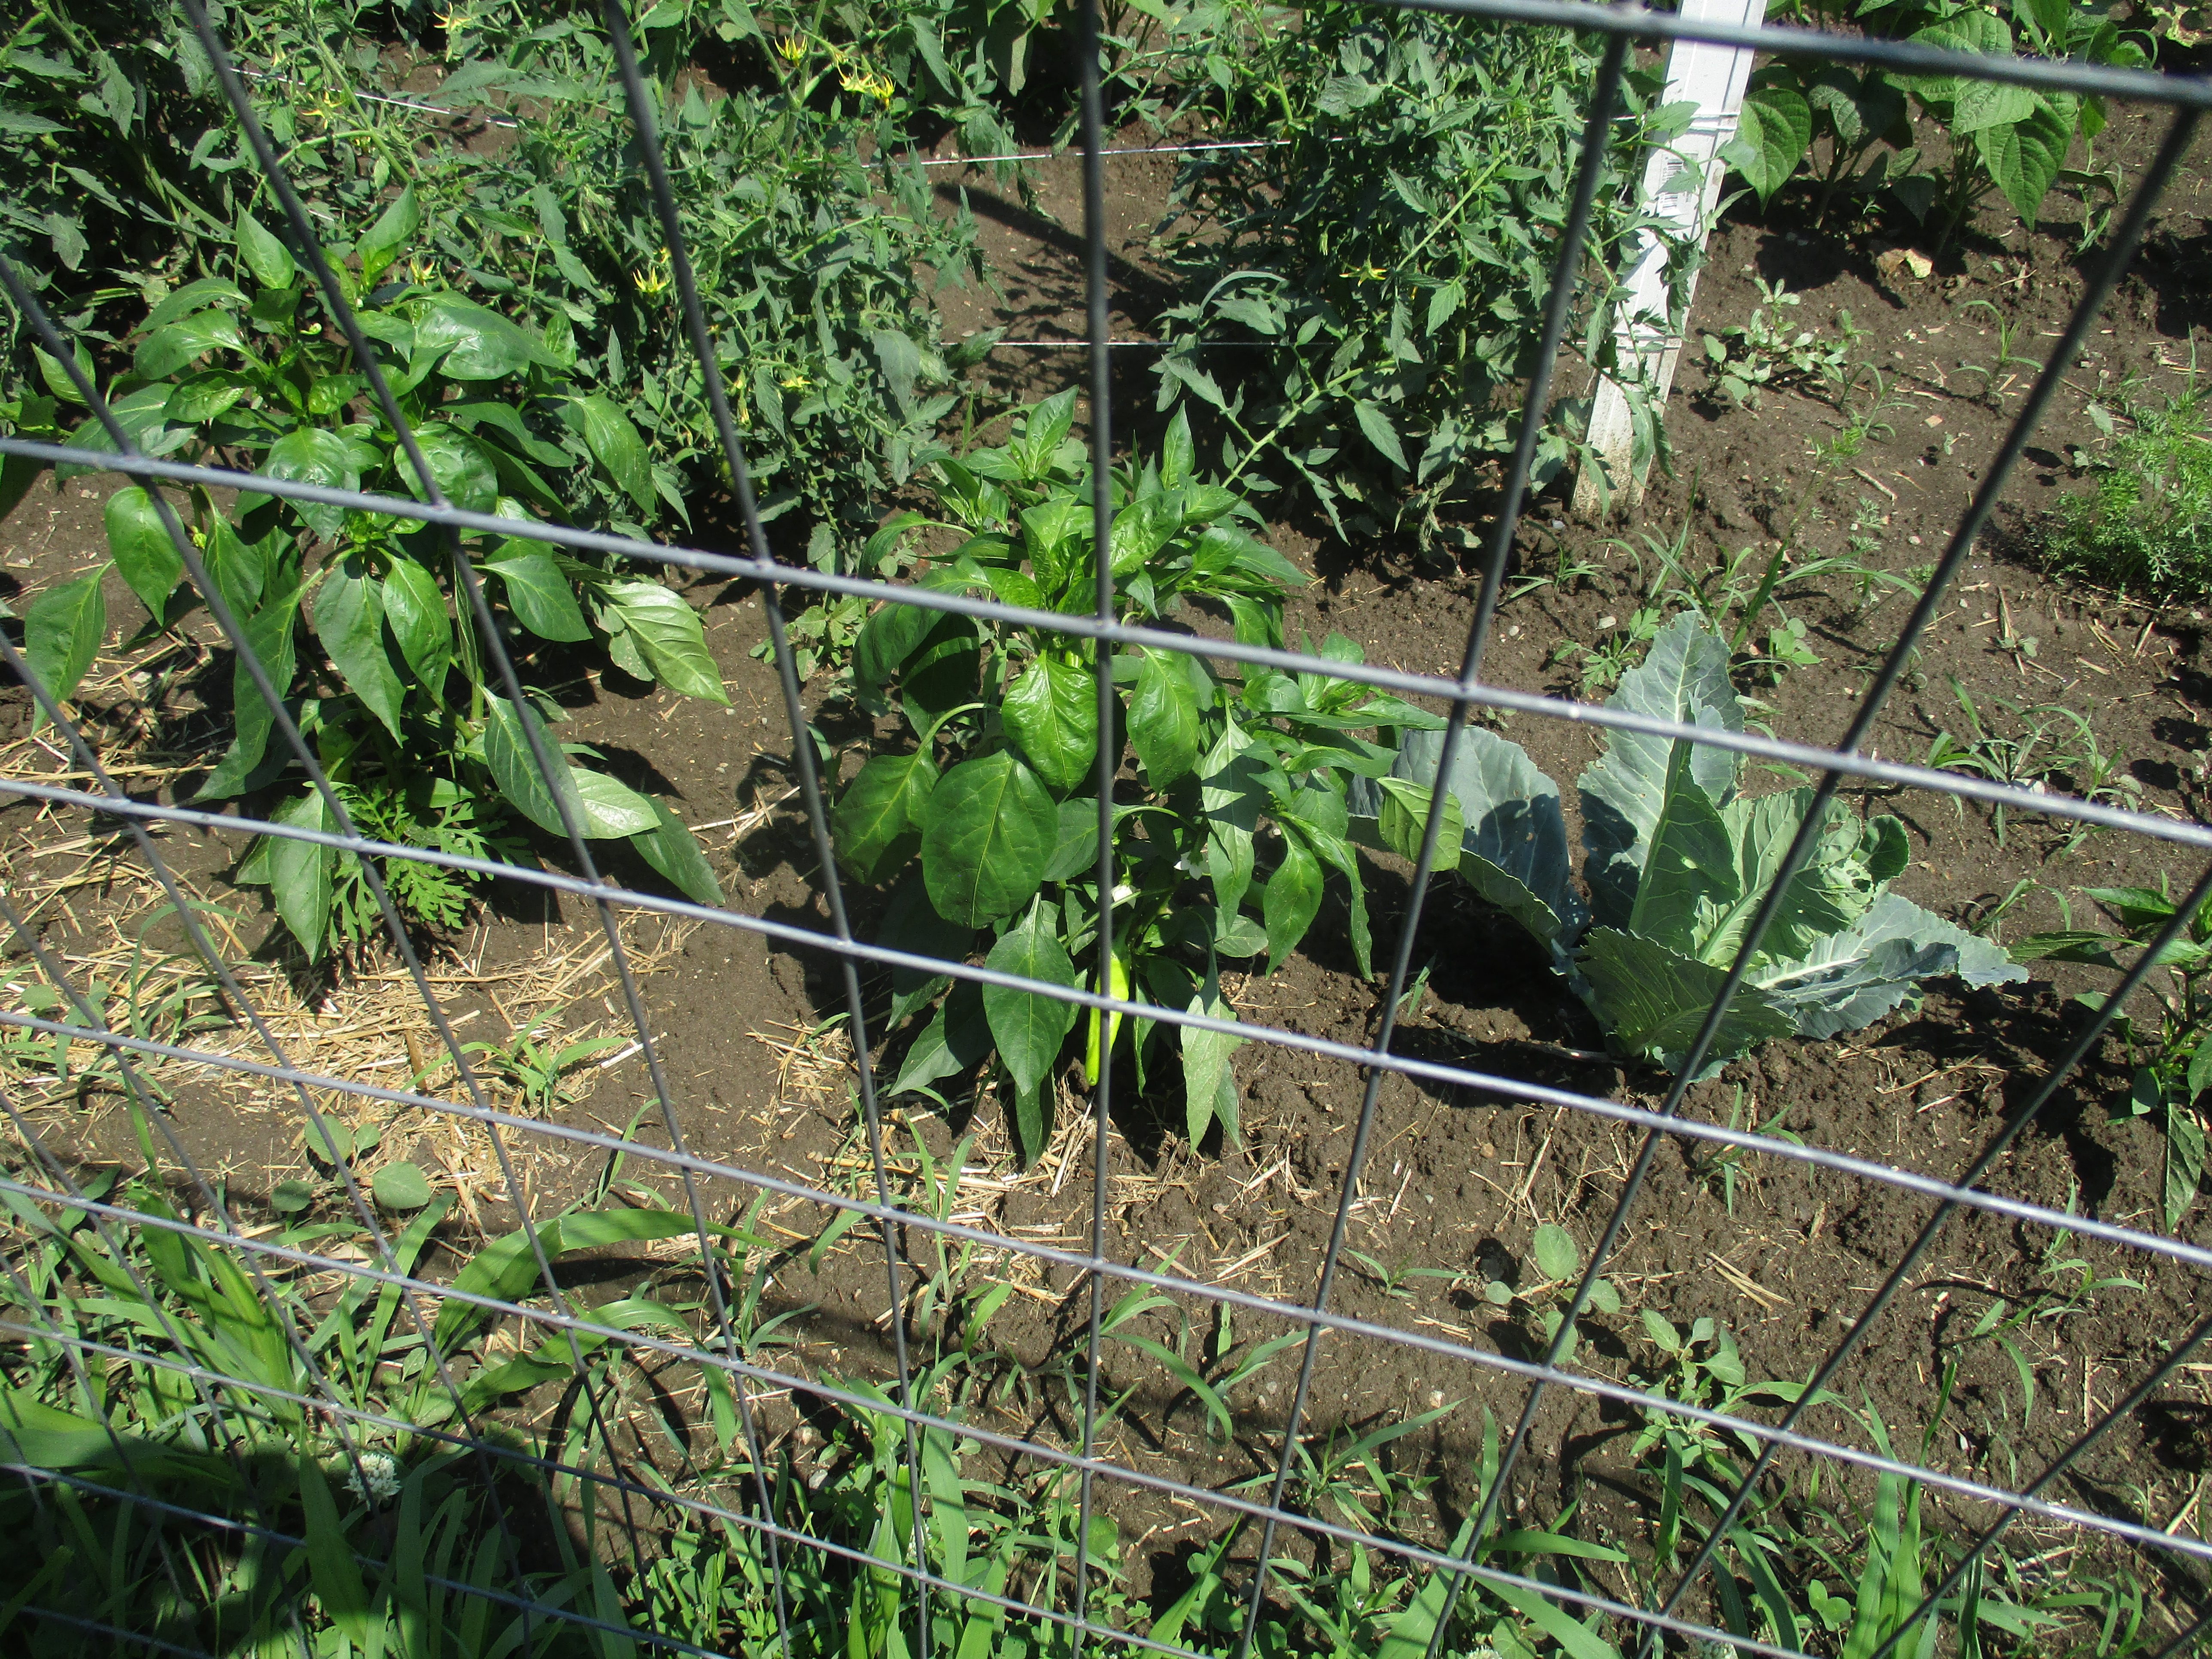
We now have some banana peppers ready to harvest and within the next week I expect to start harvesting green beans and cucumbers.

It won’t be long before the potatoes are ready to come out of the ground, but first we will harvest the garlic and get it drying in the barn.
I Could Hardley Believe What I Was Seeing
We see a lot of interesting and strange things at the farm and I don’t always carry my camera, so I don’t get pictures of everything. This first story is one of those times.
One of my tasks this morning was using our weed-burning torch to burn off some of the weeds around the edge of the pond. It’s quite common for frogs to be hidden in these weeds and jump into the water to avoid the danger, so when I saw/heard the splash I wasn’t surprised. I was however surprised as I watched a small furry animal pop up and begin swimming across the pond. It was a baby bunny, not much bigger than my hand. I didn’t know rabbits could swim. It was a tense couple of minutes, and I prayed “Lord don’t let it drown” as I watched it doggie bunny paddle the whole width (approximately 30 yards or 27.432 meters) of the pond. I lost sight of it for about half a minute when it exited the pond on the other side. Then I saw it scamper off into the woods. I would have felt so terrible if the little critter hadn’t survived. When I told my husband what I had witnessed he exclaimed, “No way!” But it really did happen.
A while later my husband also had an “I don’t believe it event”.
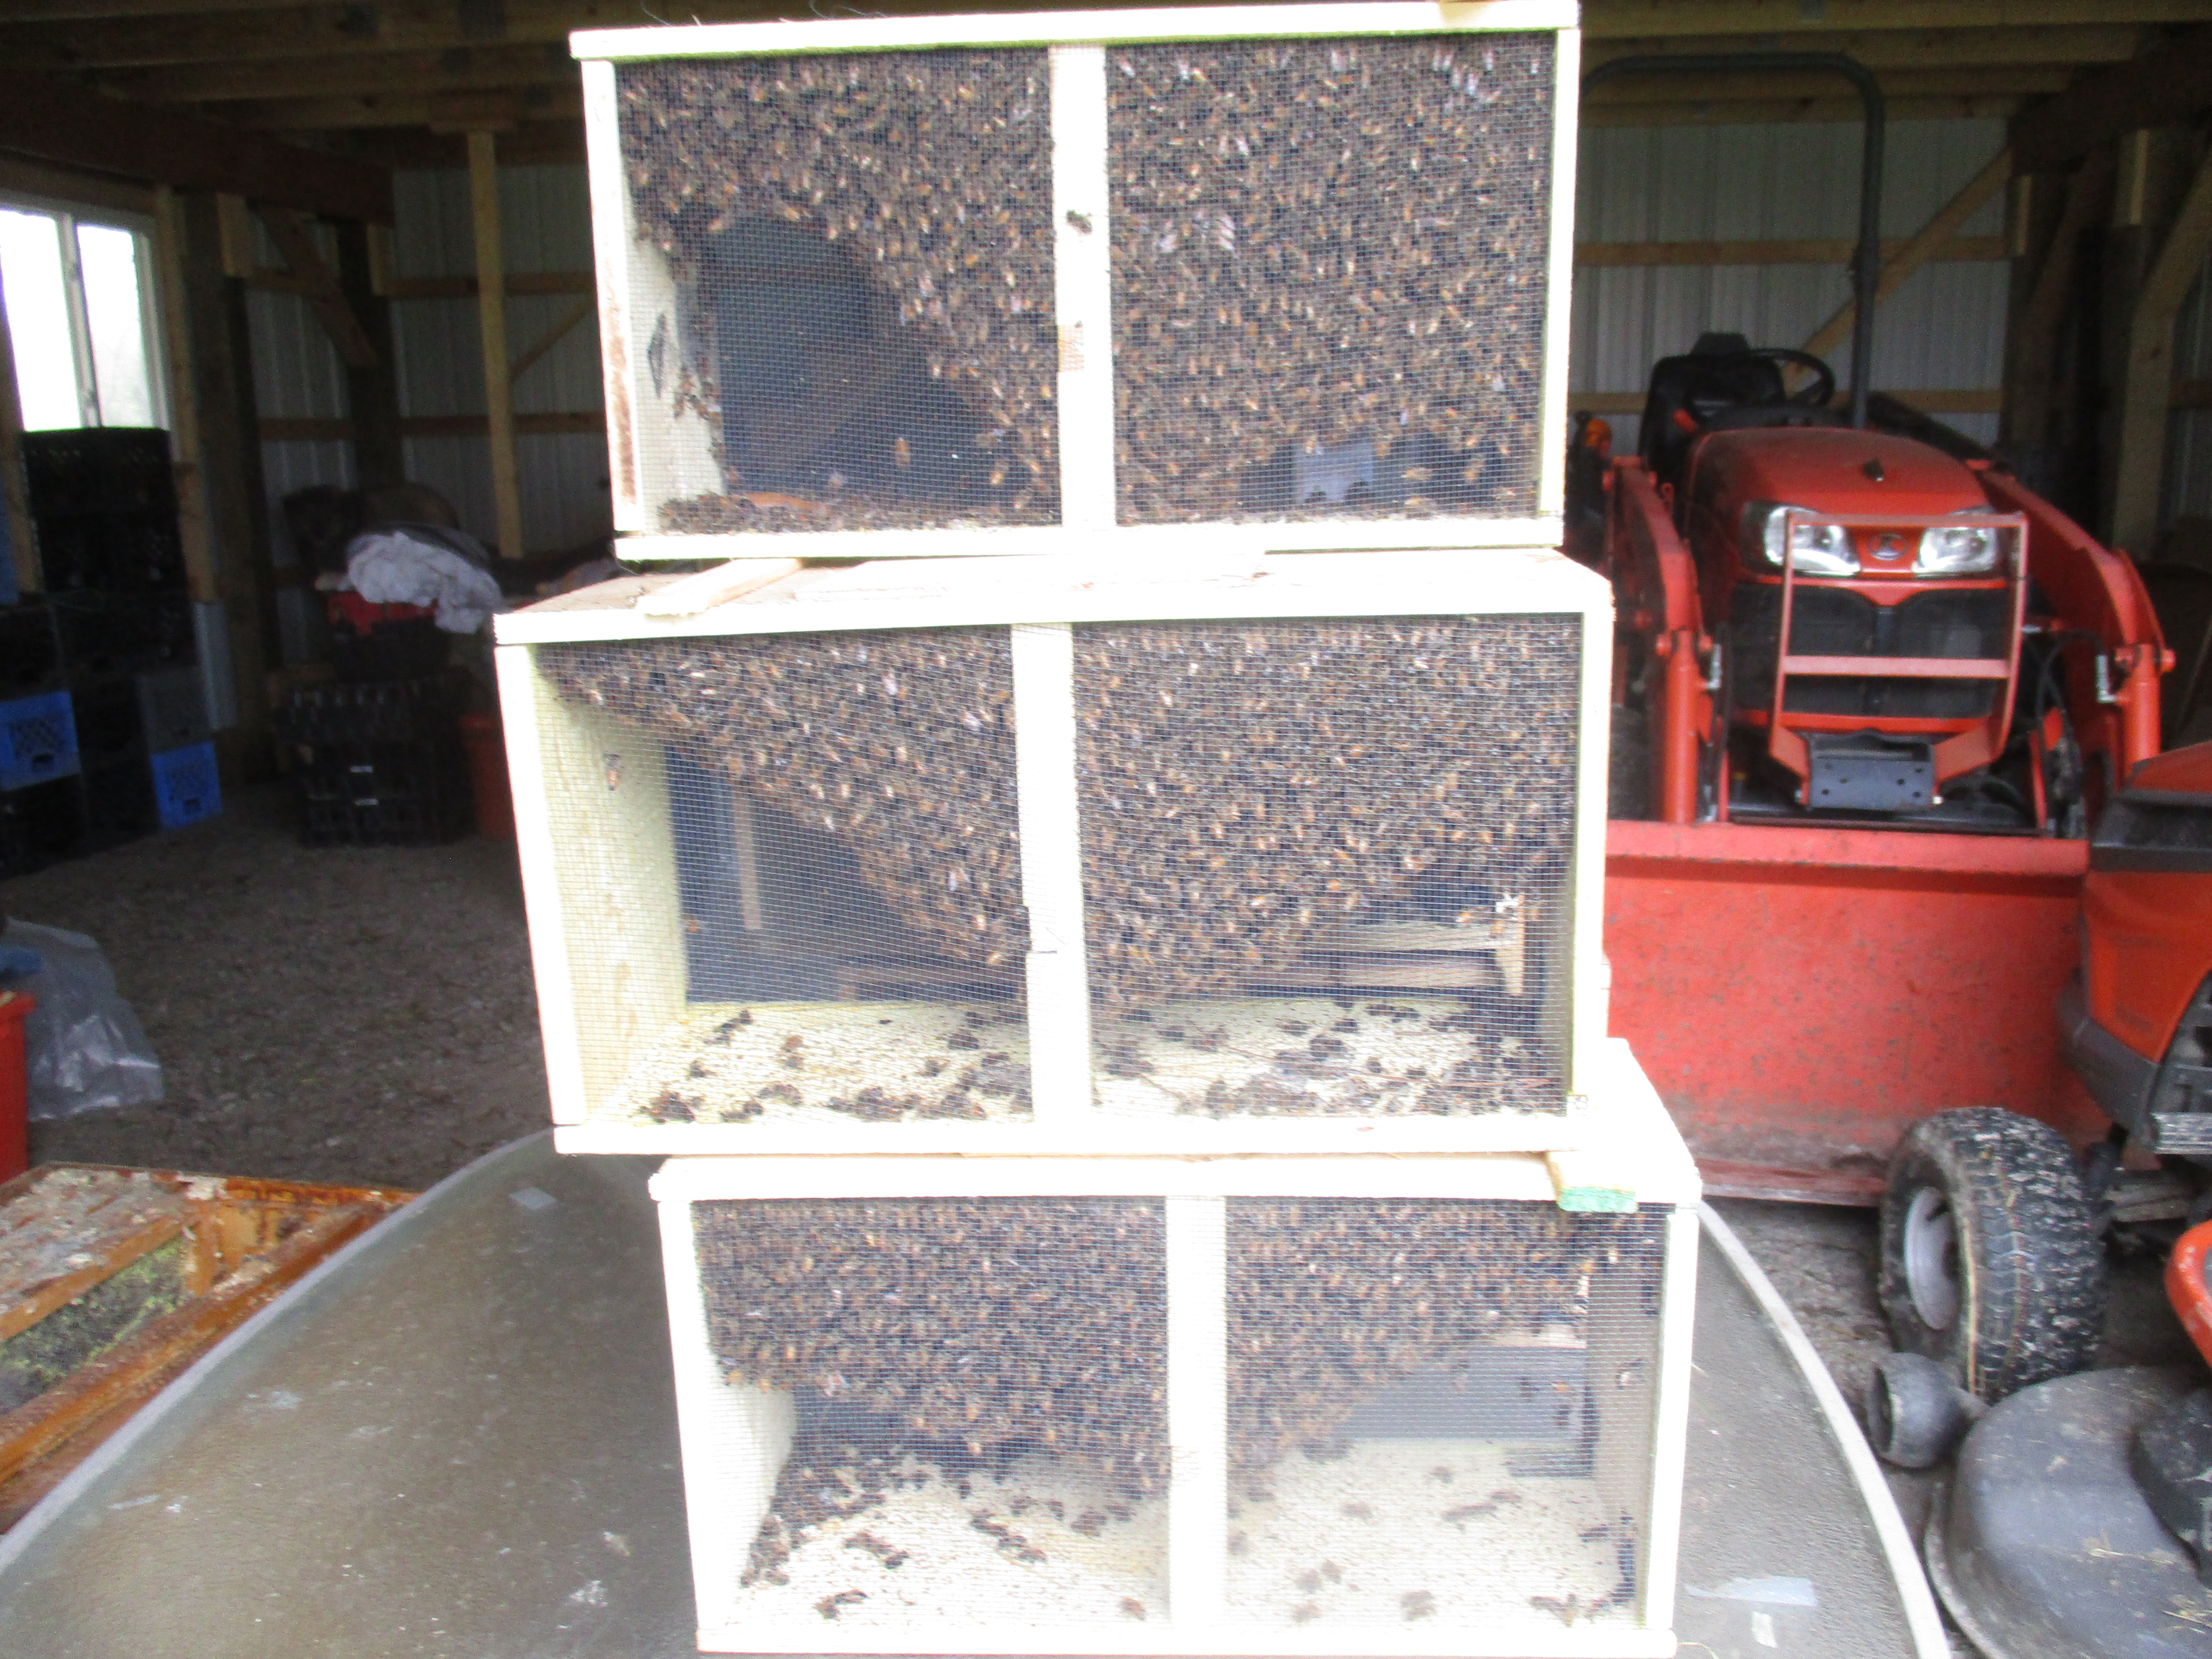
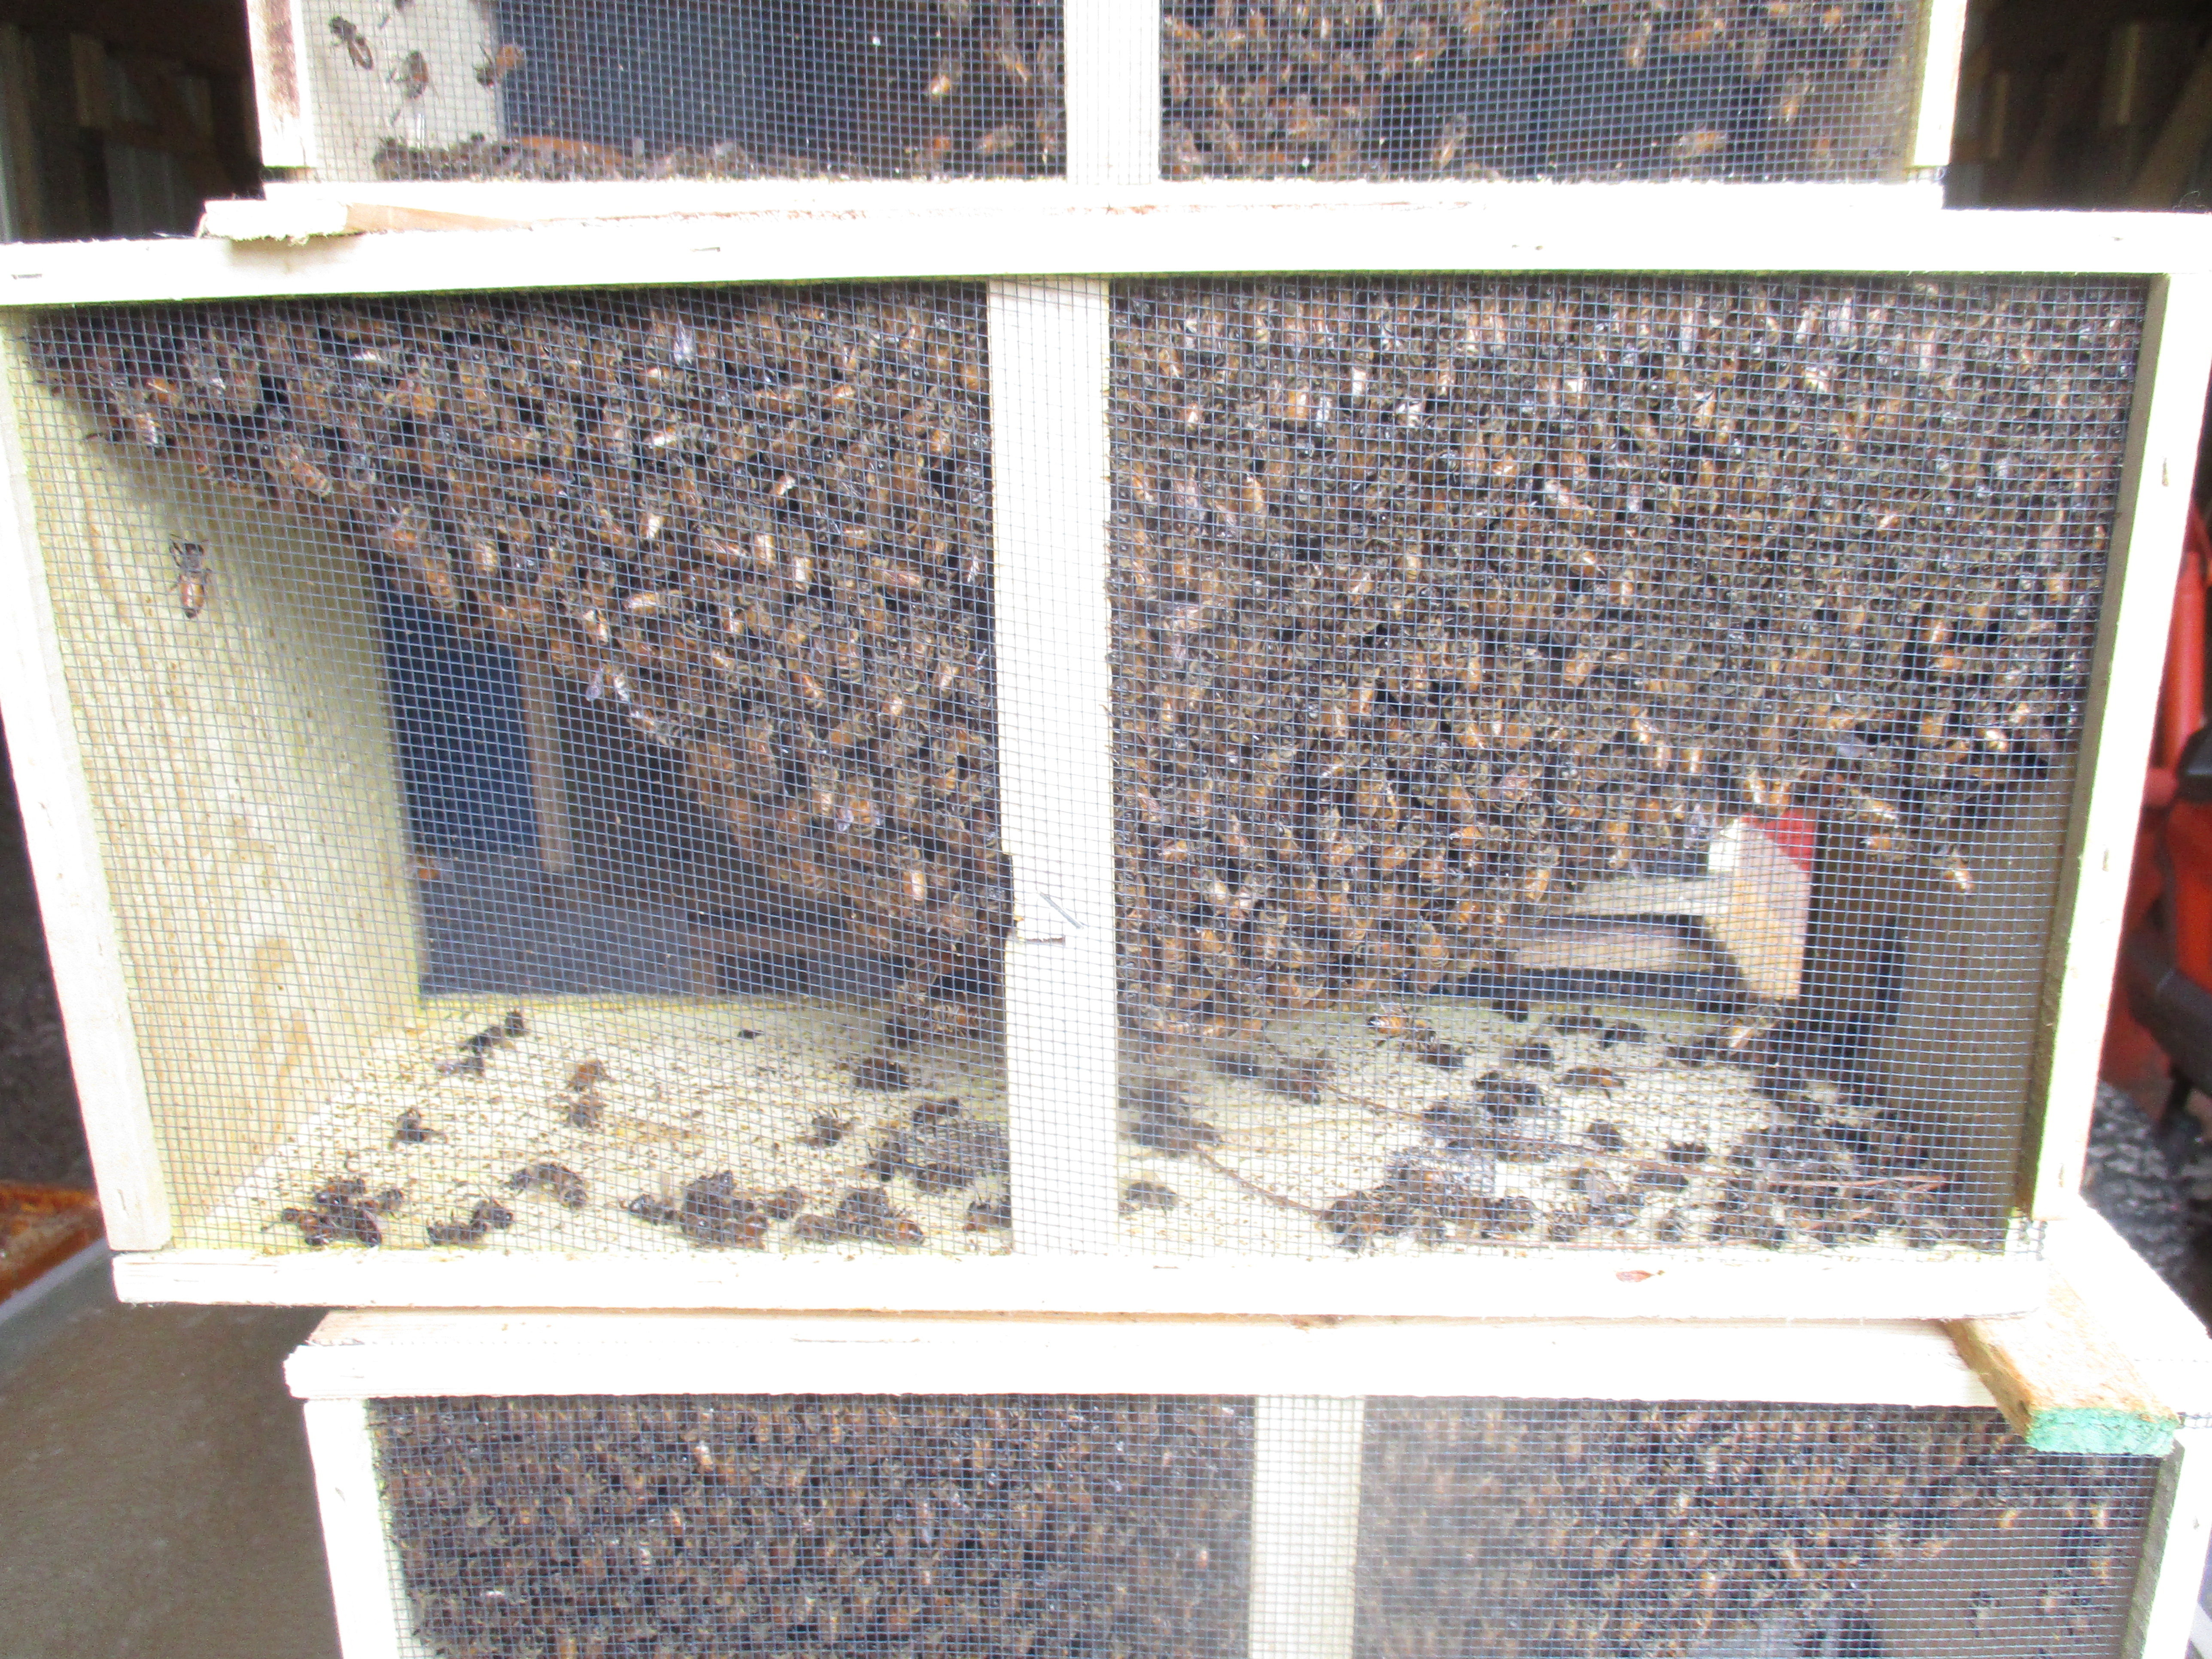
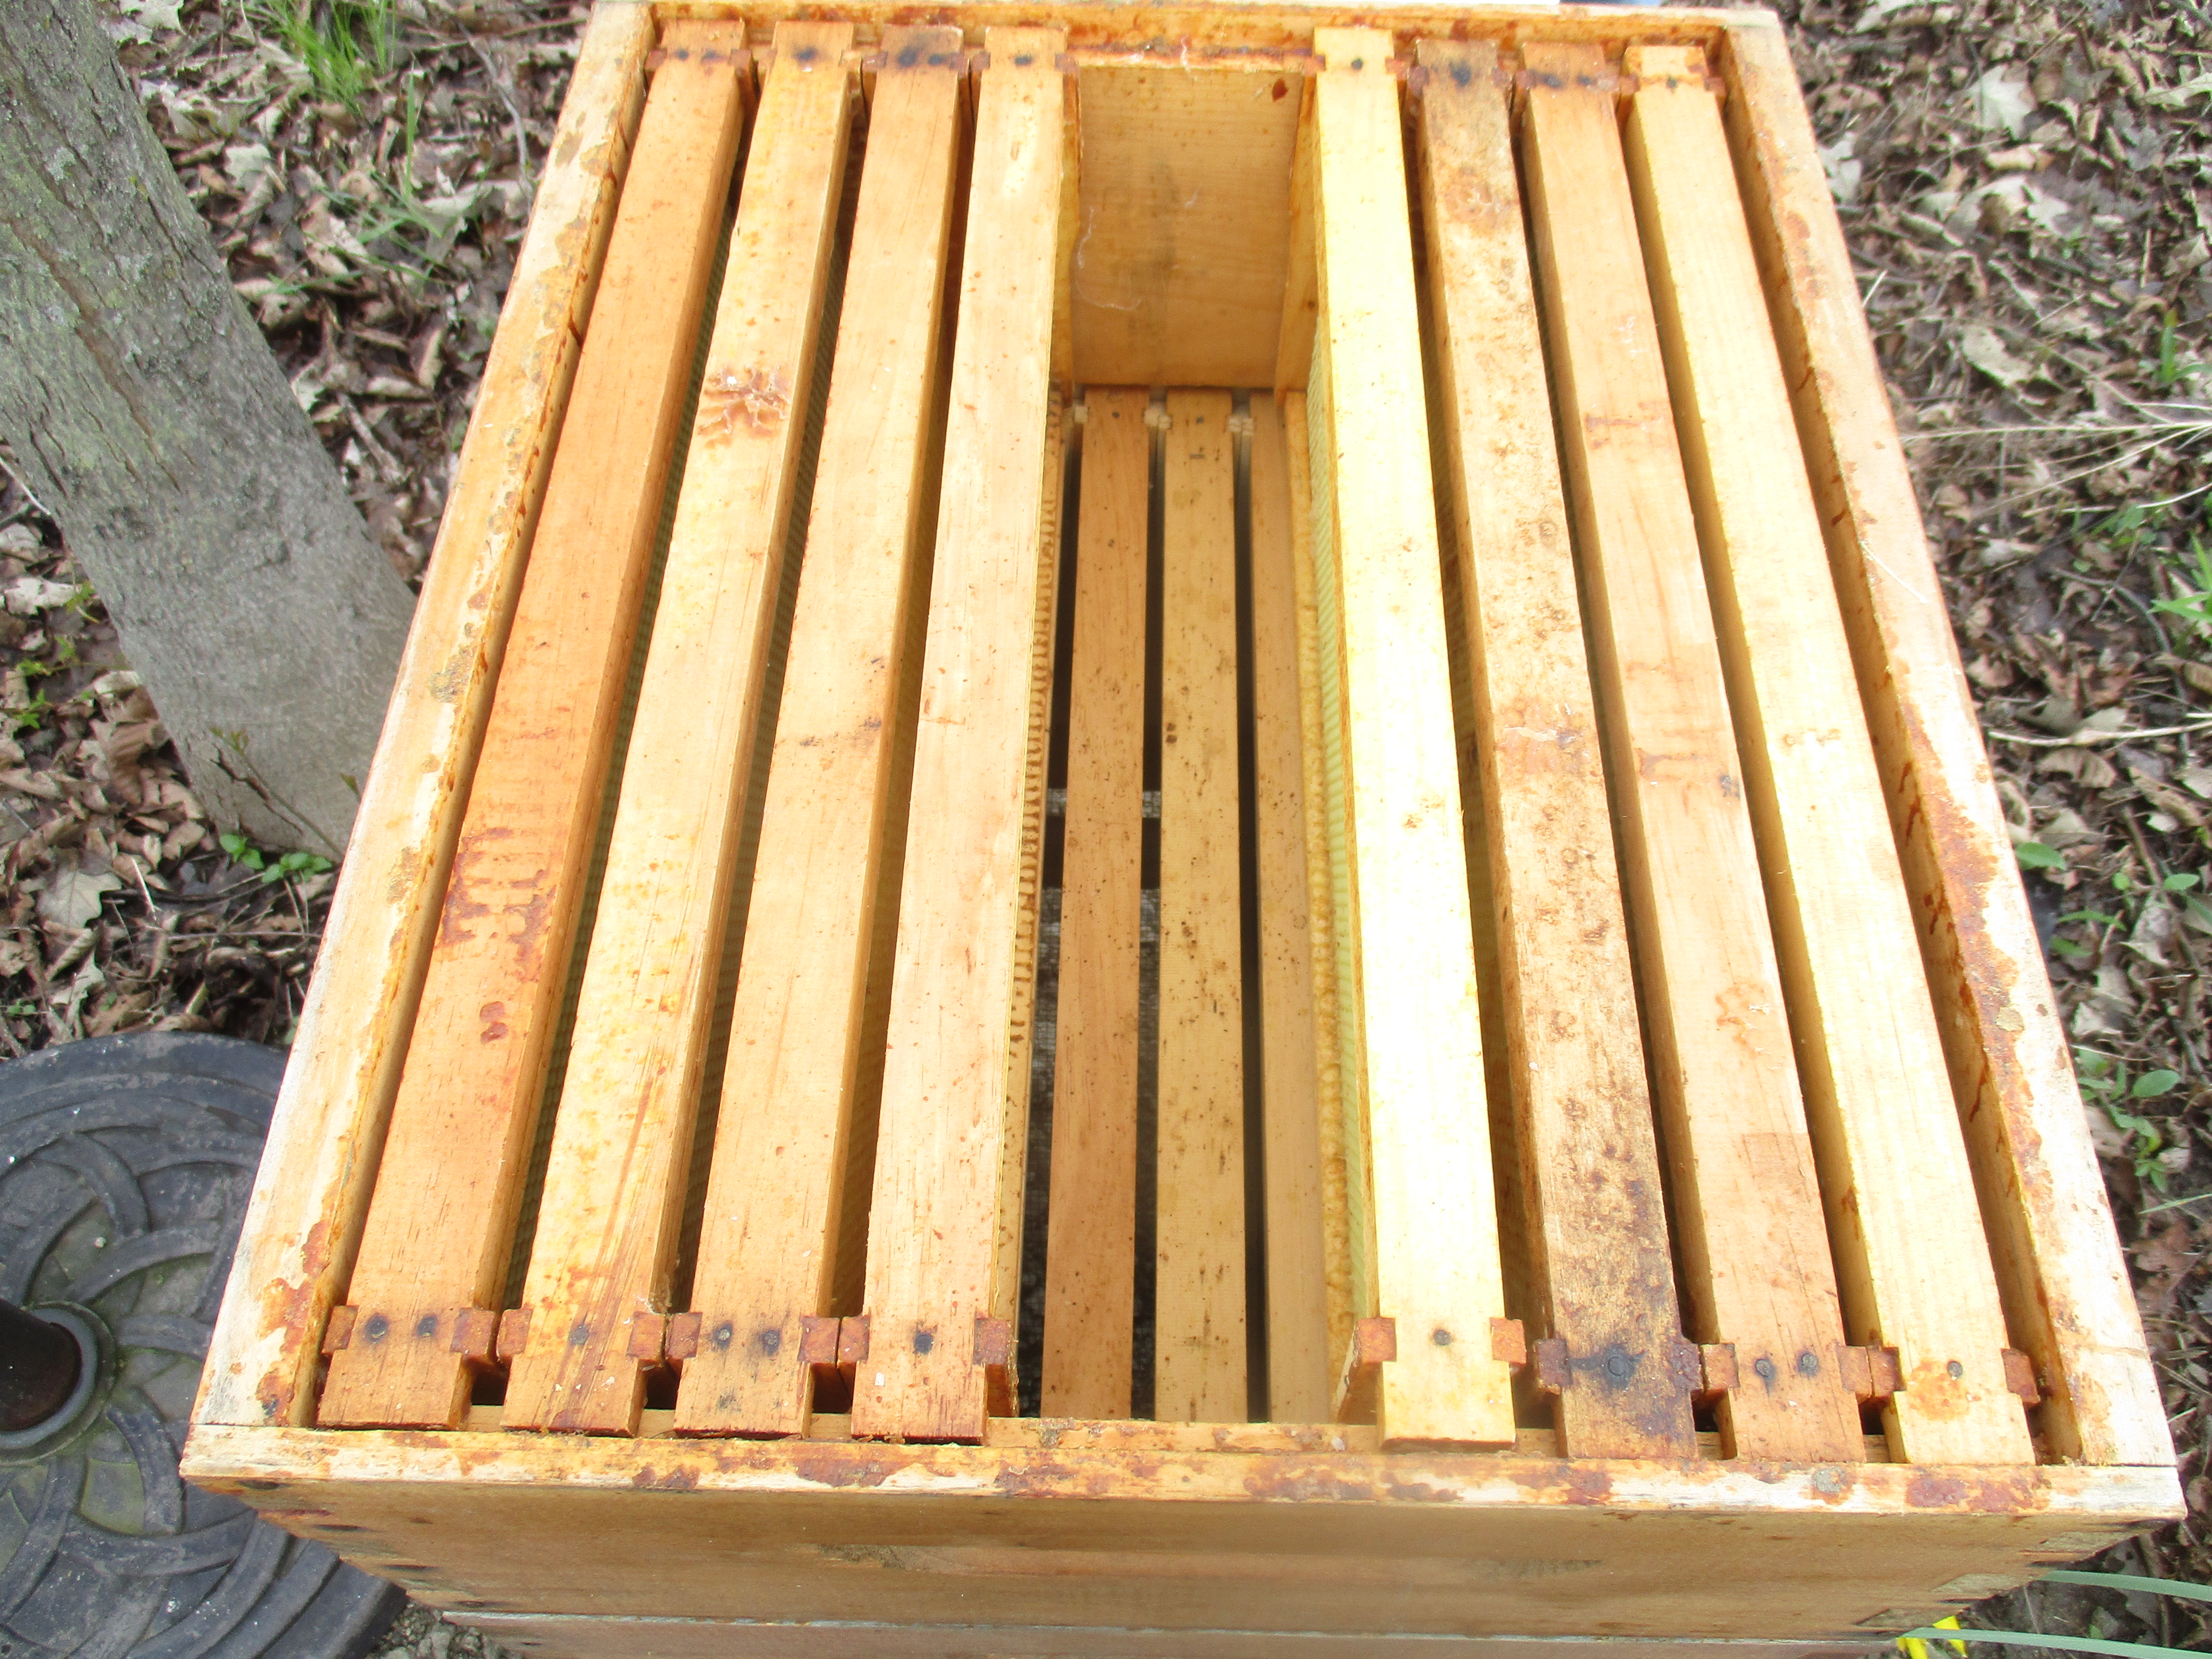
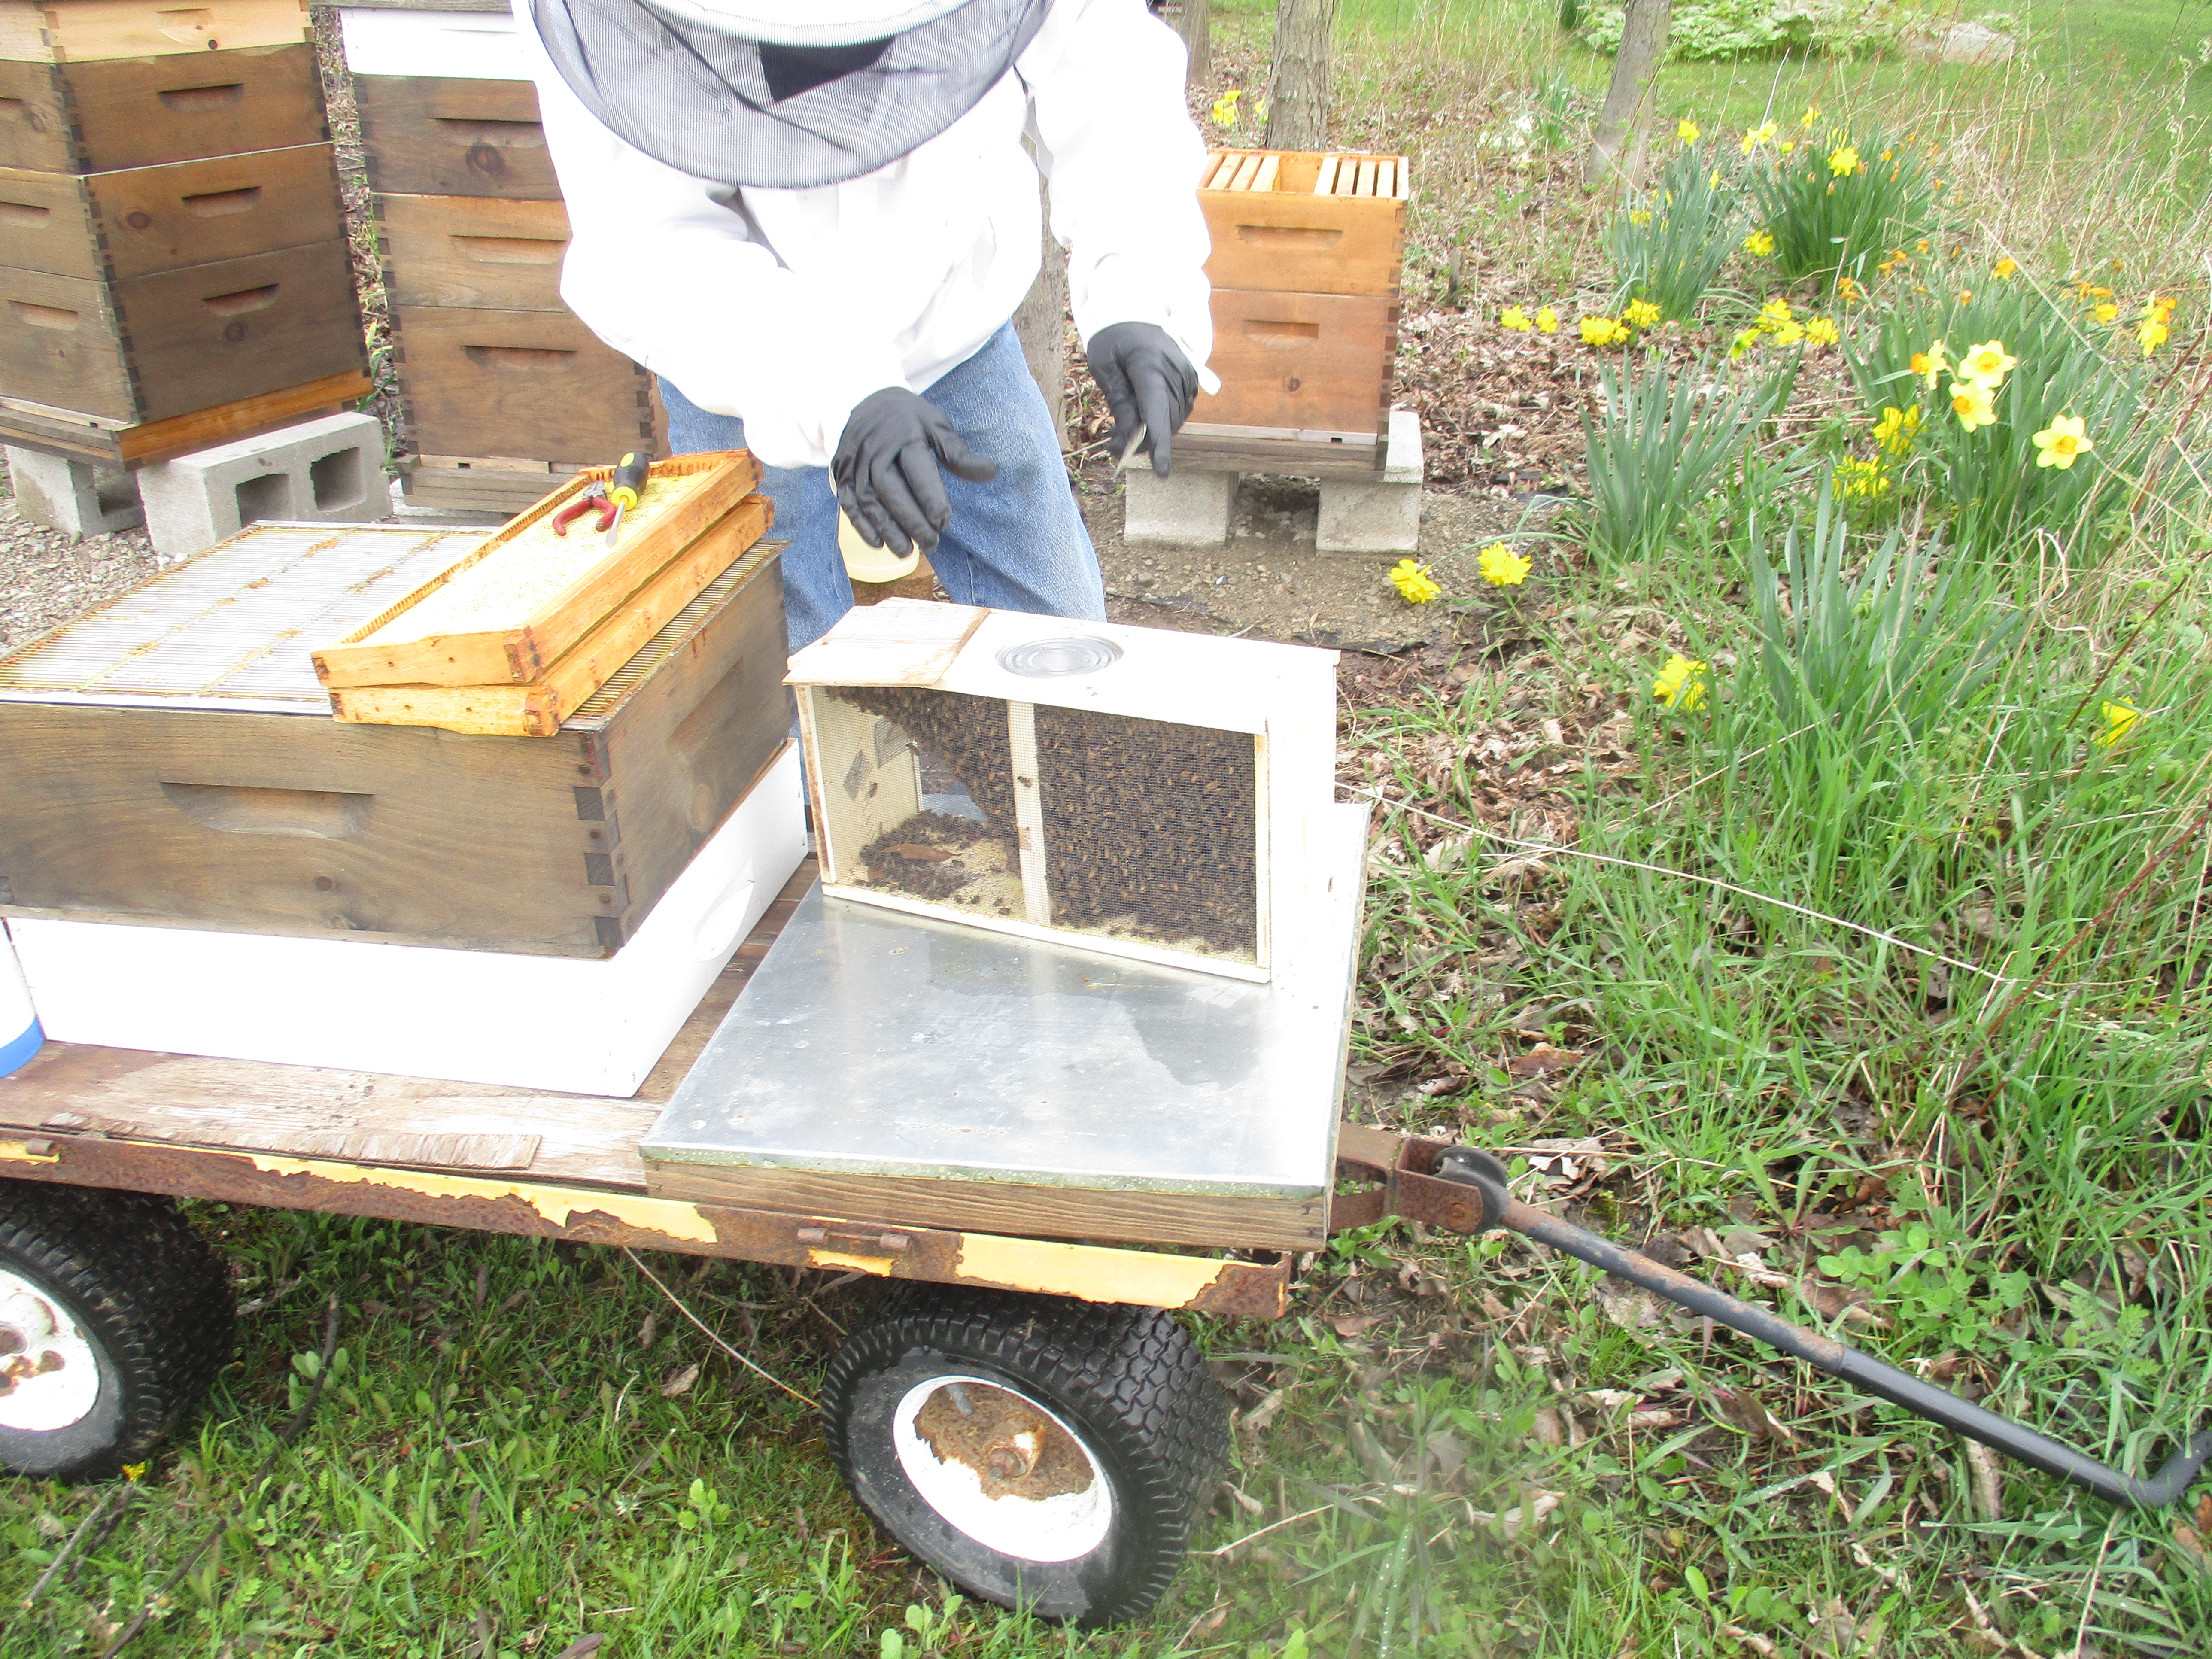
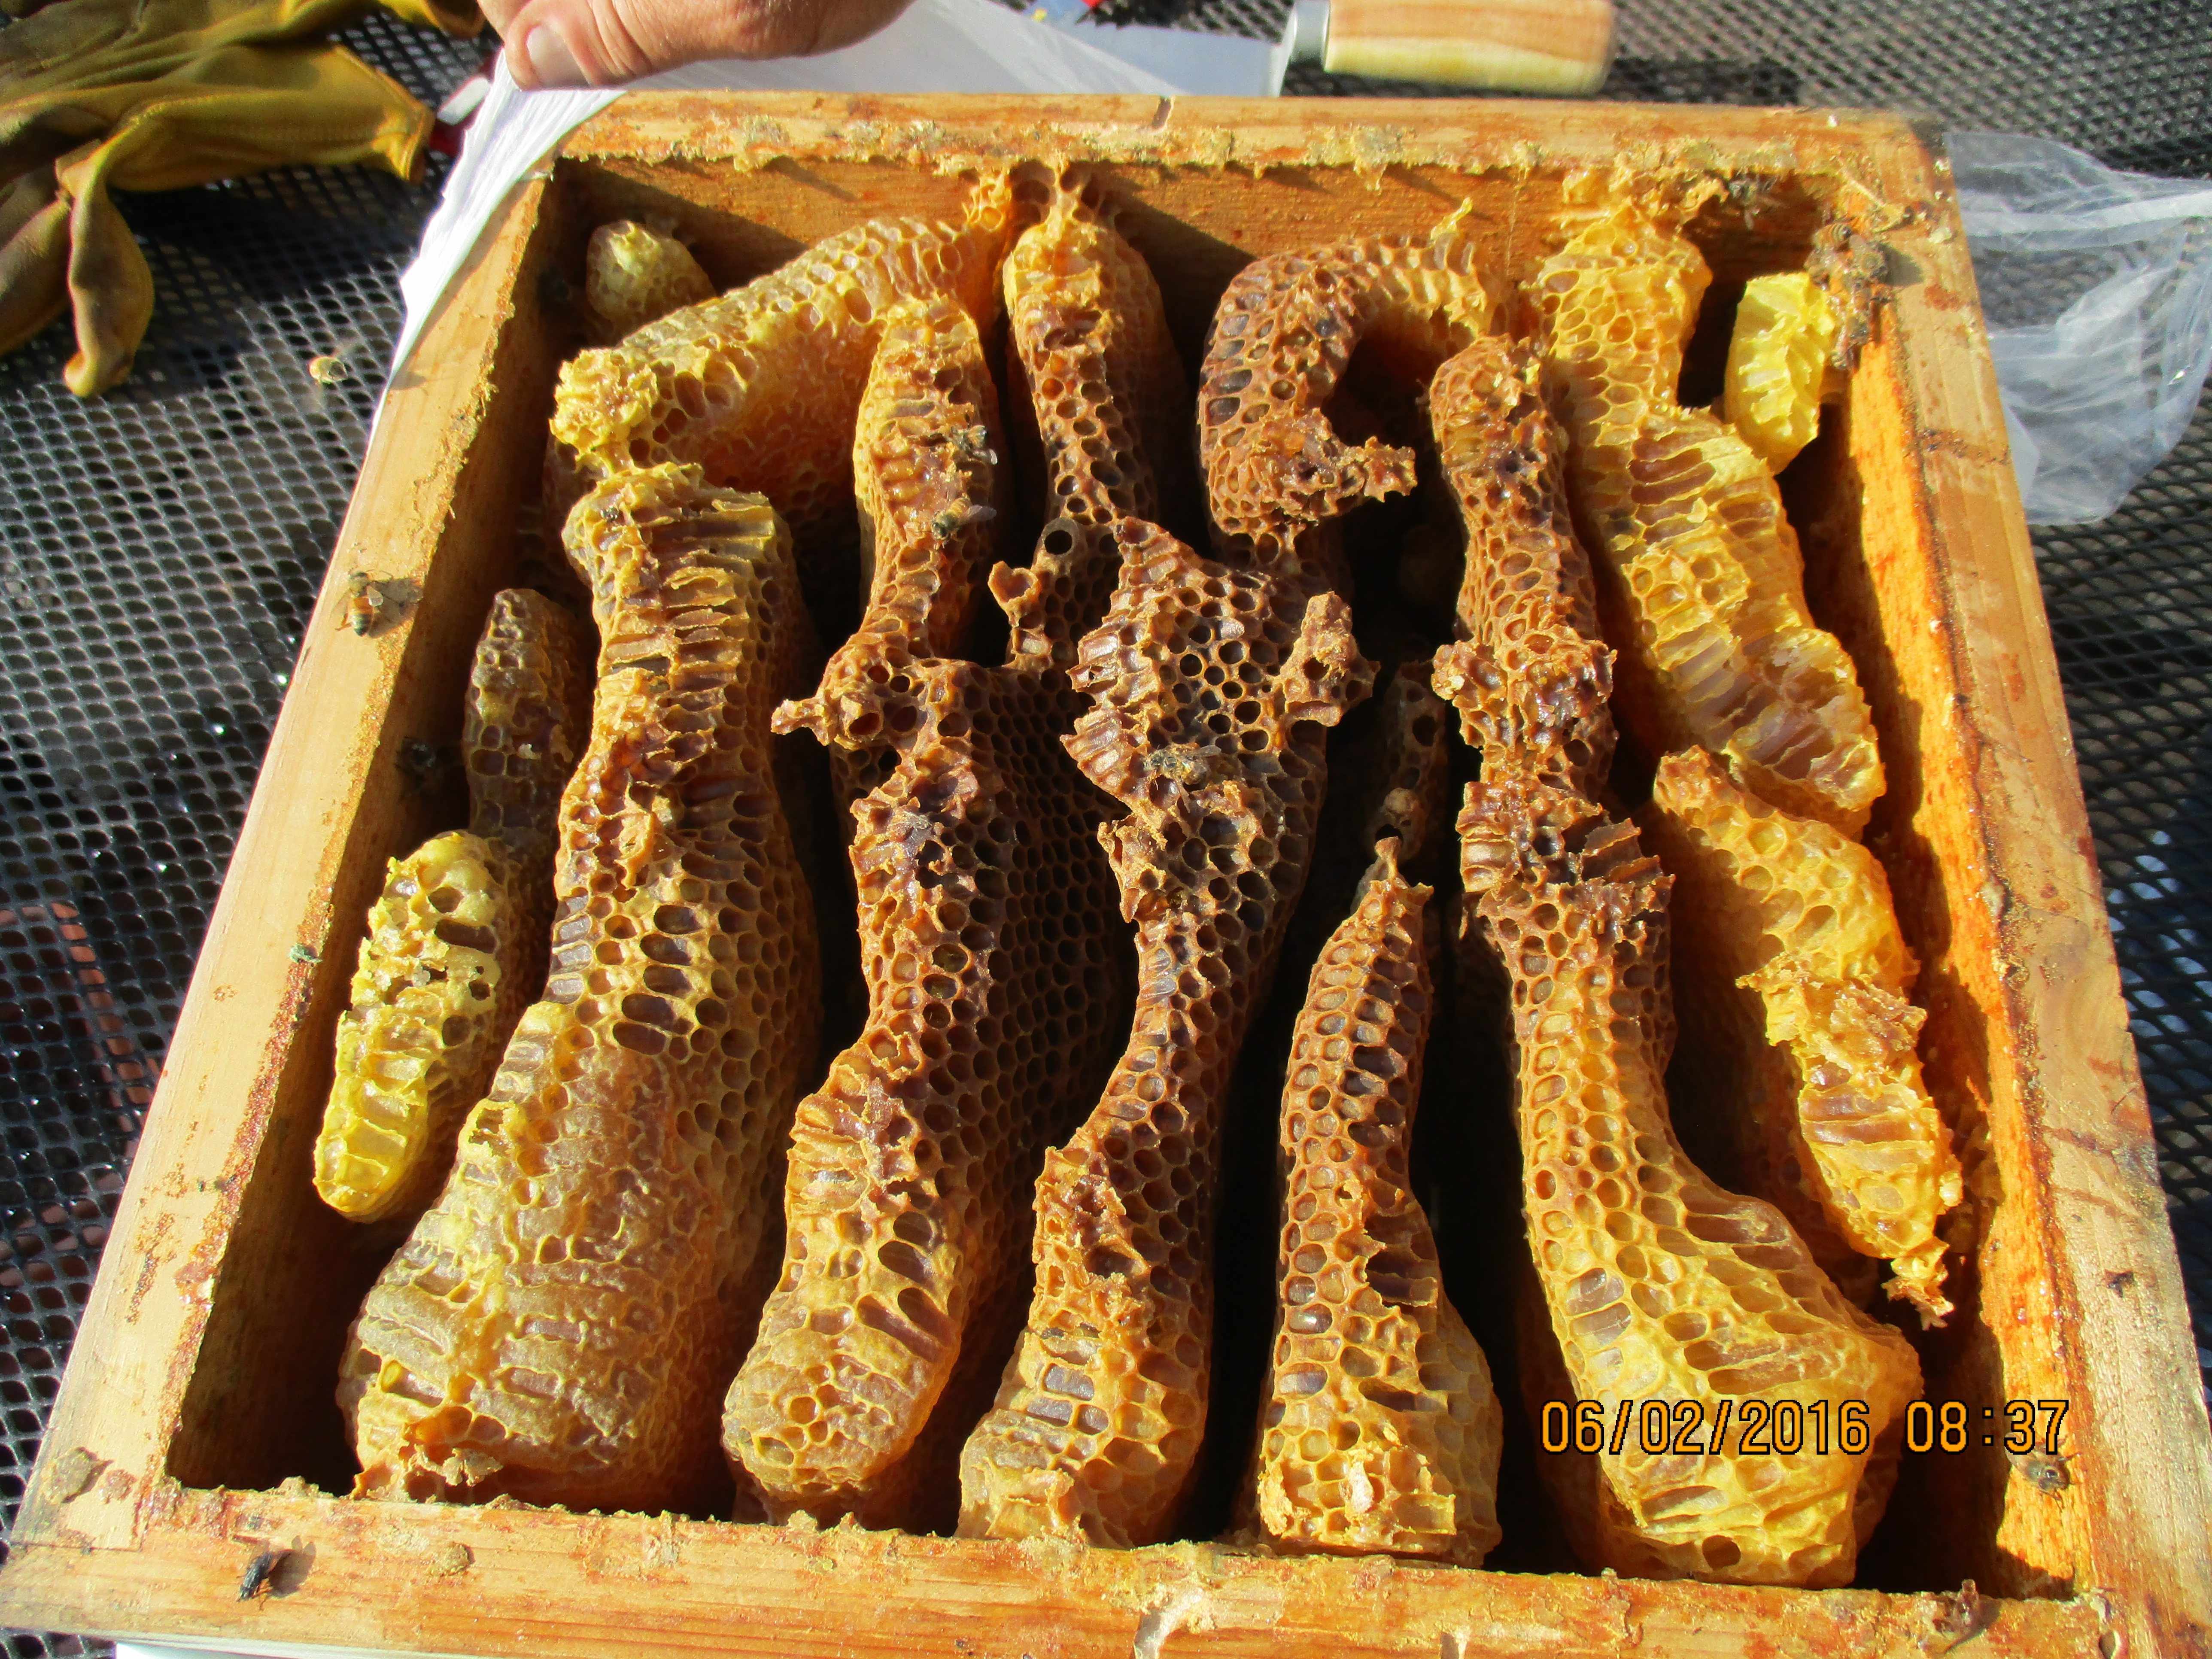
This is the first year since 2013 that we didn’t start off the year with bees in our hives. After losing two more hives over the winter, we made the decision in the early spring not to spend the money to buy more bees.
For the past several weeks I have been hearing my husband express his regrets about not getting bees. We have seen a few honeybees foraging on the farm but not nearly as many as when we have one or more hives there.
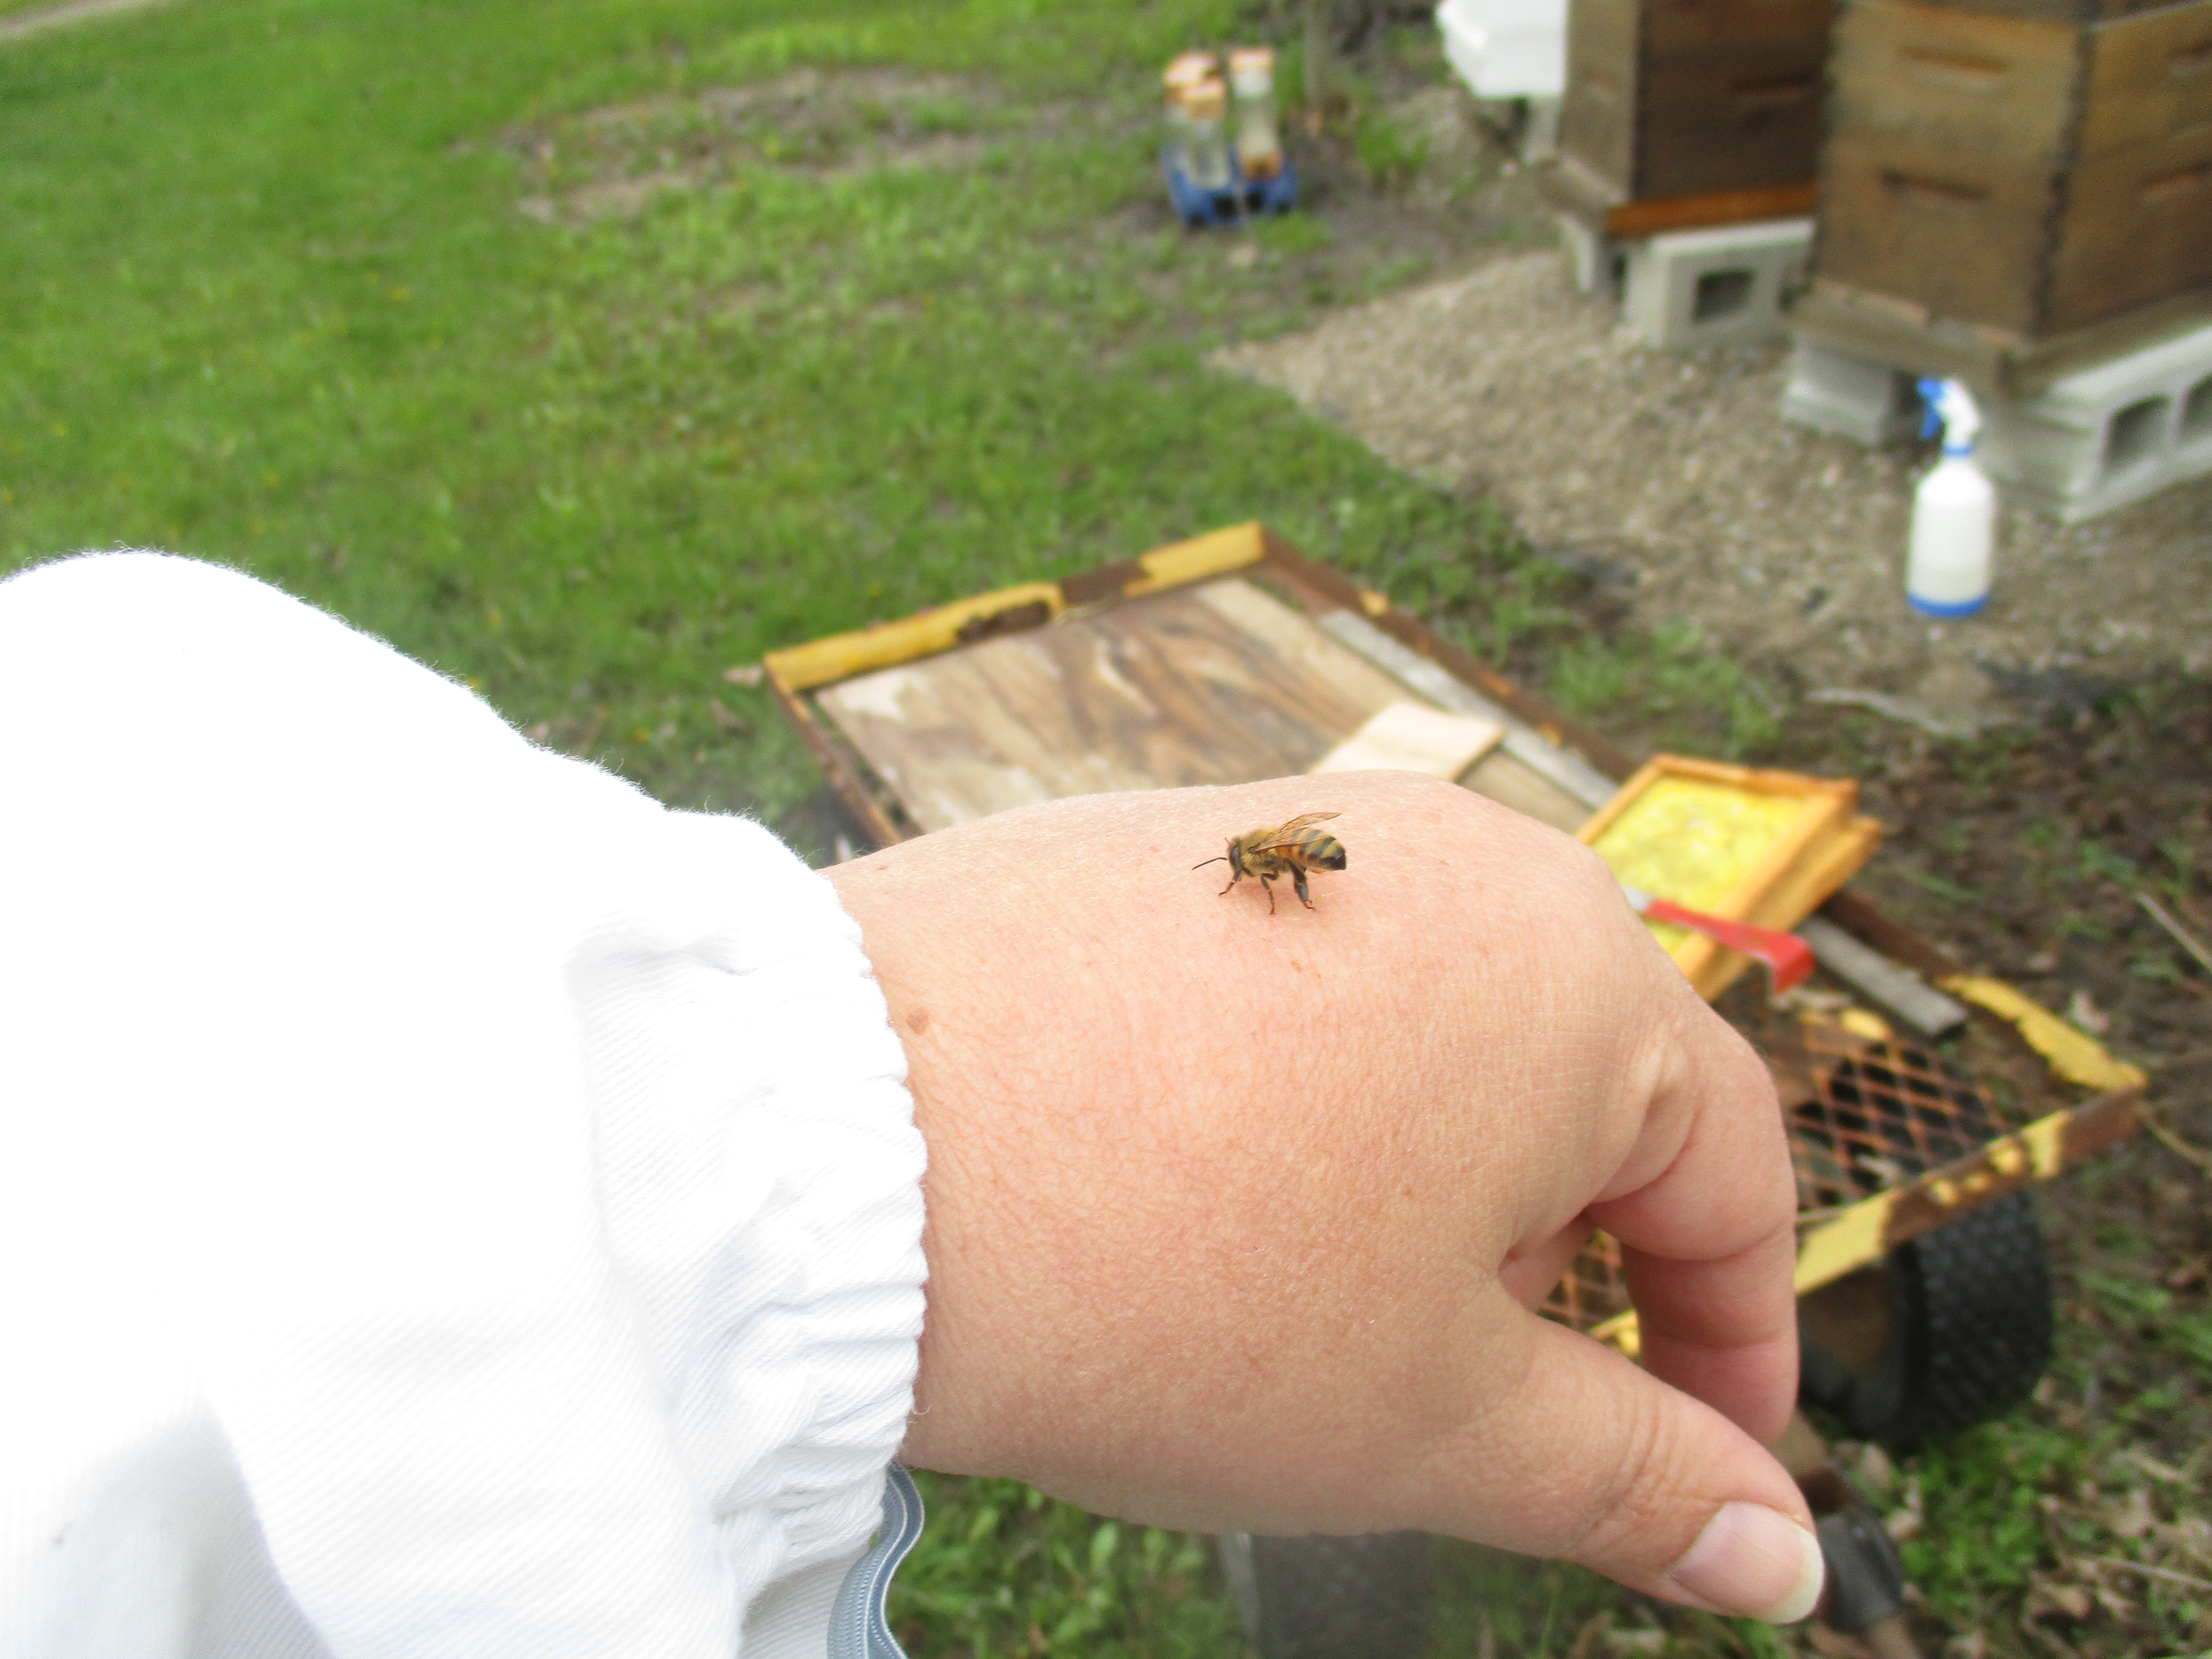
The two hives were still set up where we kept the bees last year. The weeds/wildflowers were growing up around them, so my husband’s task was to weed whip around them. When he finished the weed whipping, he announced to me “the bees are back”. “No way!” I exclaimed as I headed toward to hive. Sure enough, bees were coming and going as if this were their home. We’ll know for sure in the next few days if this was a swarm of bees that has decided to use this hive as their new home. Free bees how cool is that?

Thanks for visiting.


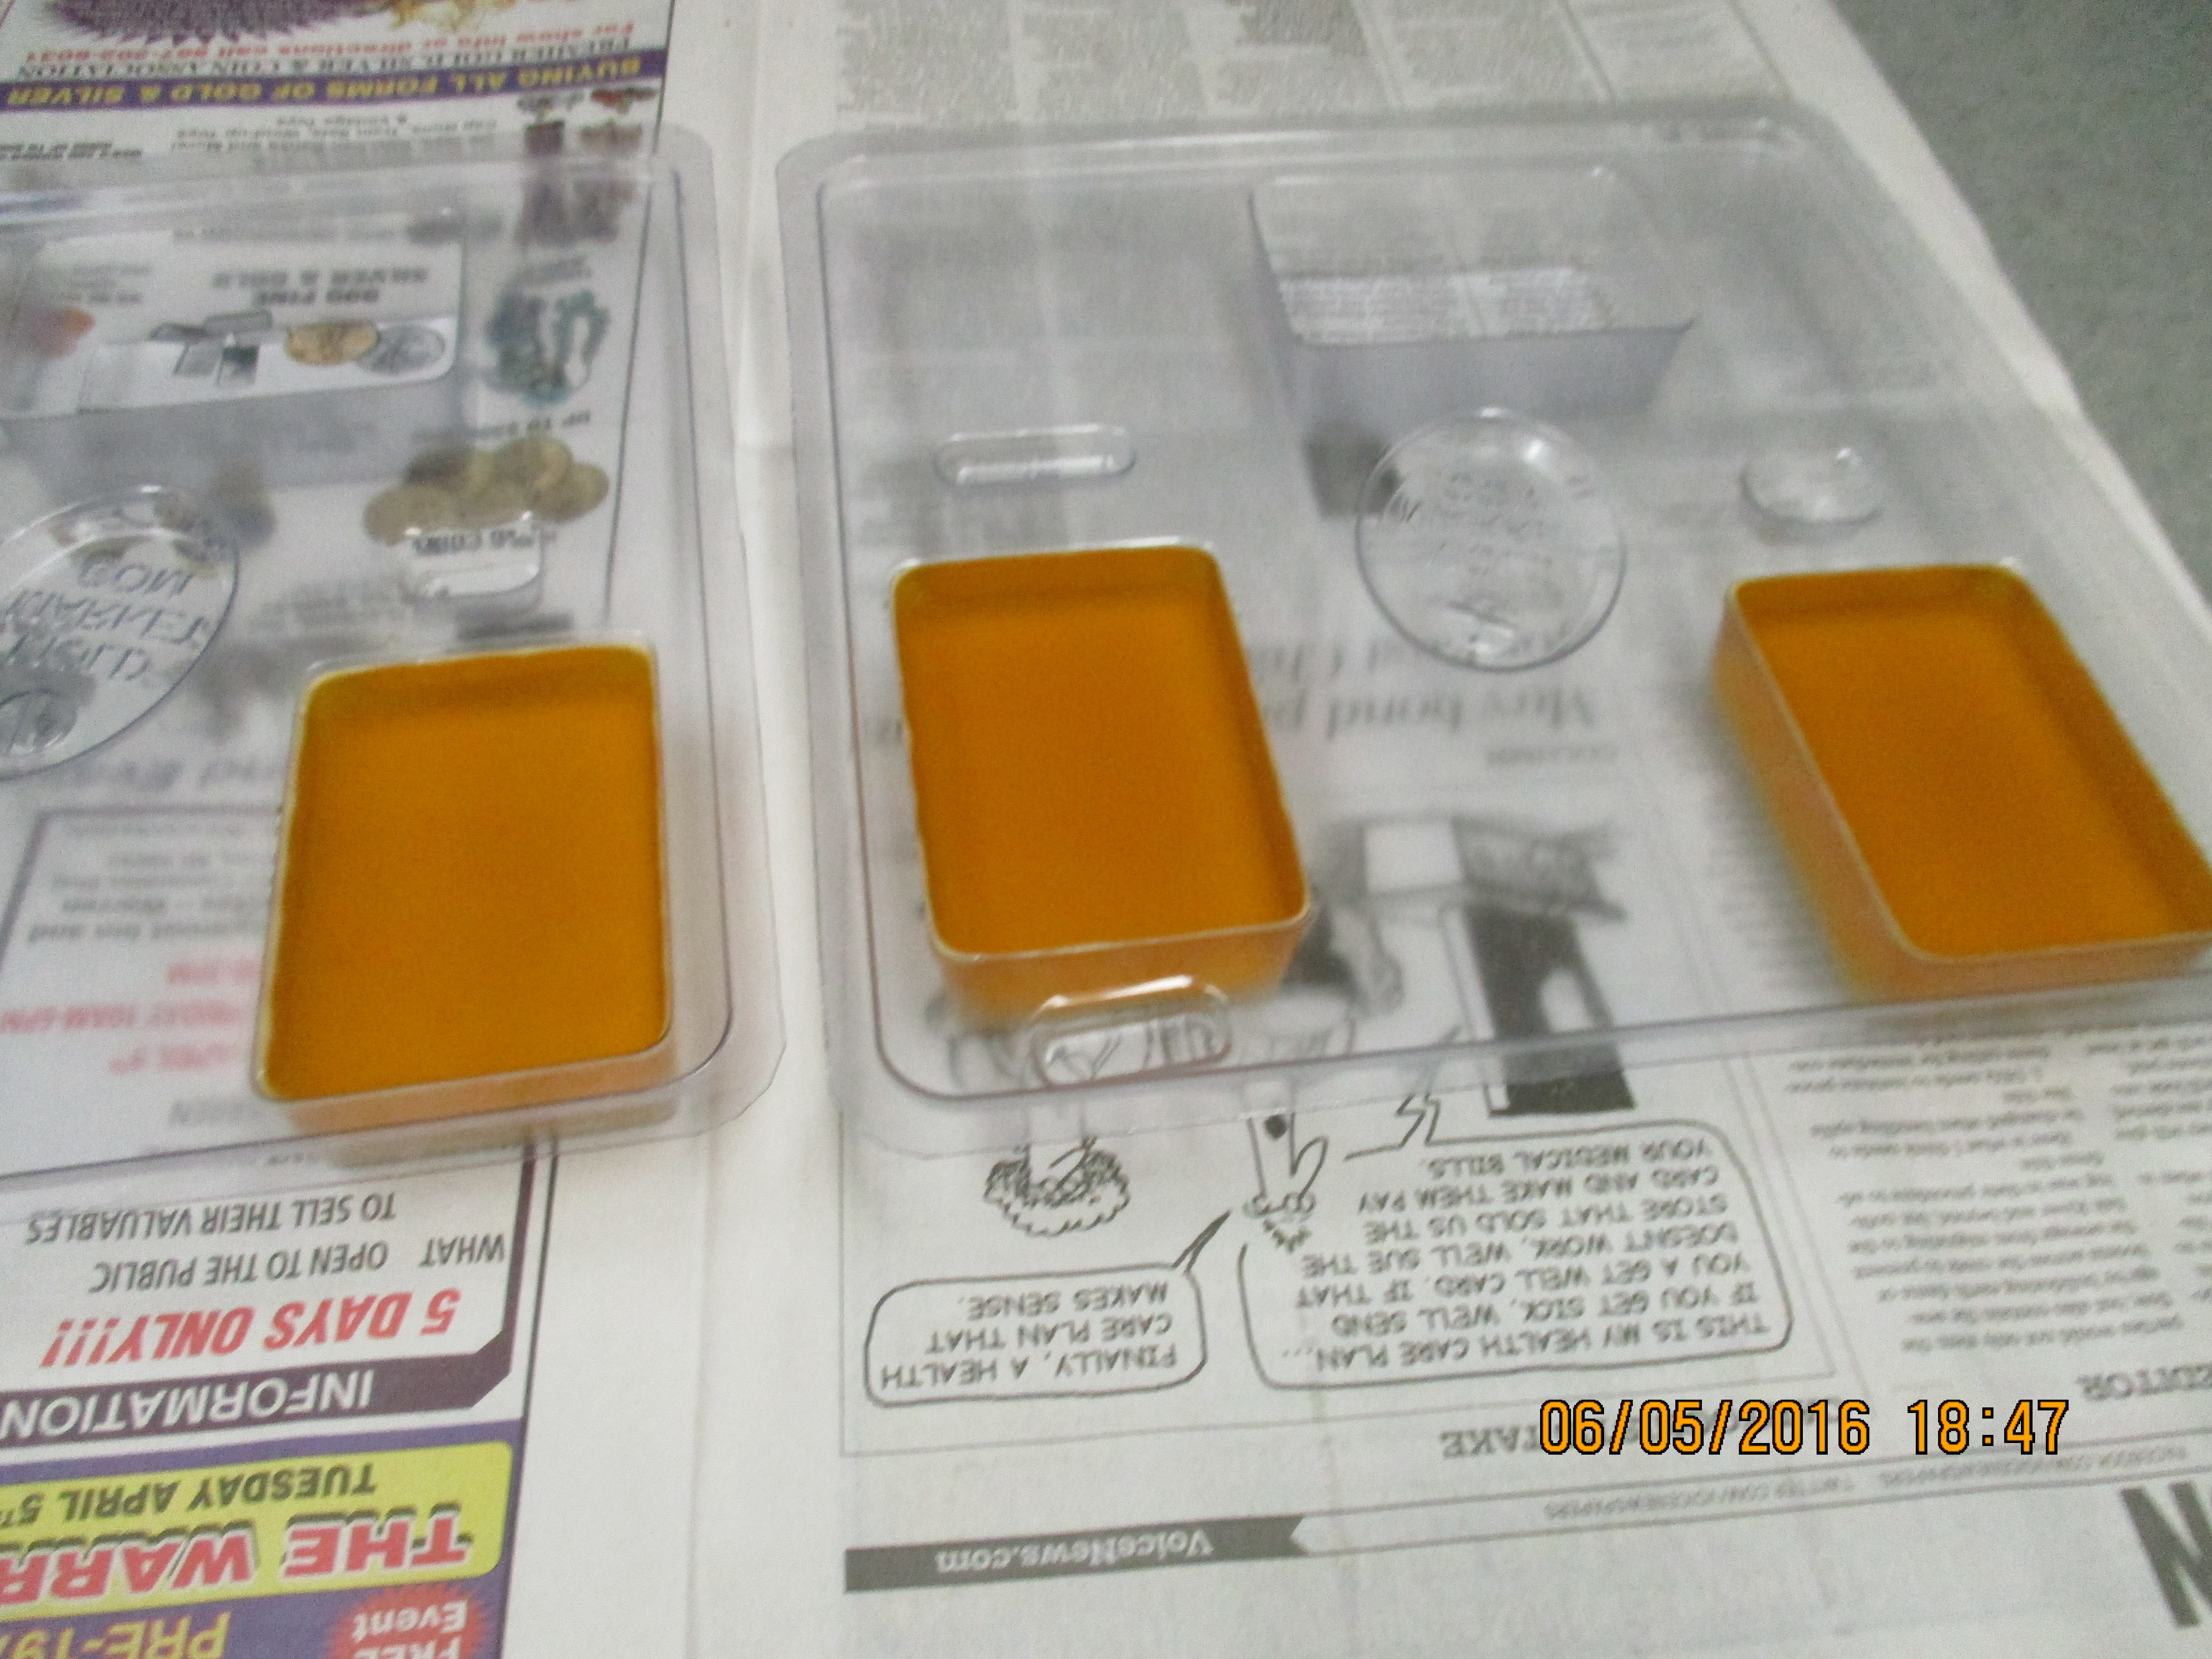
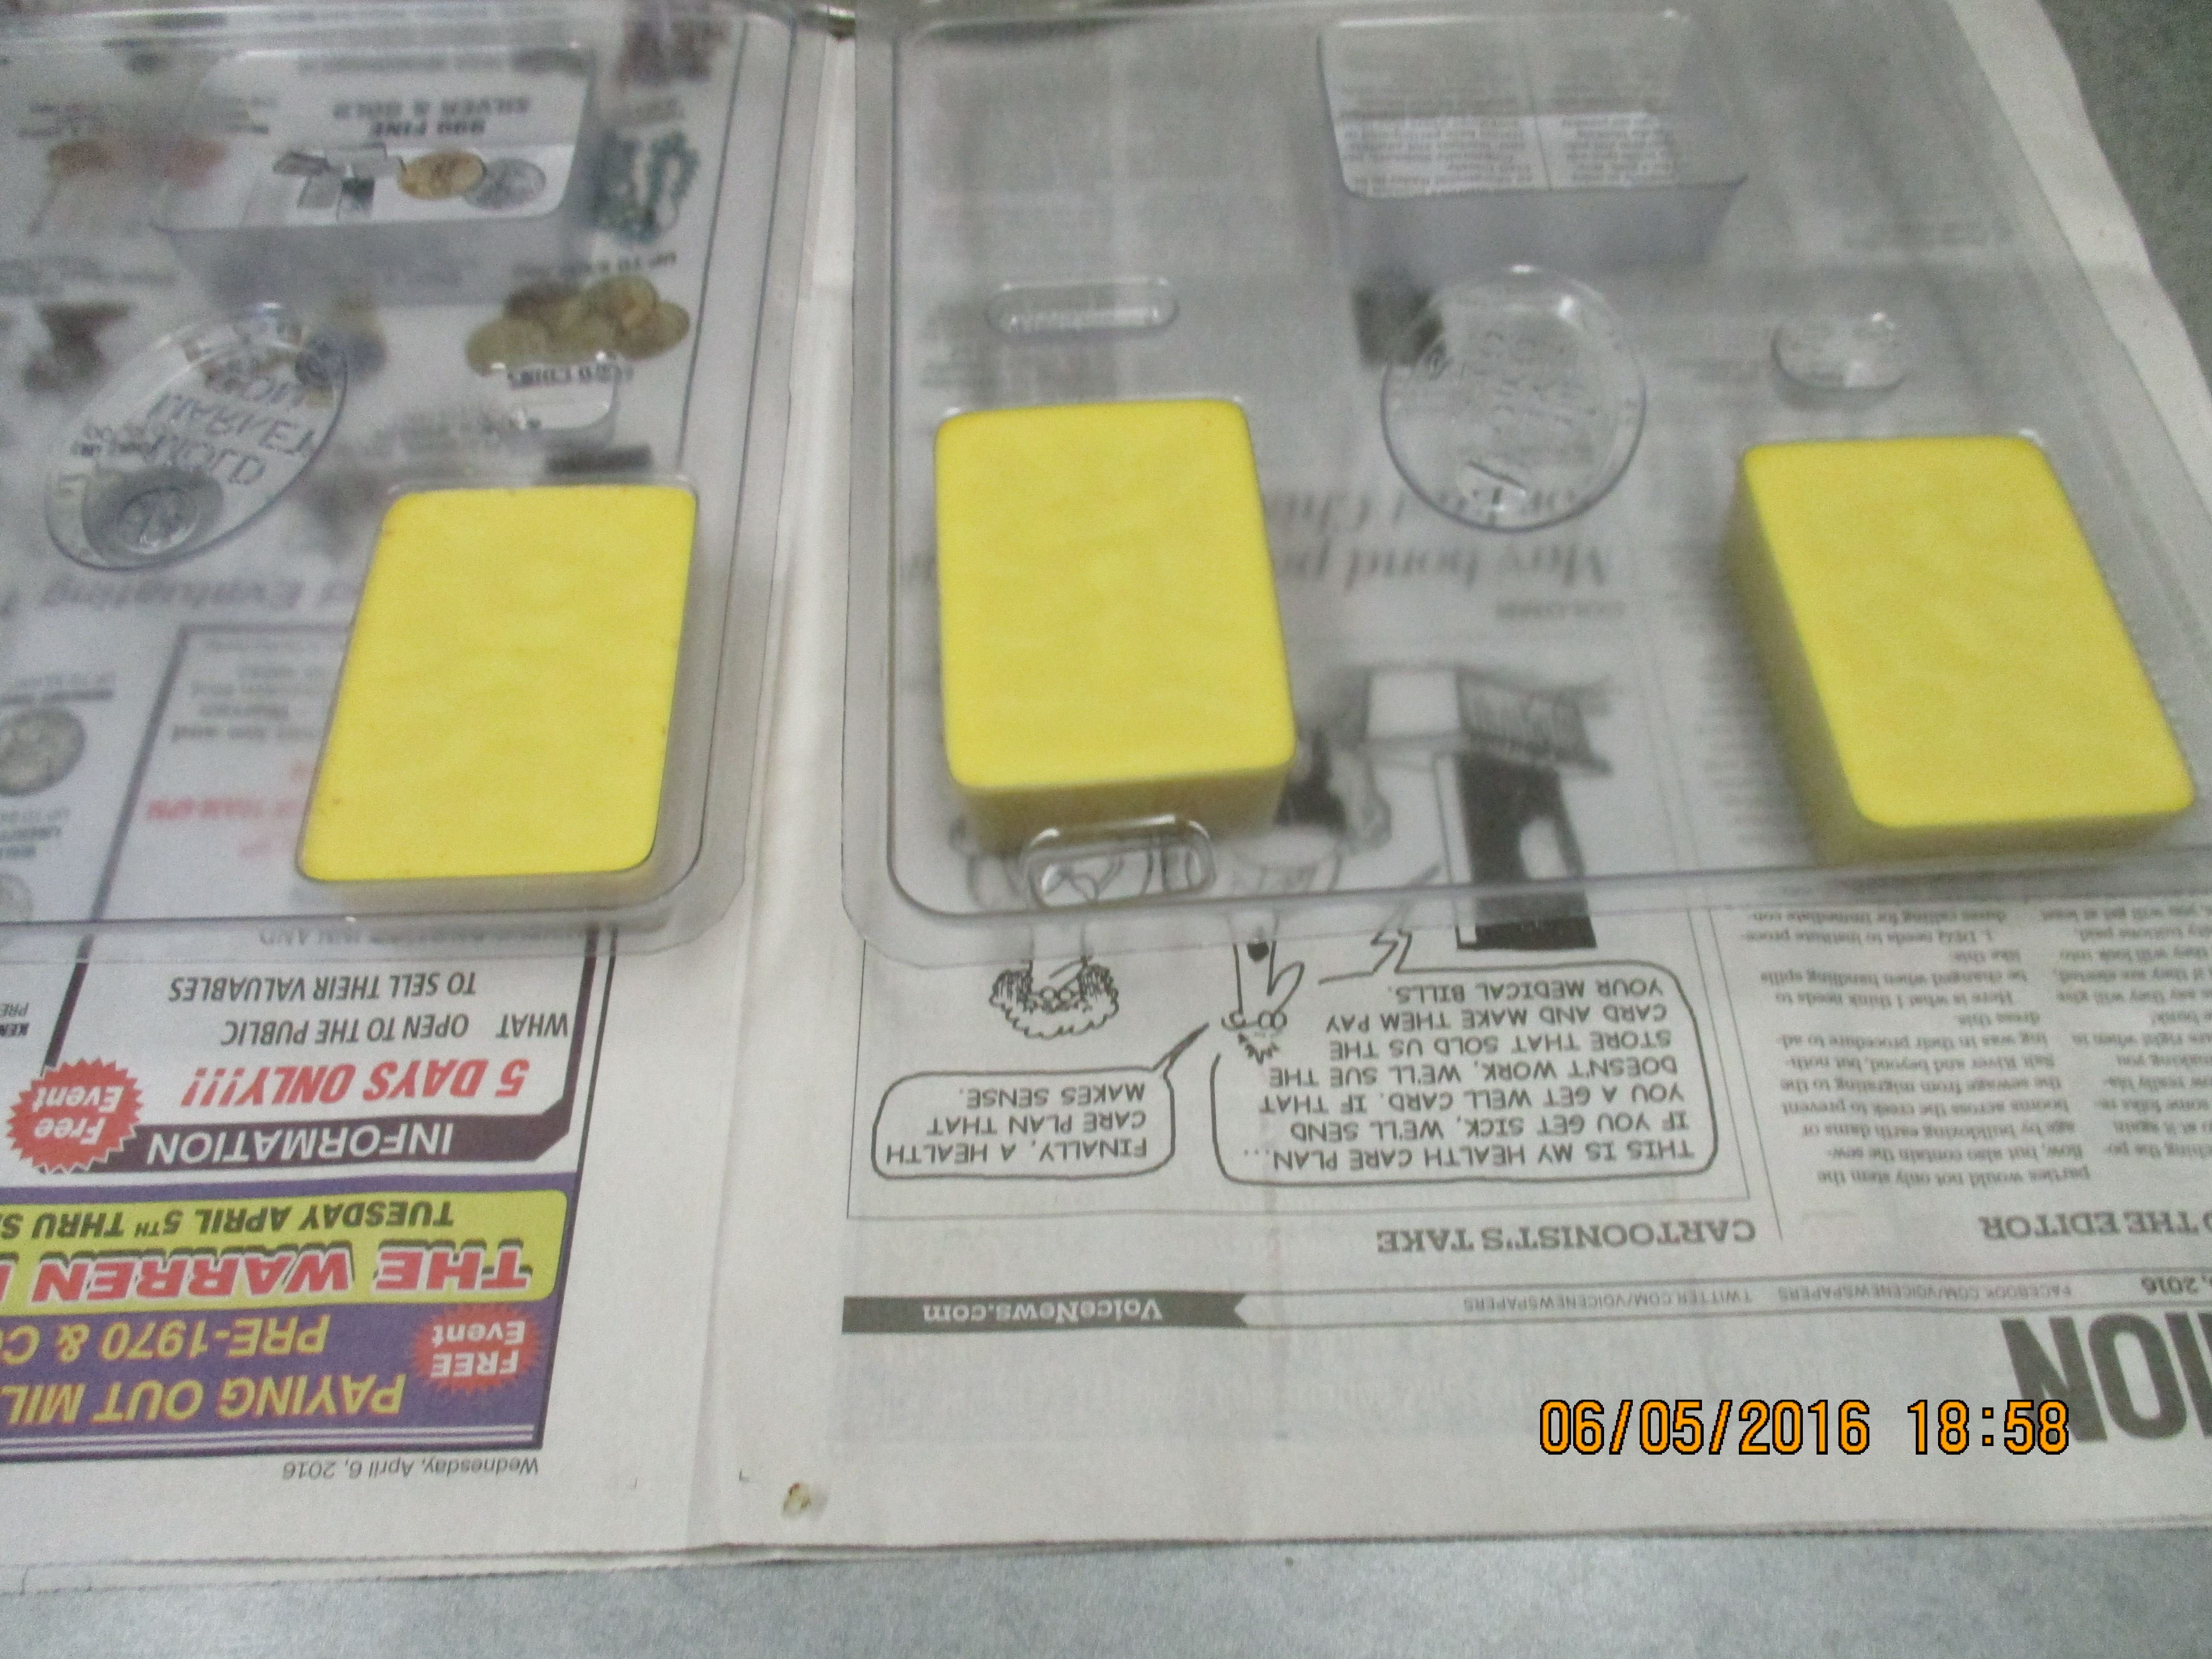
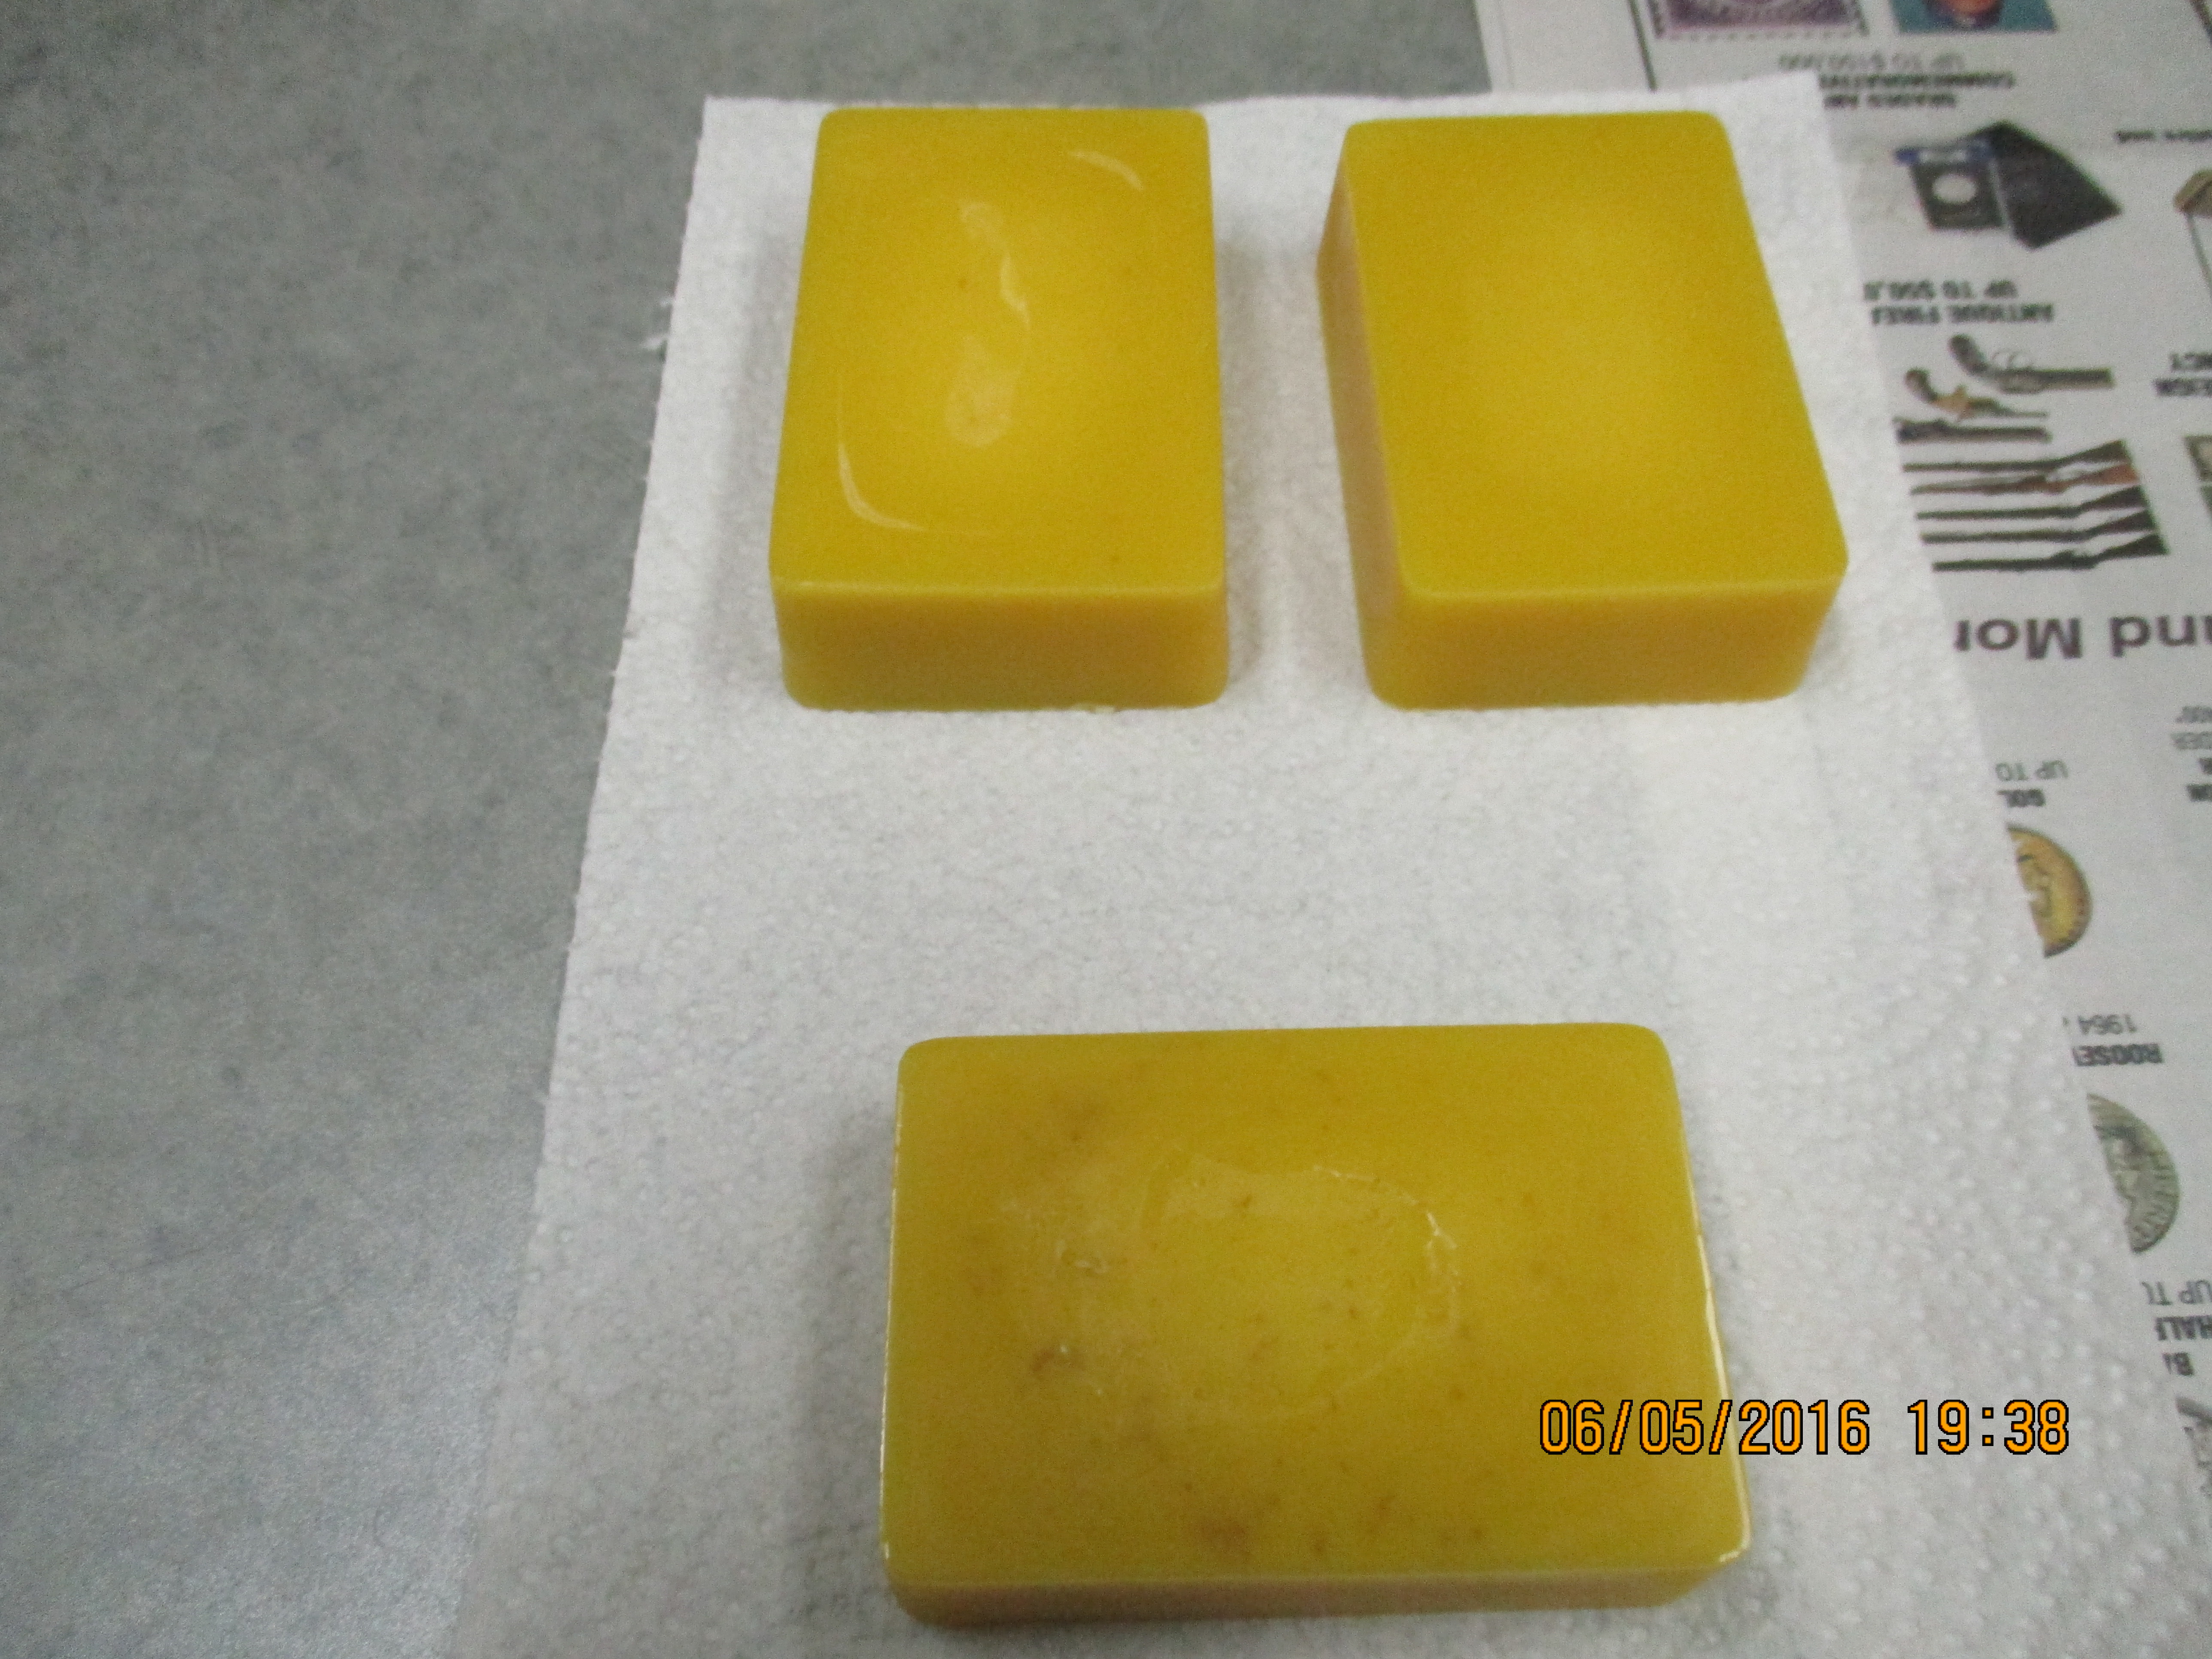
 When the wax is completely melted the non-wax particles can be filtered out. To do this I use a strainer lined with several layers of cheese cloth.