Well, I’ve got some catching up to do, so some of these pictures actually go back a couple of weeks.
Gardening
My husband has finished all of the planting for this year, and most things are coming up. Most of these photos are a week or two old and with the warm summerlike weather and rain that we have had everything seems to be growing in leaps and bounds.
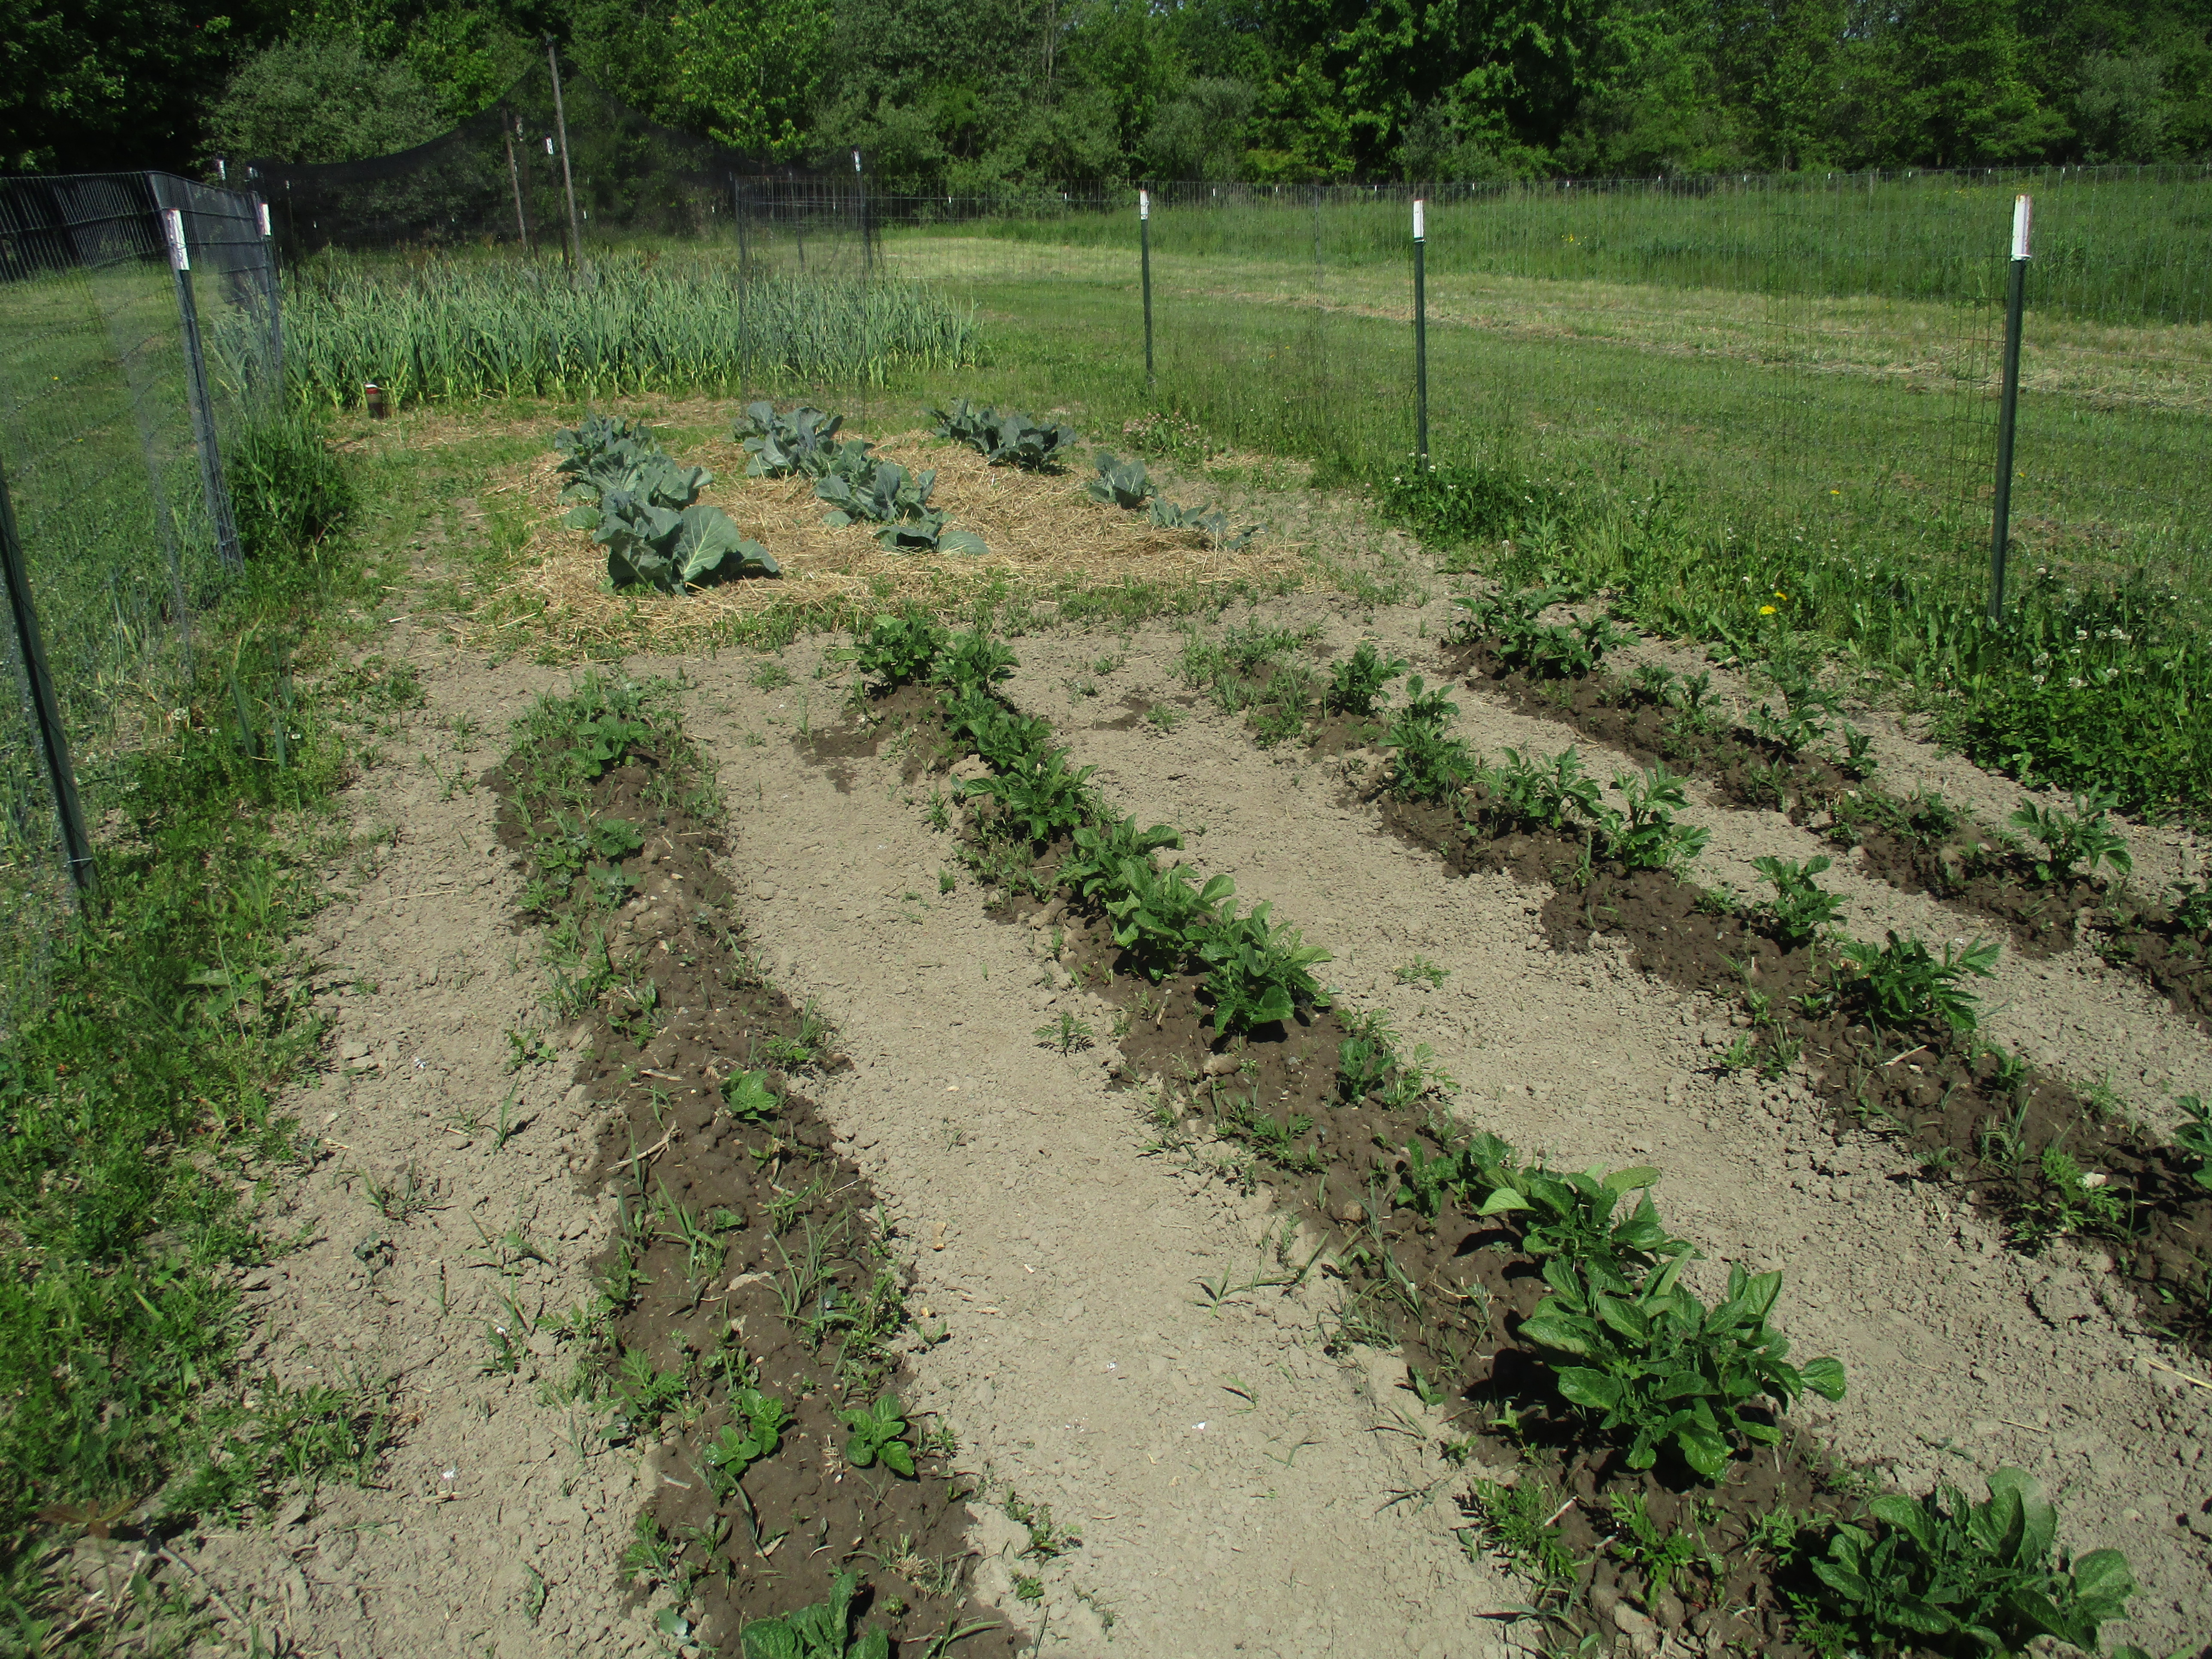
Potato patch
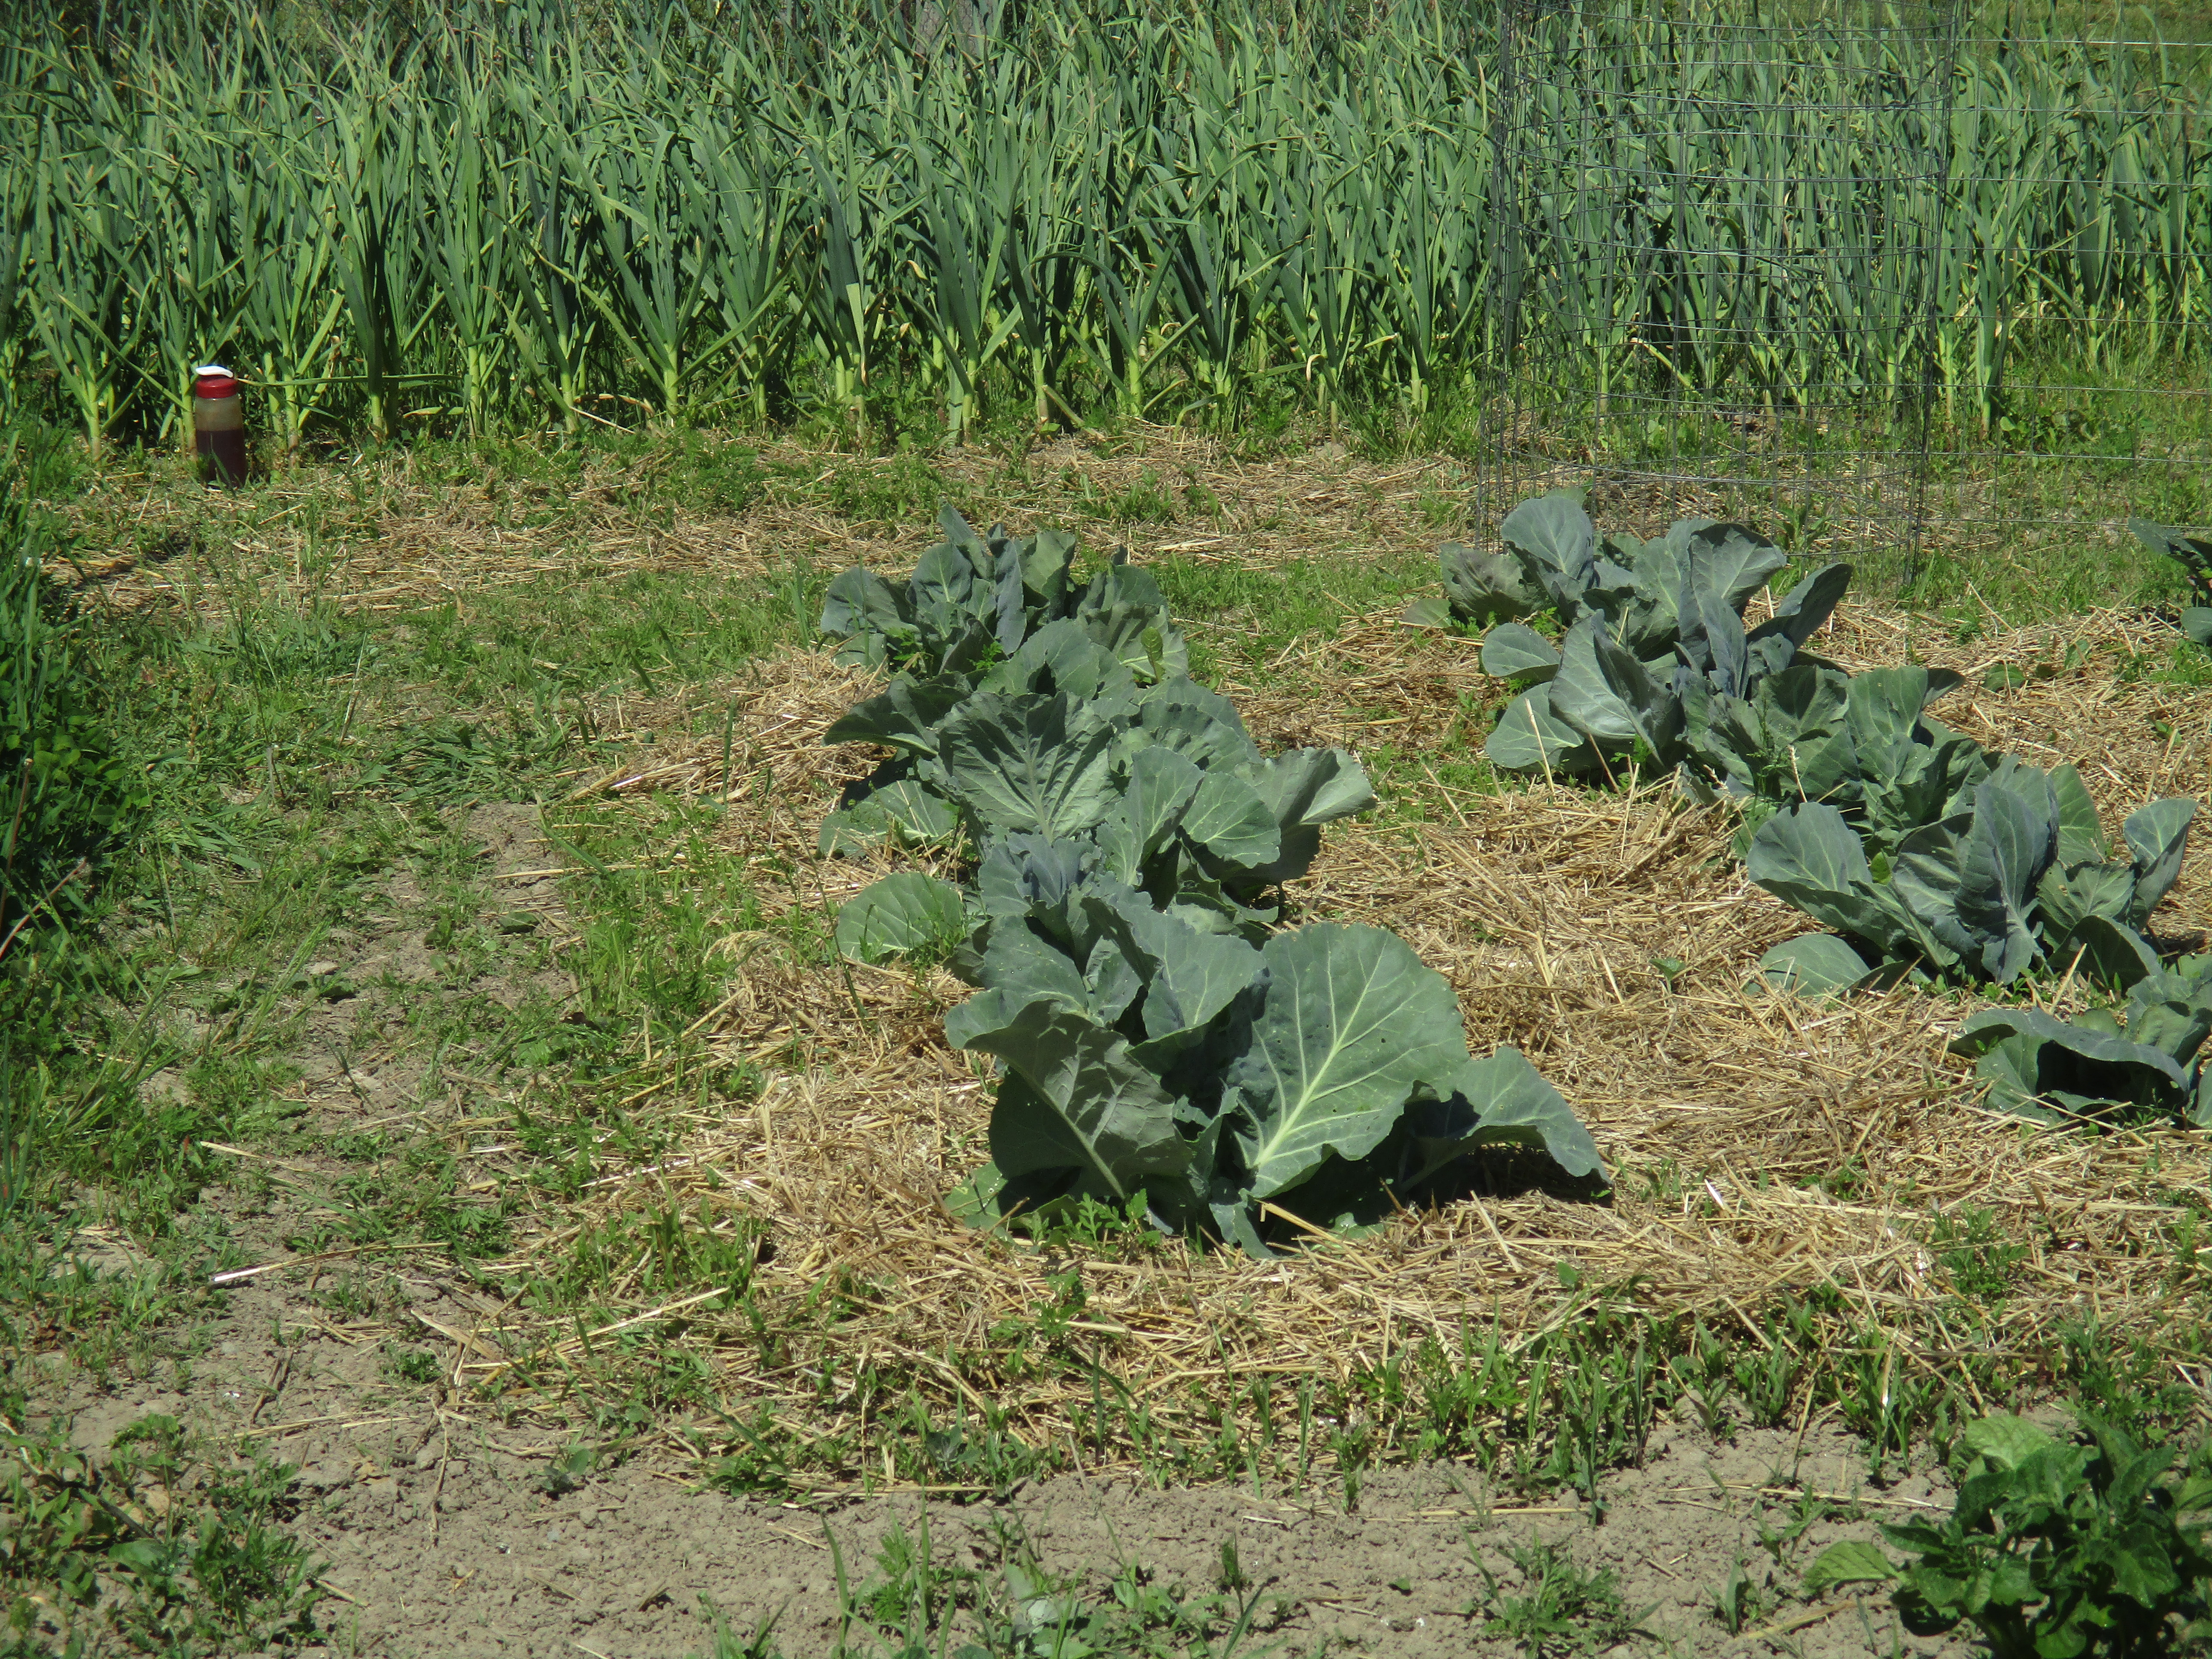
Cabbage patch
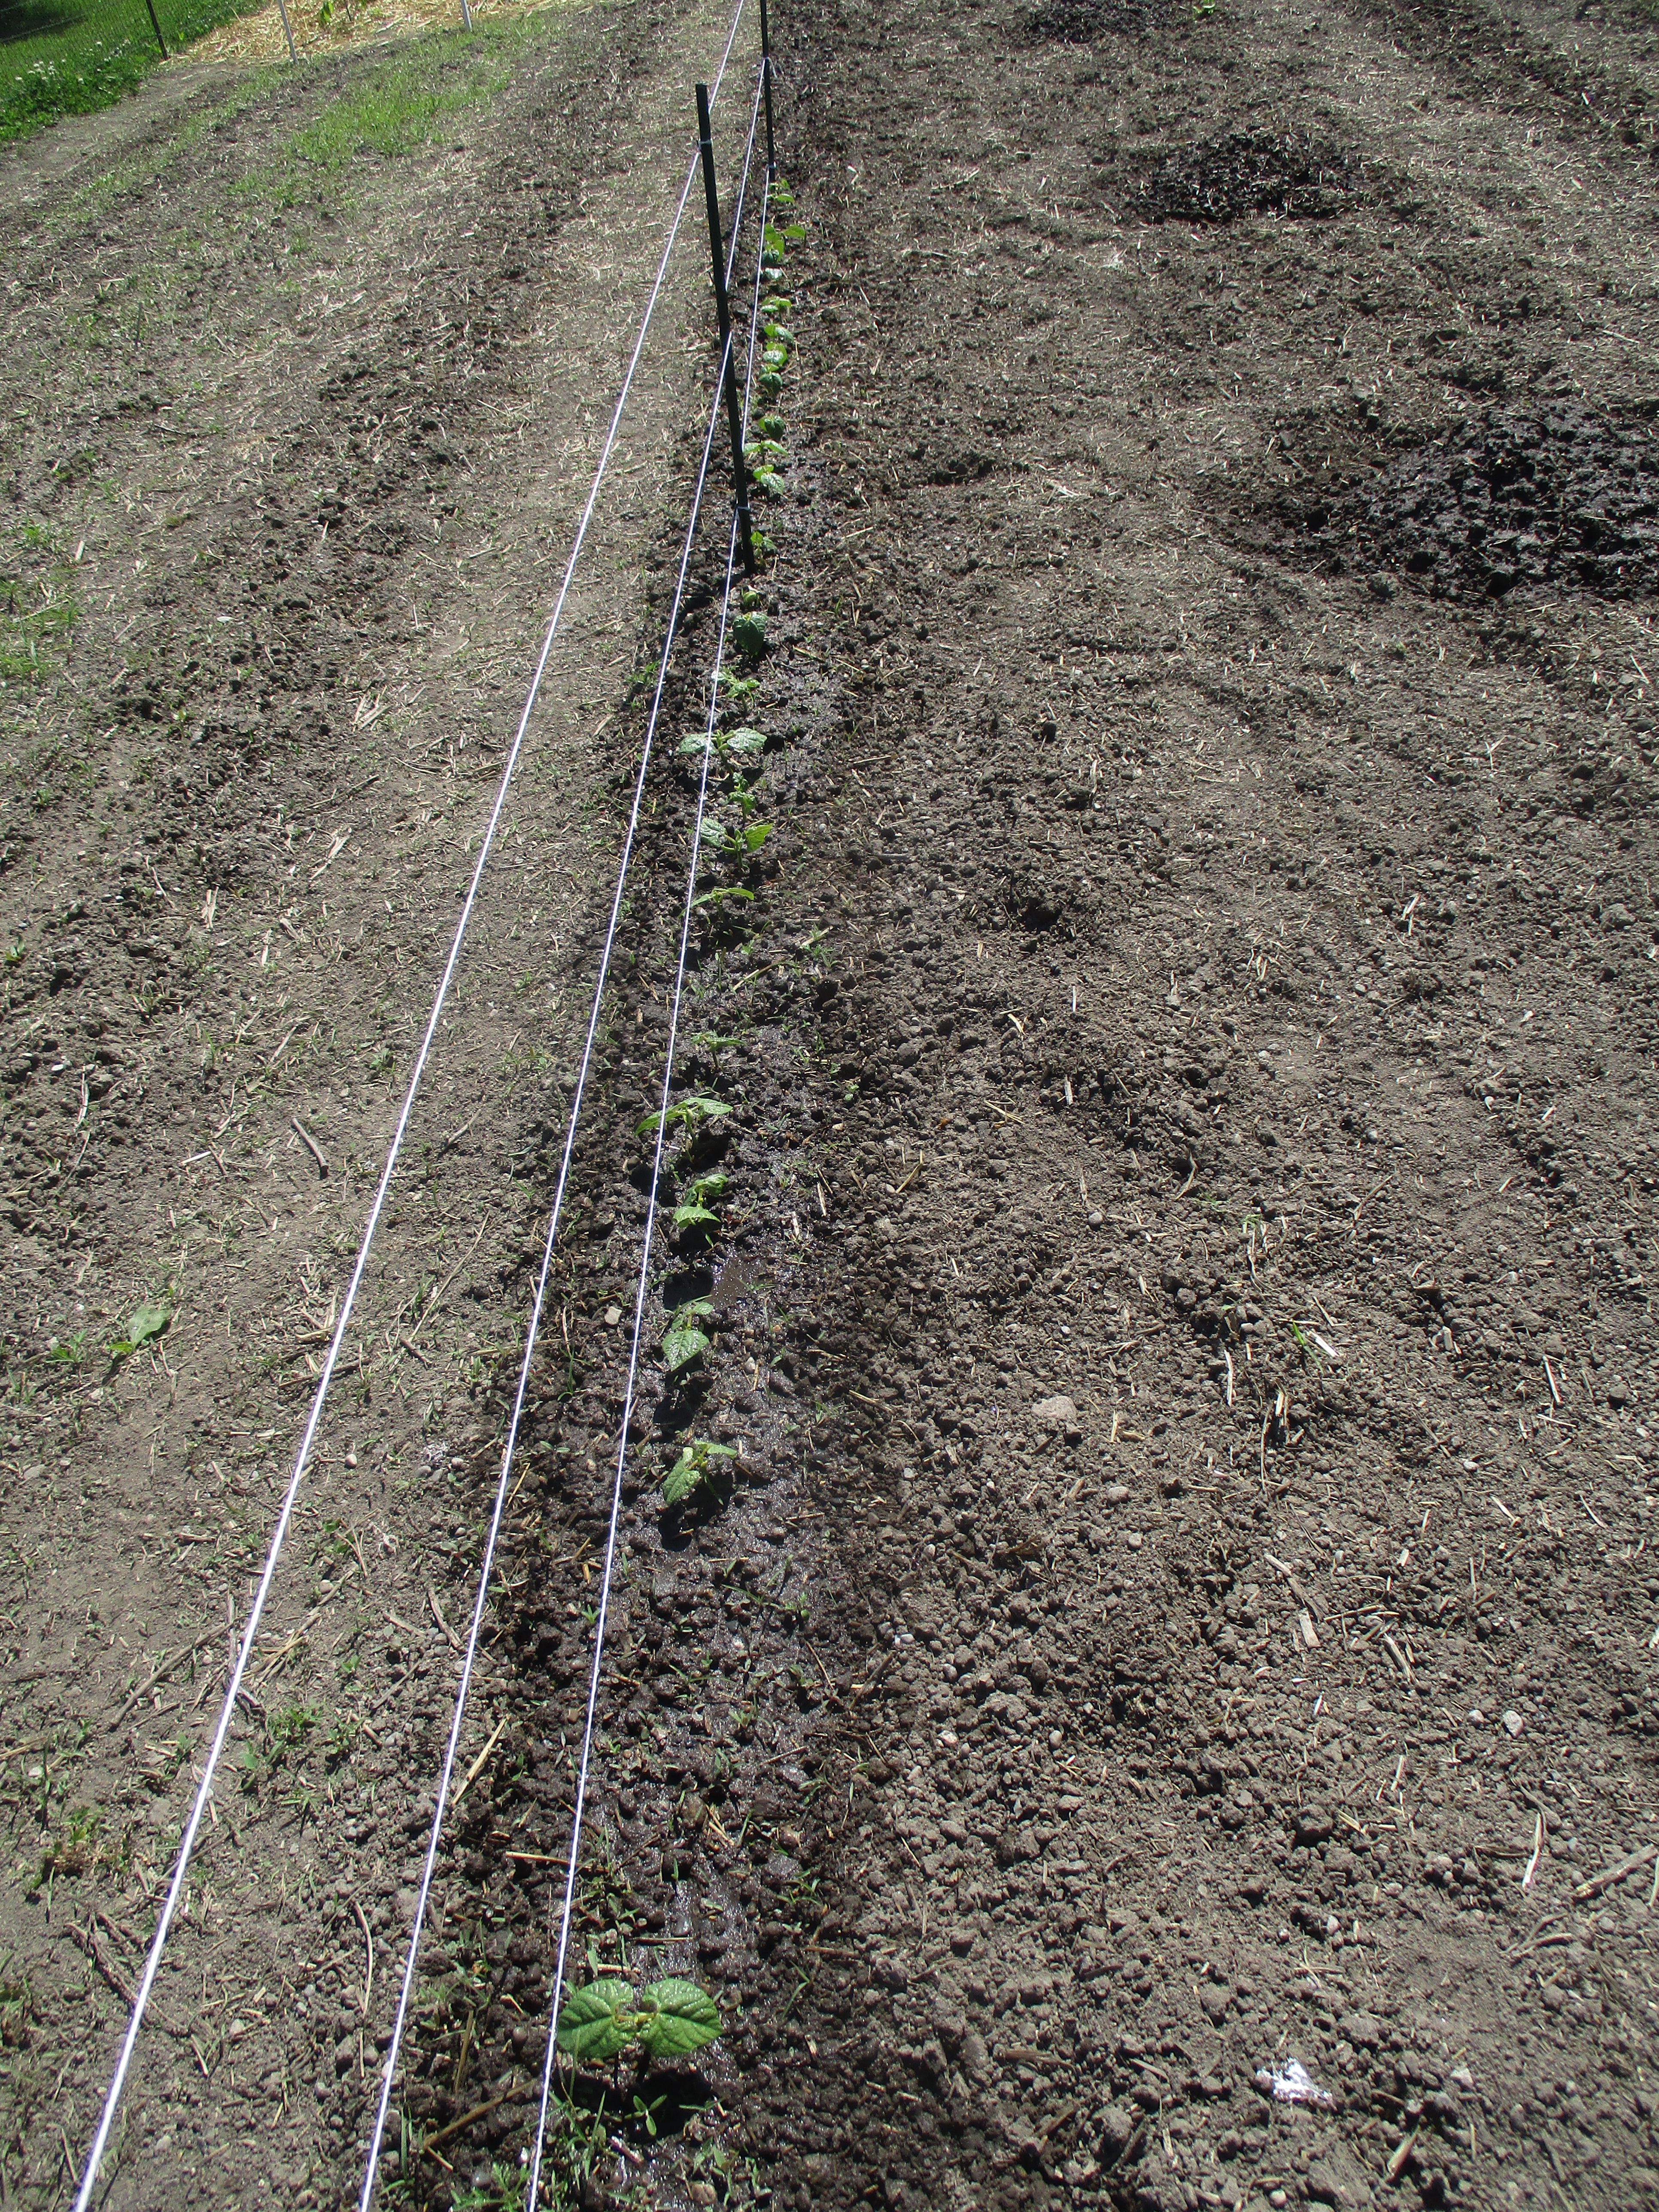
Pole Beans. The strings are for them to climb on.
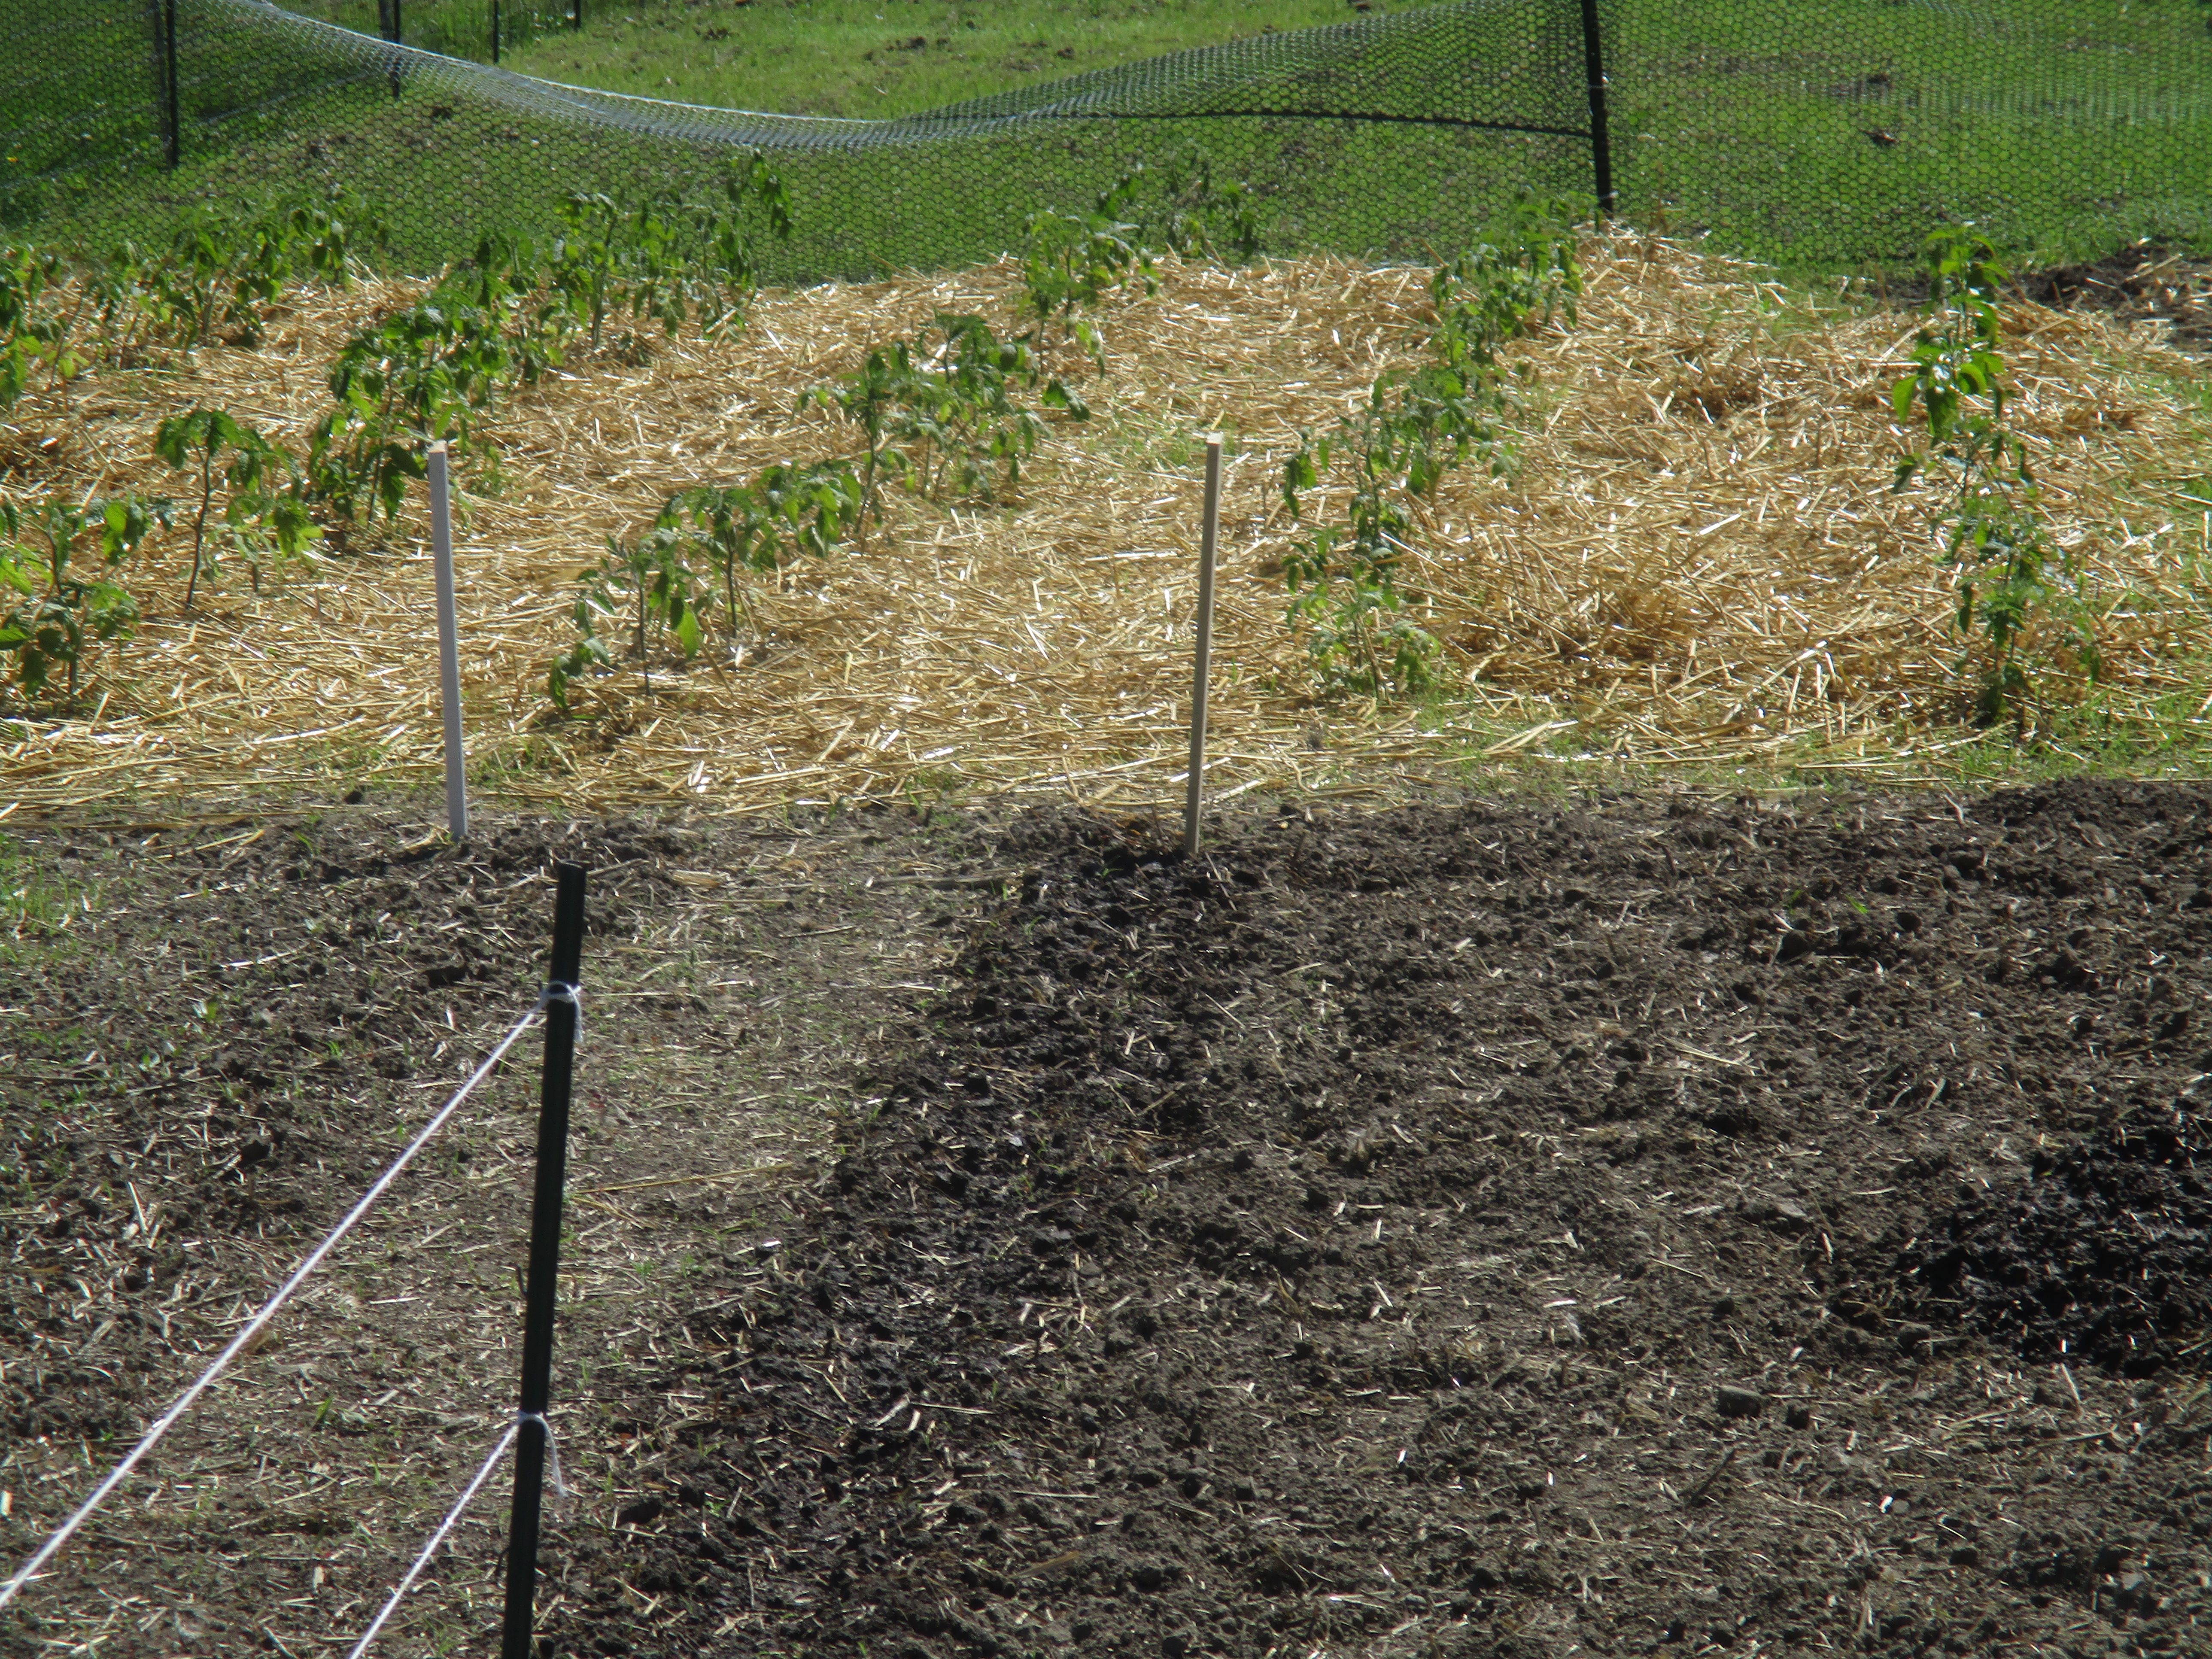
Tomato Patch just a few day after they were planted. Some are now getting blossoms.
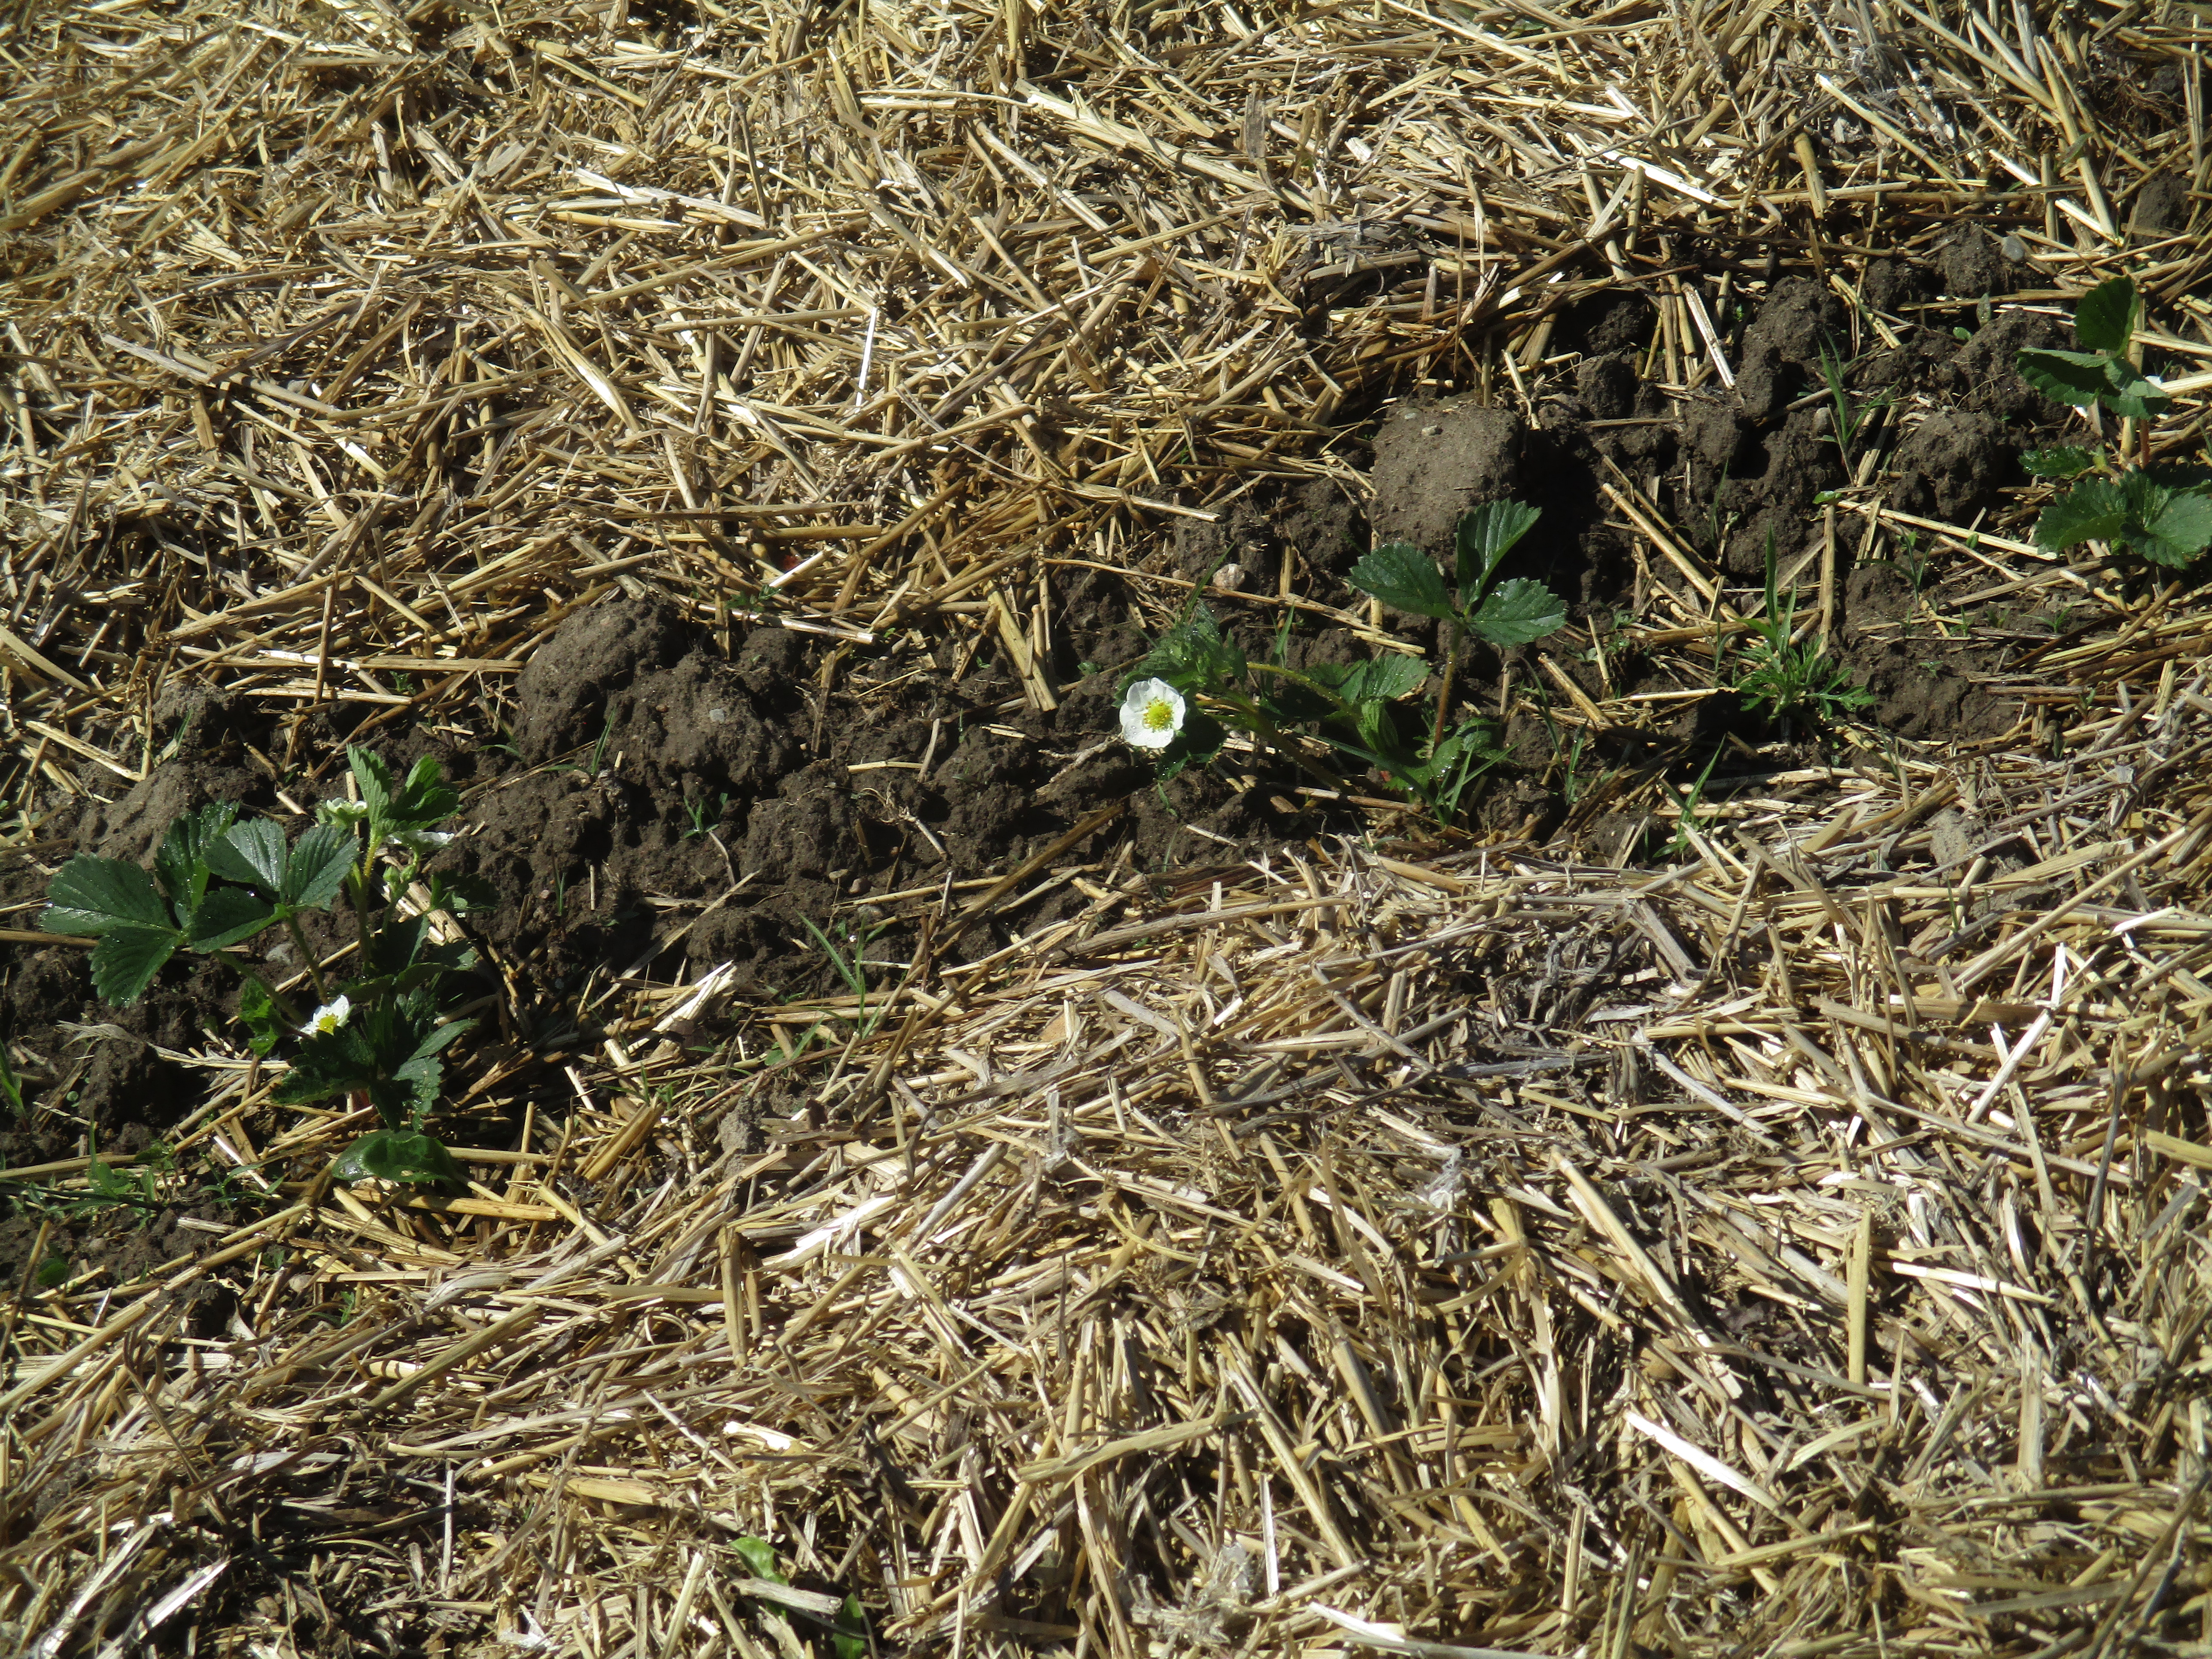
The new strawberry patch. Yesterday my husband spent several hours weeding and removing the flowers and berries that were forming. It is best to remove the flowers the first year, so the plants put energy in developing a strong root system. It will make for healthier plants. Next year we will hopefully get a good harvest.
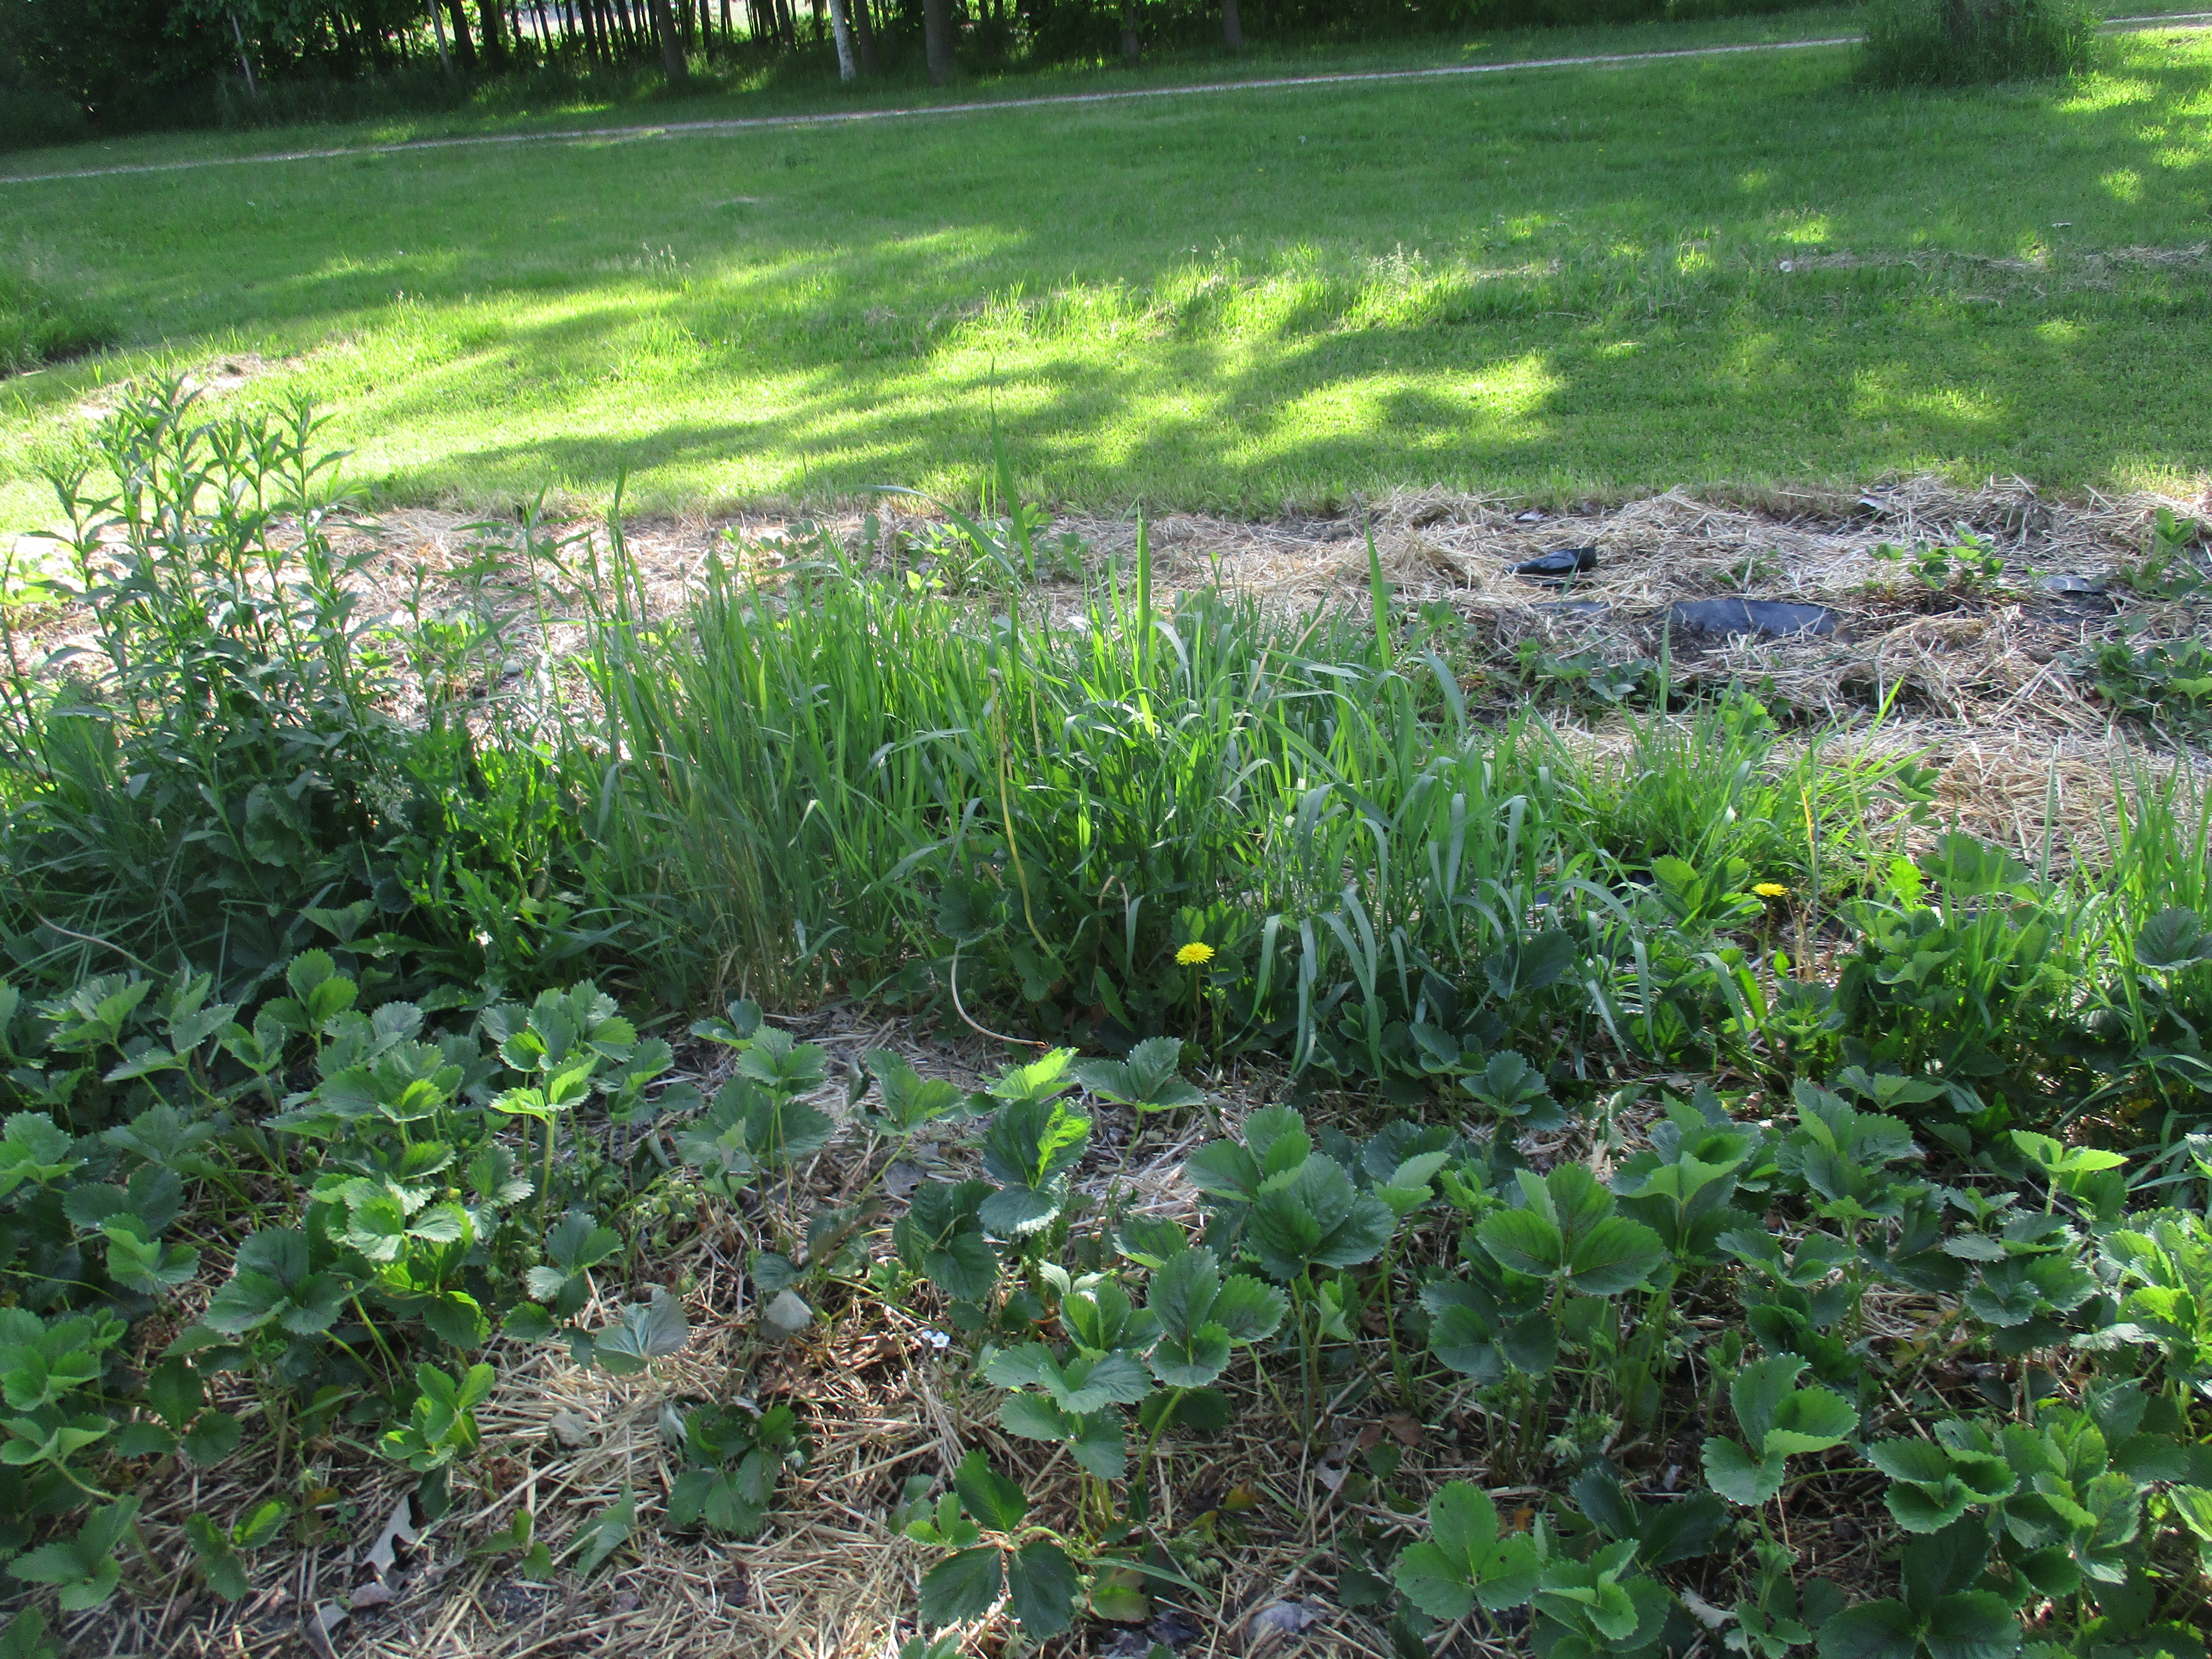
I spent about 12-15 hours over the course of several days weeding our old strawberry bed that had been taken over by weeds. In the photo above I am almost finished. Only another hour or two and I was done.
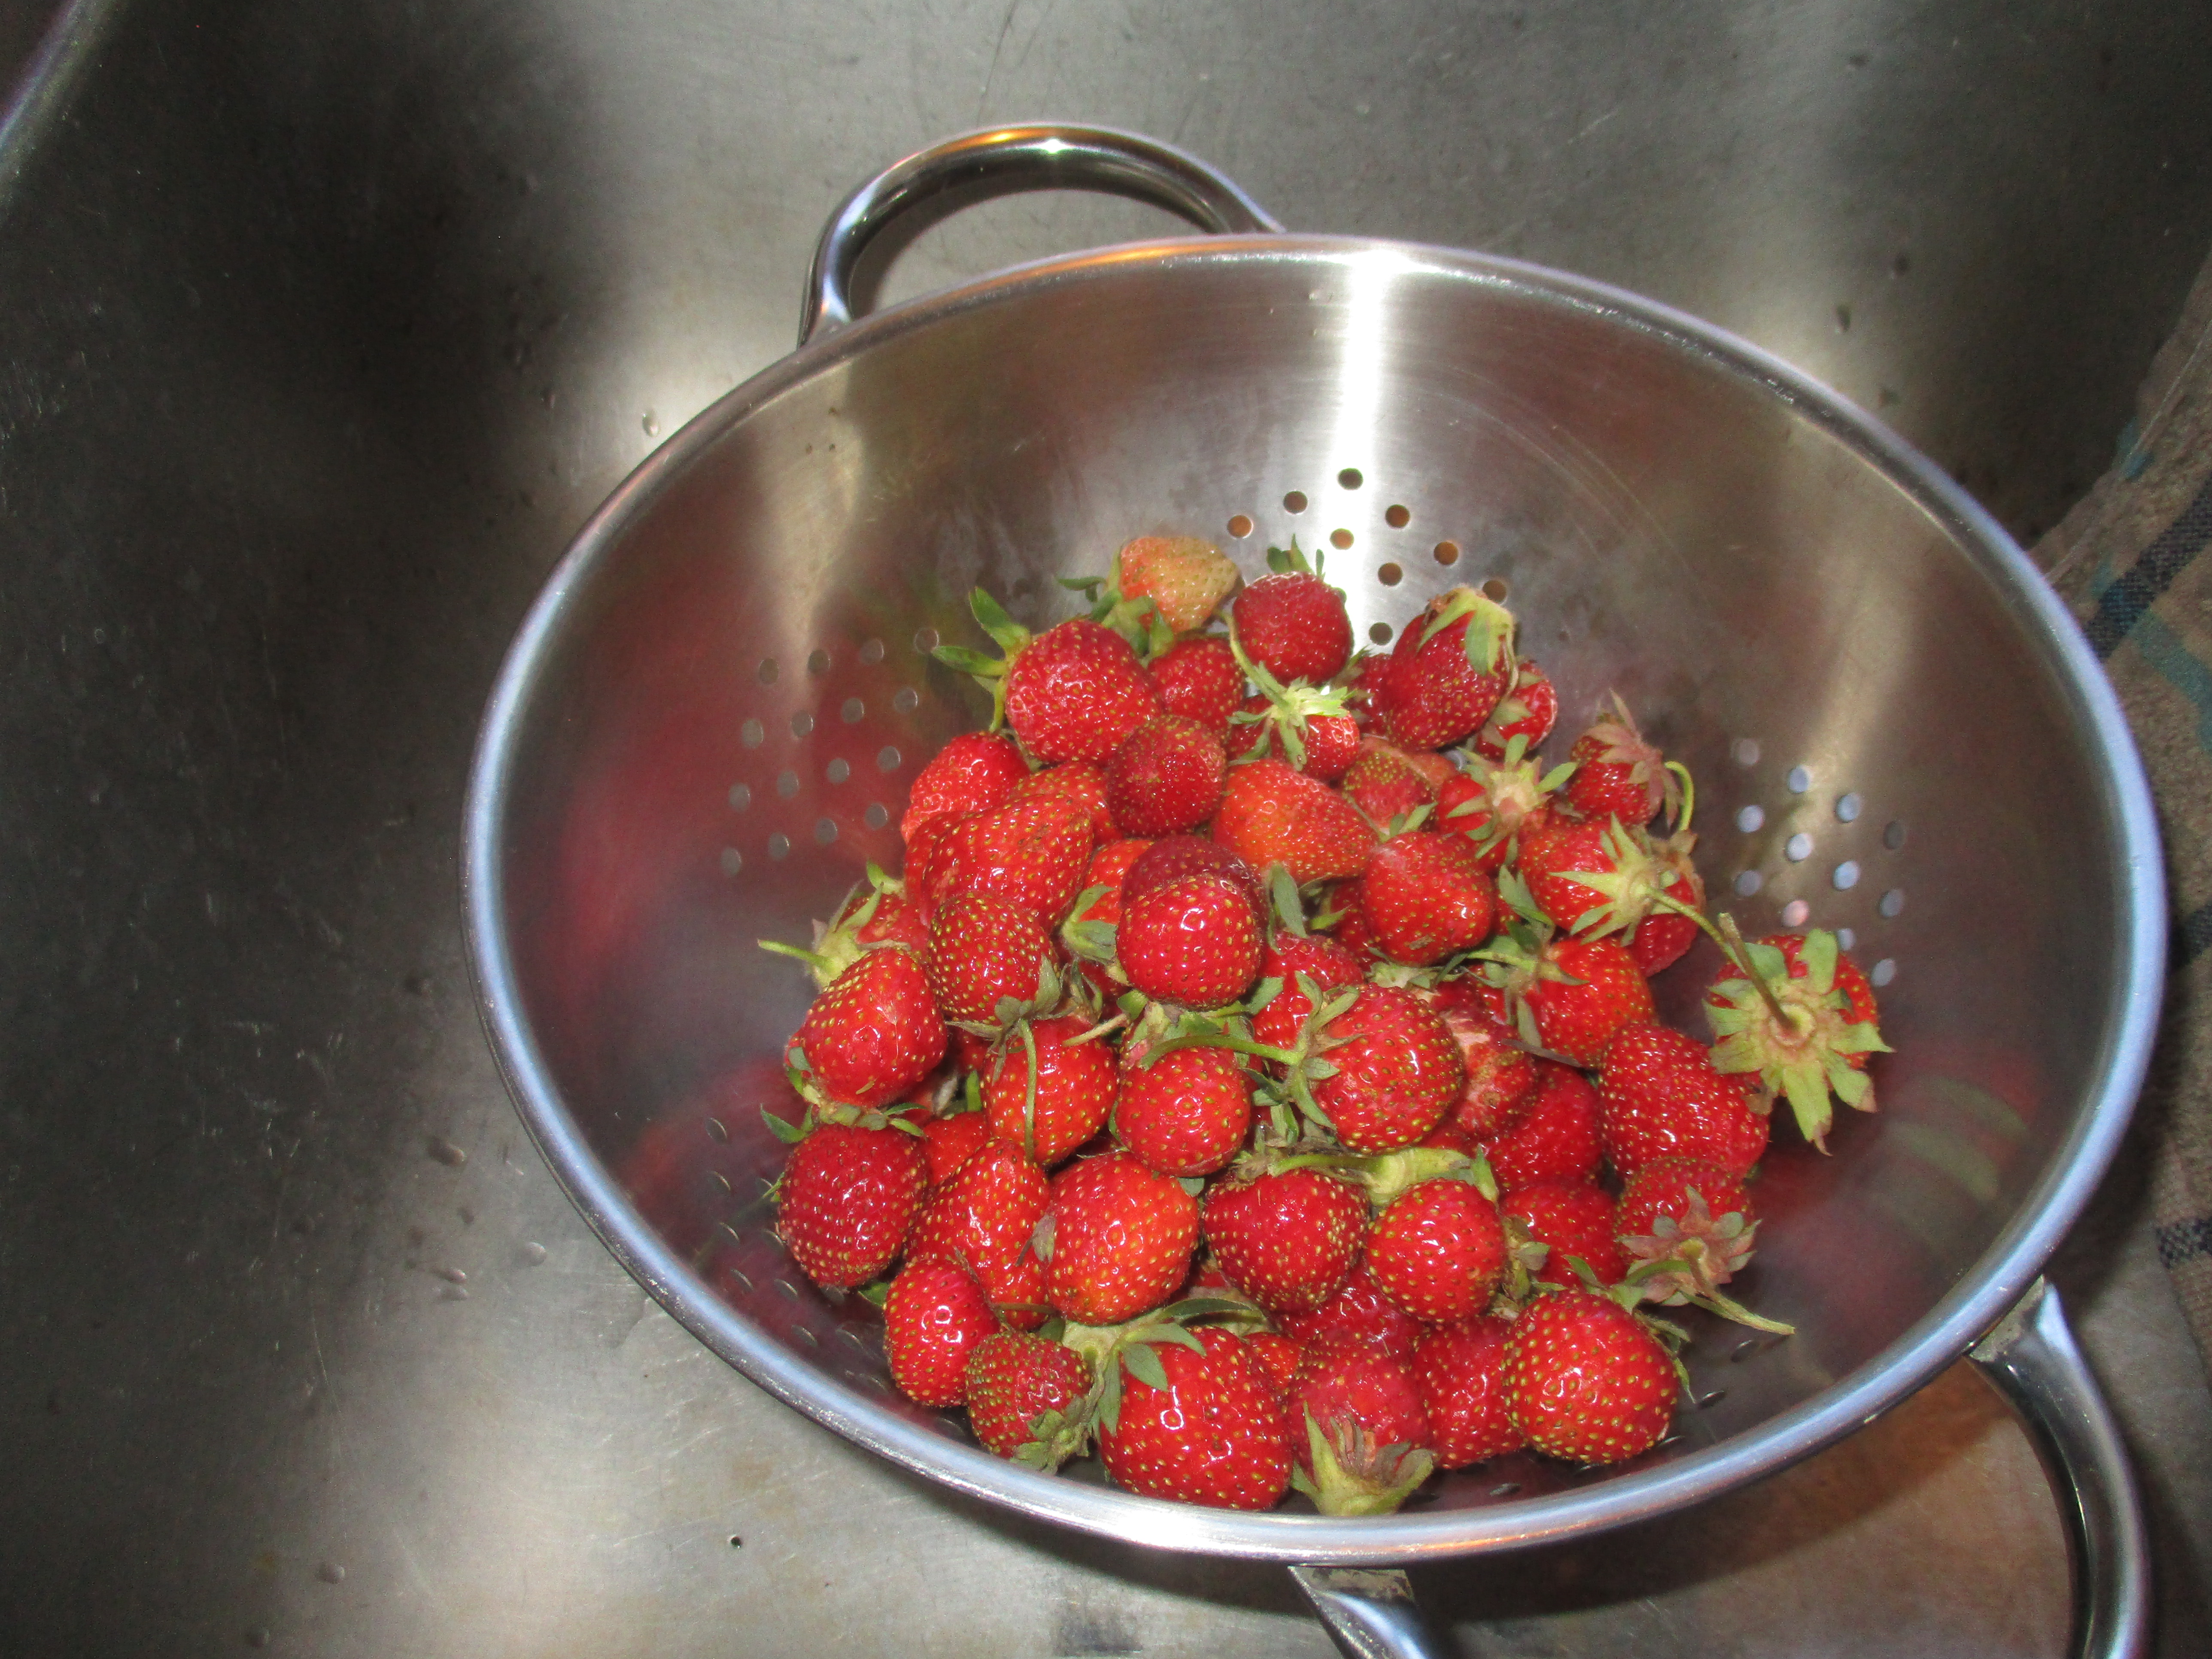
On Saturday, about a week after I finished weeding, we picked about a quart of berries. My husband picked about another quart on Sunday.
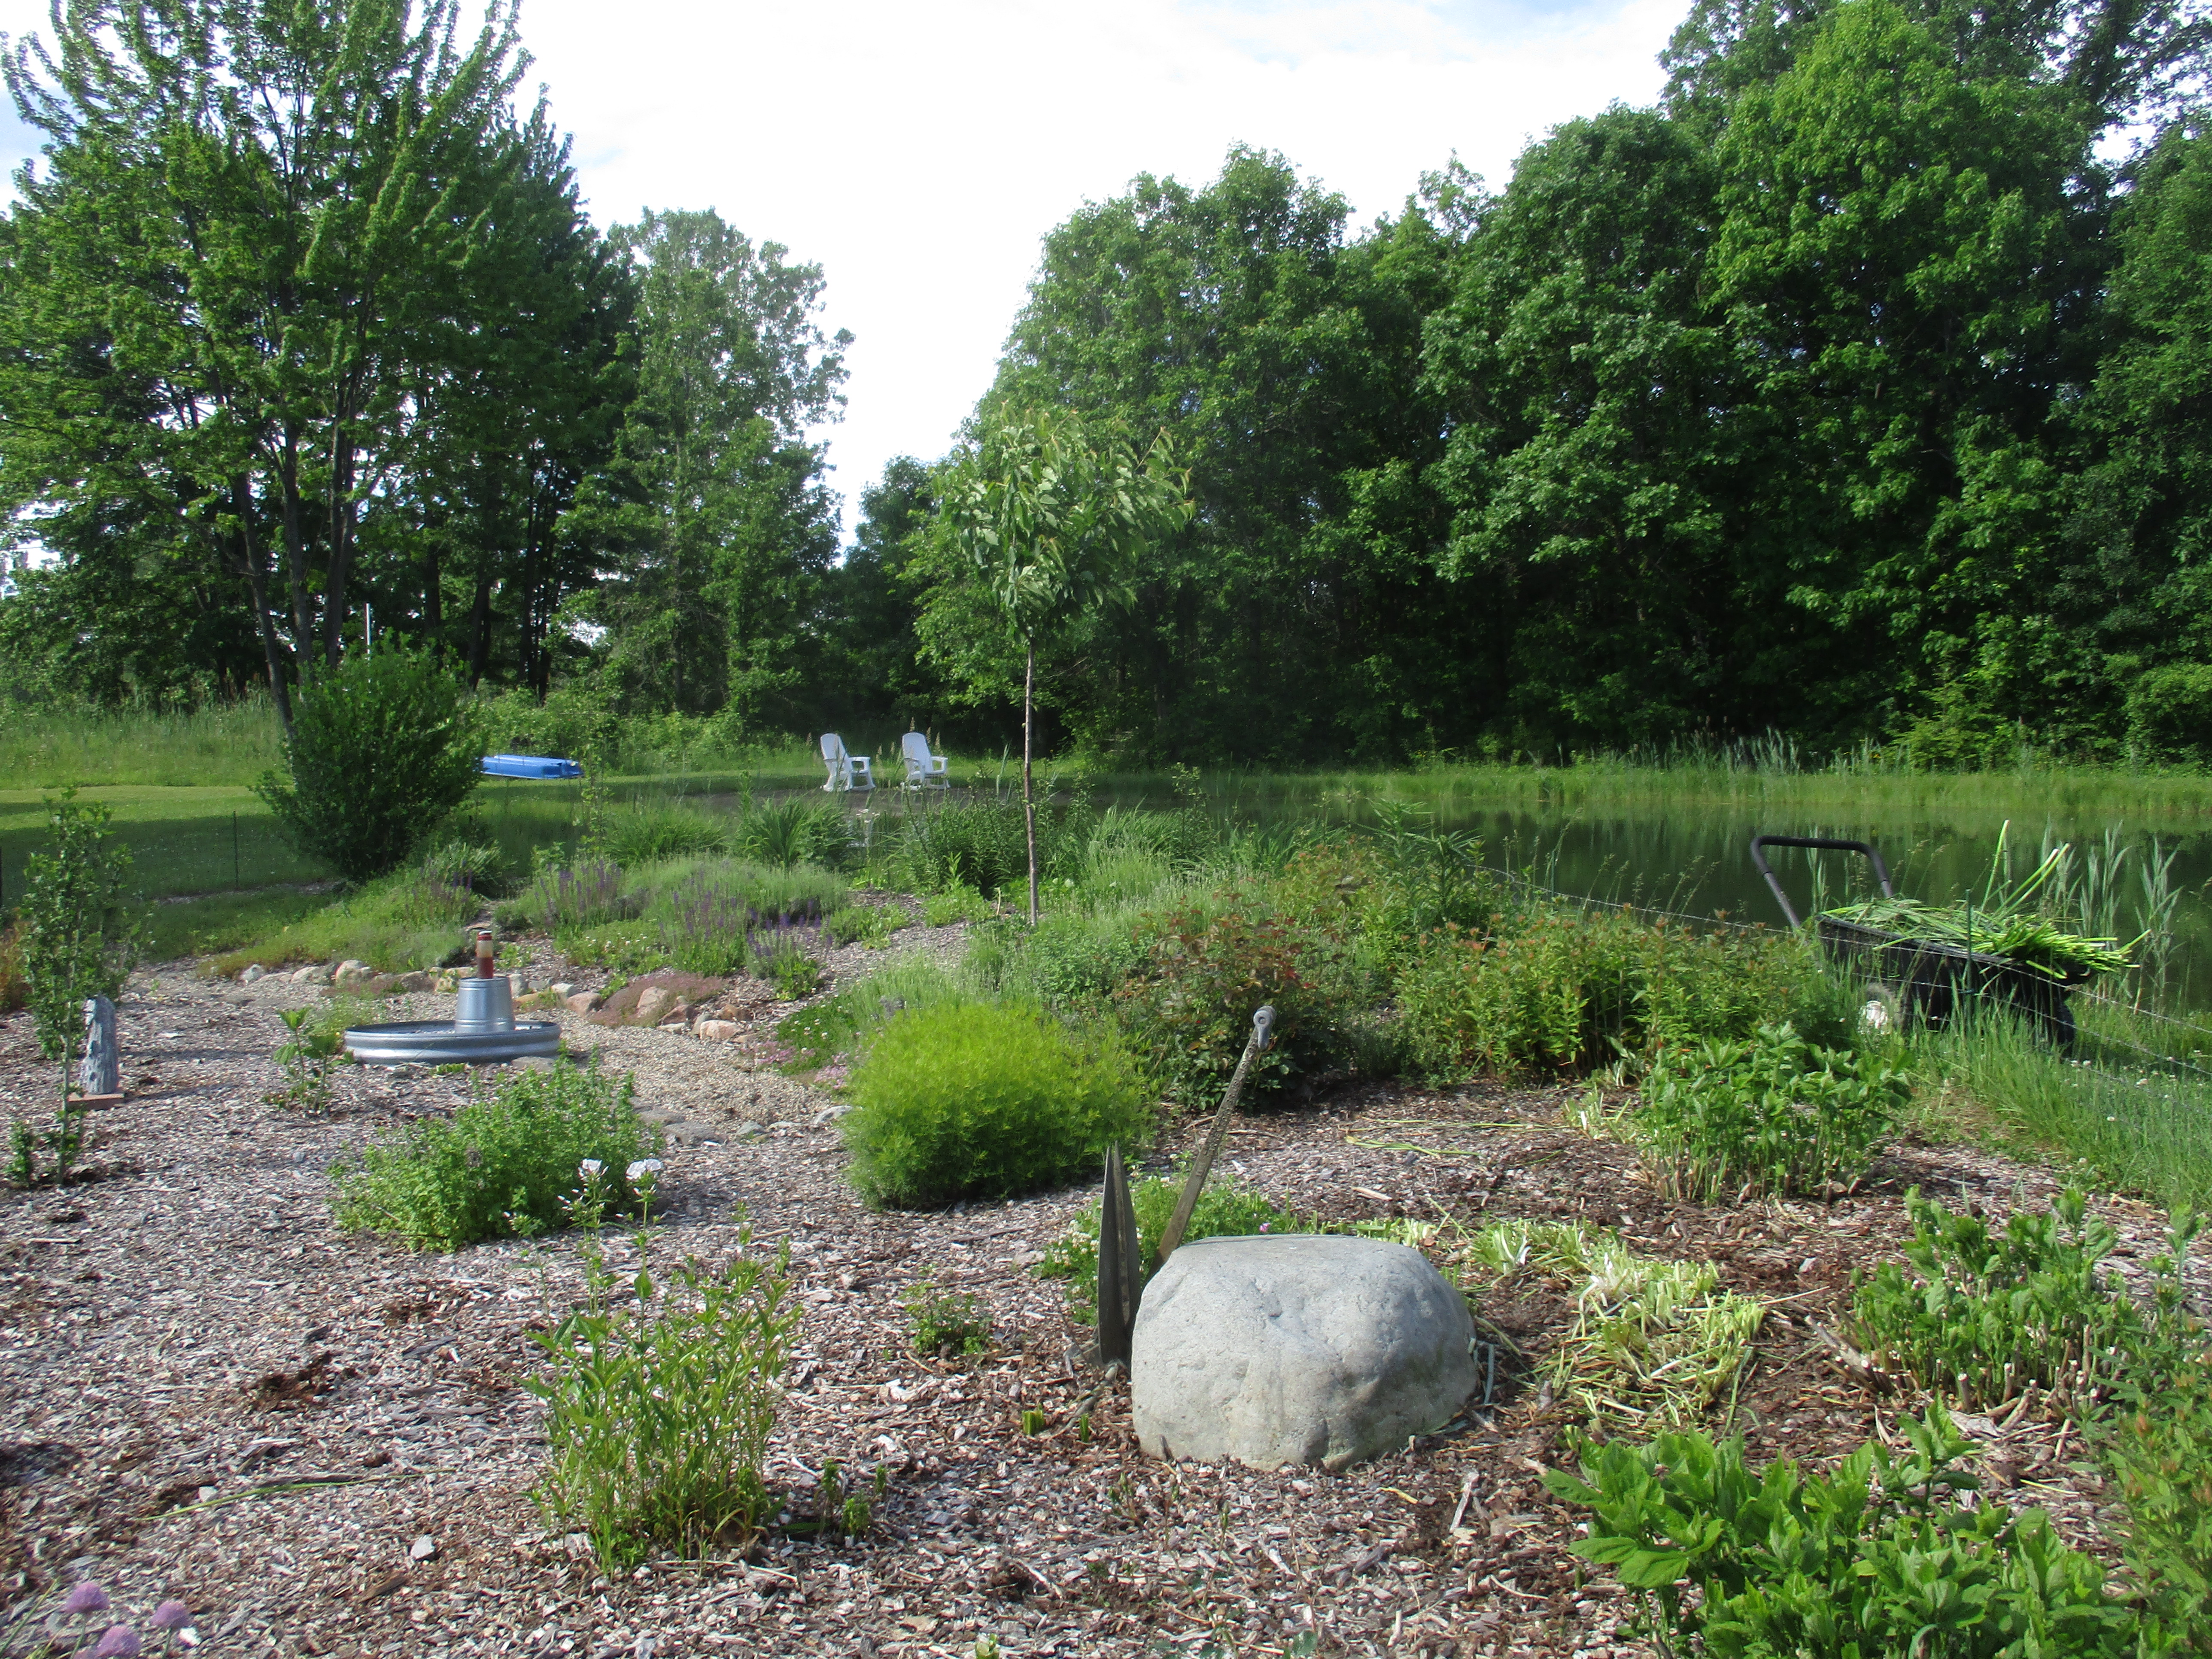
The Prayer Garden
After I finished weeding in the strawberry patch, I went to work taming the prayer garden.
In addition to weeding, I cut down all of the daffodil leaves and stems.
I’m afraid I might have cut them down to soon and that we will have less flowers next year, but it looks so much neater with them out of there.
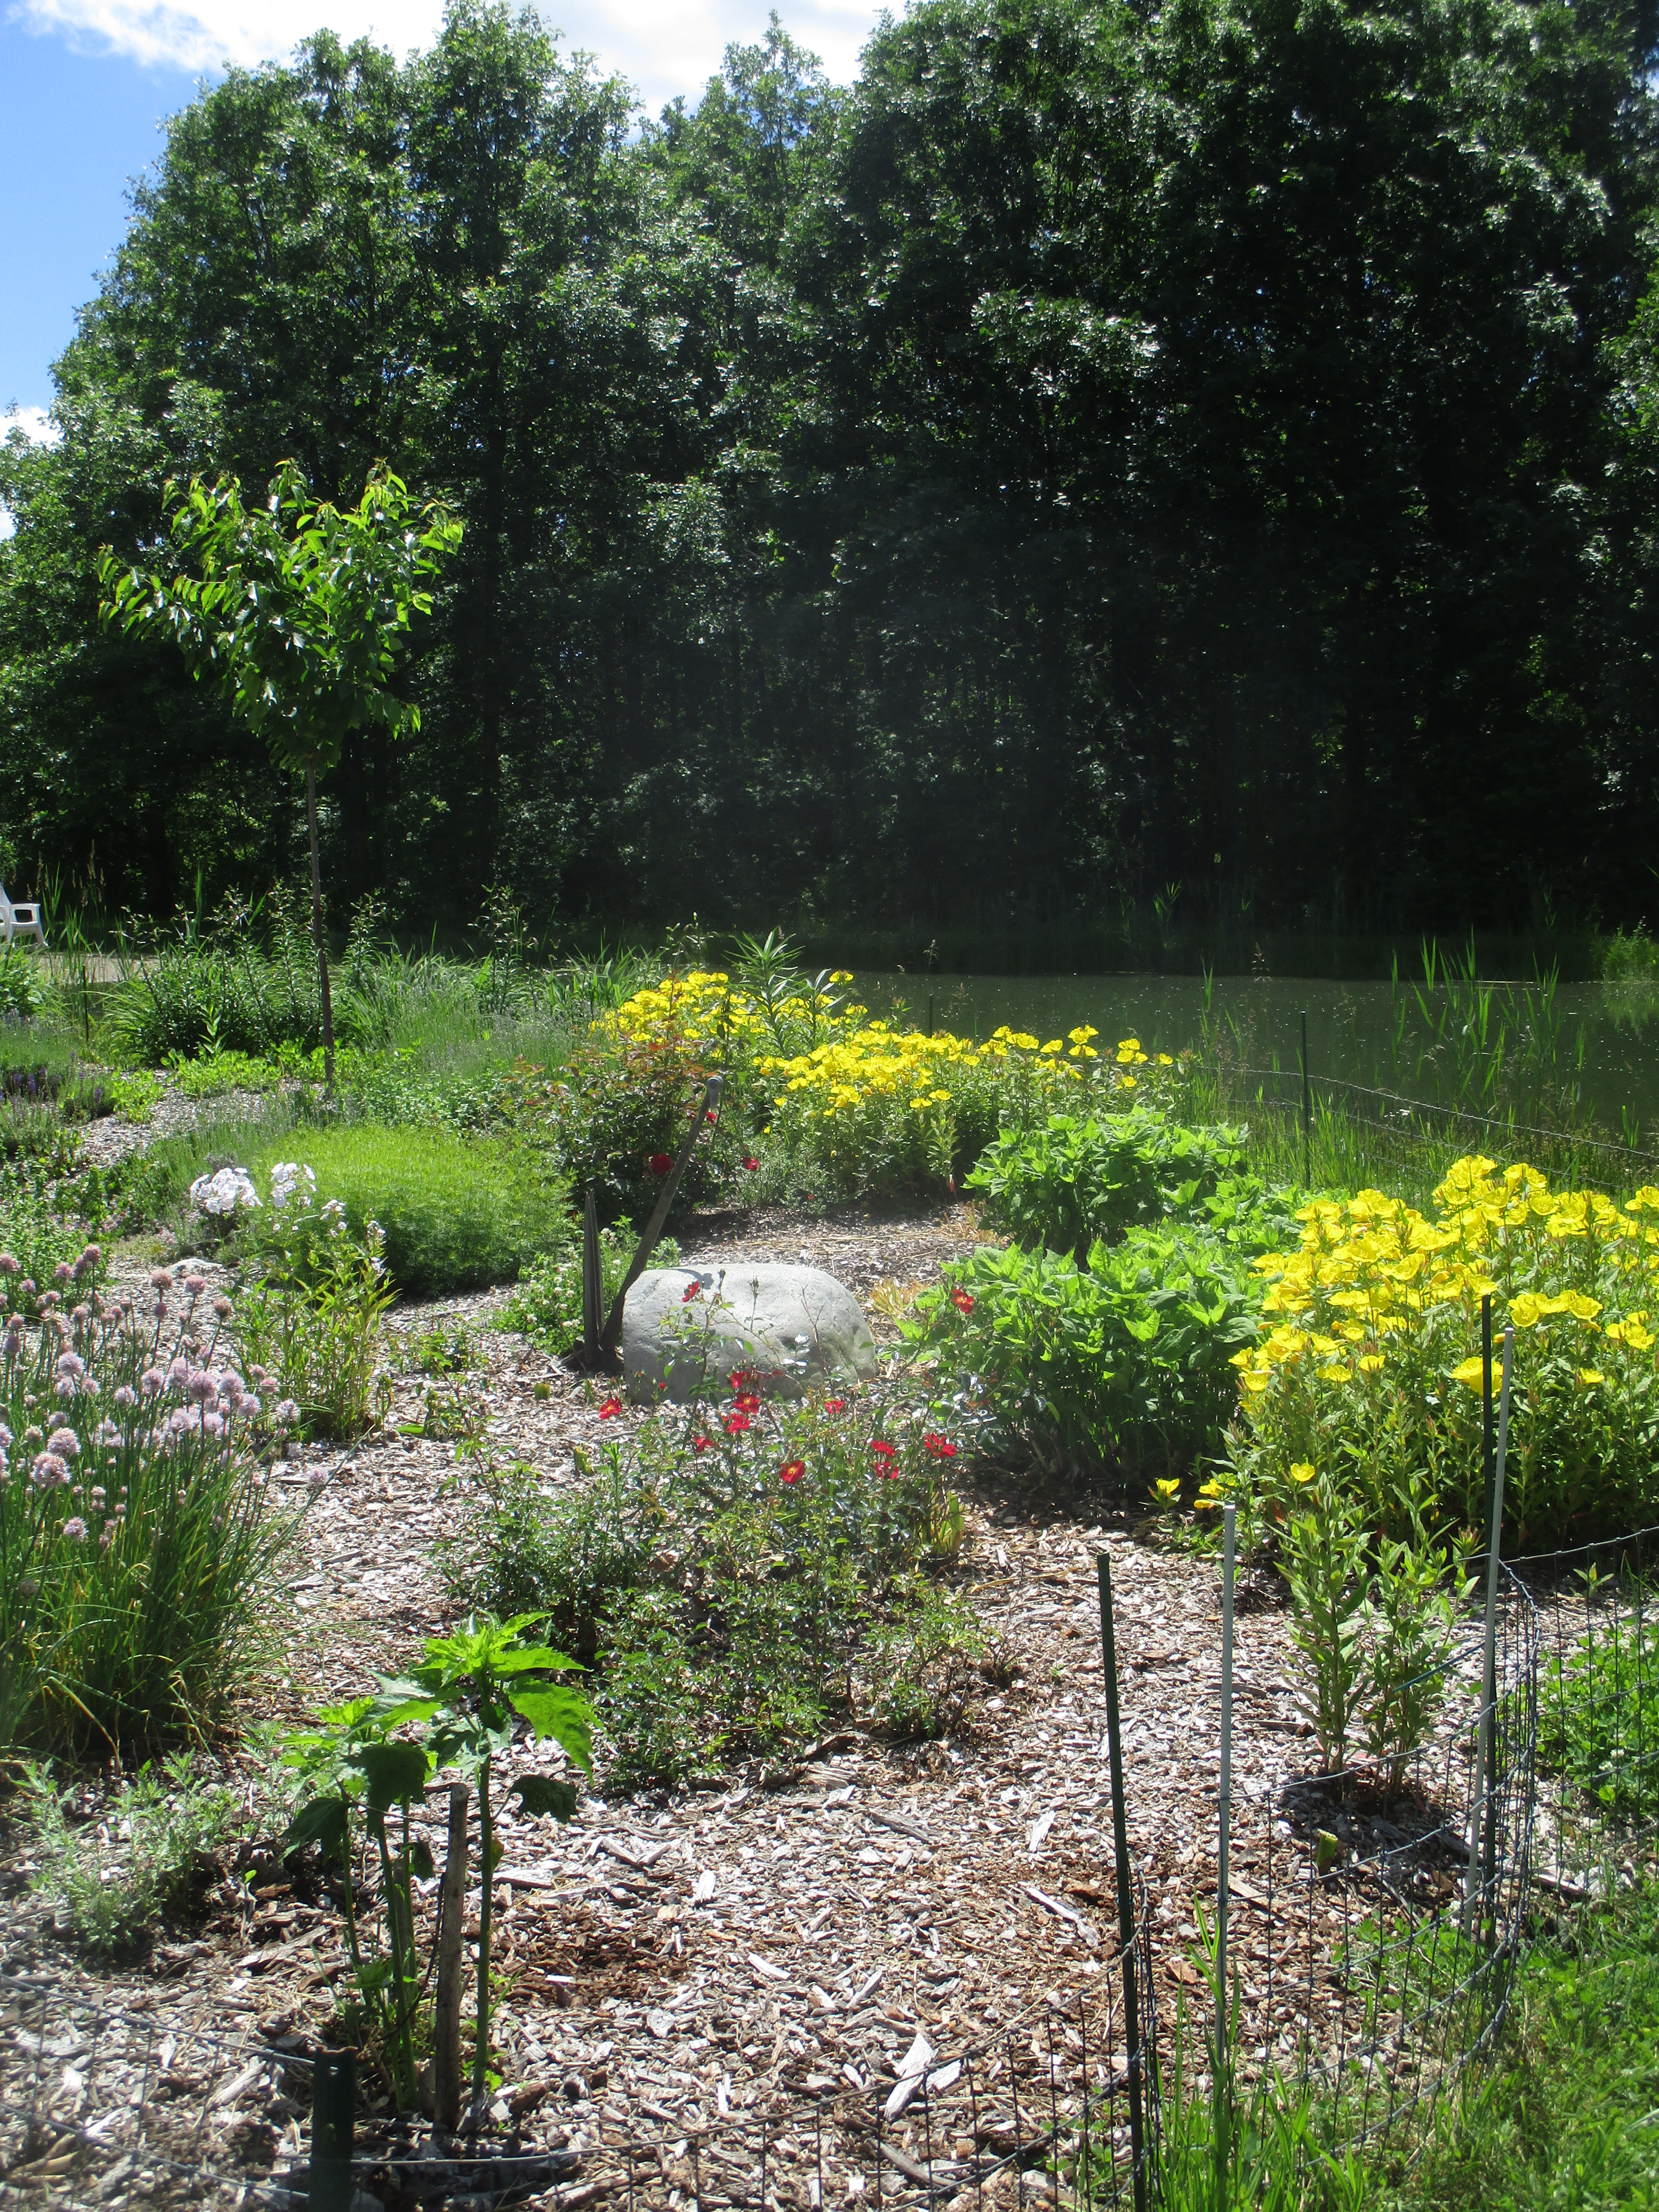
A few days after I finished, it exploded with color.
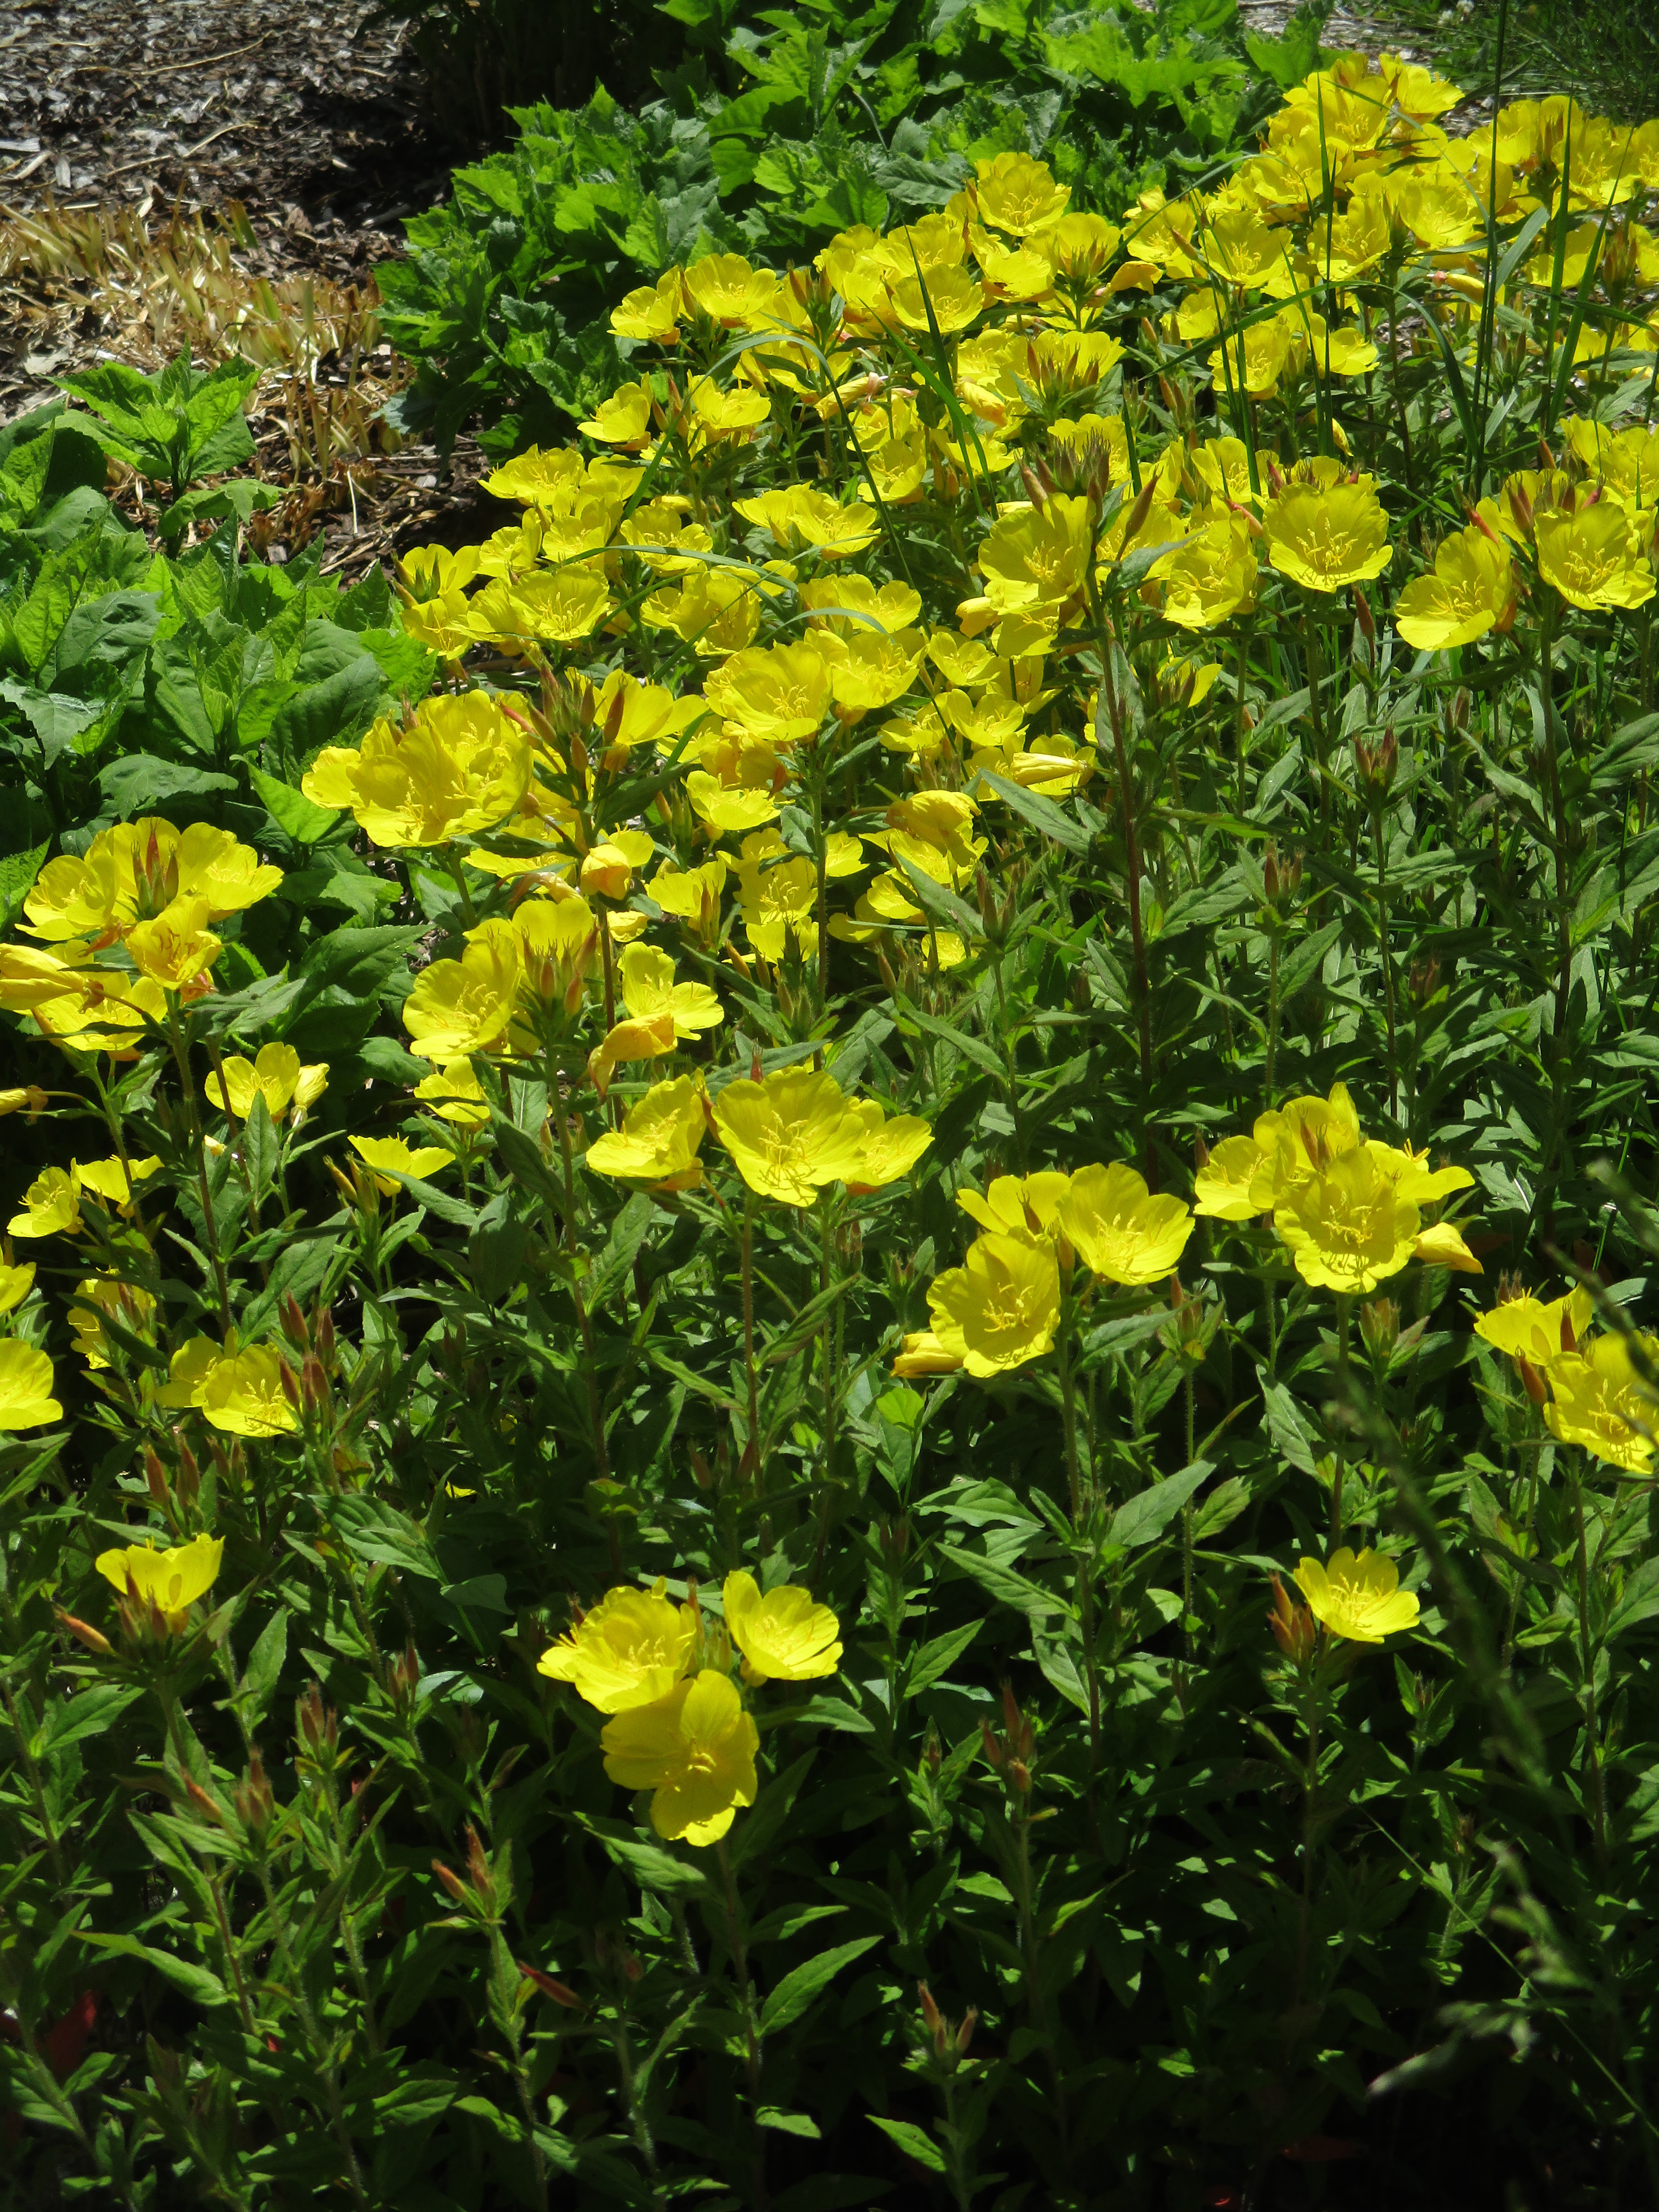
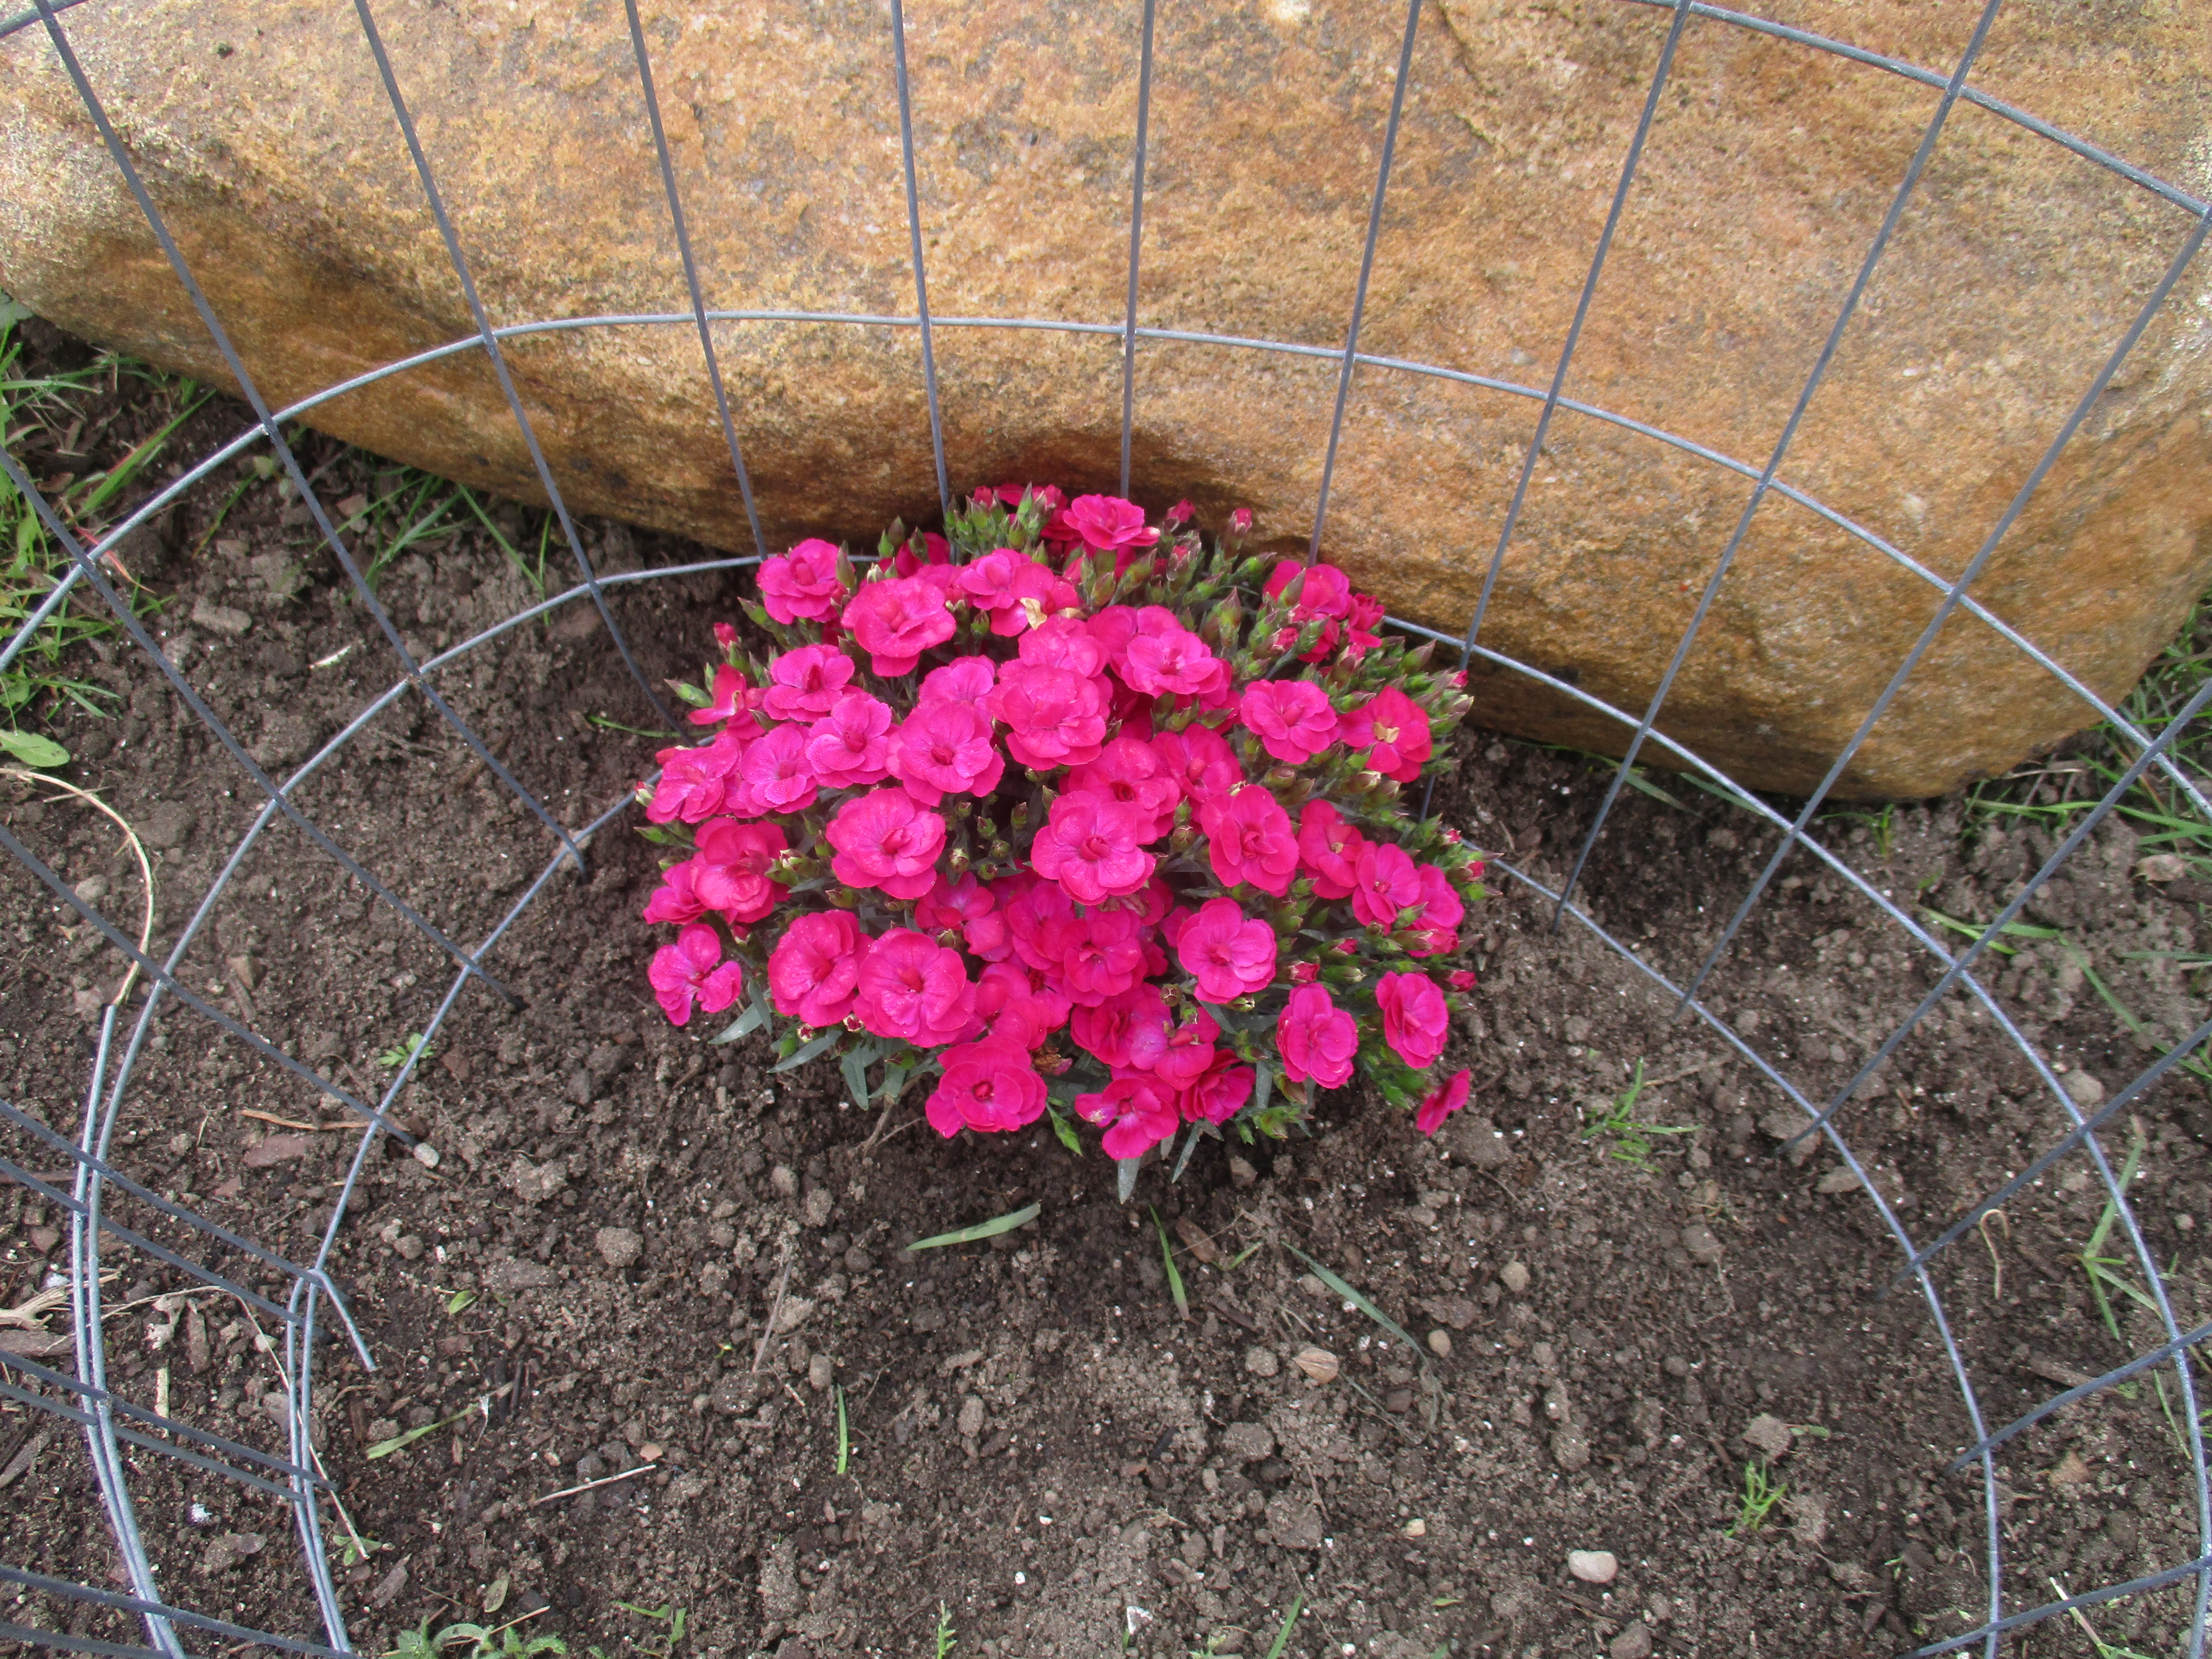
The primrose began to blossom. I just love their brilliant color. I am sure I need to thin them because they spread very quickly and will take over everything, but I will wait until they are finished blossoming.
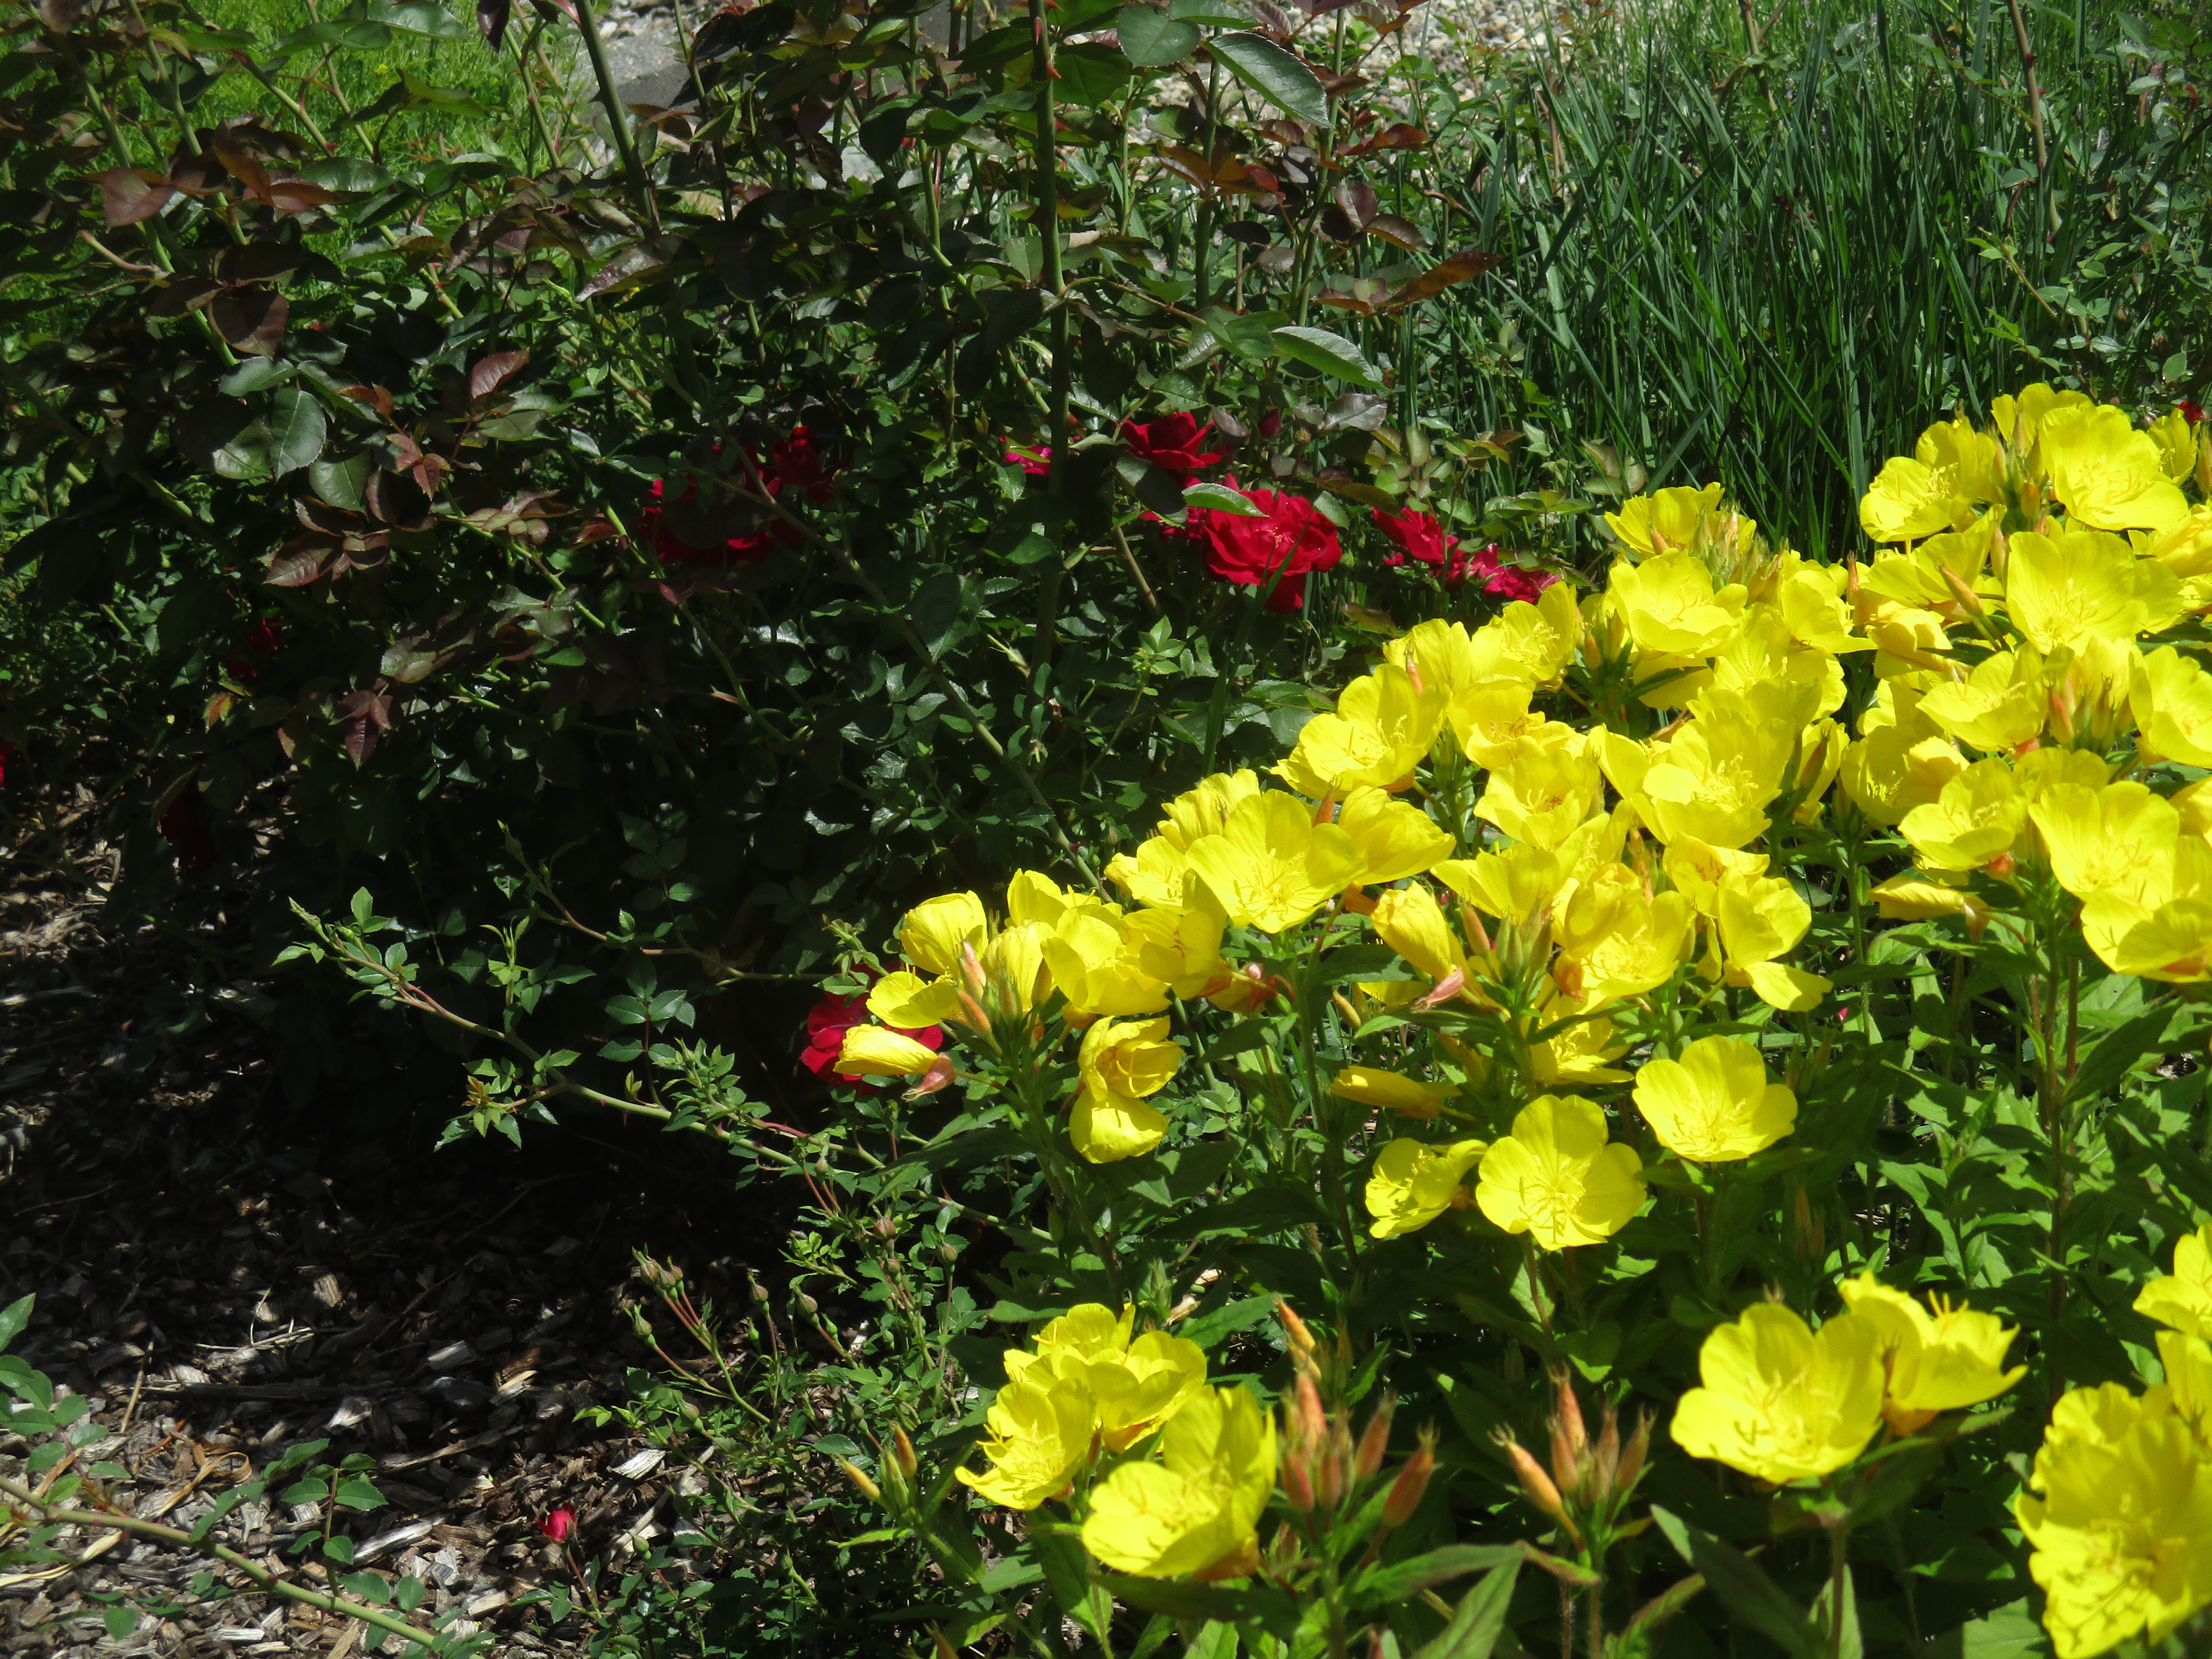
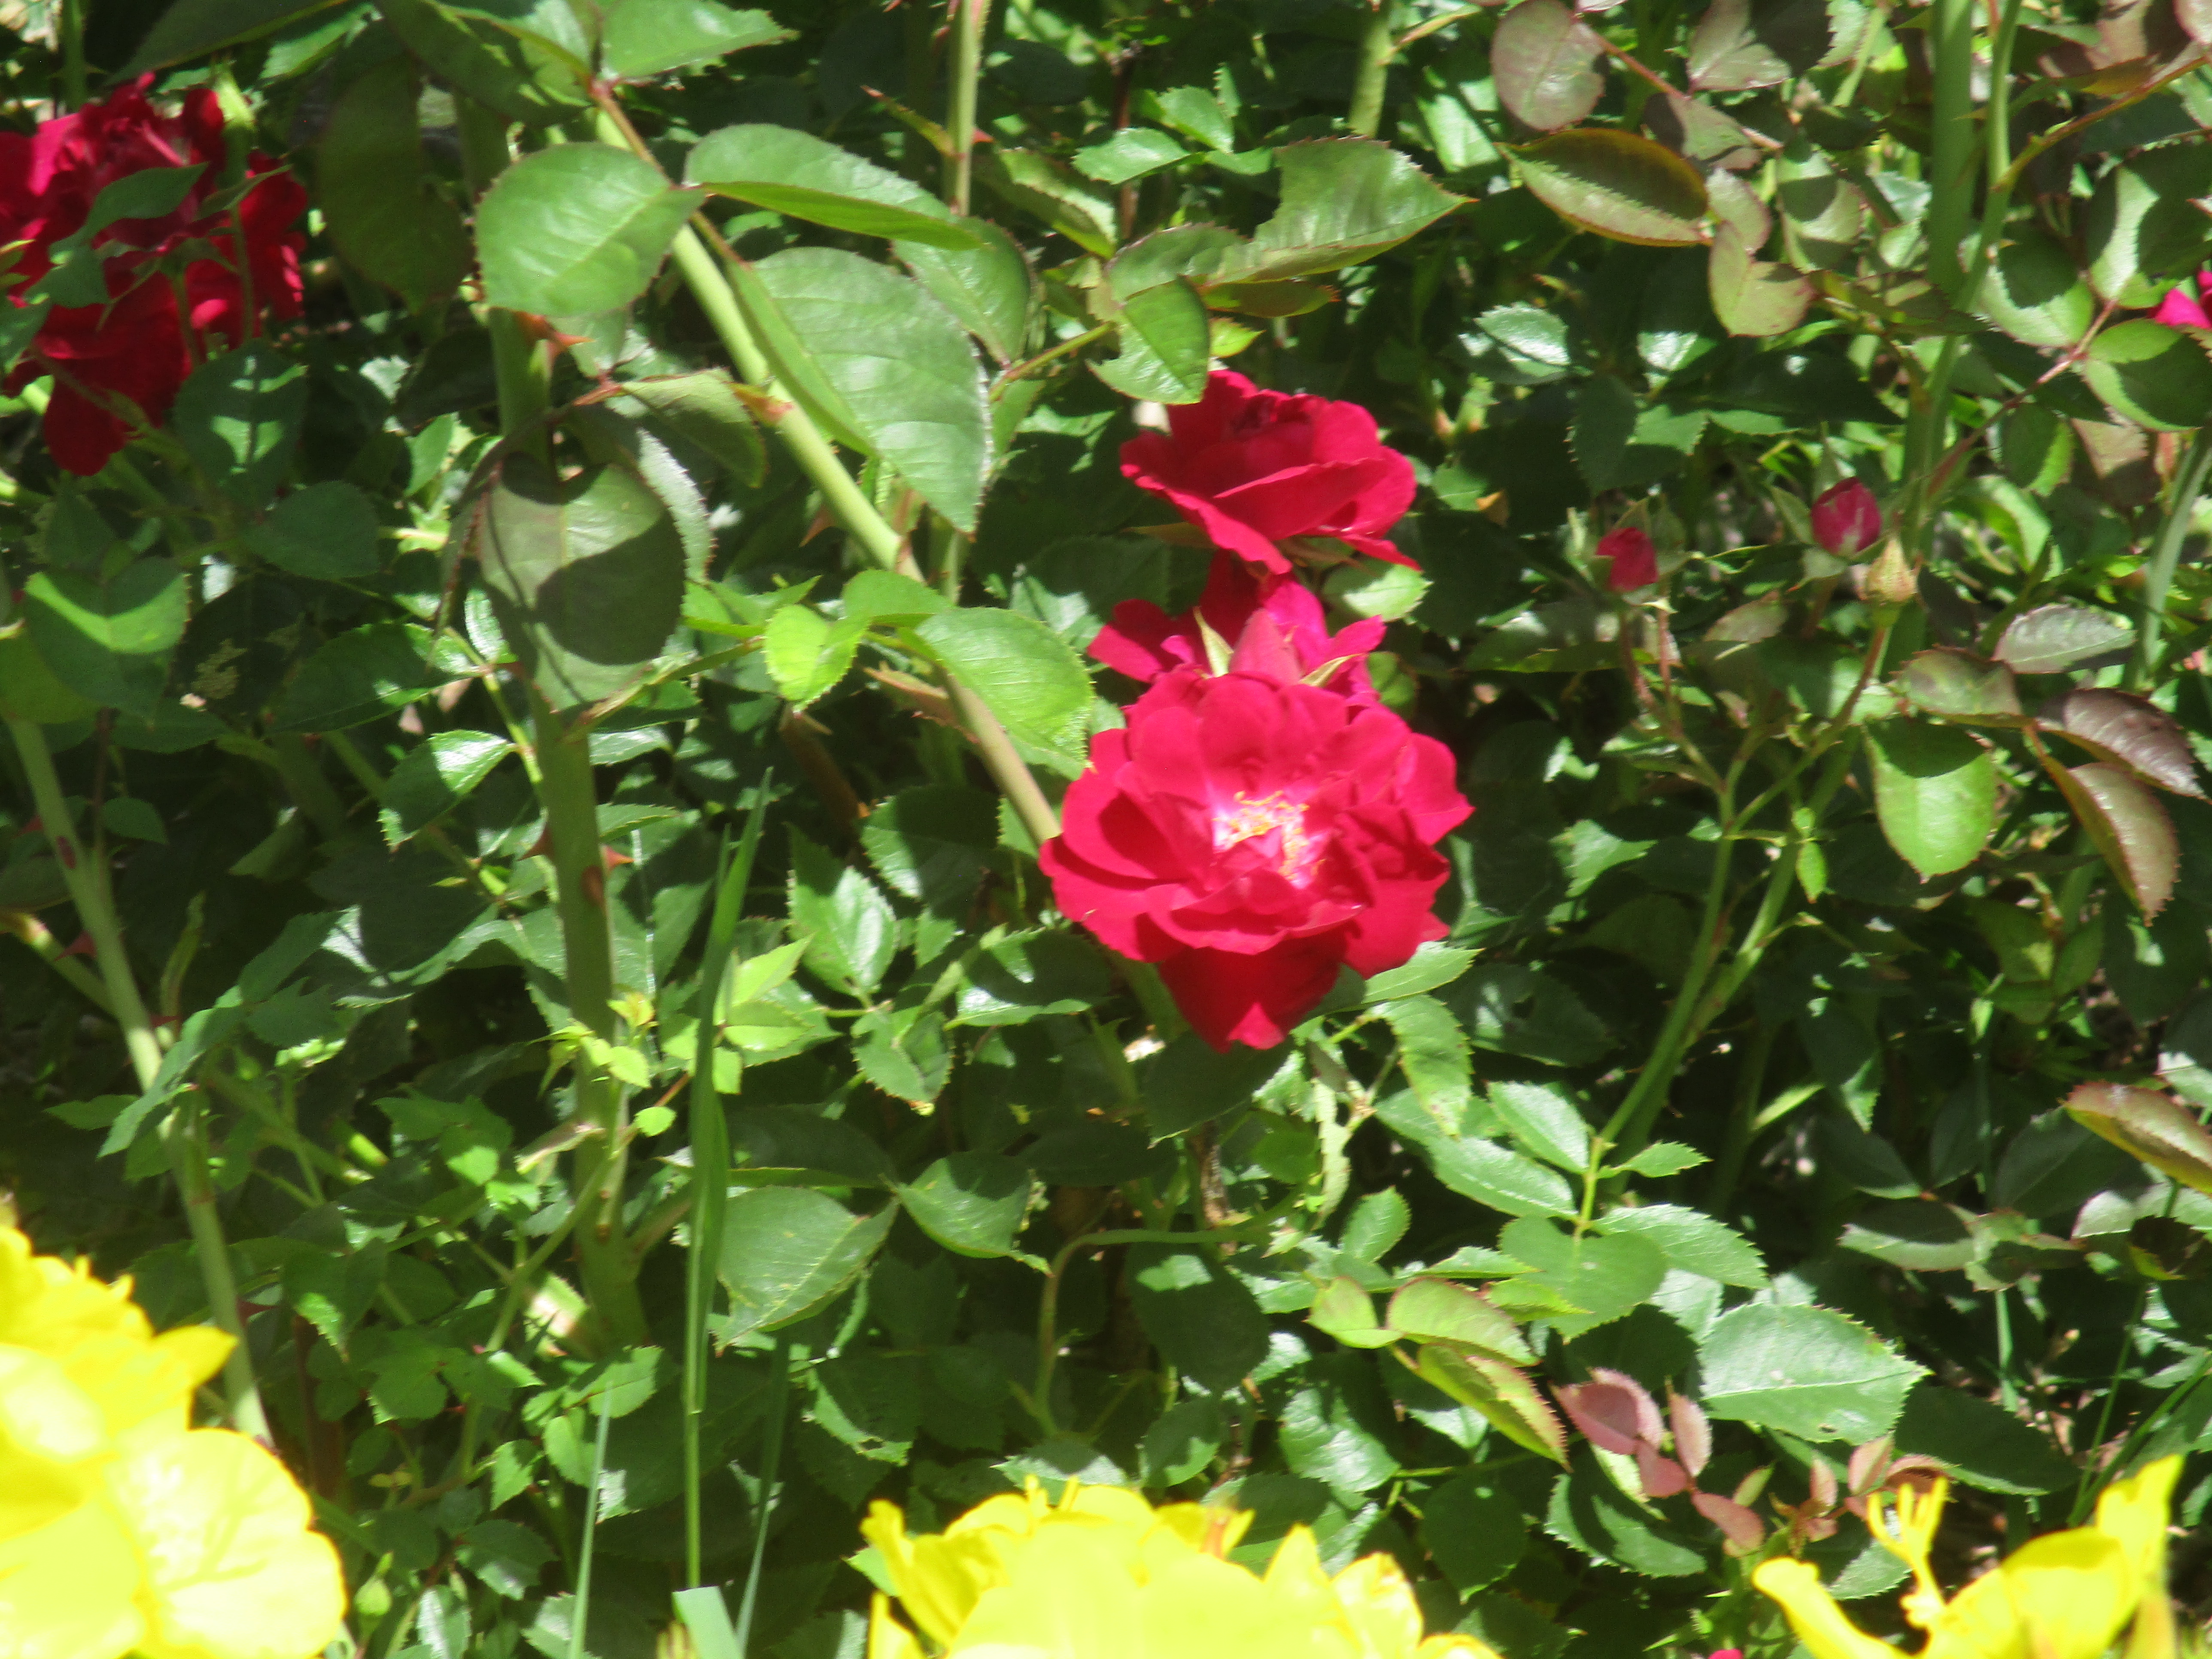
The roses also began blossoming. I love the red roses with the yellow primrose.
In the Wild
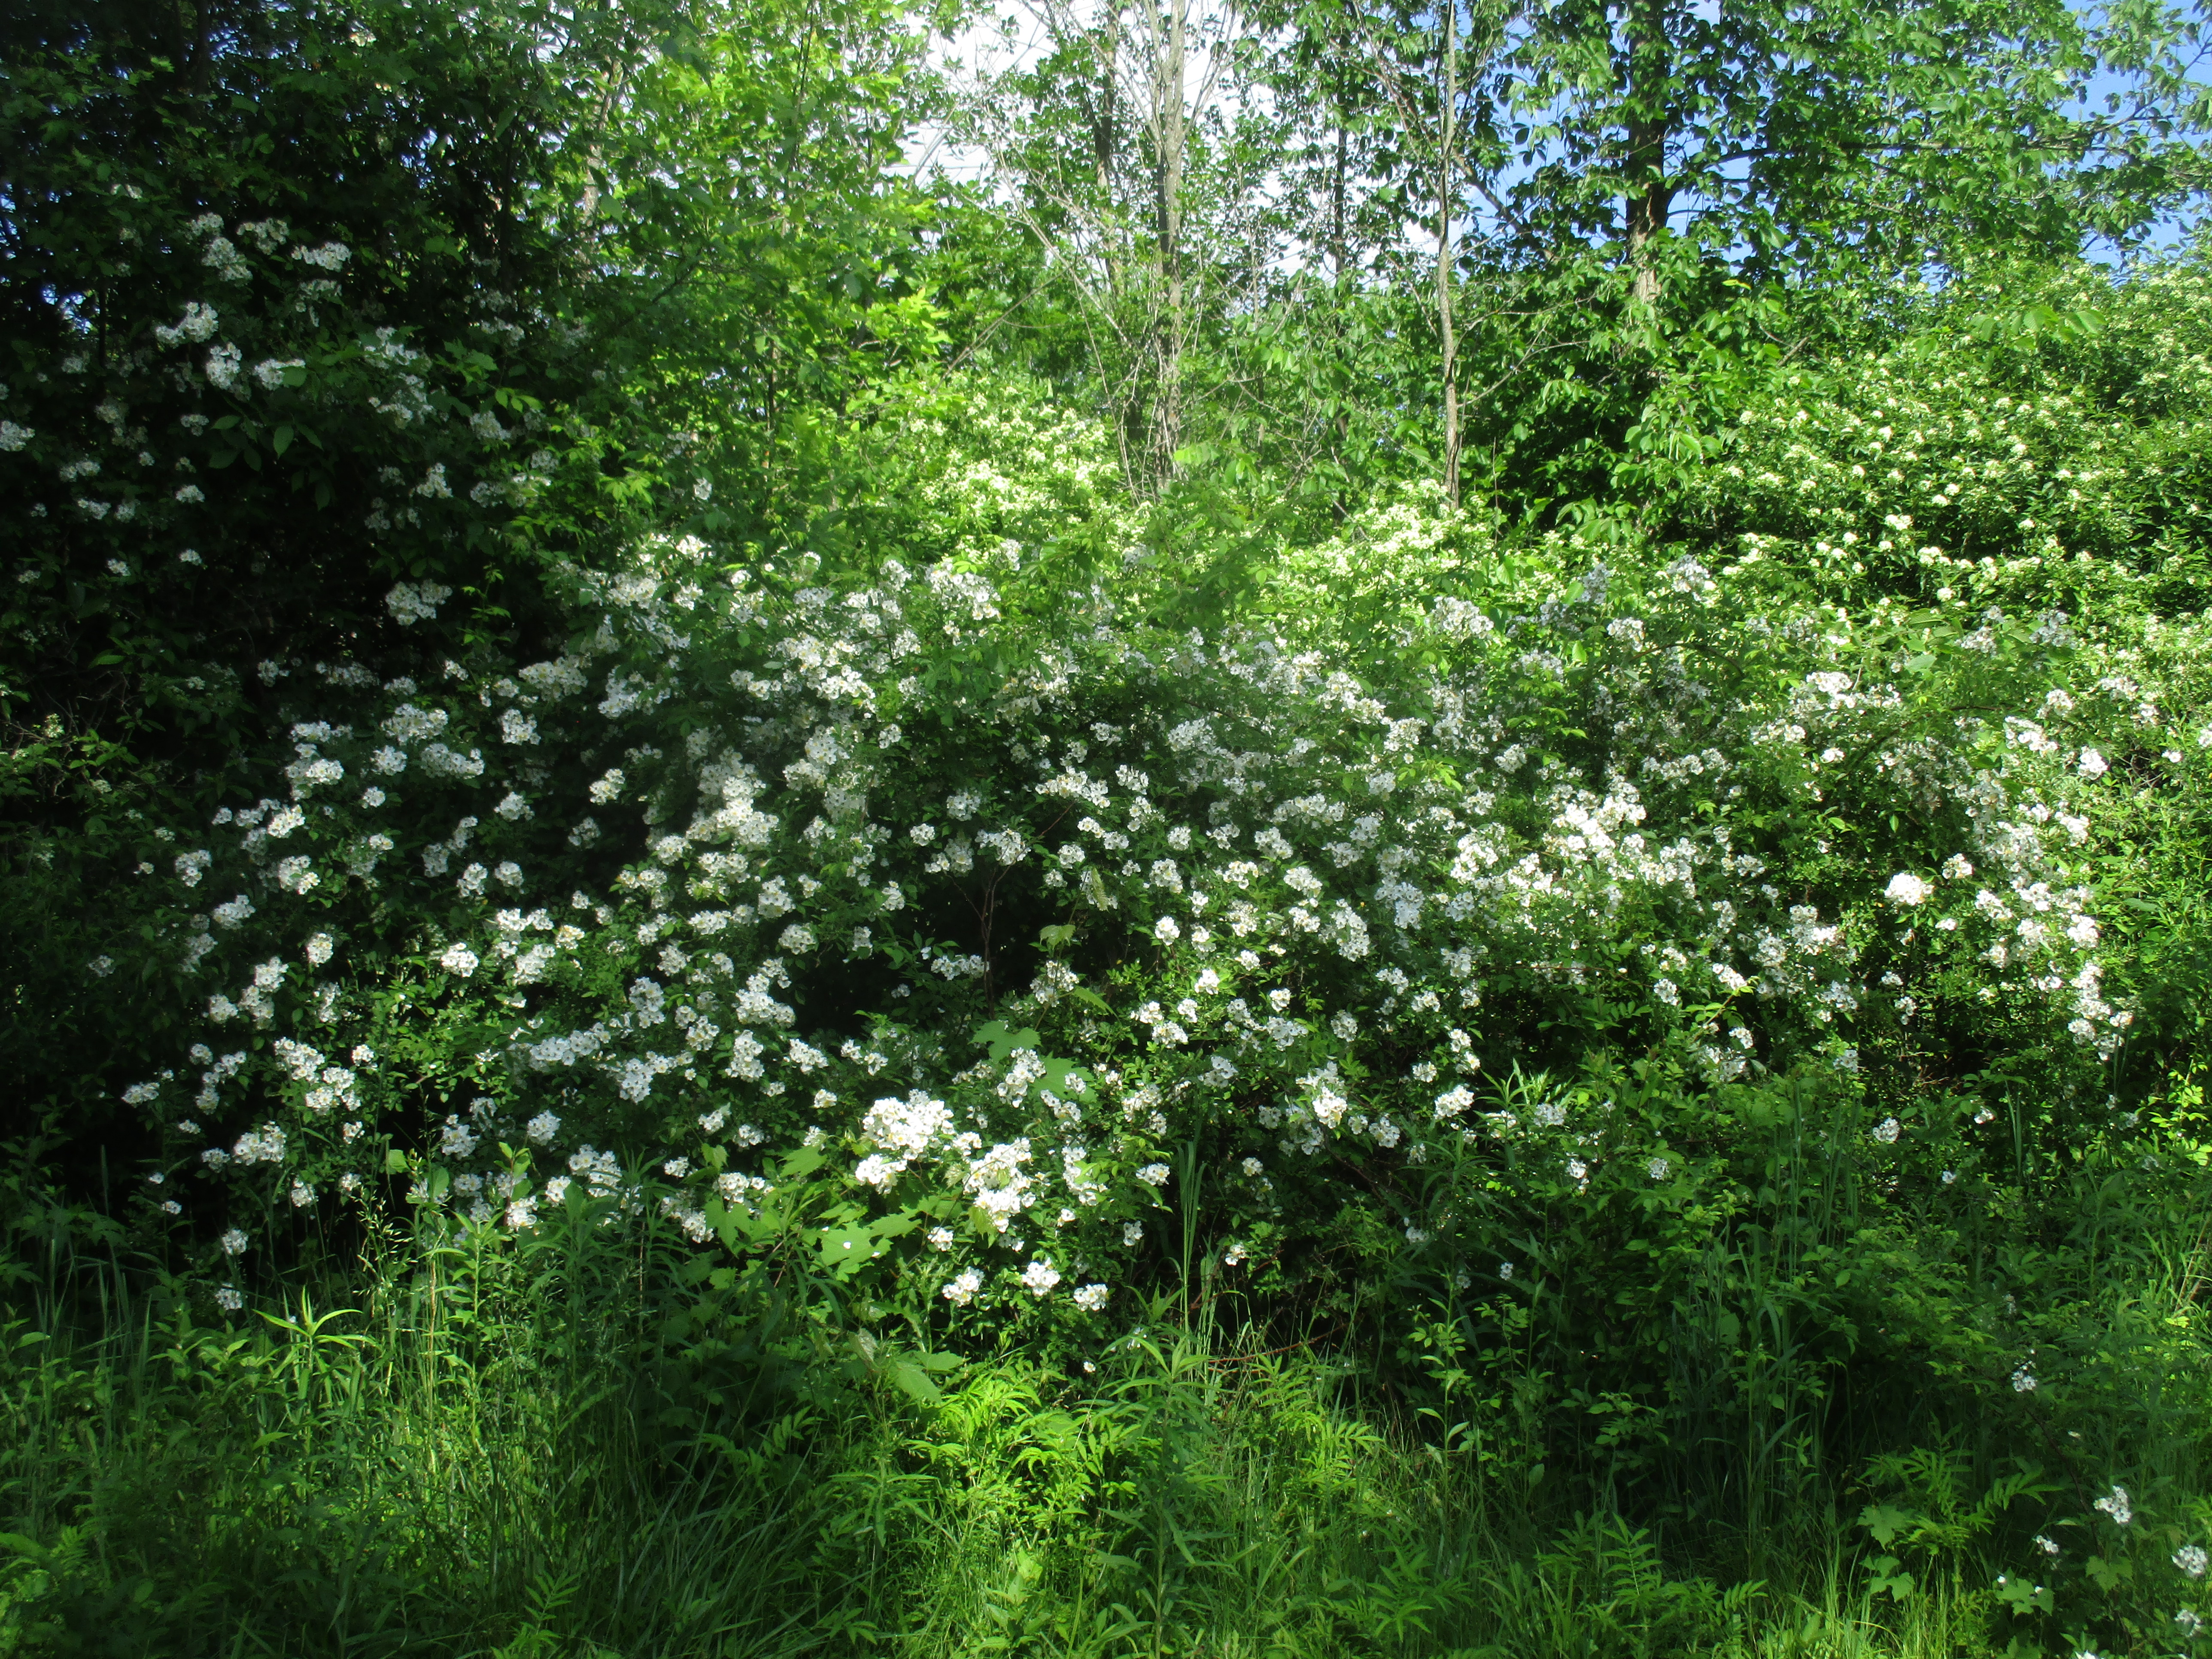
Last week the wild roses were in full bloom. We have wild rose bushes scattered throughout the property. I have featured two of the largest. The one above is a least 15 ft (4,57 meters) wide and 8 ft. (2.43 meters) tall. I can’t even begin to guess how deep it goes back among the other trees.
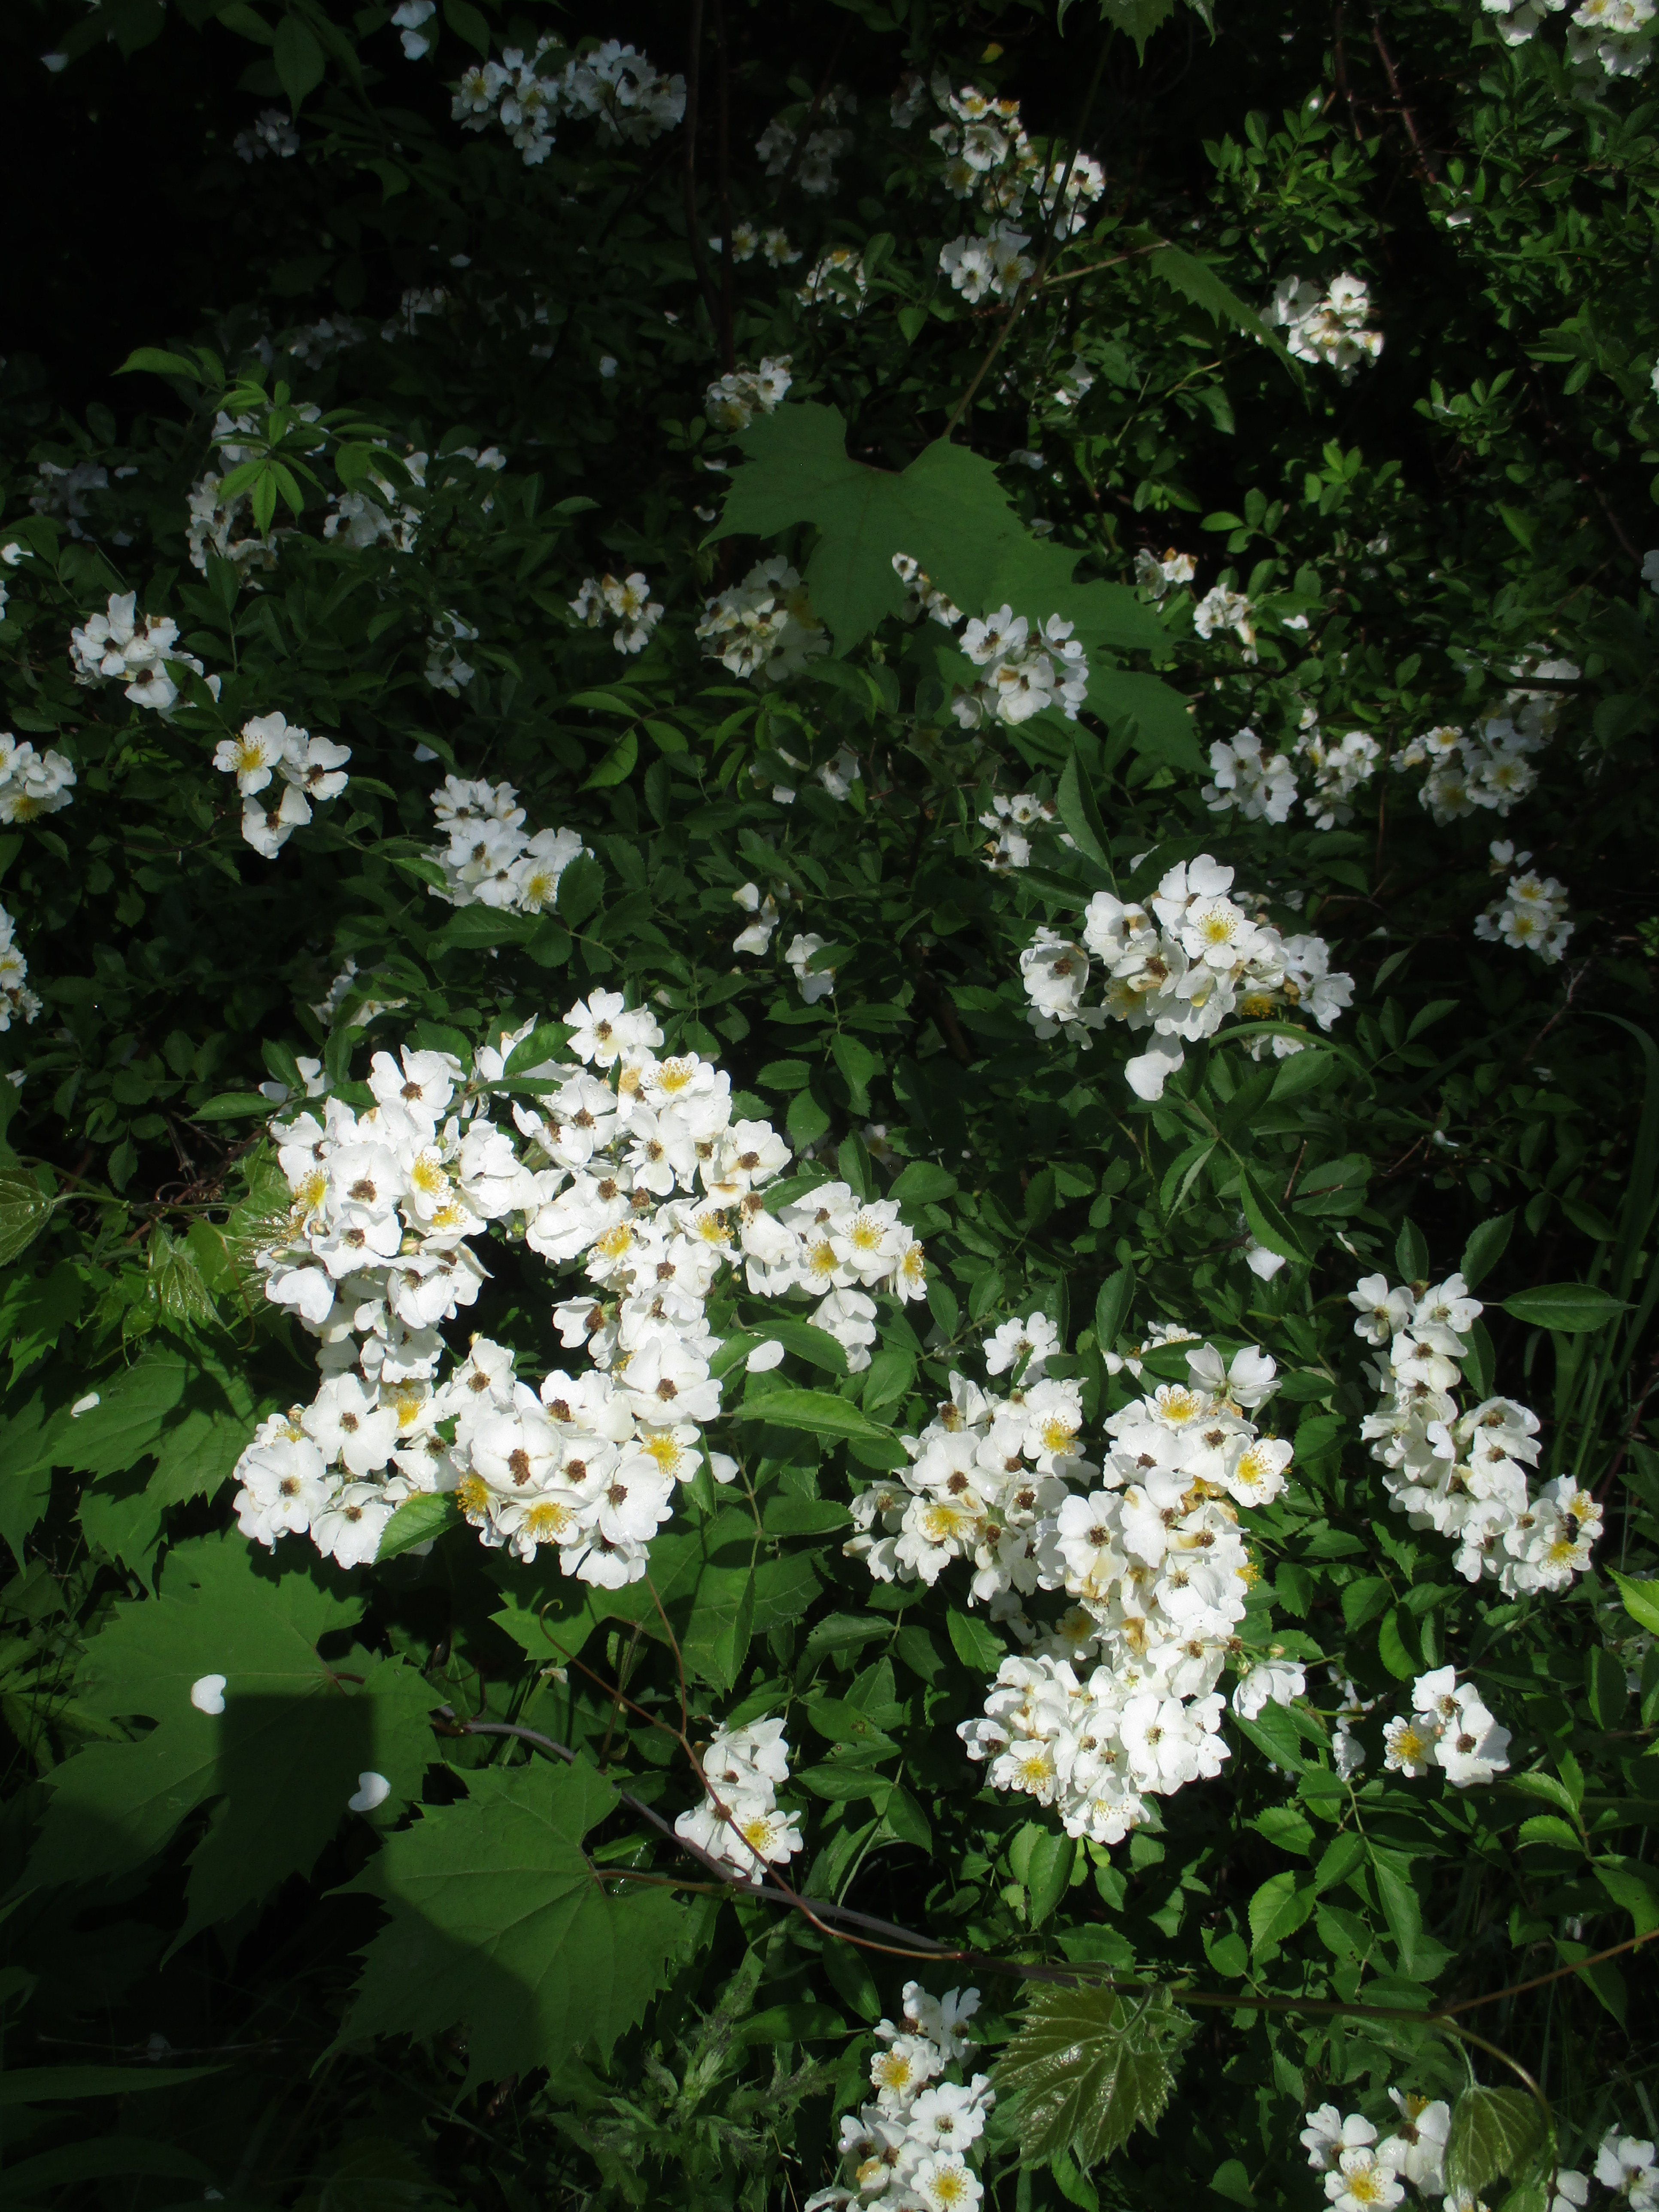
A close up of the rose blossoms. You might notice some wild grape leaves in the photo. Apparently there in a grape vine growing with the rose bush. What you don’t notice in the photo is the wonderful fragrance of the roses, – sweet but a bit spicey. Every now and then I would catch a whiff of it in the breeze. I love this time of year! Definitely worth taking time to smell the roses!
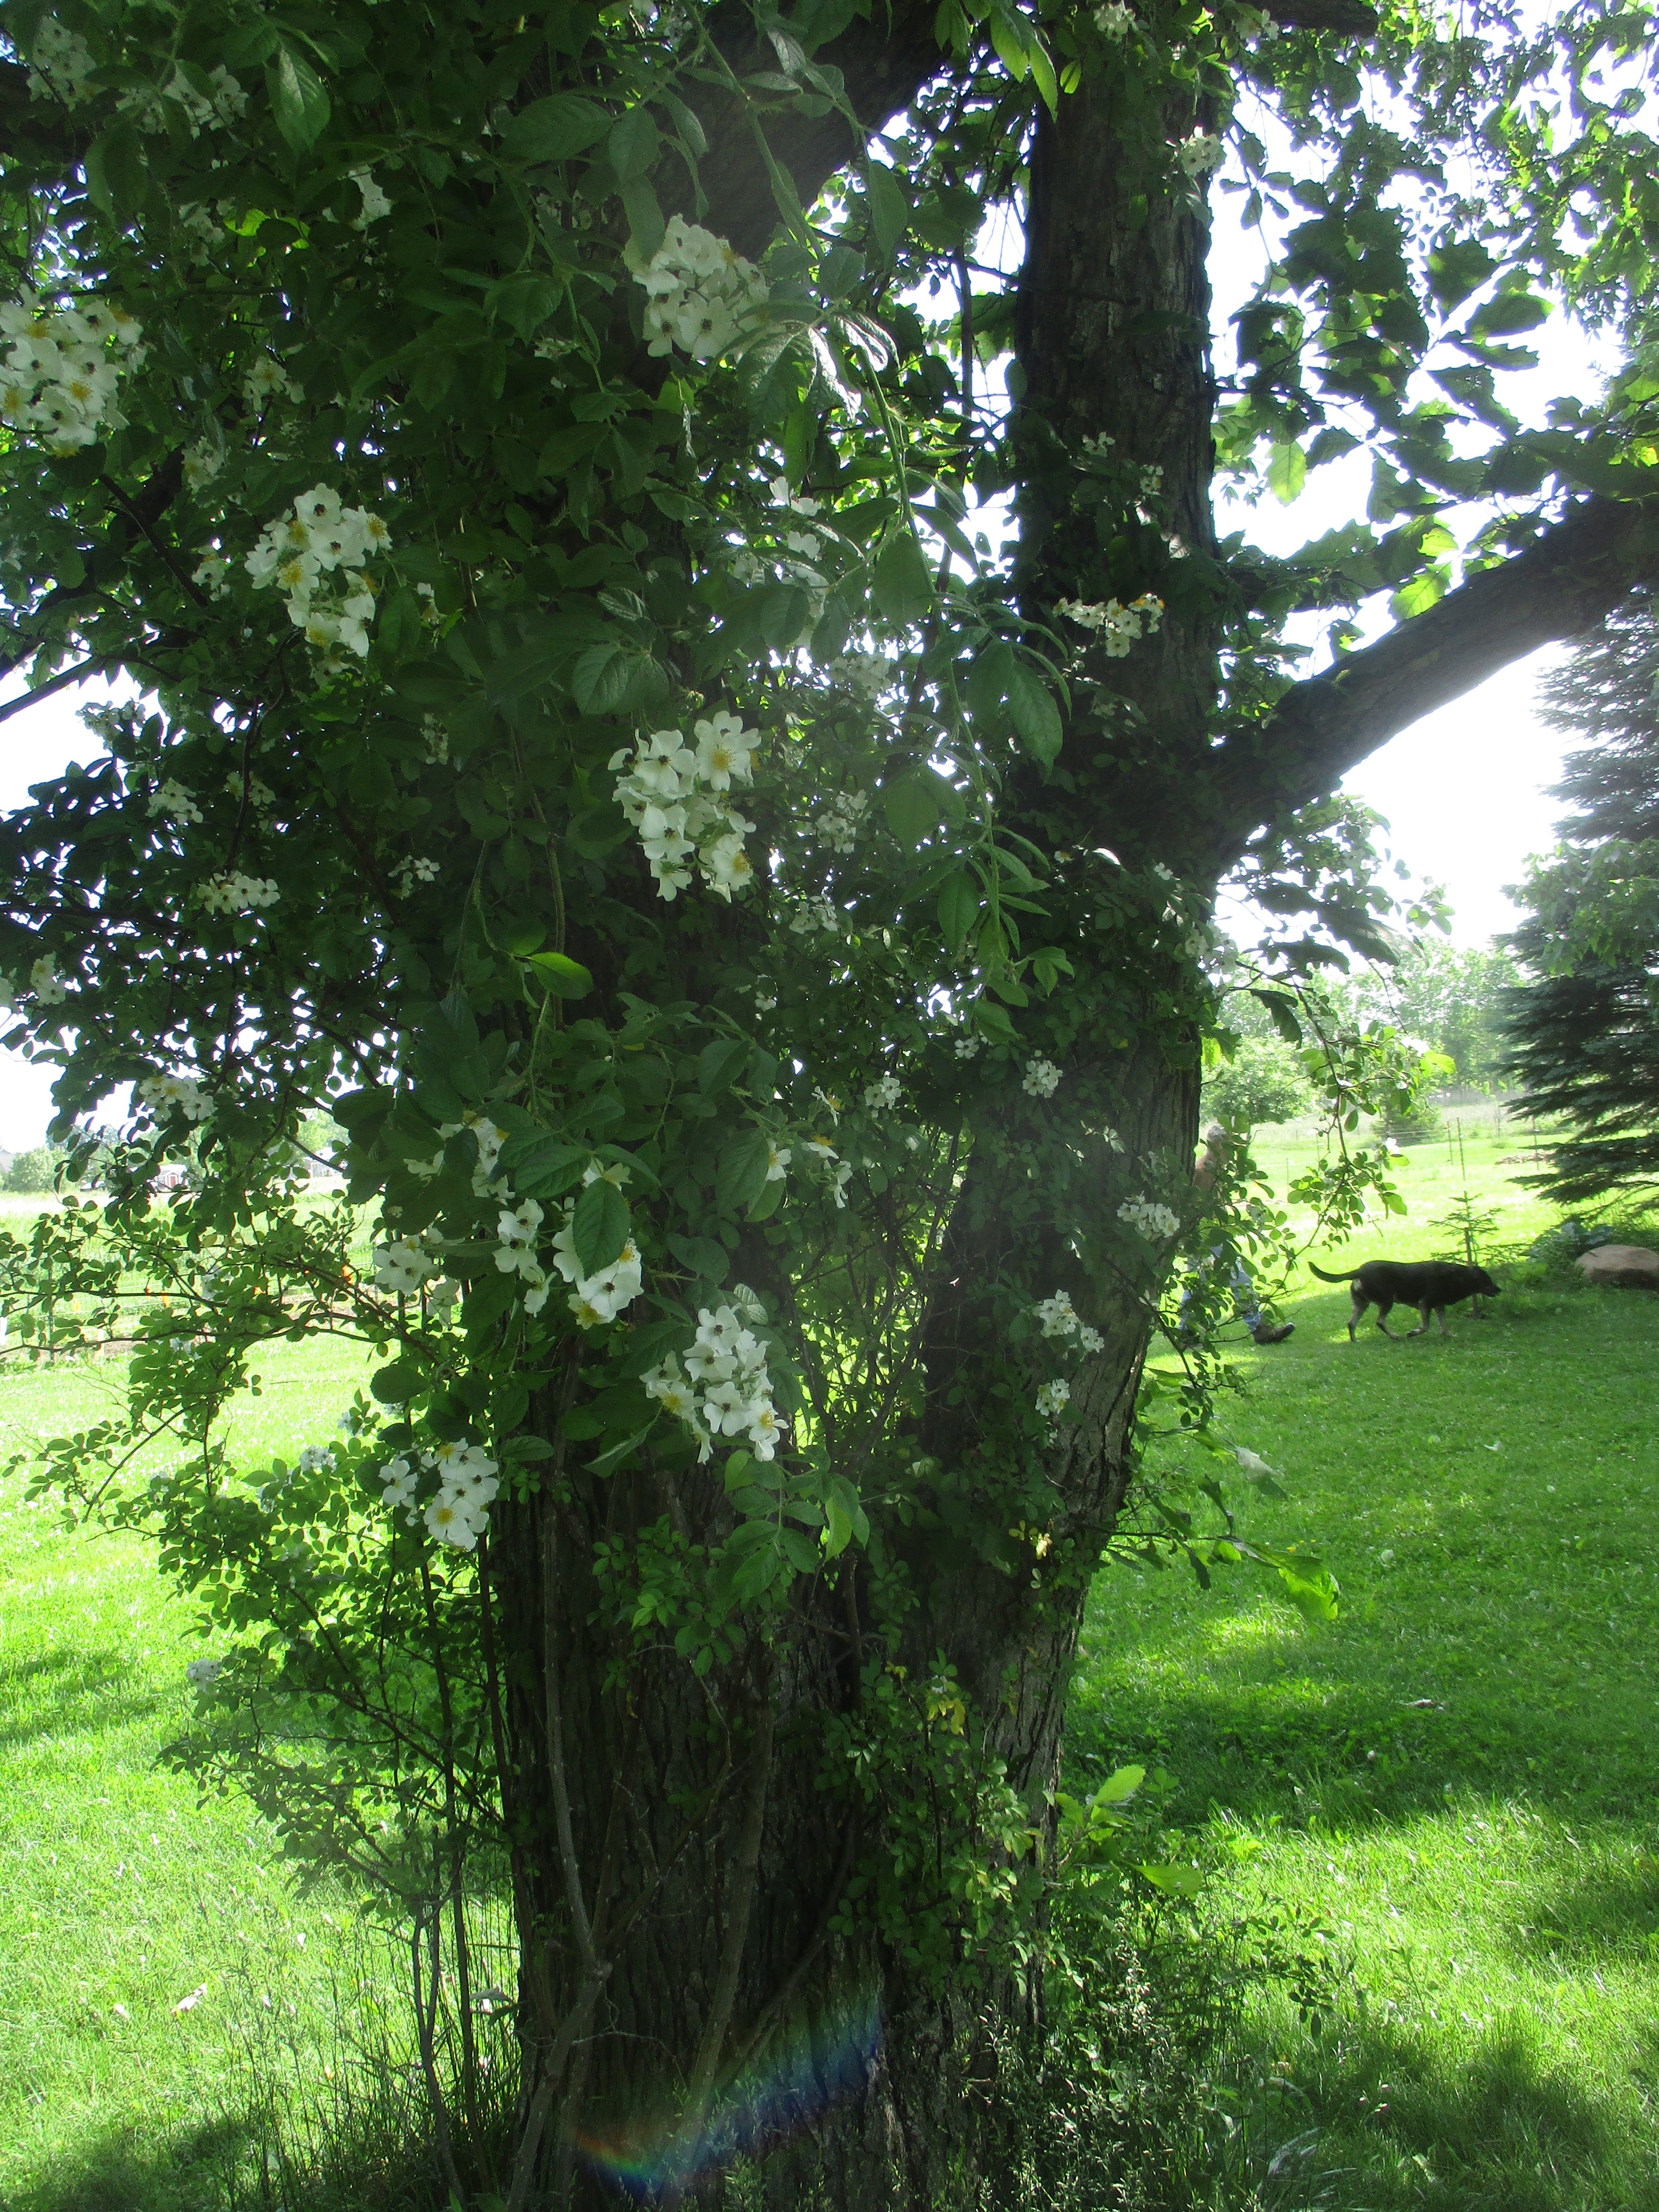
The second one that I am featuring climbs up the oak tree at our picnic area. We do keep it pruned a bit, otherwise it will reach out and grab someone as they are walking by, or in my case riding by on the mower while cutting the grass around the tree.

It probably reaches up 20 ft (6.09 meters) into the tree.
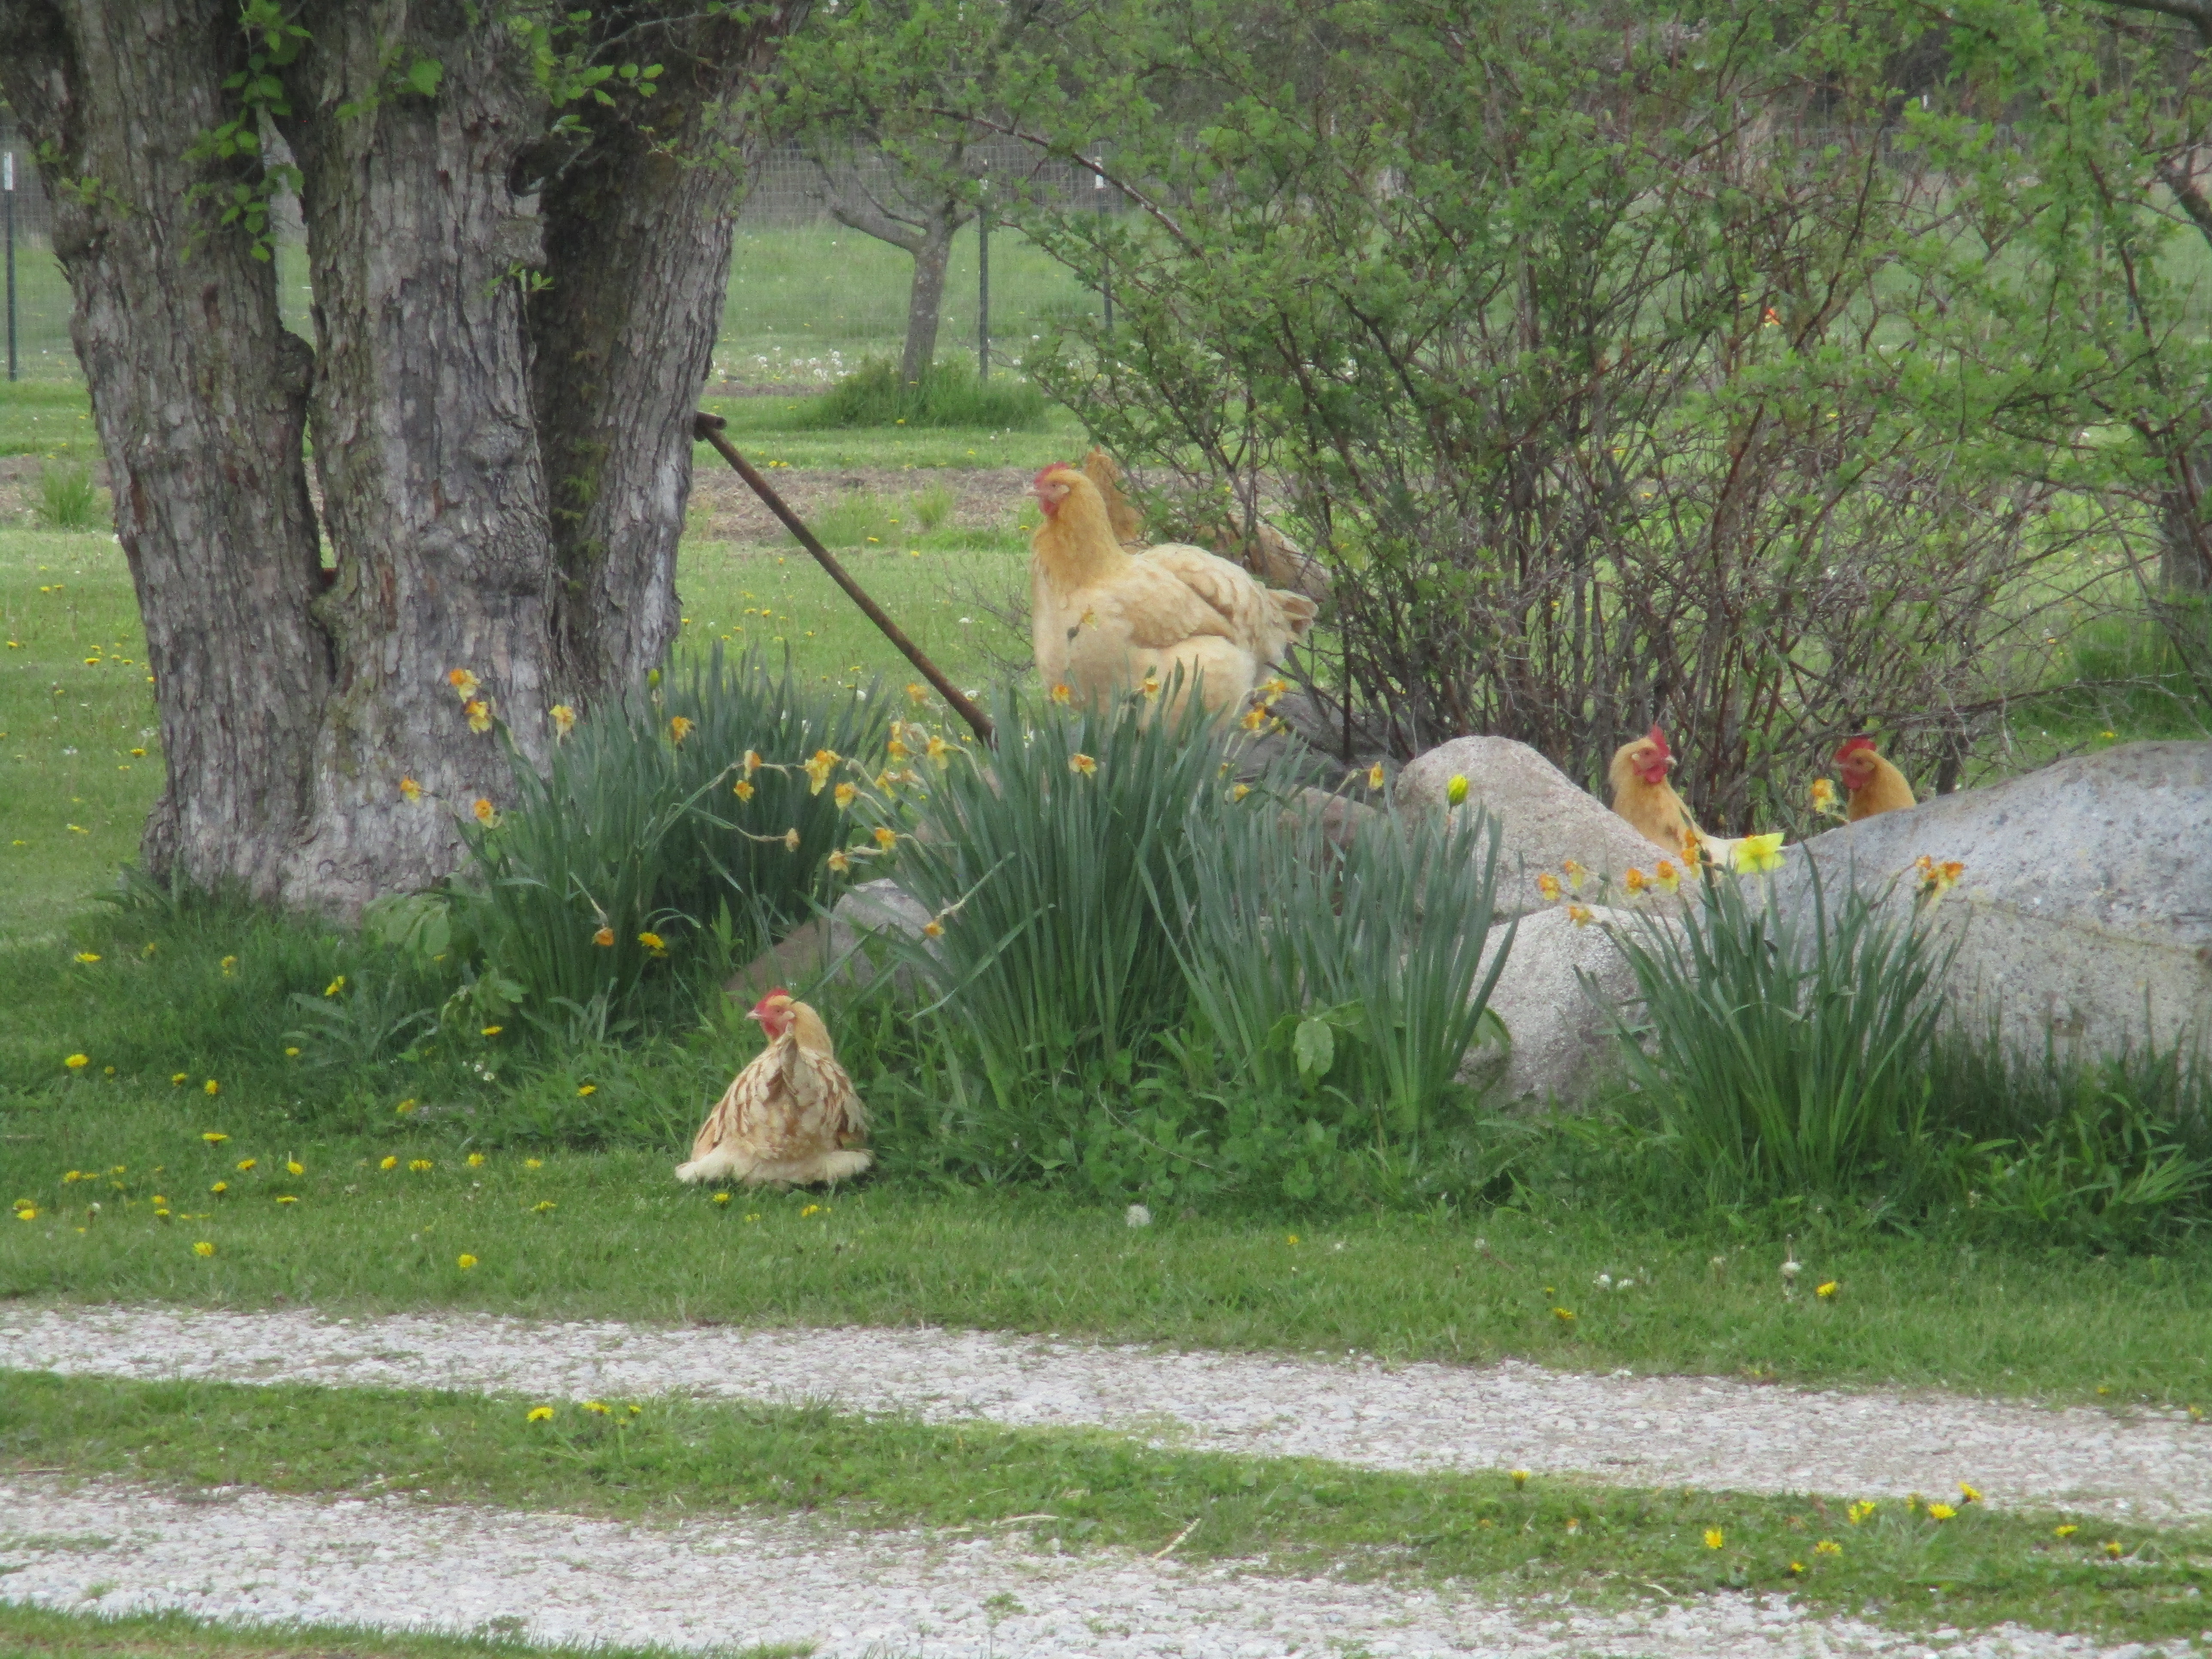
Feathered Friends
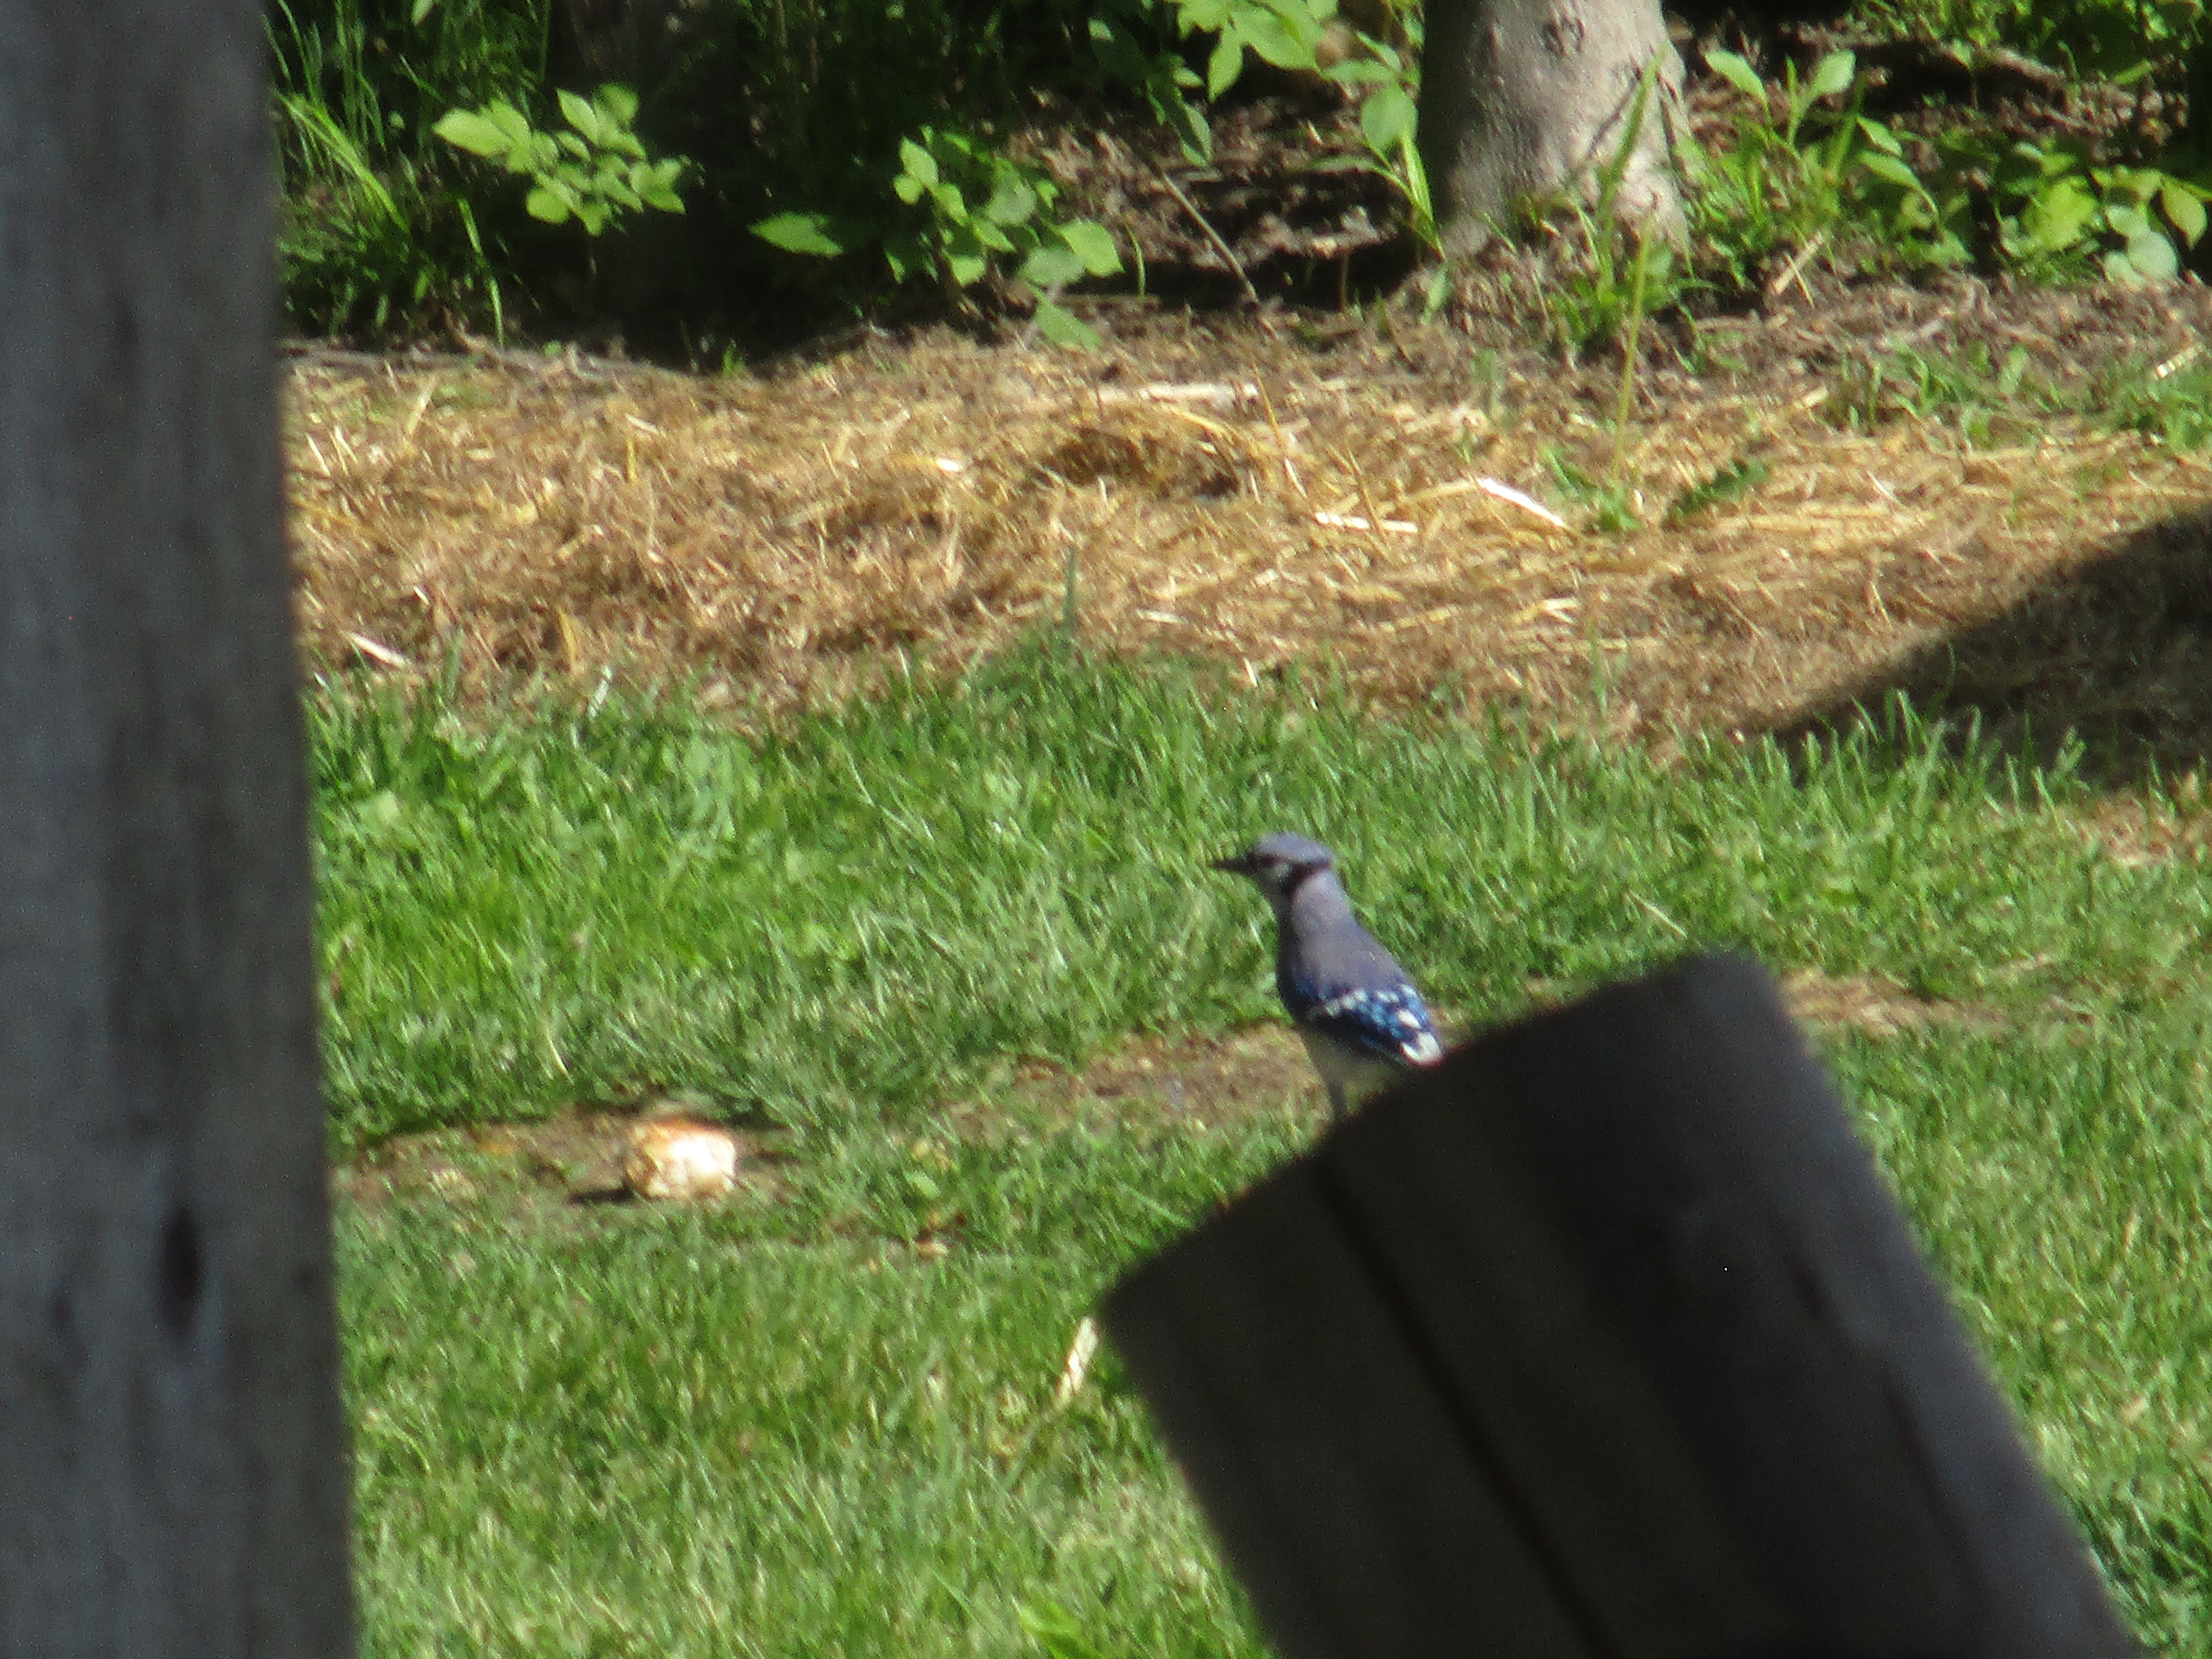
I sat quietly in front of the barn and snuck a picture while this blue jay ate chicken scratch near the coop.
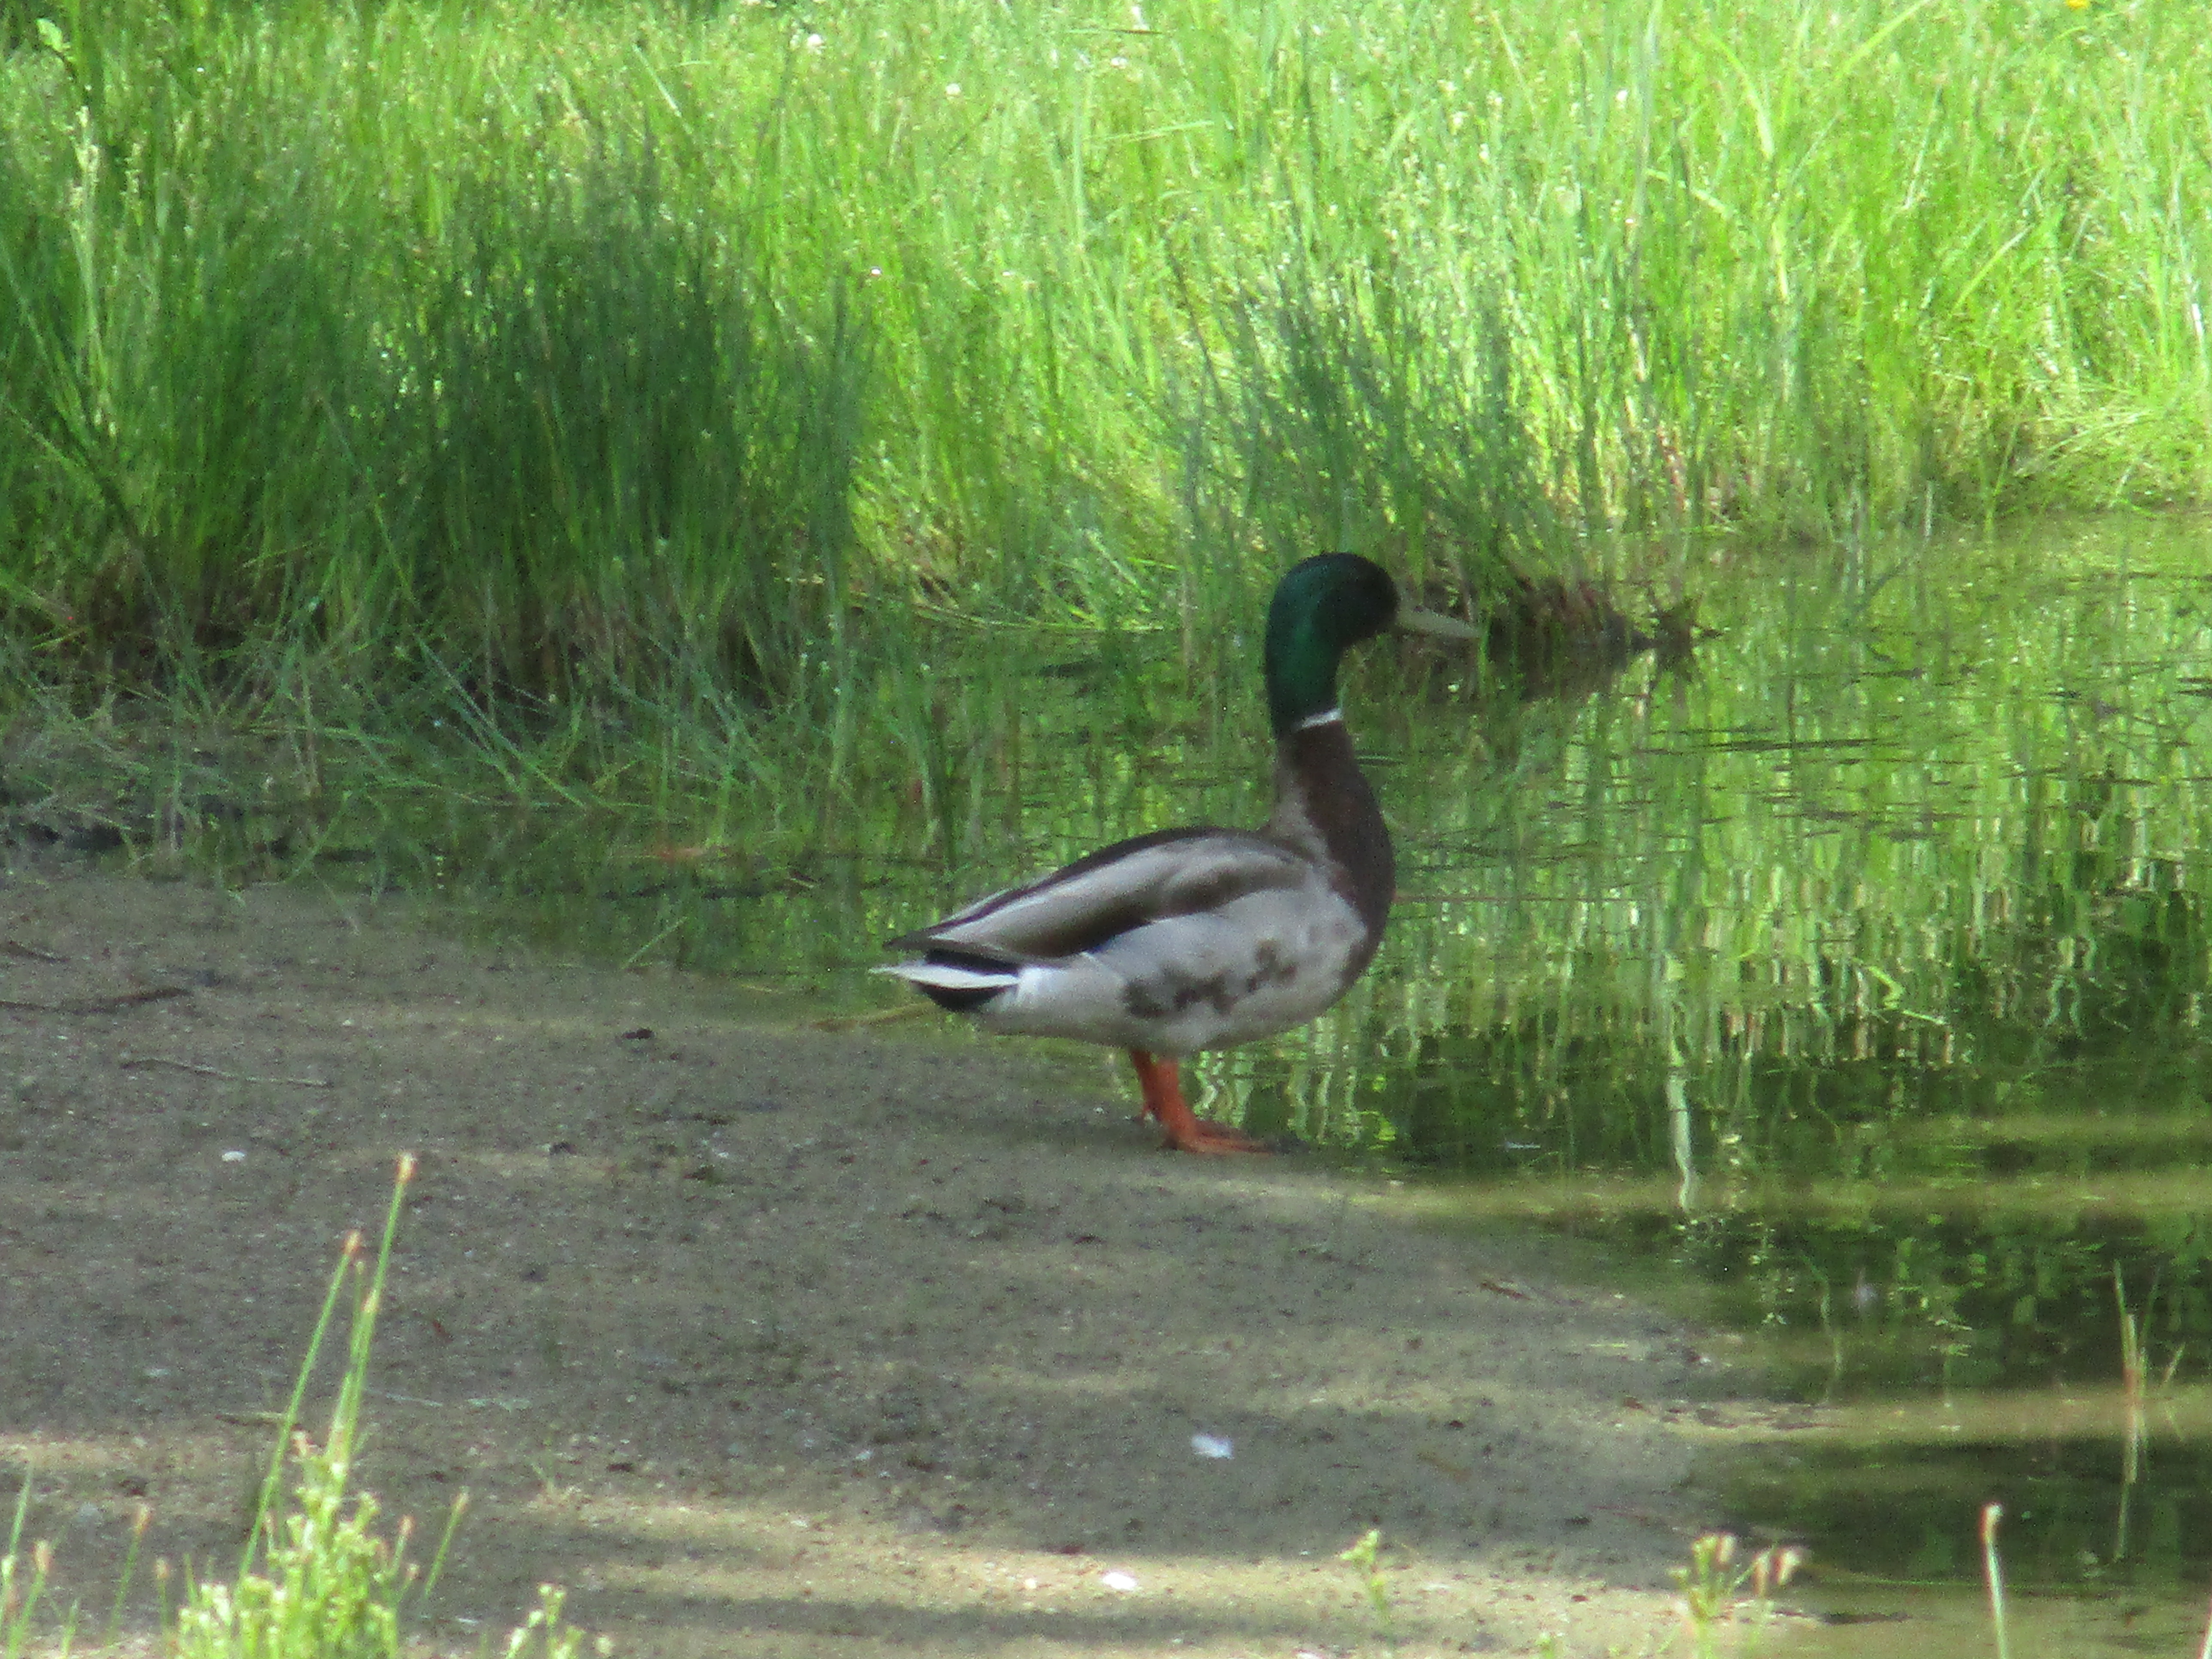
We have a pair of ducks that have become regular visitors. Sometimes it’s just the male and other times the male and female are together. Not only do they swim in the pond, but my husband has also seen them eating chicken scratch with the chickens. If Ruby spots them, and she usually does, she is quick to chase them off. We actually encourage her to chase the off because duck dropping in the pond can bring bacteria and parasites that could affect human and aquatic health. we don’t want that.
Thanks for visiting.
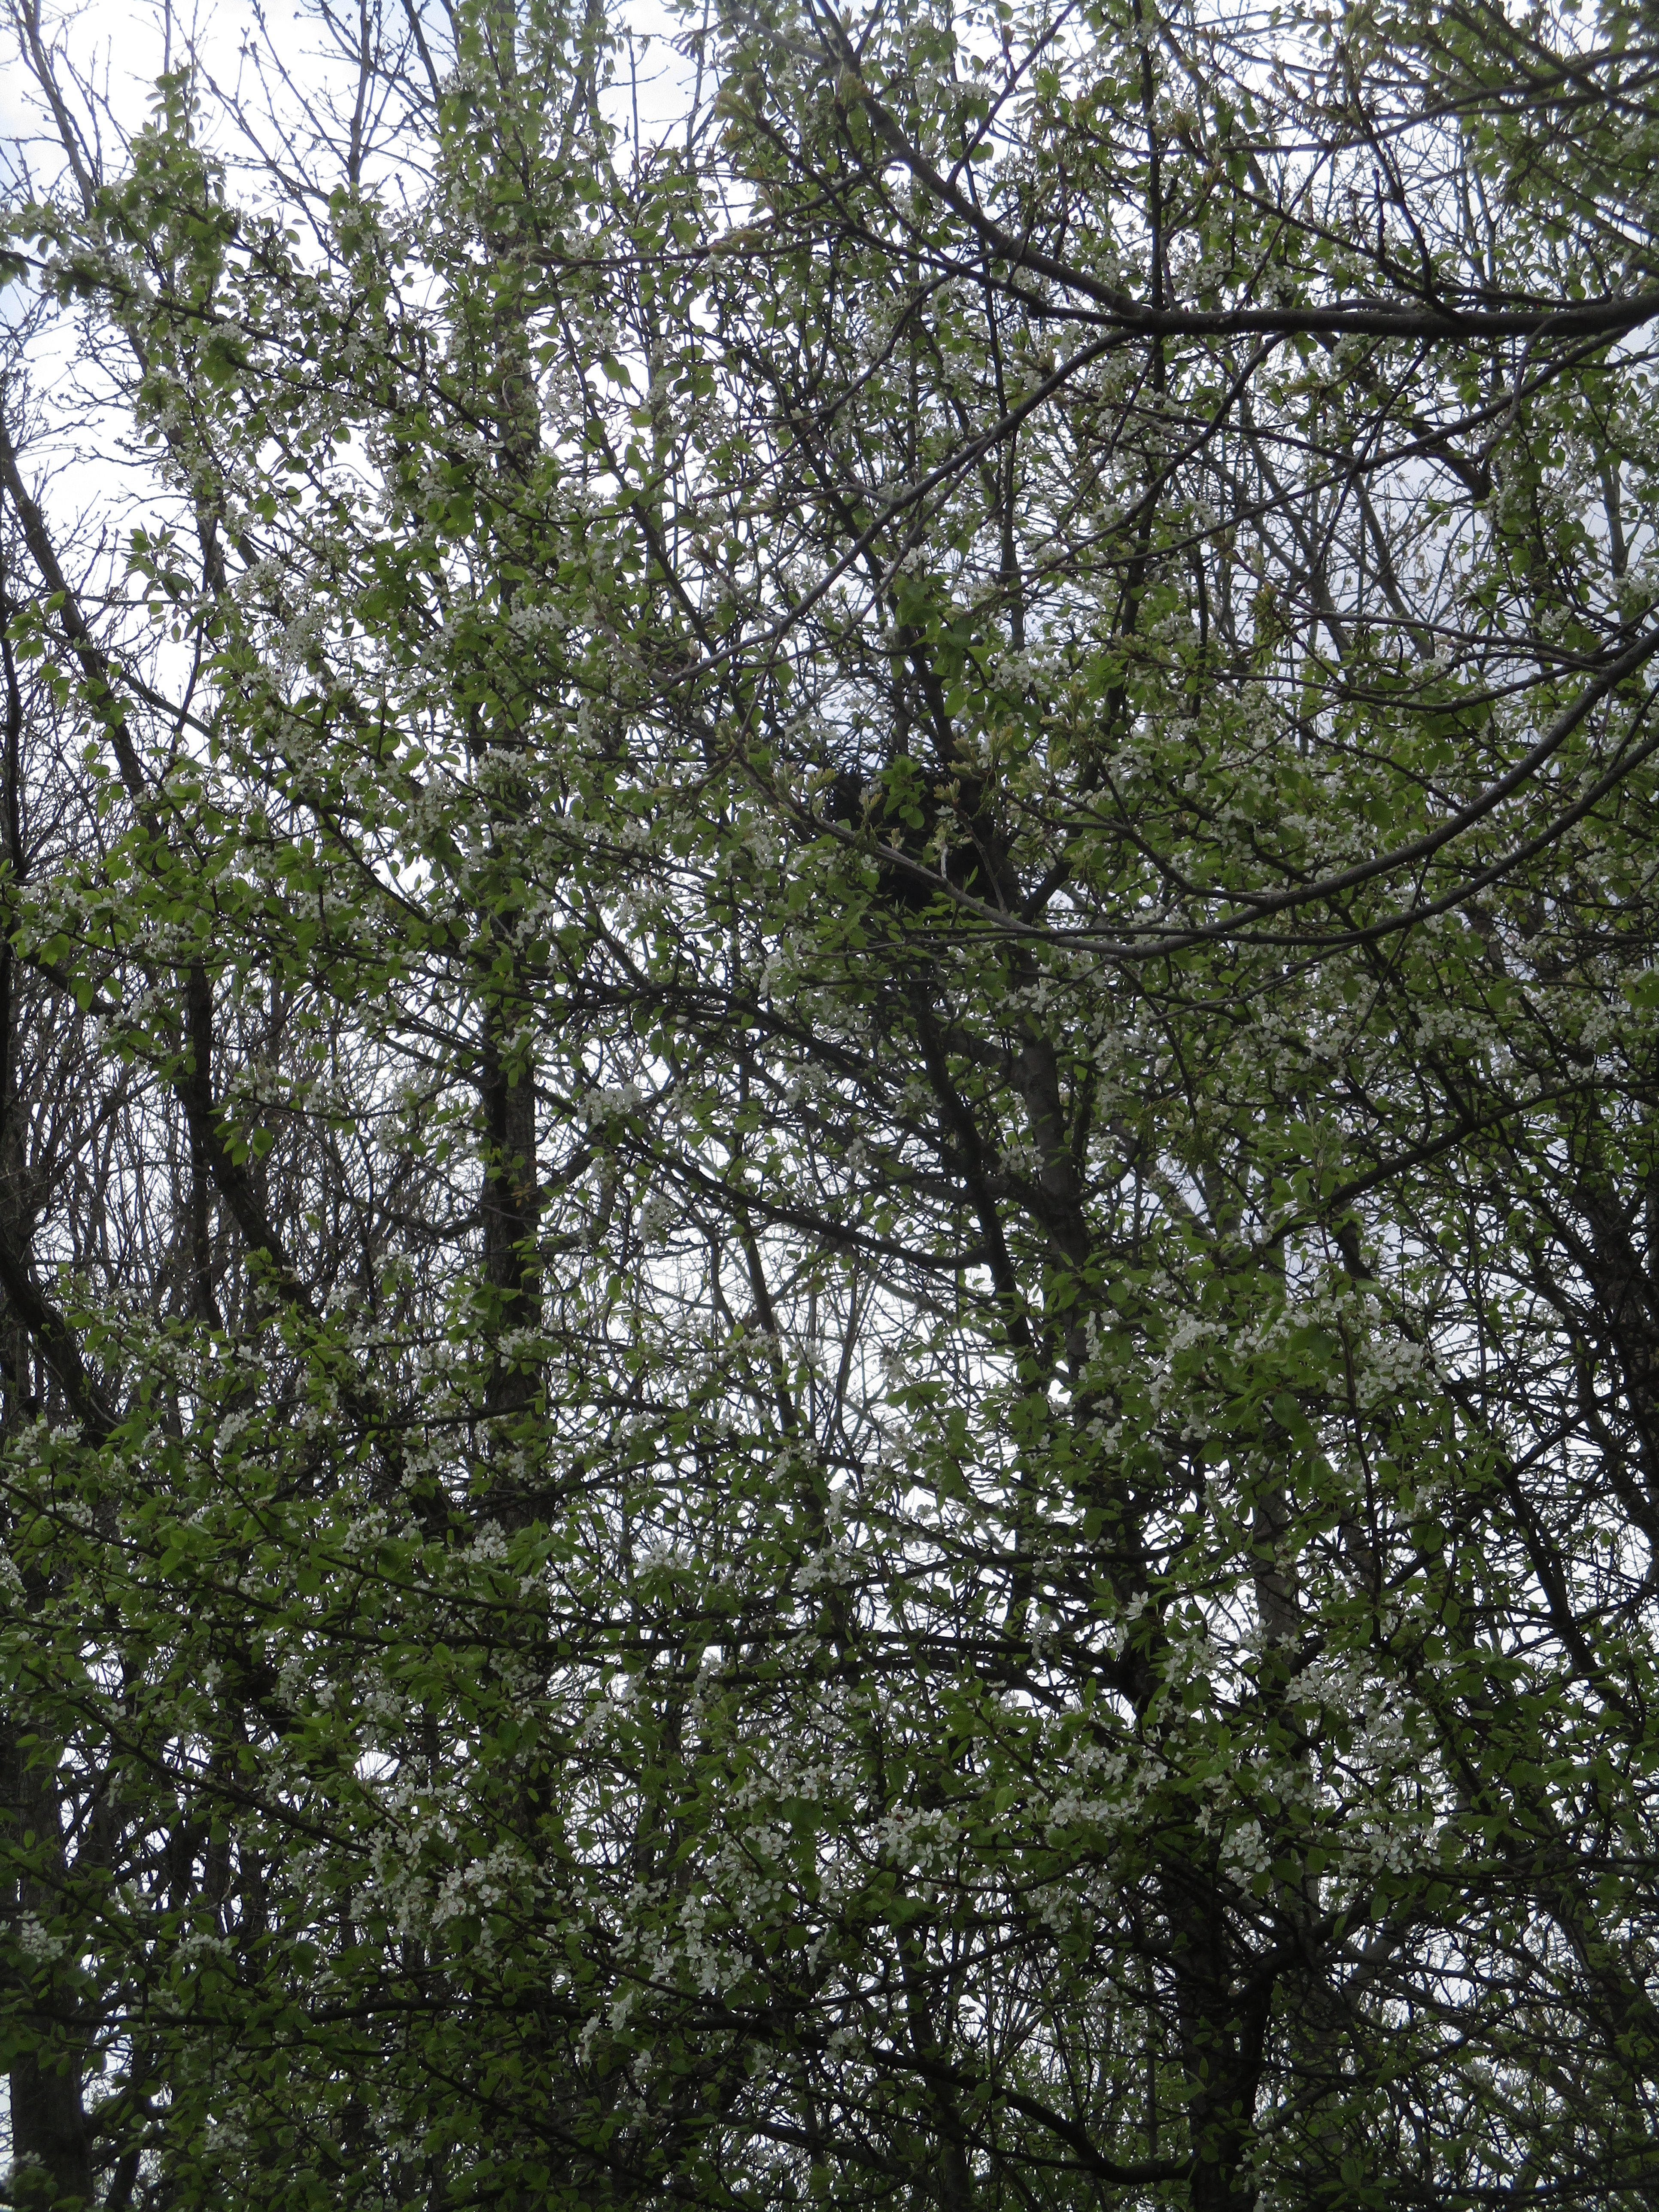
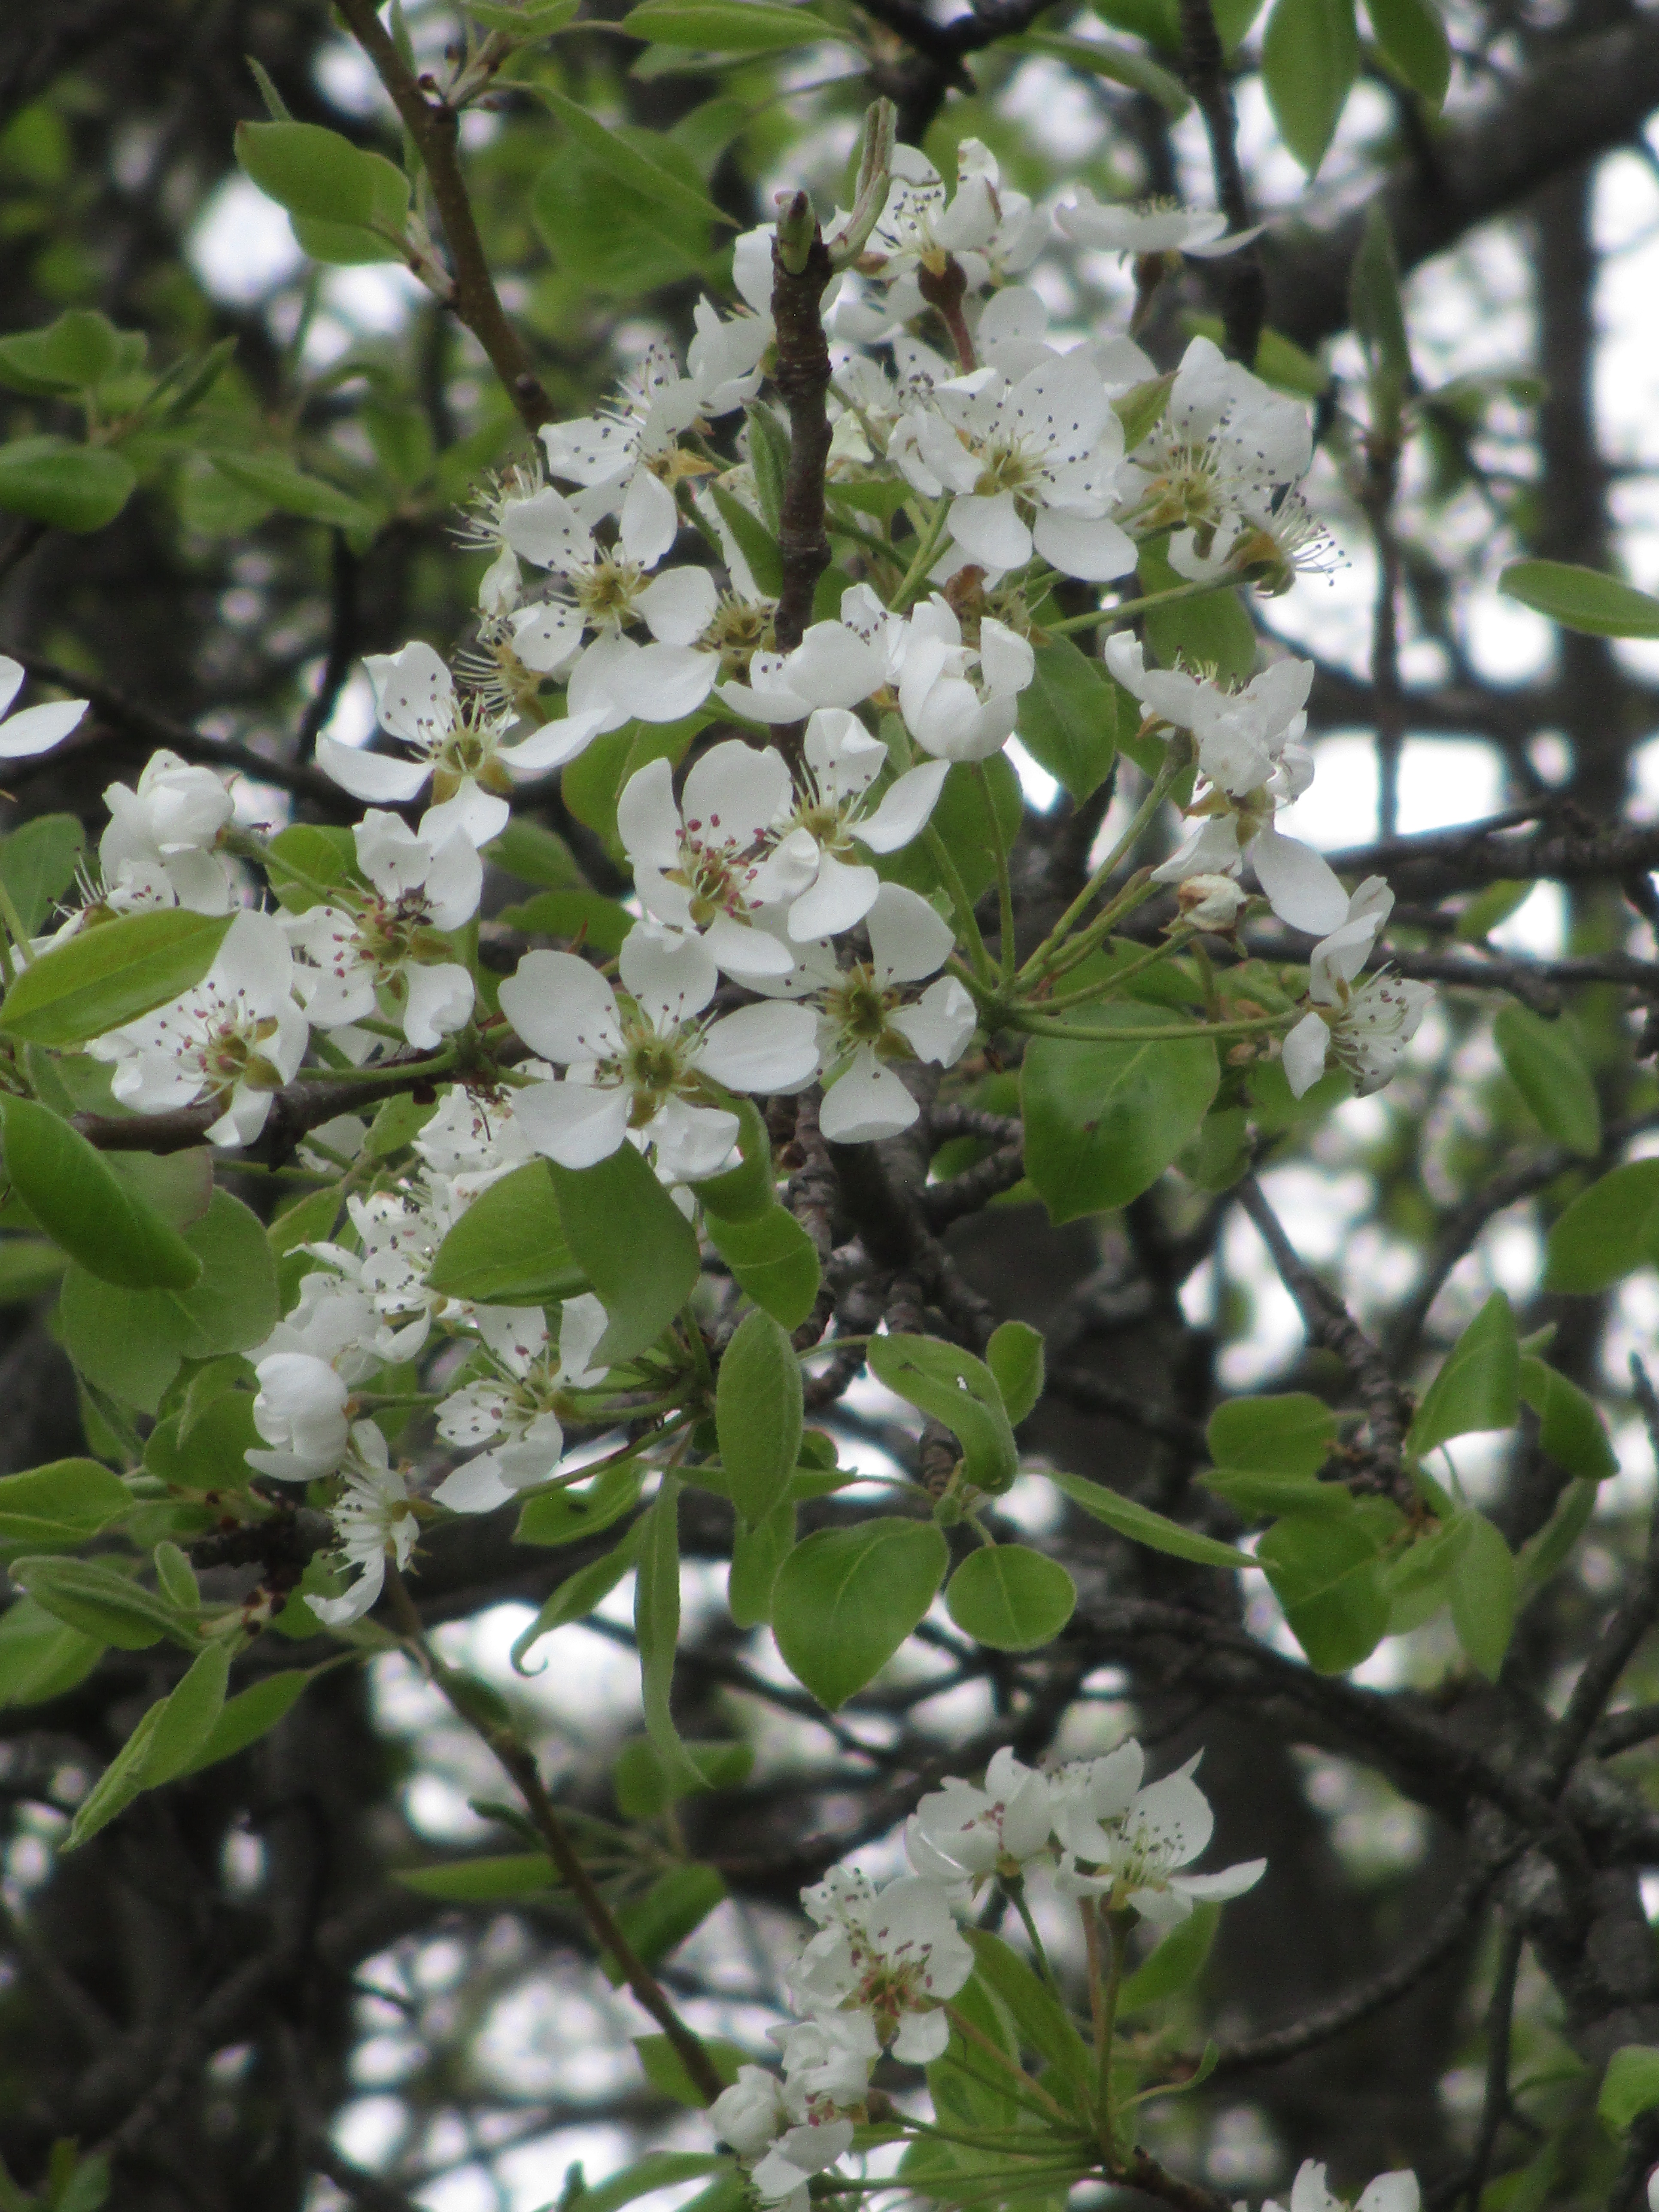
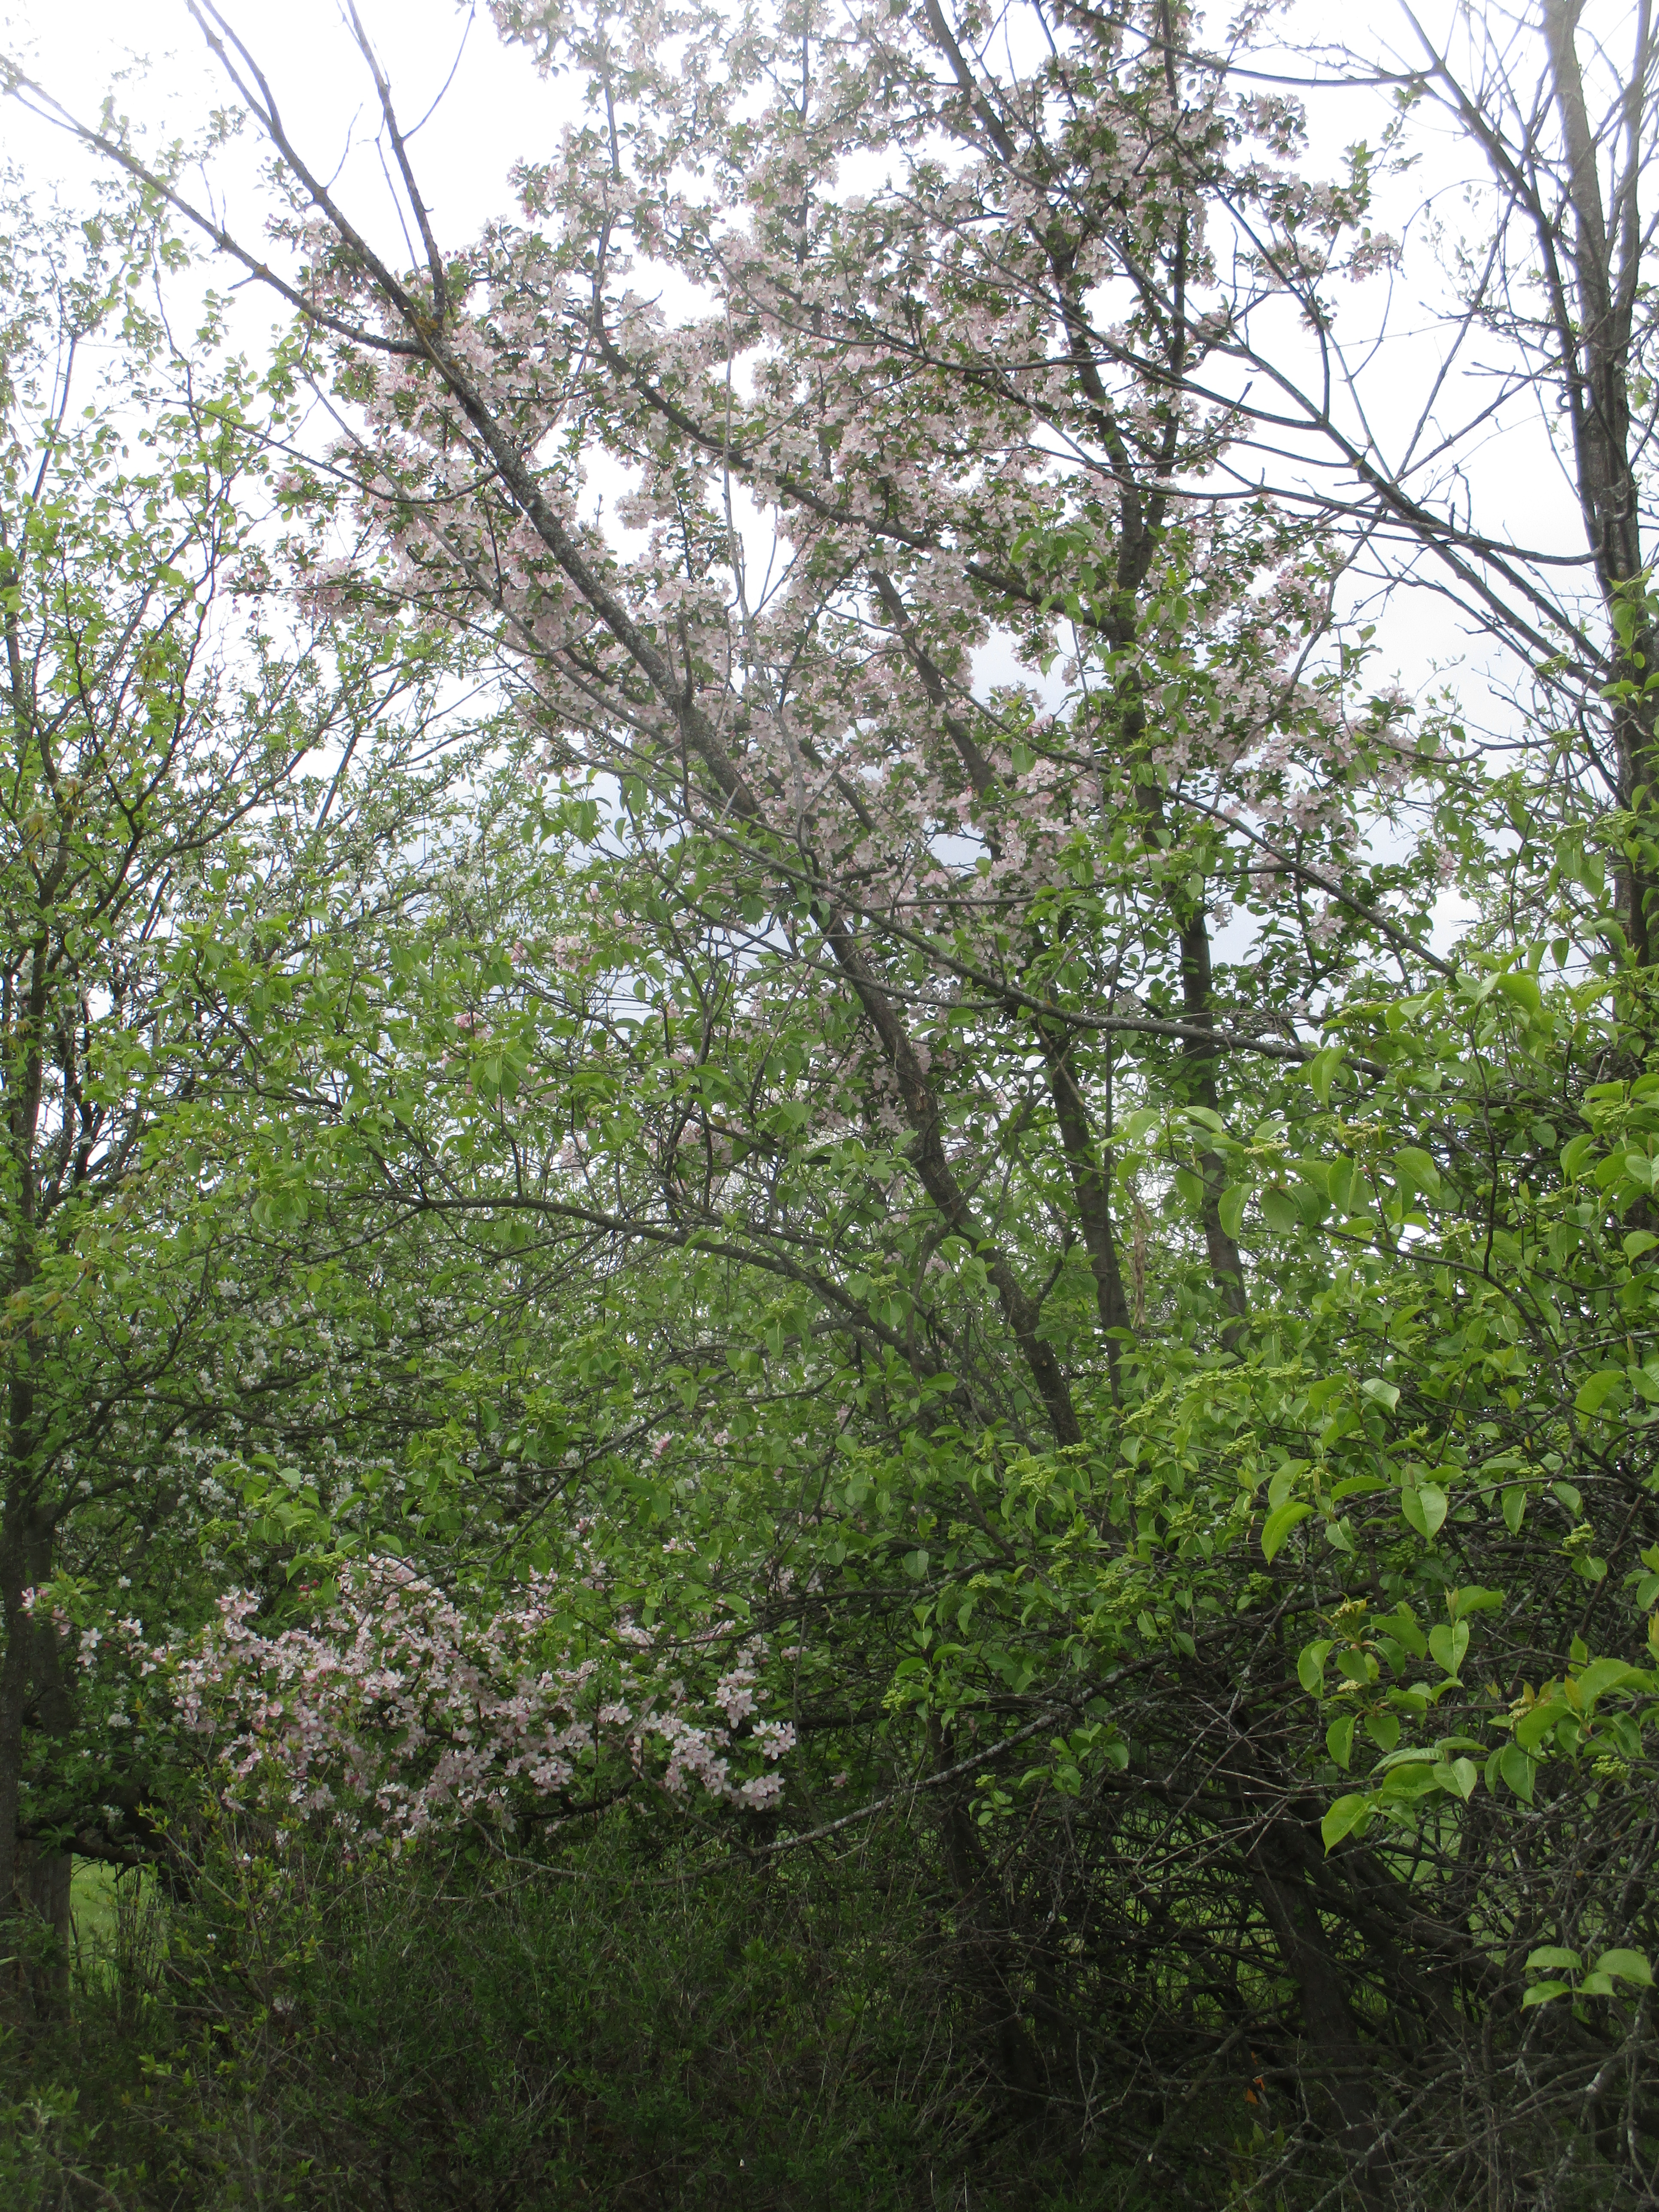

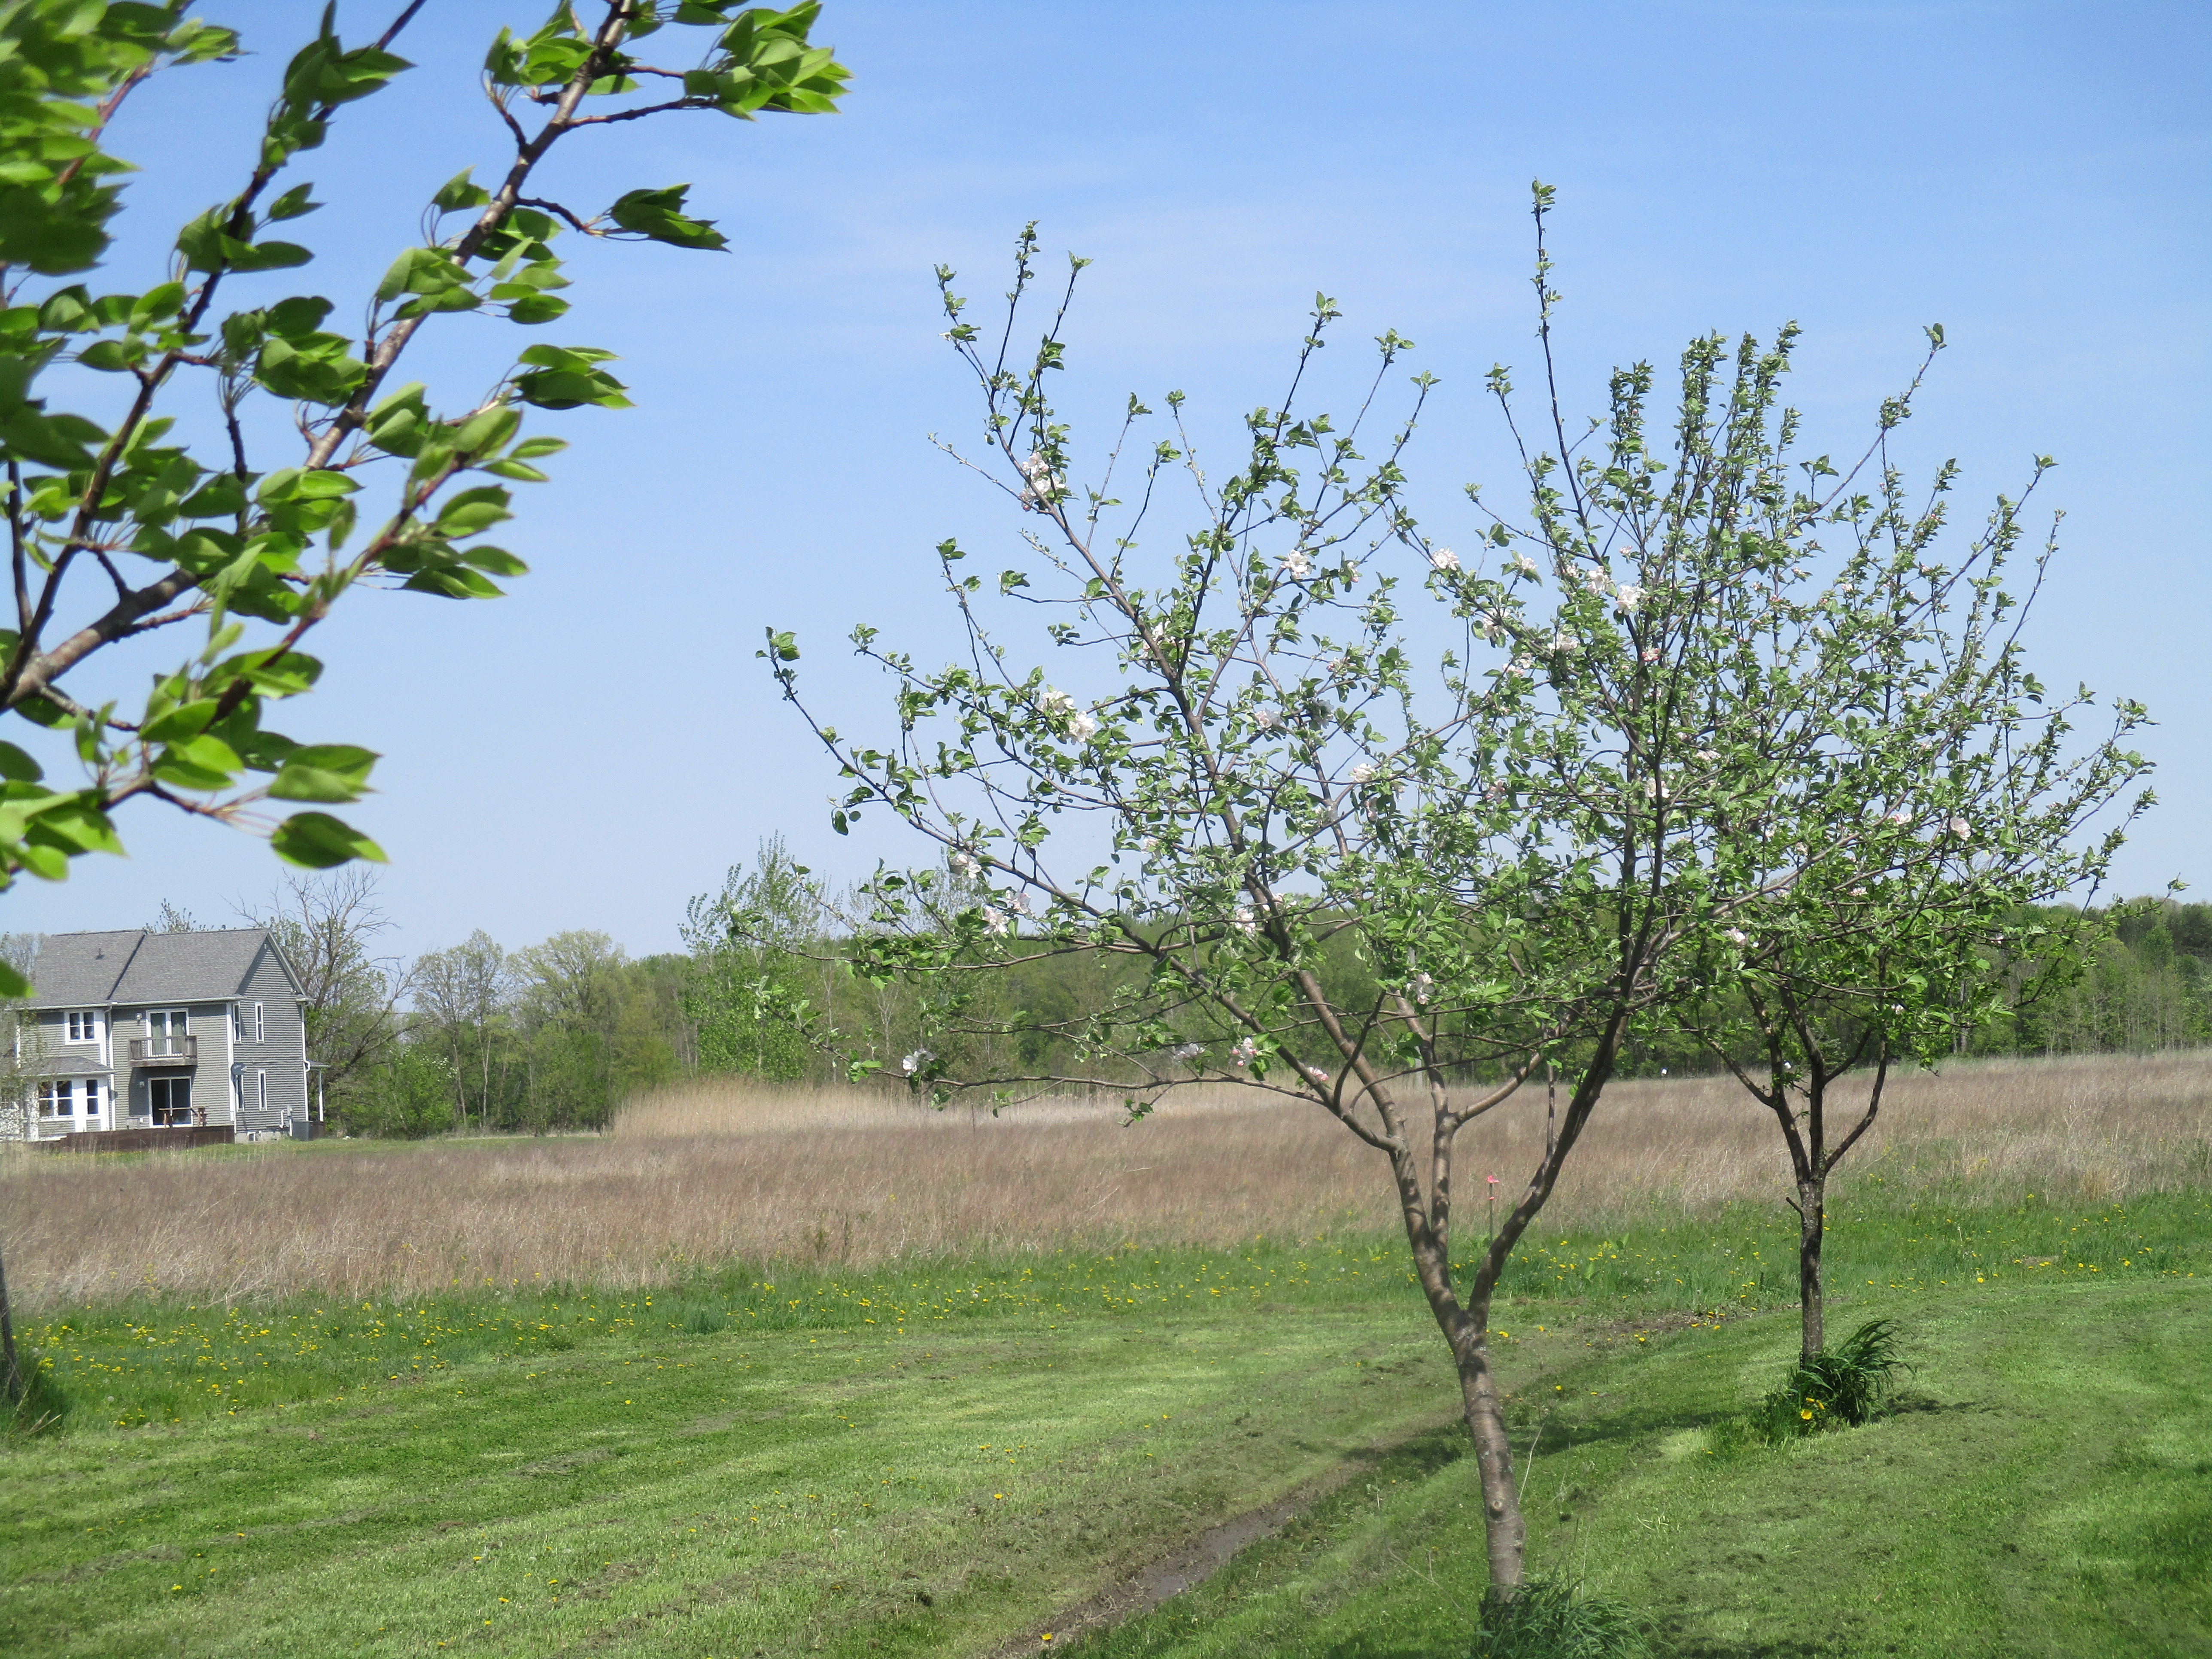 The fruit trees, including apple, pear, and tart cherry all blossomed and are now setting fruit. Berry bushes, including our blue berry, raspberry, currant and grapes are setting fruit as well.
 The dandelions blossomed and my husband helped me pick a bunch for soap making before they went to seed. I have enough for two batches of sweet dandelion soap. Trooper didn’t help pick dandelions but he enjoyed being there.
 It will be tricky to figure out when the soap is the correct degree of hardness for the stamp to work just right and challenging learning to apply the right amount of pressure to the stamp so I don’t squish the soap. I thought about using some type of coloring to add contrast, but it has to be something natural since I do not use artificial coloring in my soap. In the above photo I used cinnamon in one and turmeric in the other. Learning to use this will be a lot of trial and error.
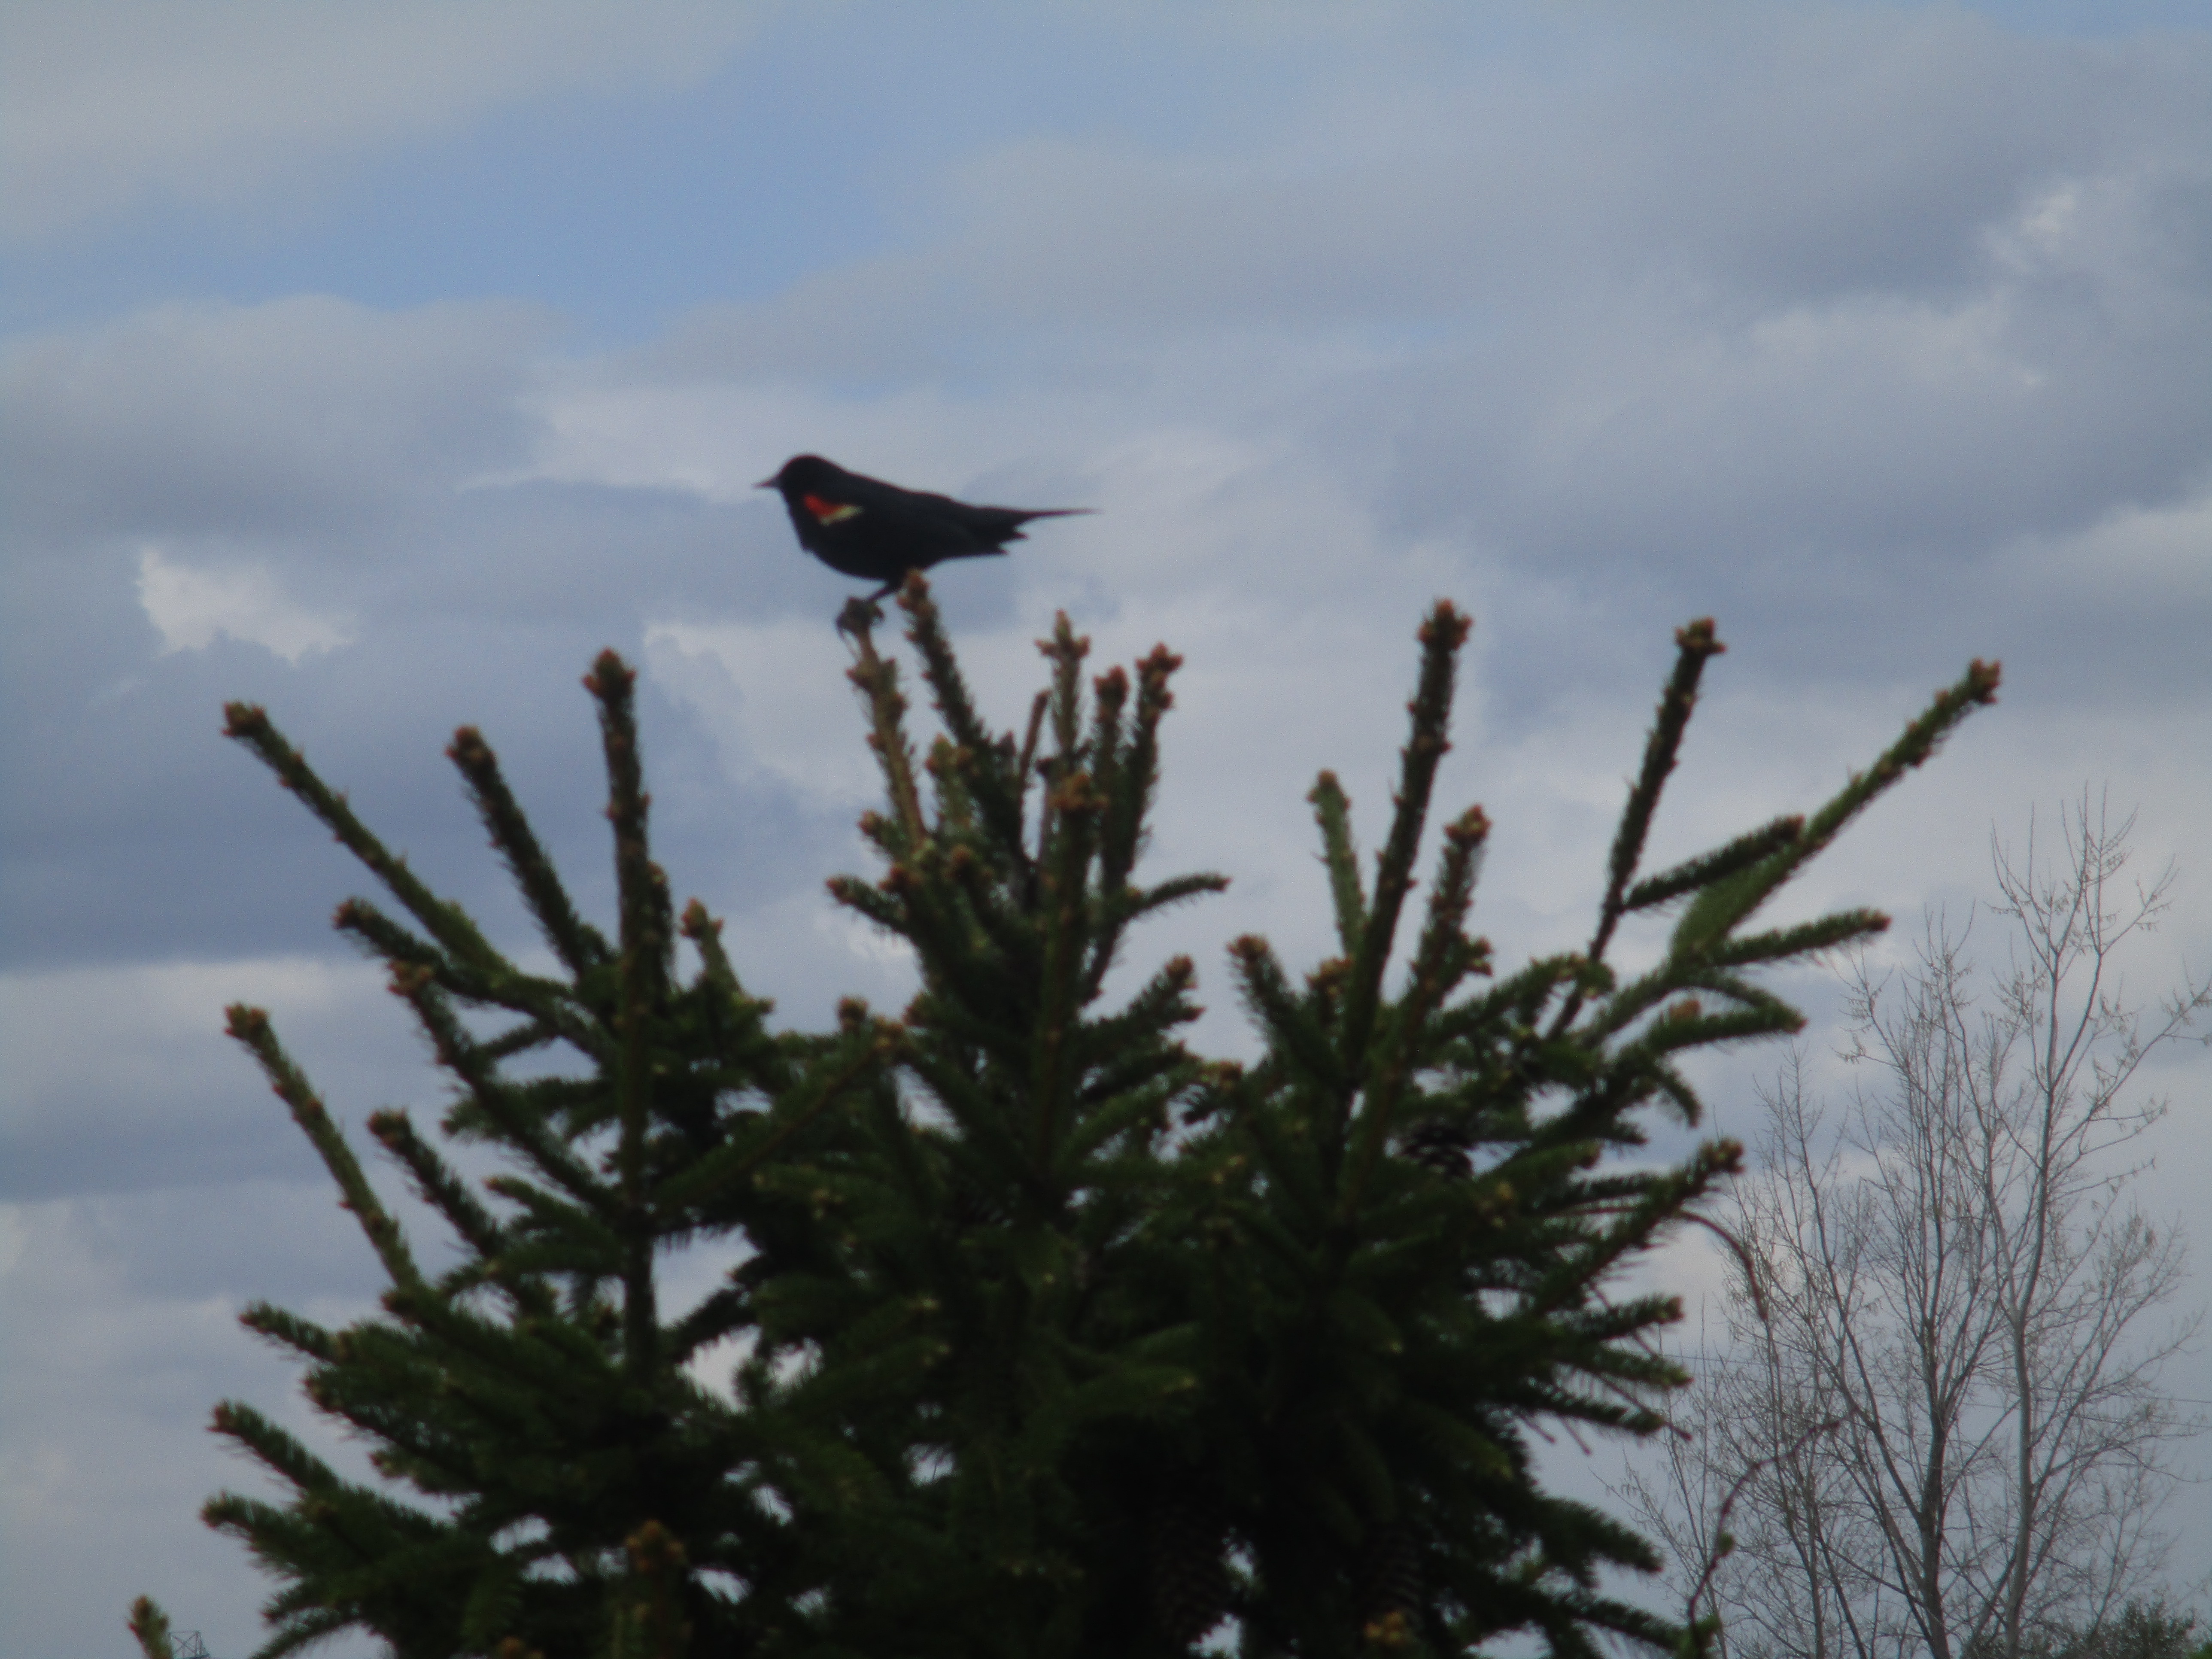
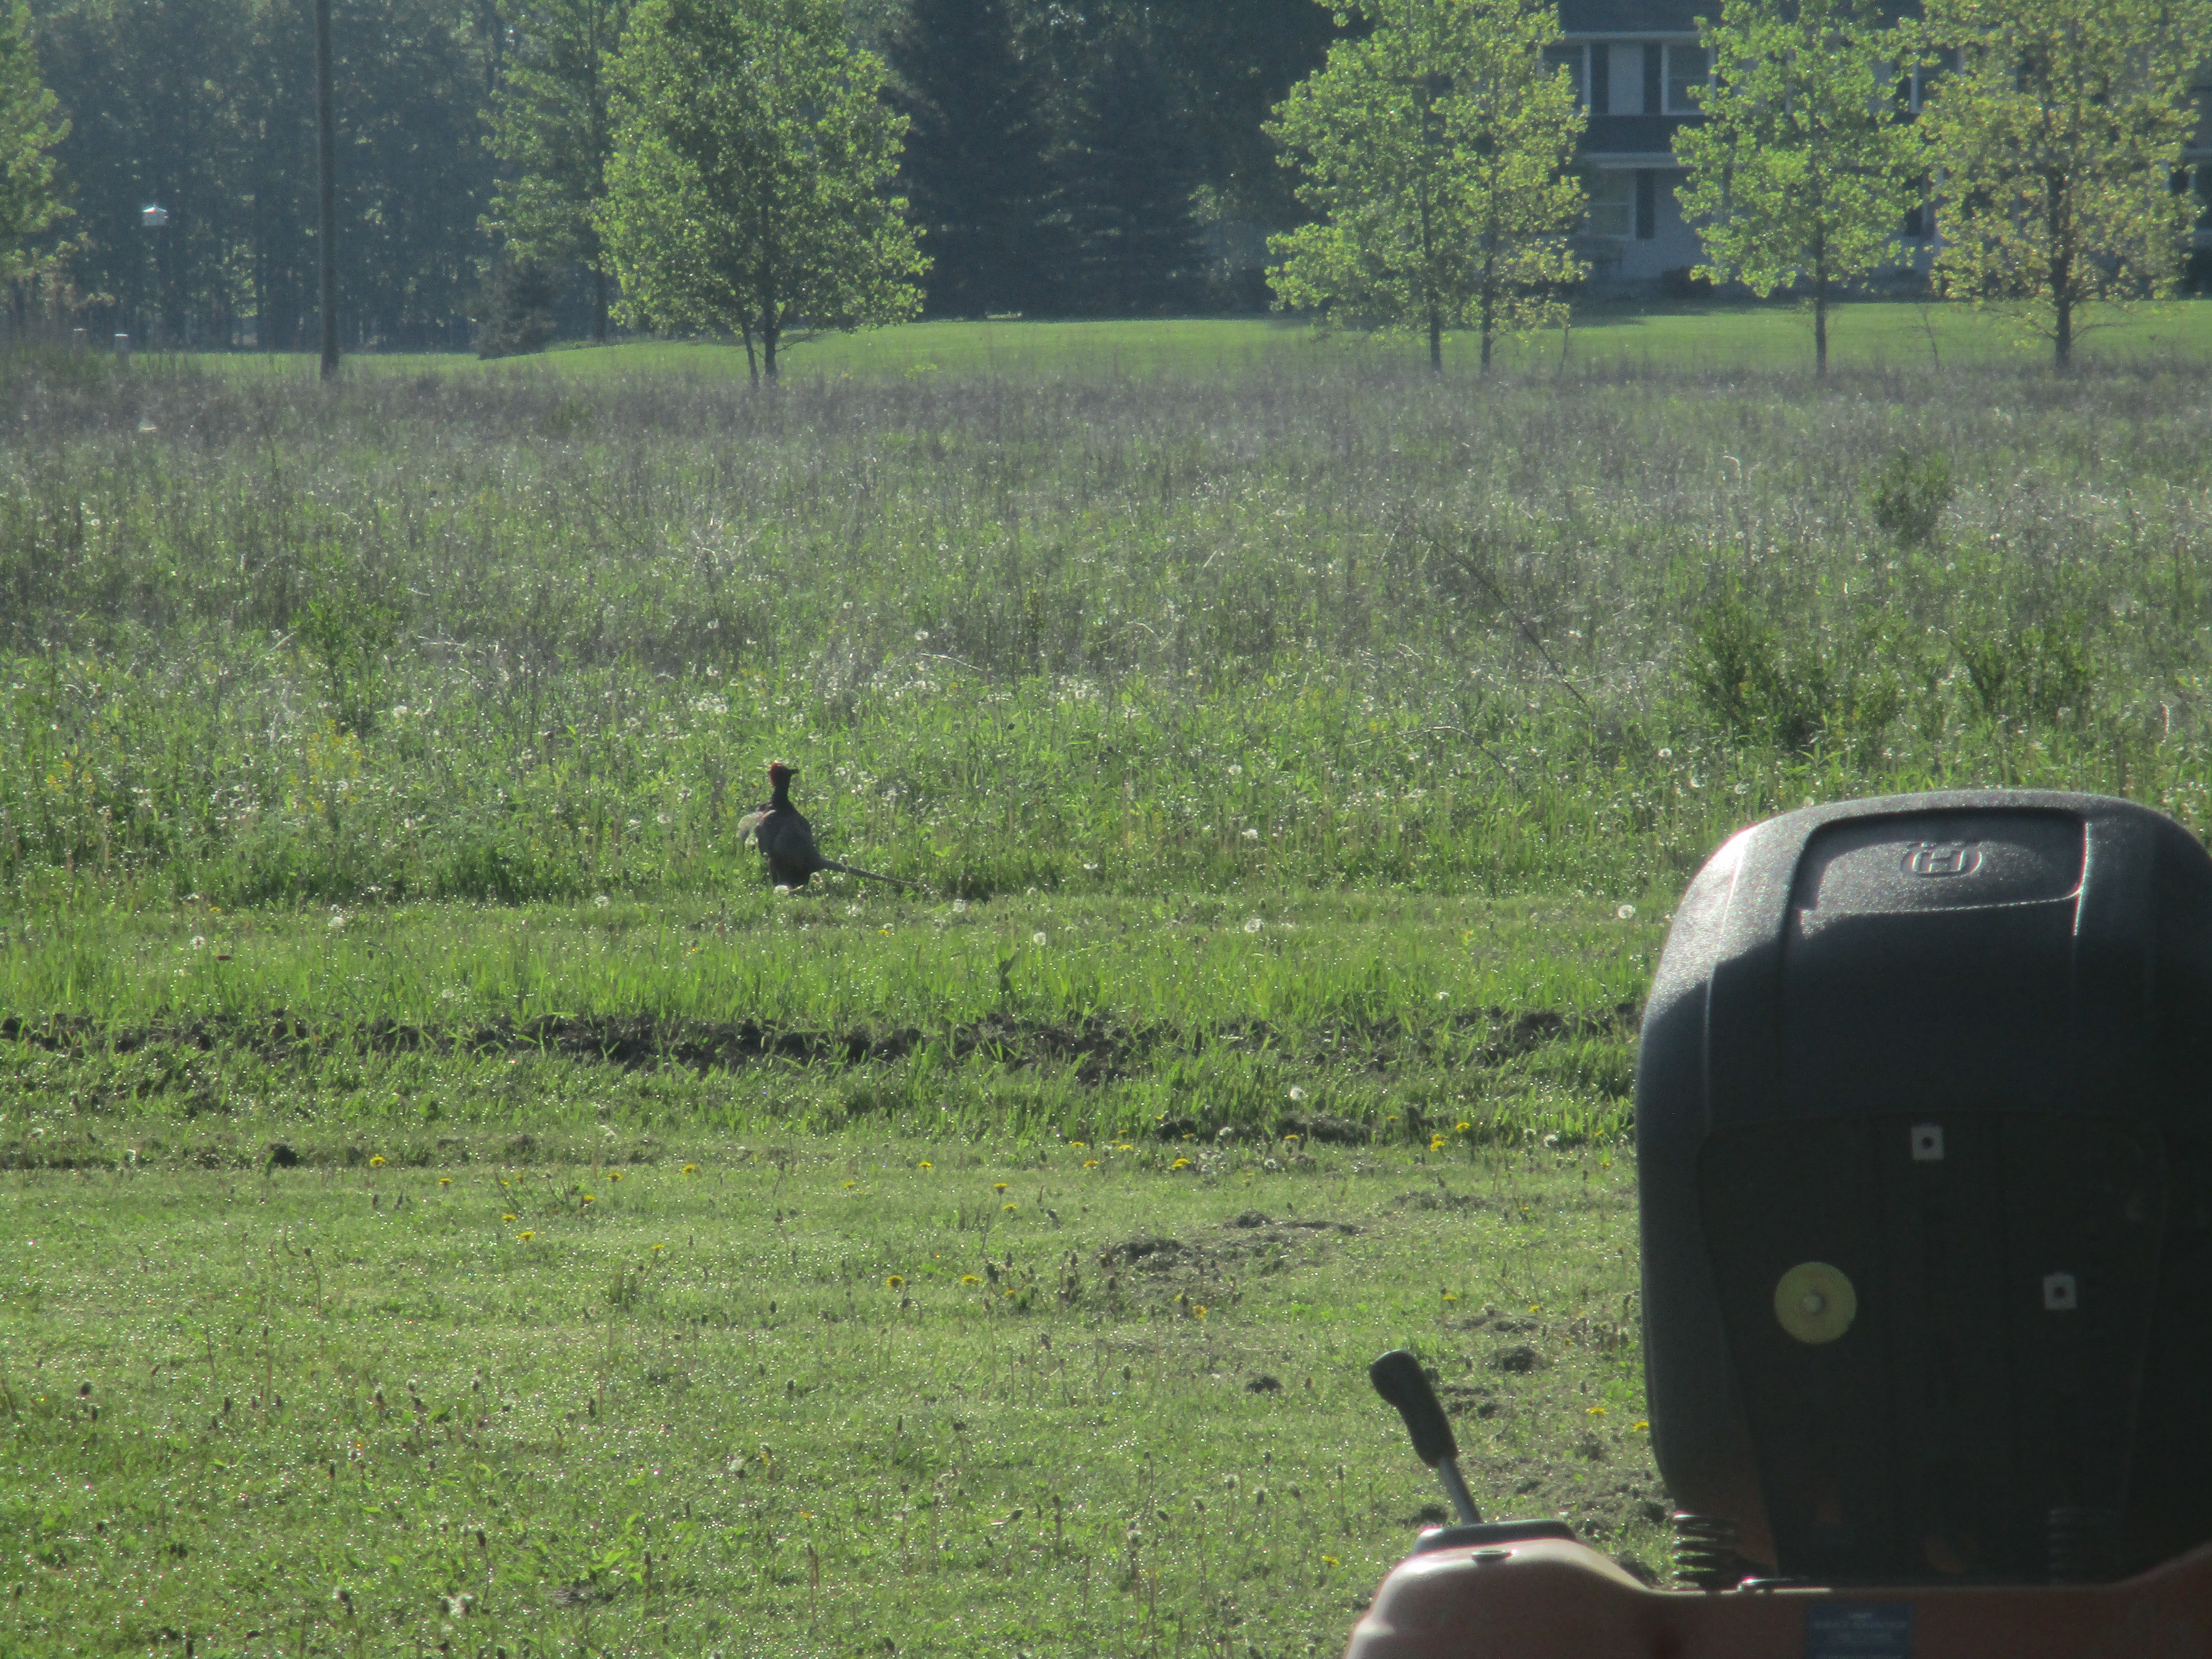 We have been hearing pheasants a lot on the farm and in the neighboring field and every now and the we get a glimpse of one. We are glad to see them as it had seemed that the pheasant population had all but disappeared over the last thirty or so years.
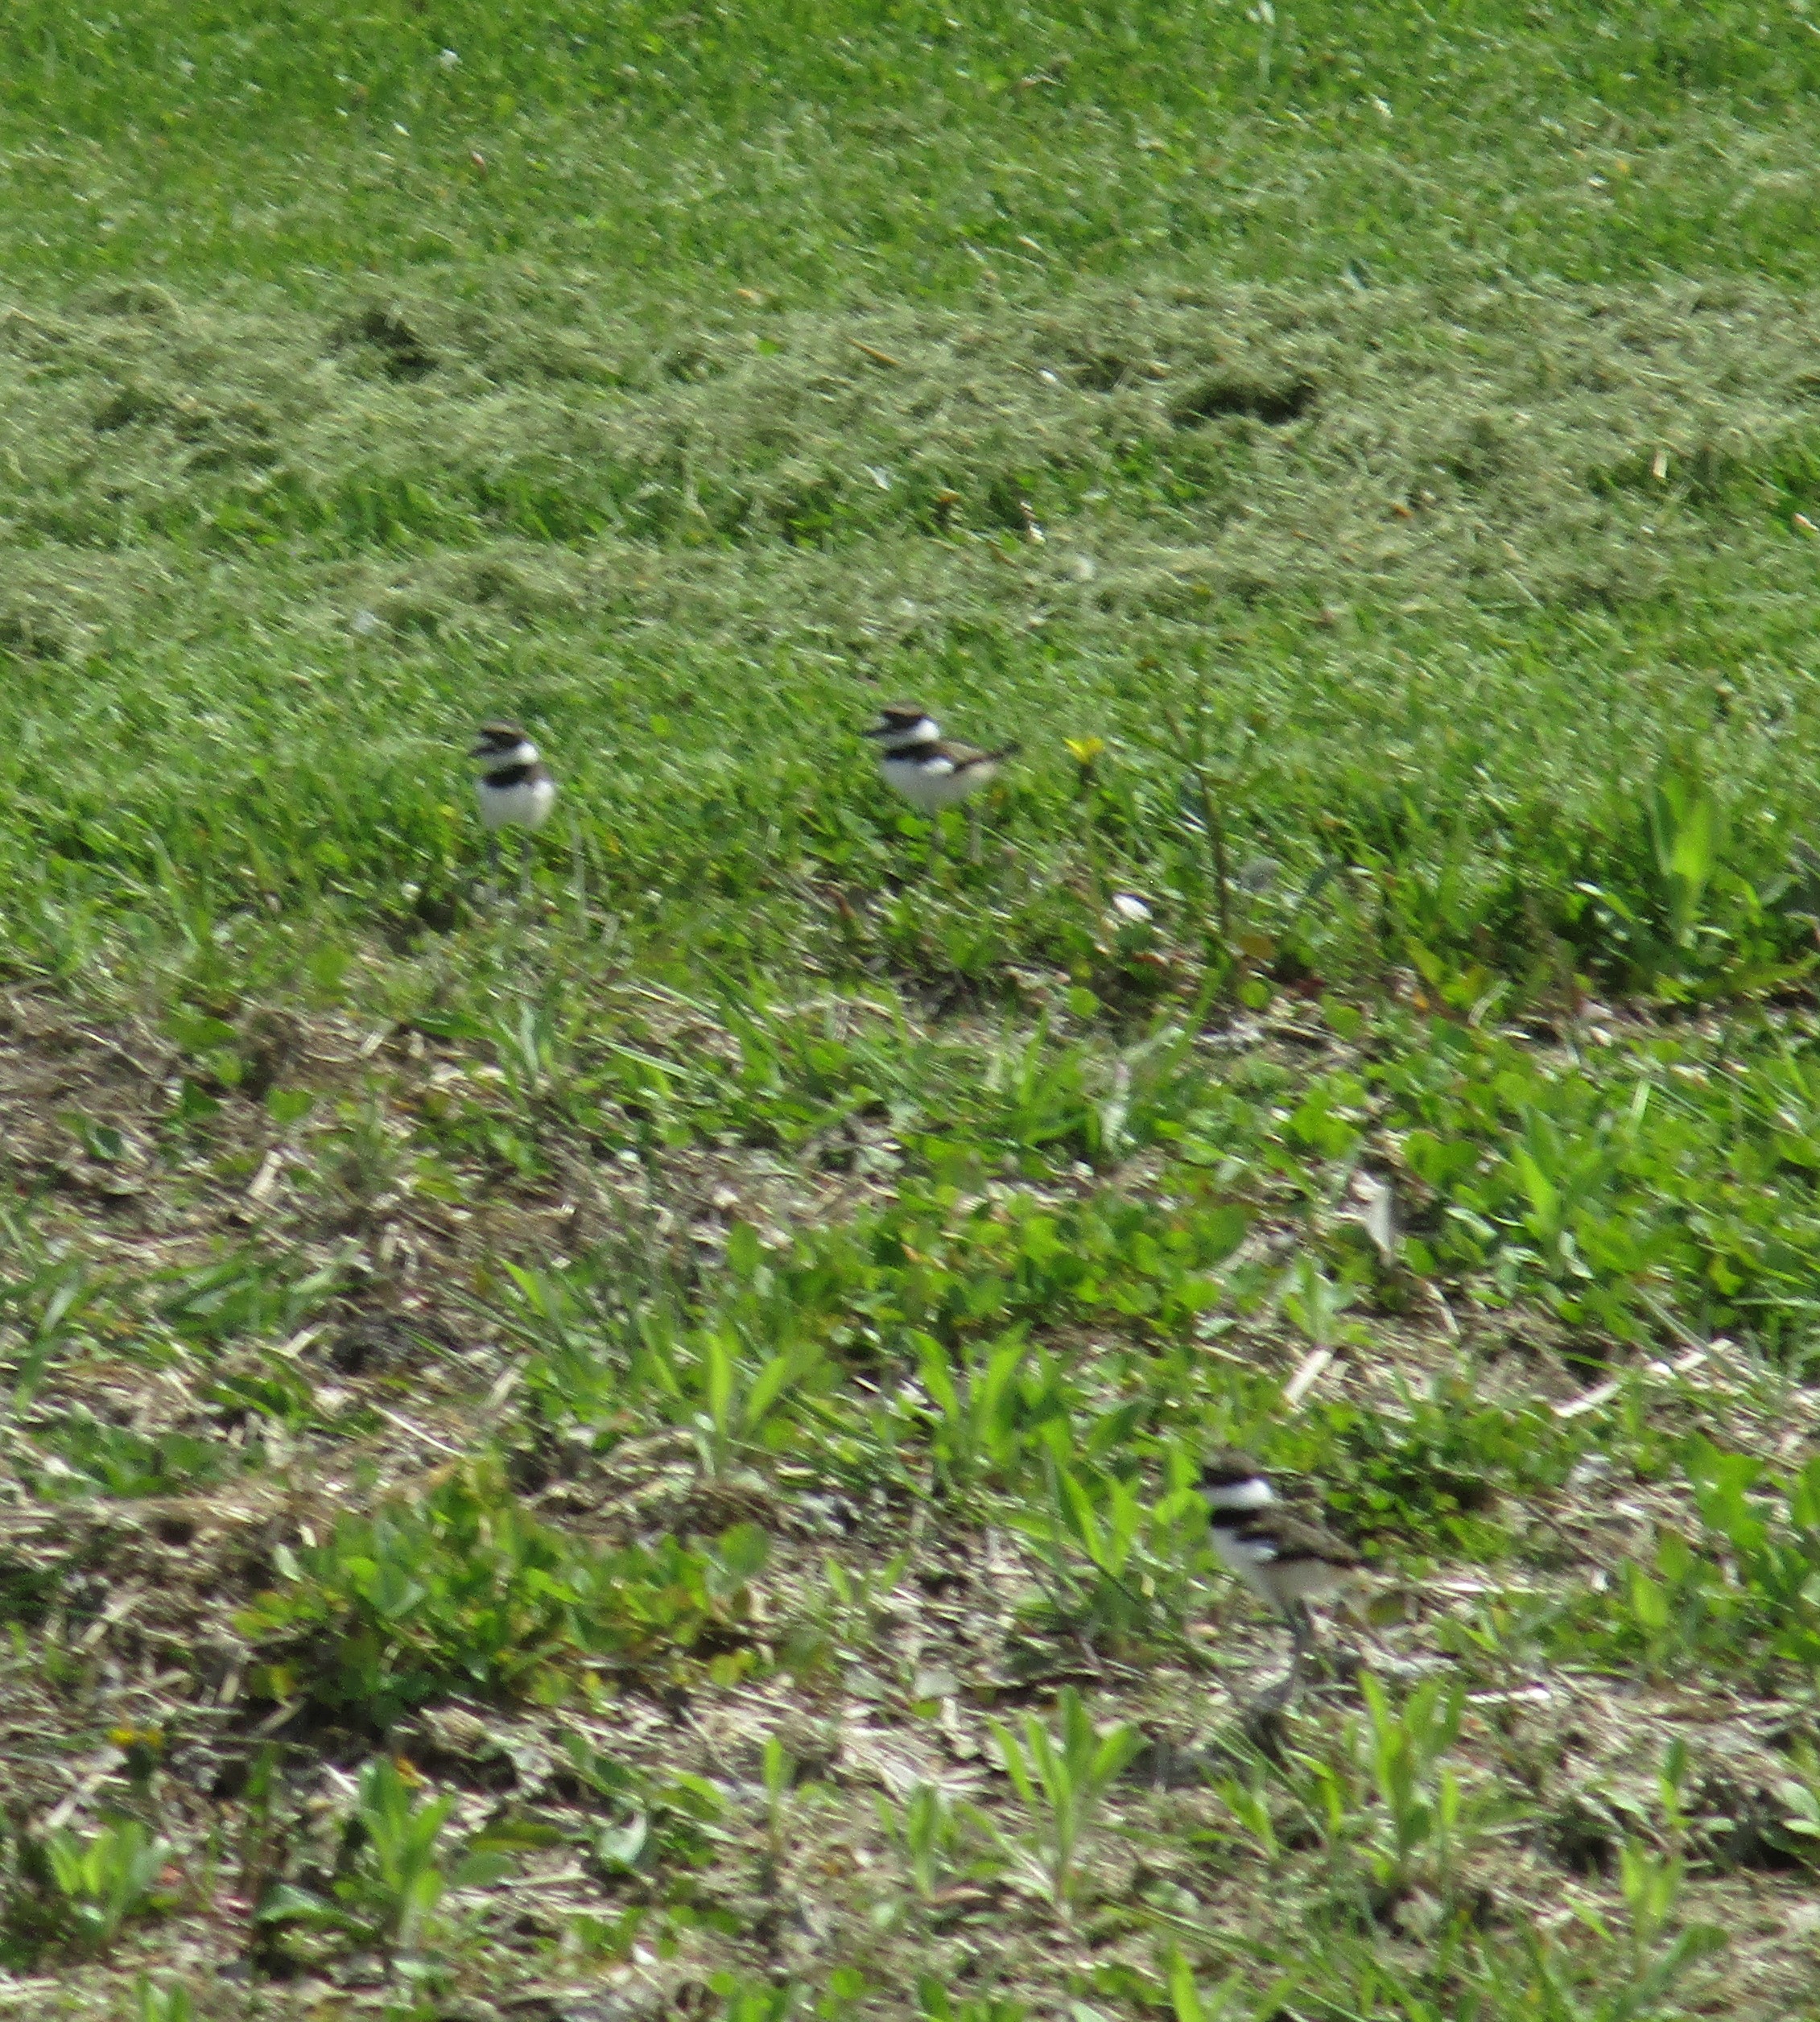
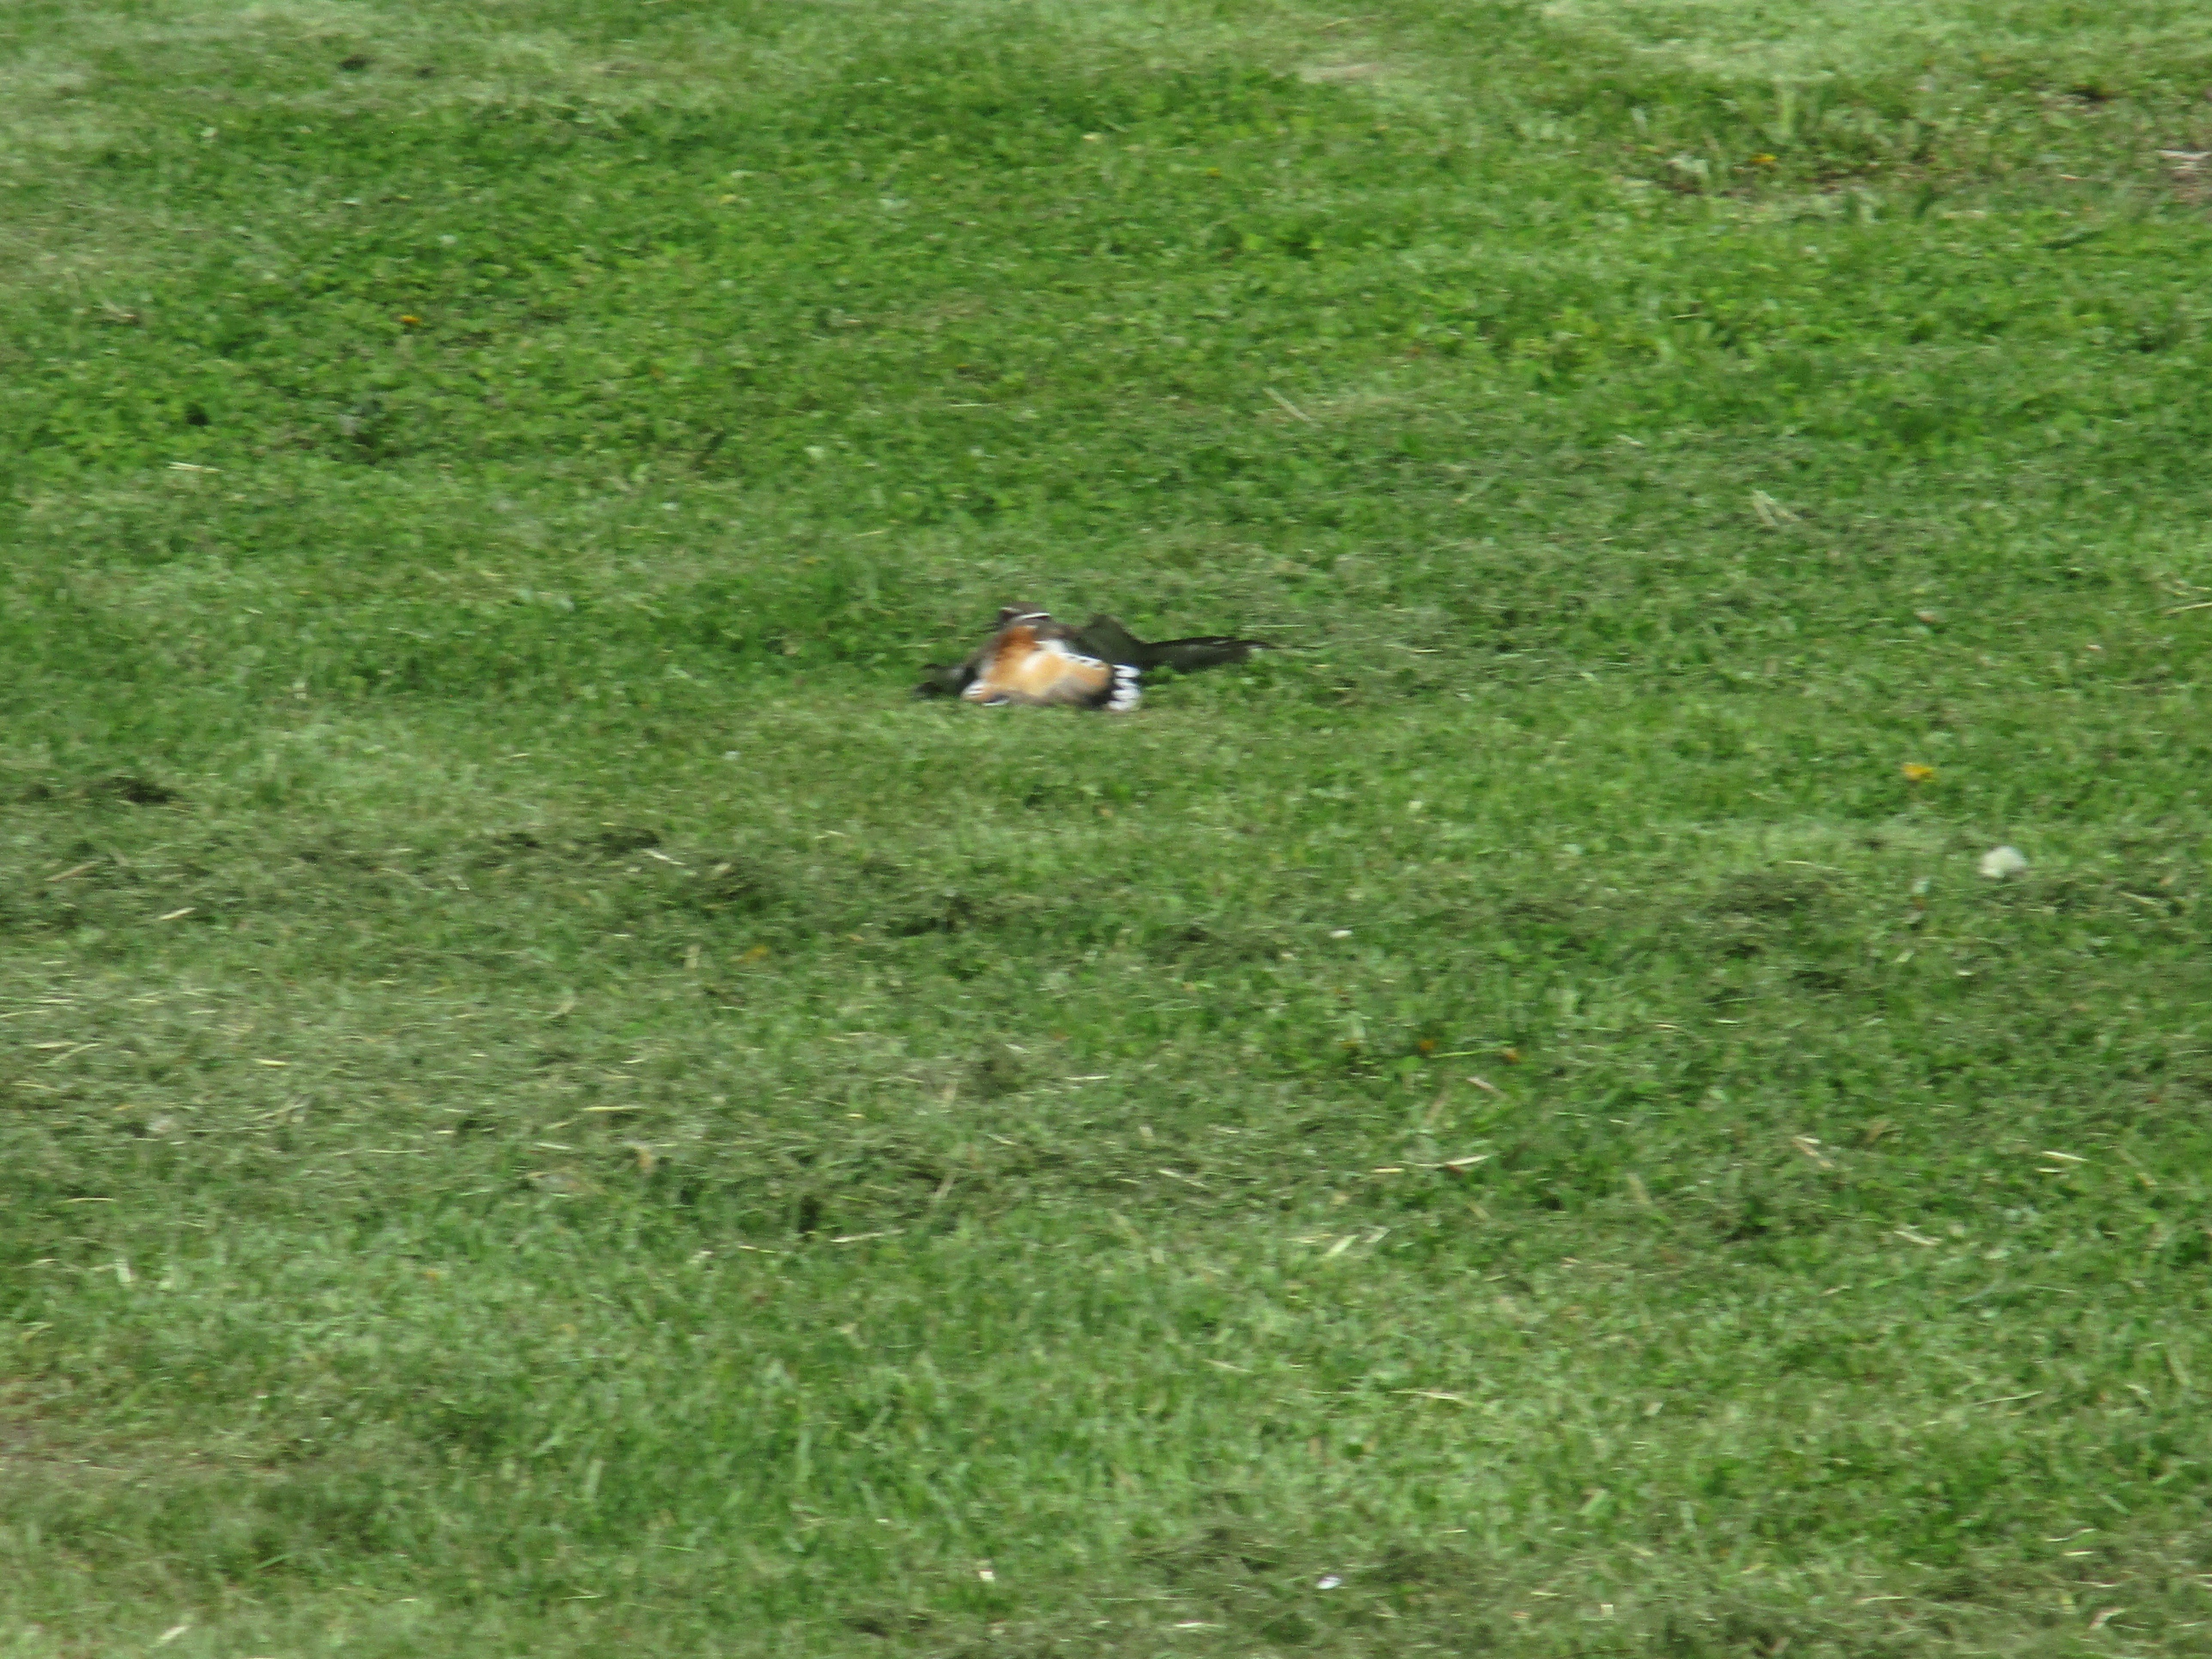
 We have spotted many new nests around the farm this spring mostly they have been empty when we looked but one had robin eggs in it and I did spot this momma sitting on hers.
 We also have a pair of ducks who have been frequenting the pond this spring. My husband and I agree that we will not be surprised if we find out that they have a nest in the woods next to the pond. I guess we will know if they show up with babies.
 This past winter was a bad one for bees in our area. We lost four of our five hives so we bought two more packages and installed them into hives. Since my husband installed them on his own I didn’t get any photos.
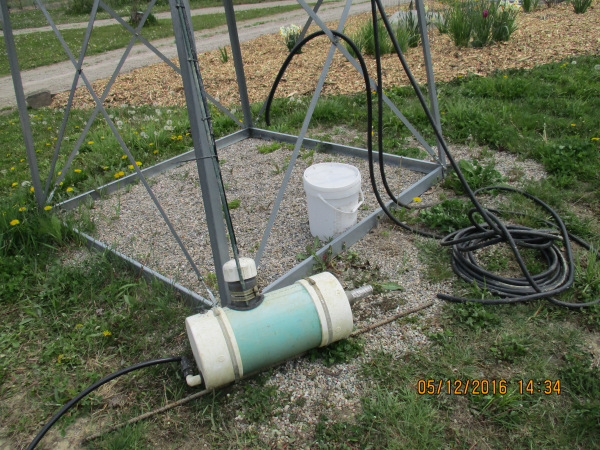 Fortunately my husband had put the pump in the pond and we were able to take advantage of the wind that we had last week to get the tanks filled and keep things watered as we awaited the rain.
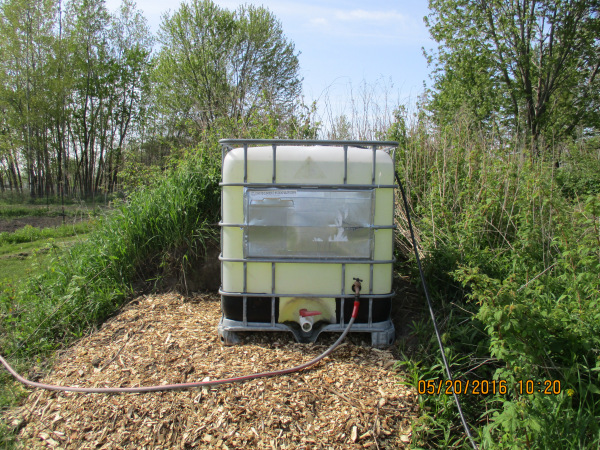
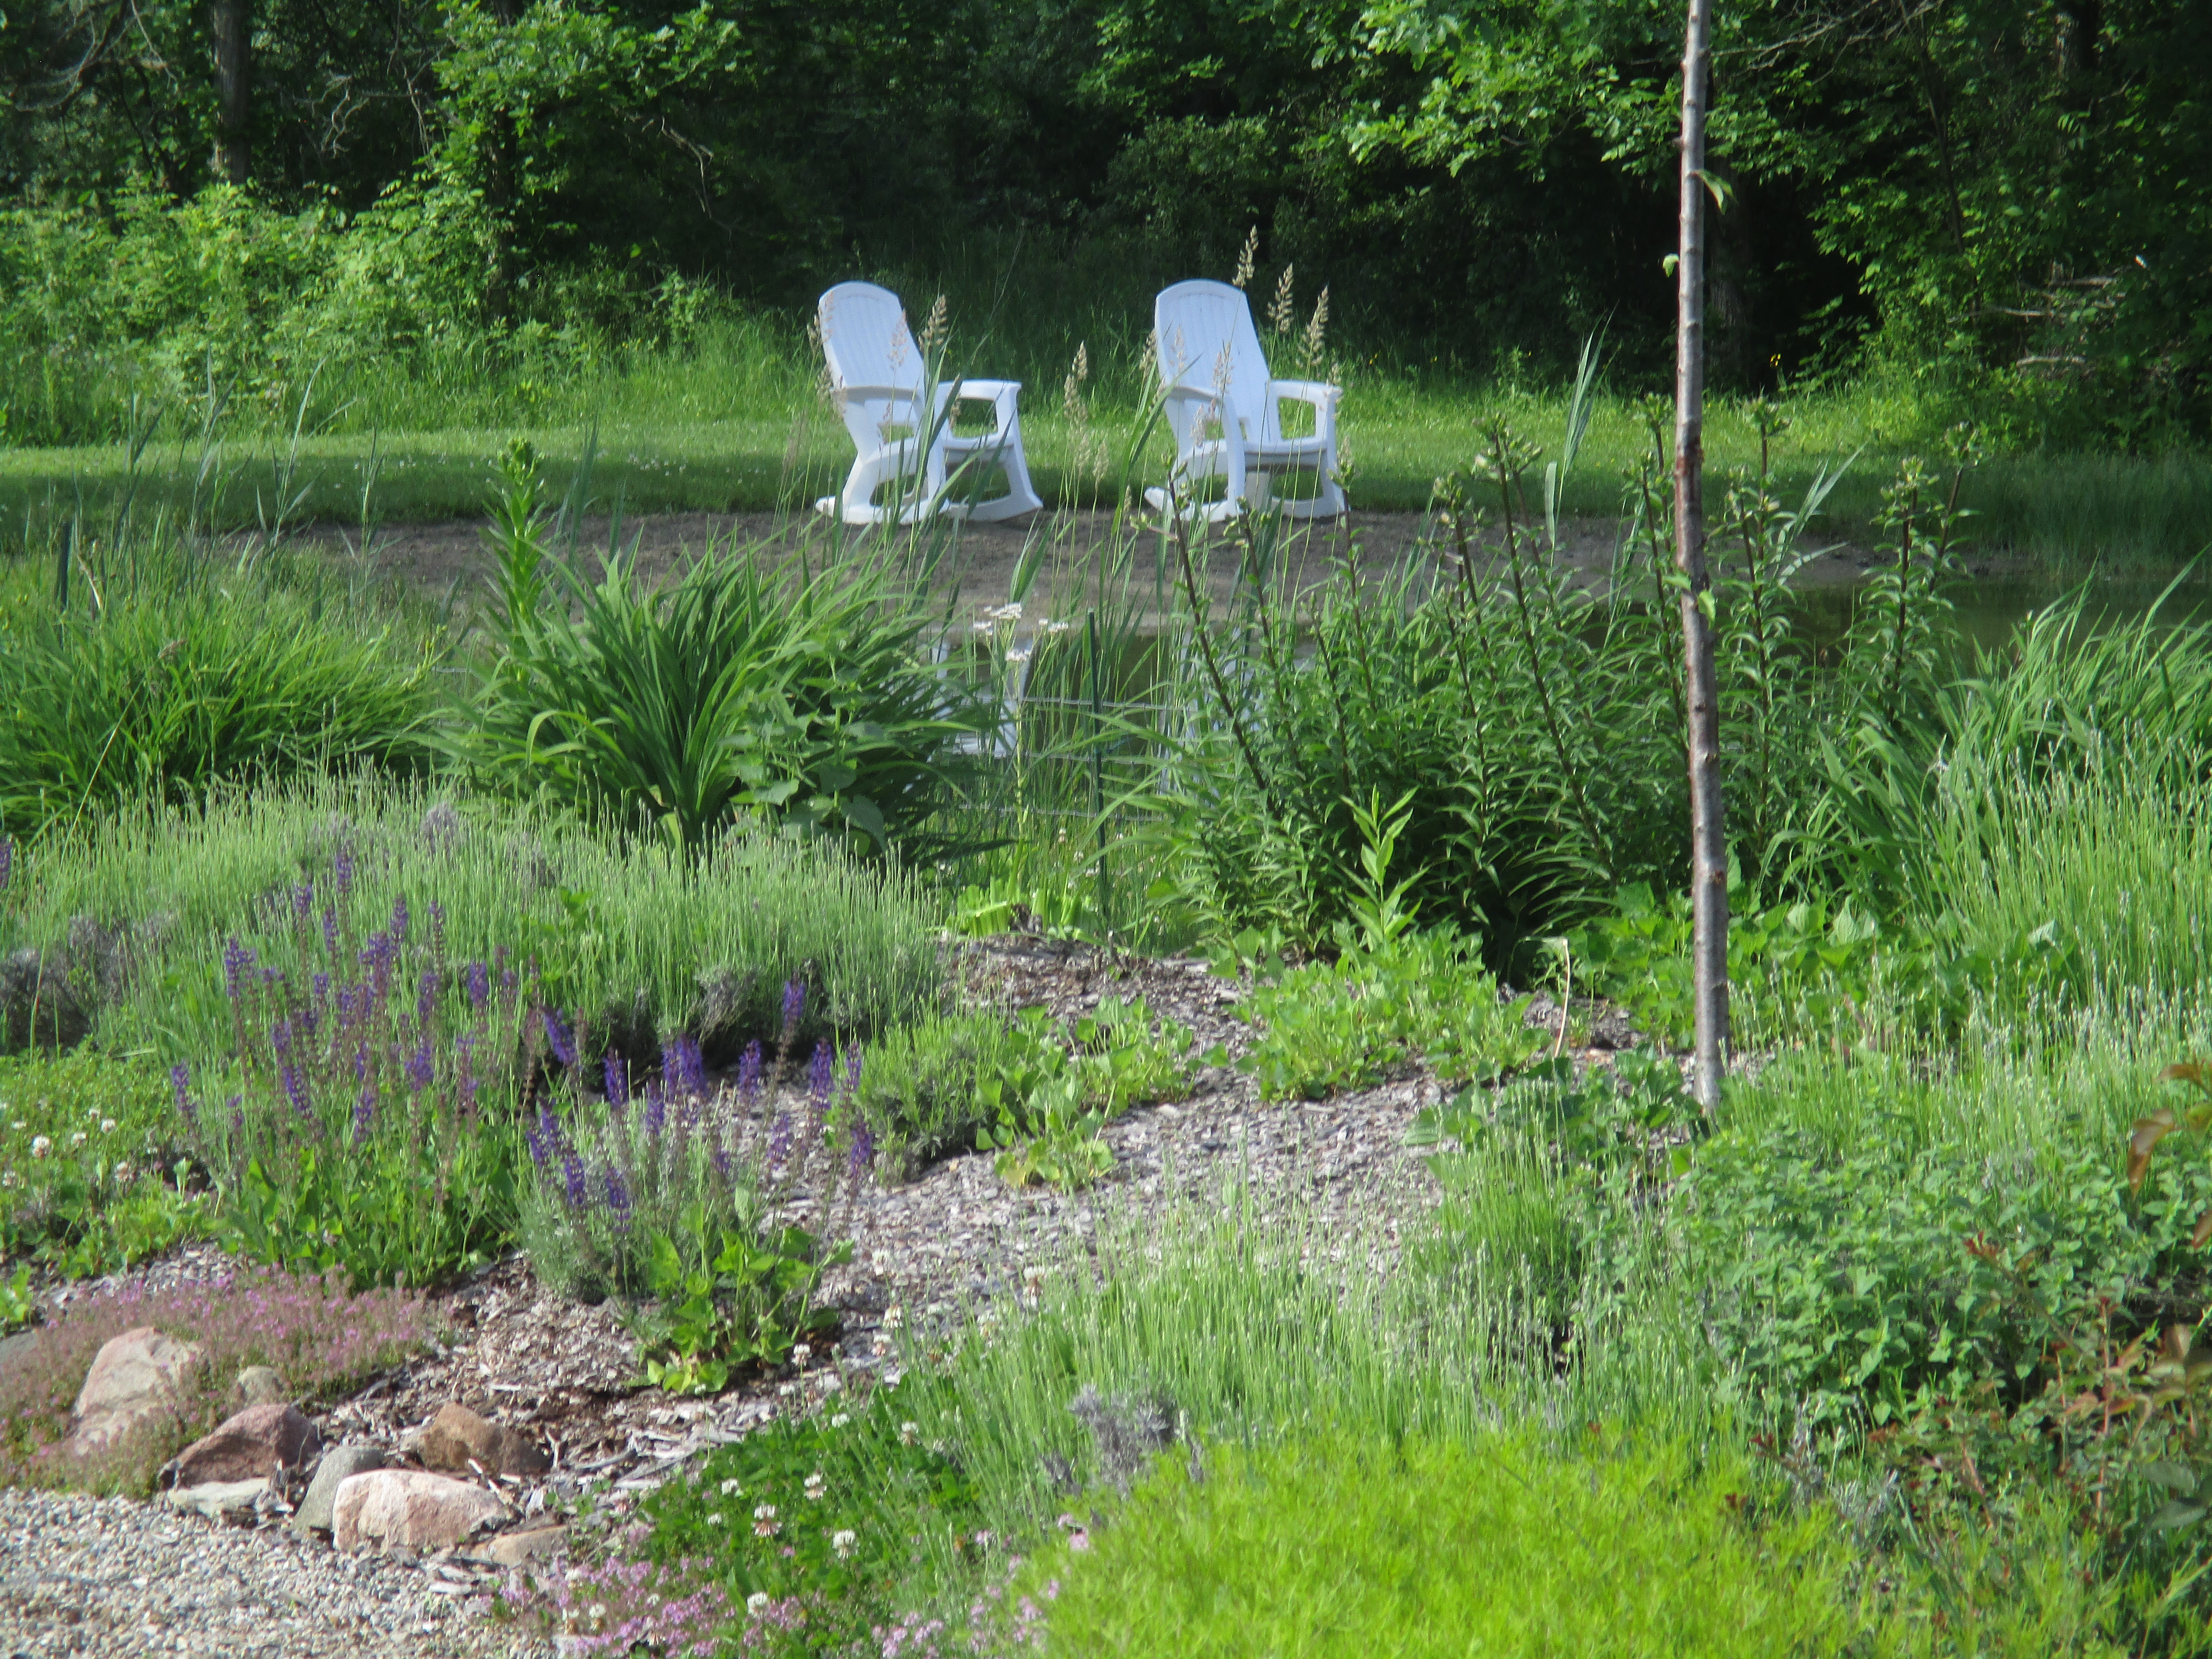
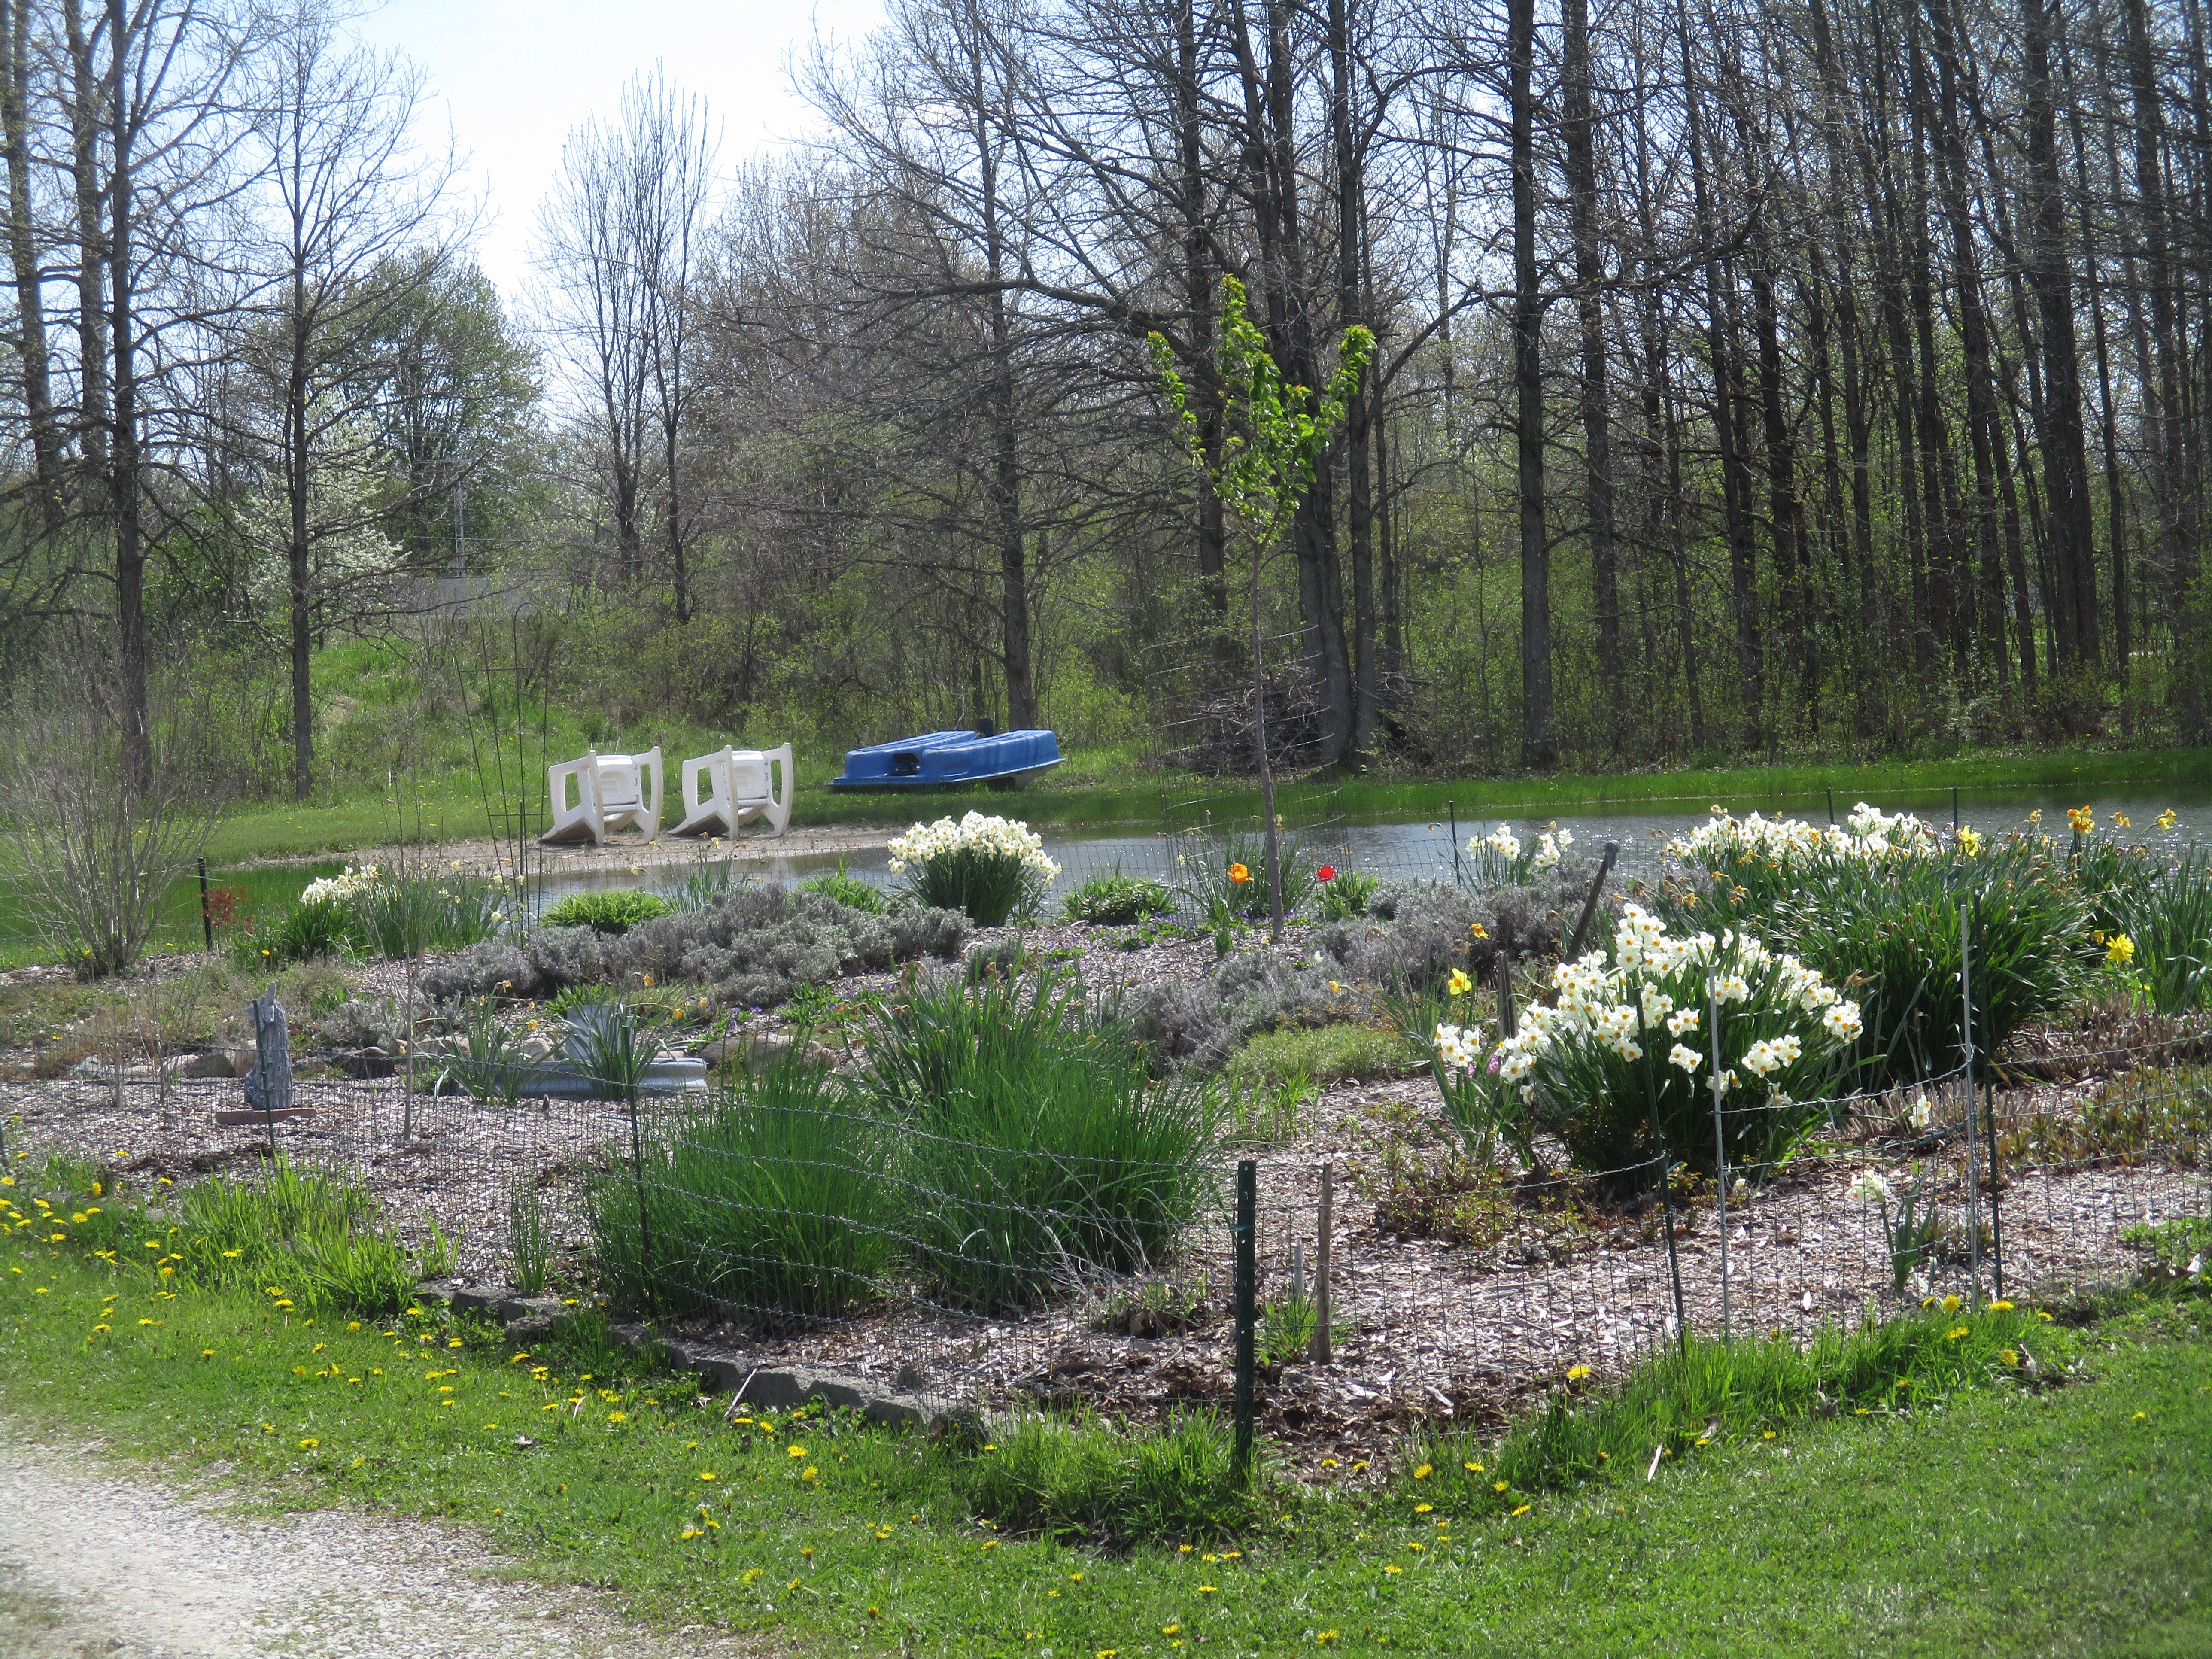
 Since the temperatures were so warm (hot) I did spend some time last Friday raking the beach area. If I have to work on a hot day cleaning the pond is the perfect job. 🙂 After I raked the leaves out of the beach area and used our small rototiller to rough up the sand we set up our beach chairs and umbrella. Woo hoo we are ready for summer!!!